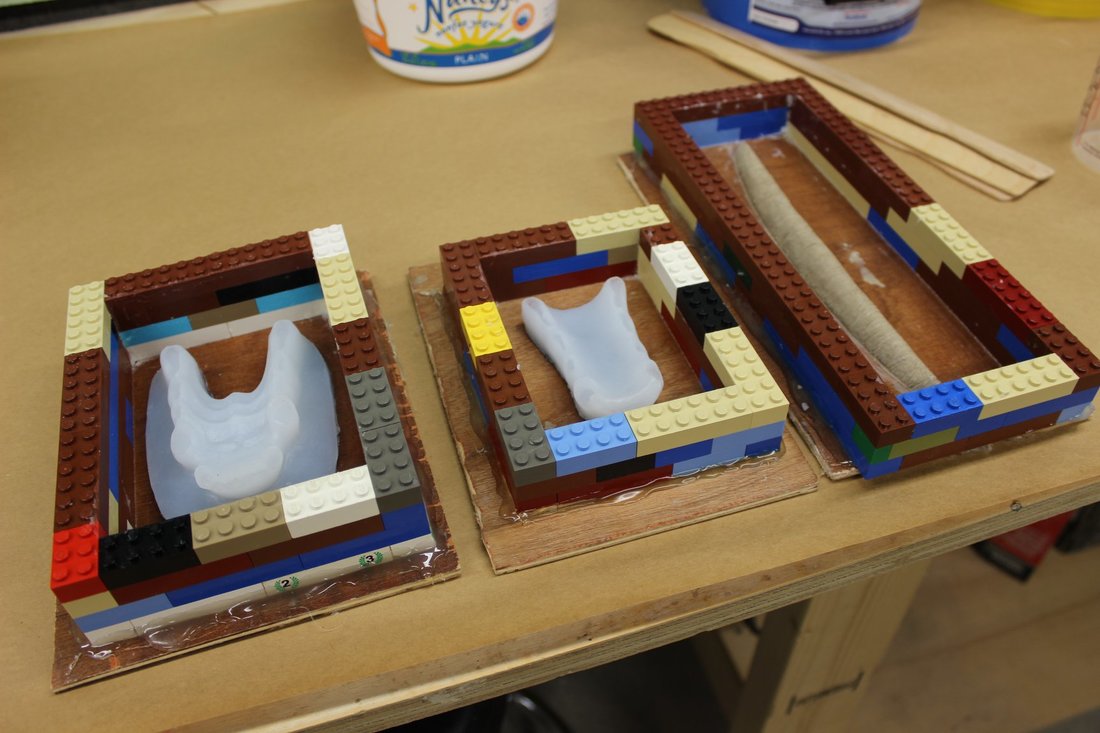
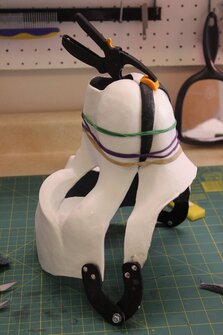
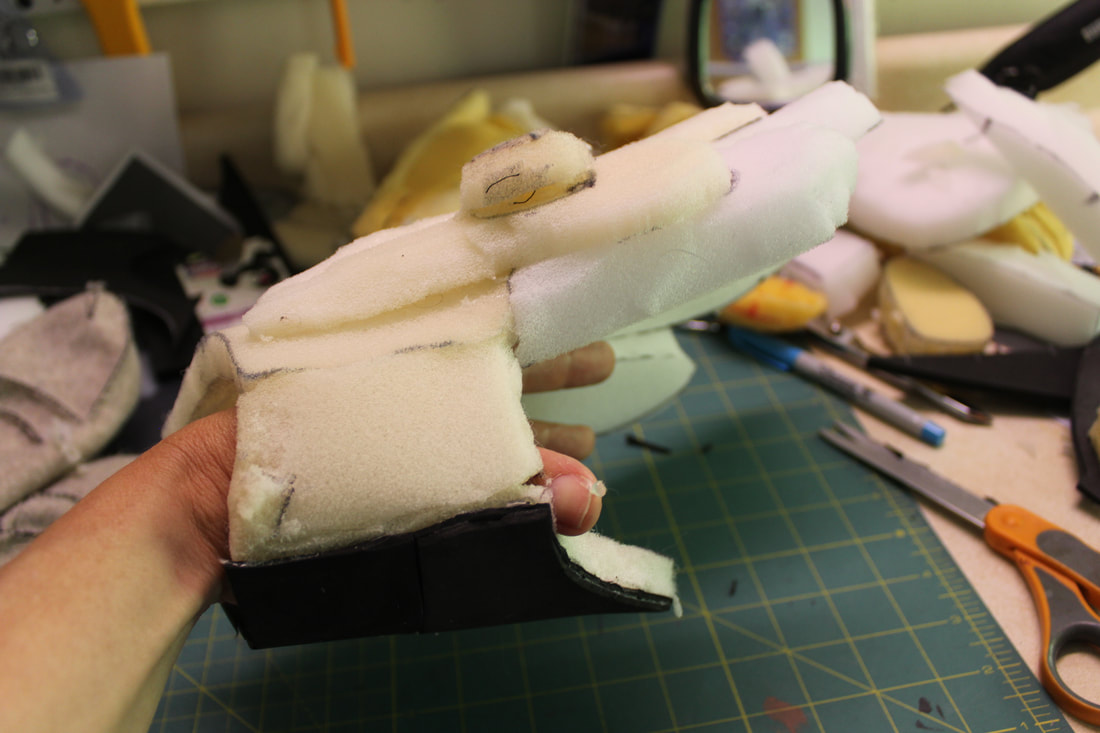
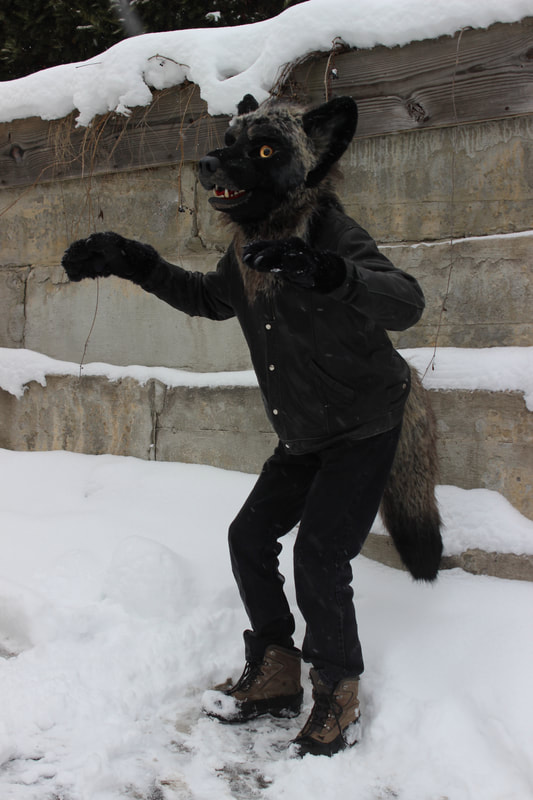
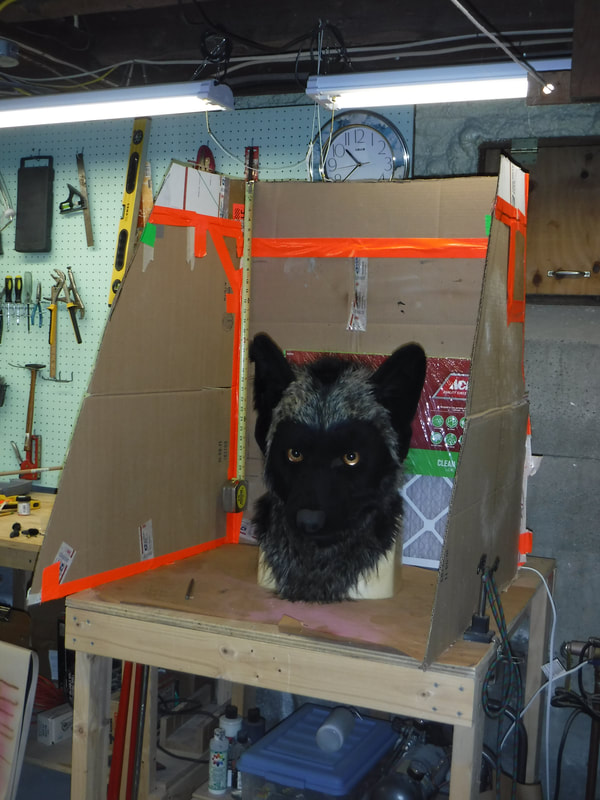
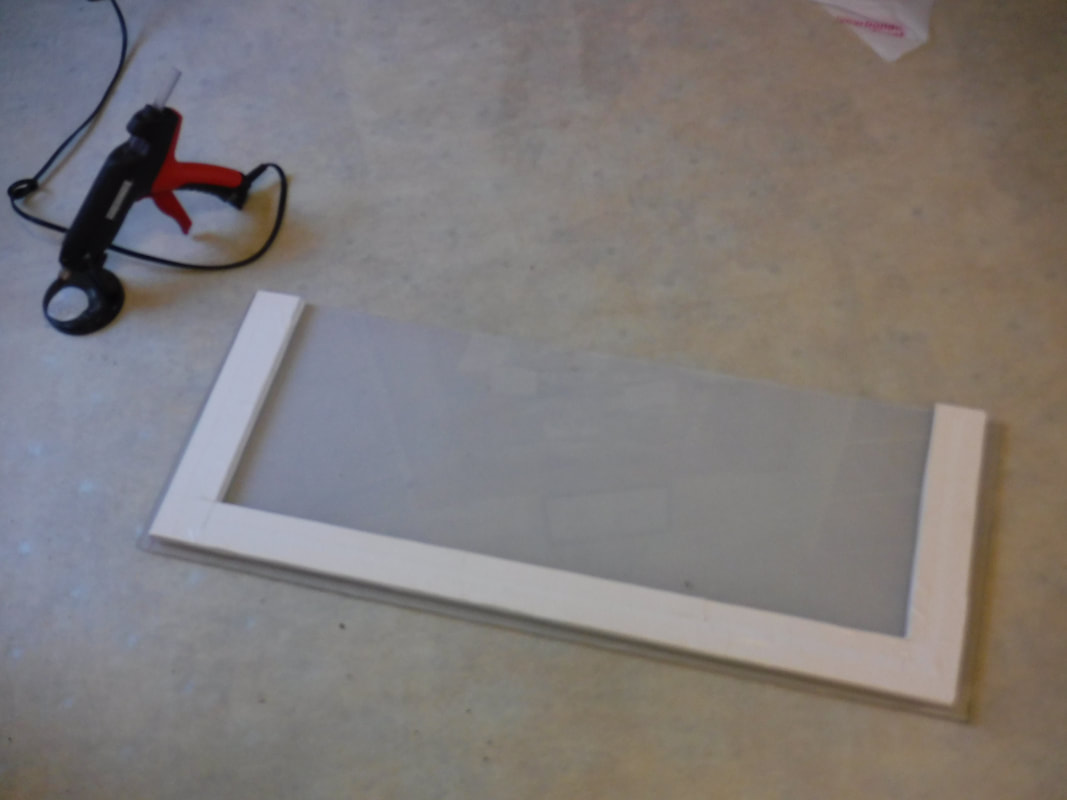
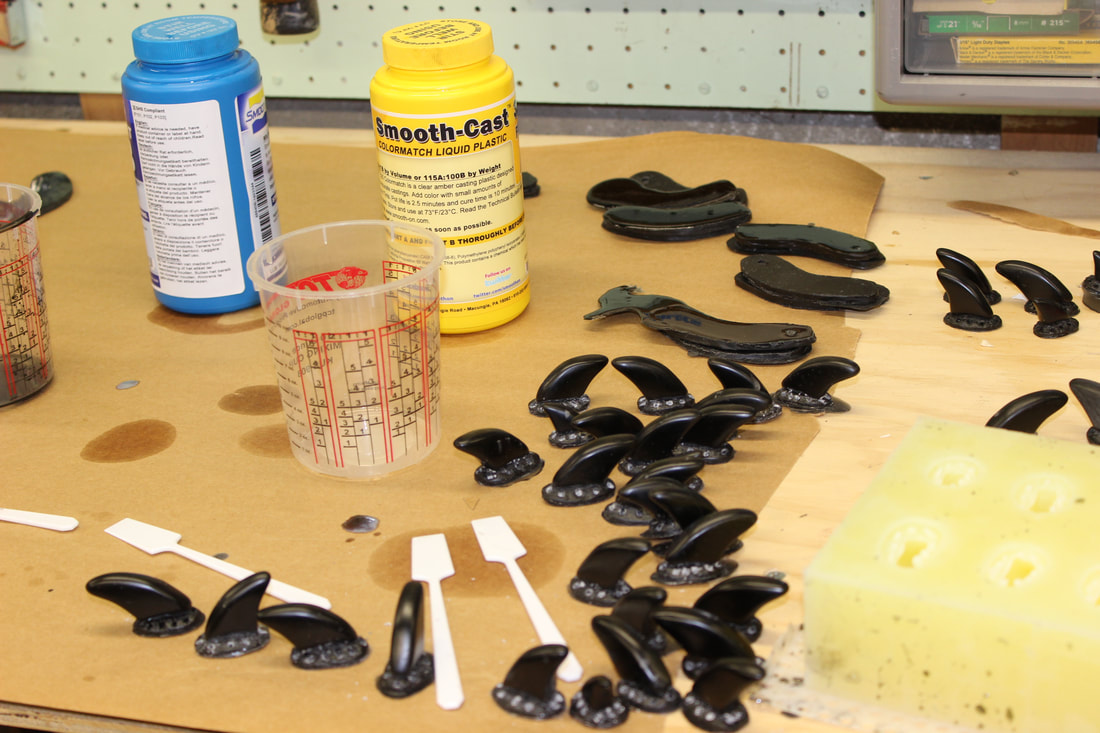
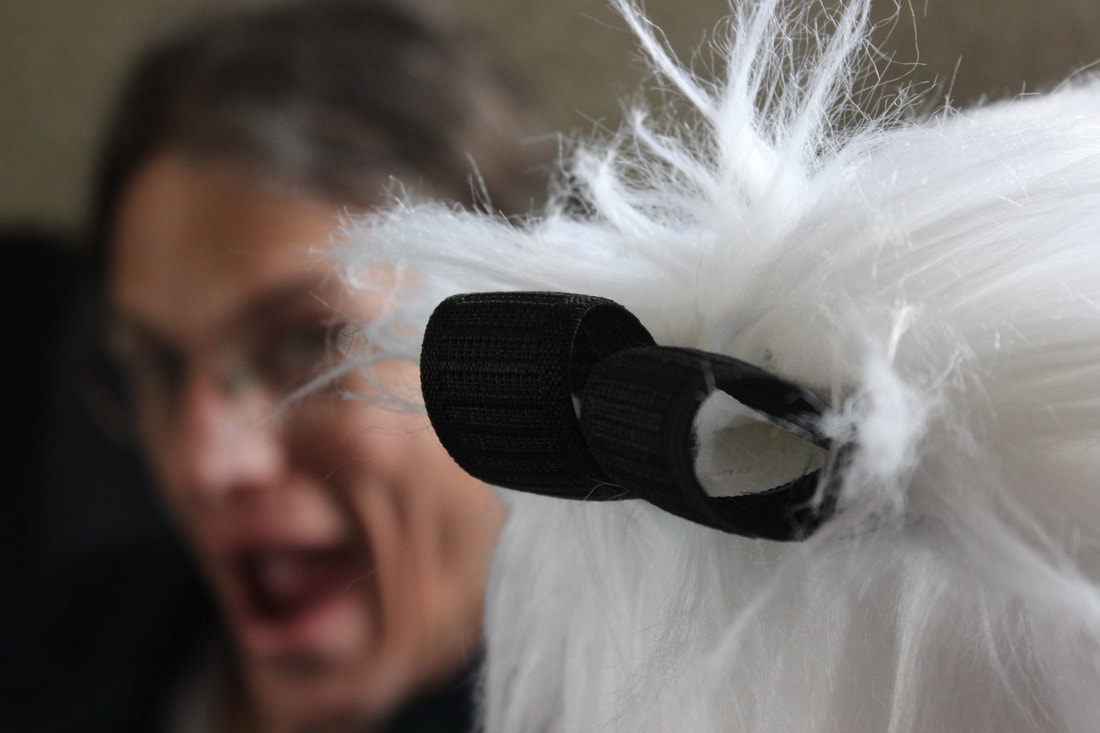
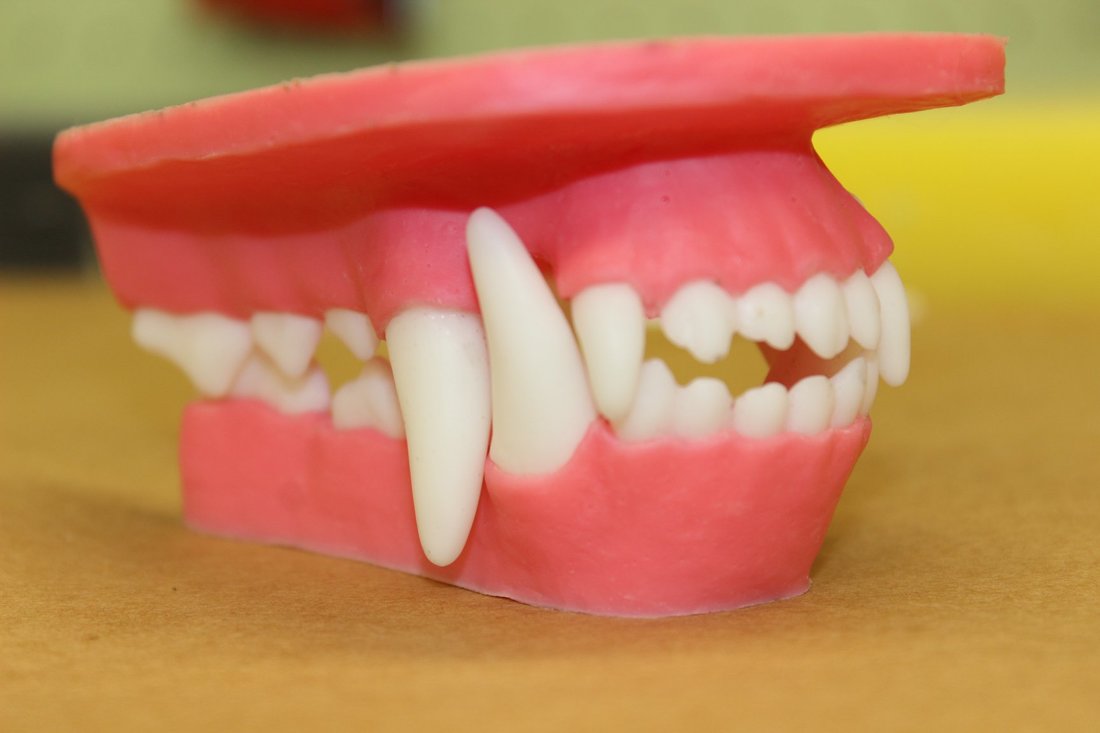
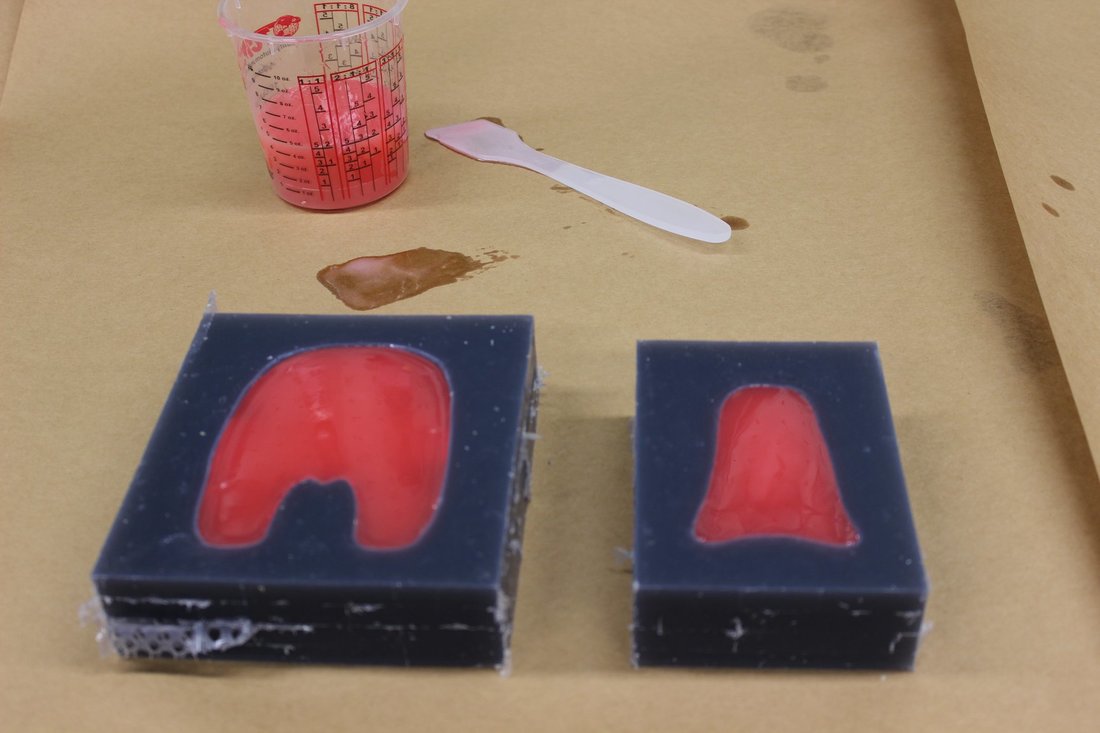
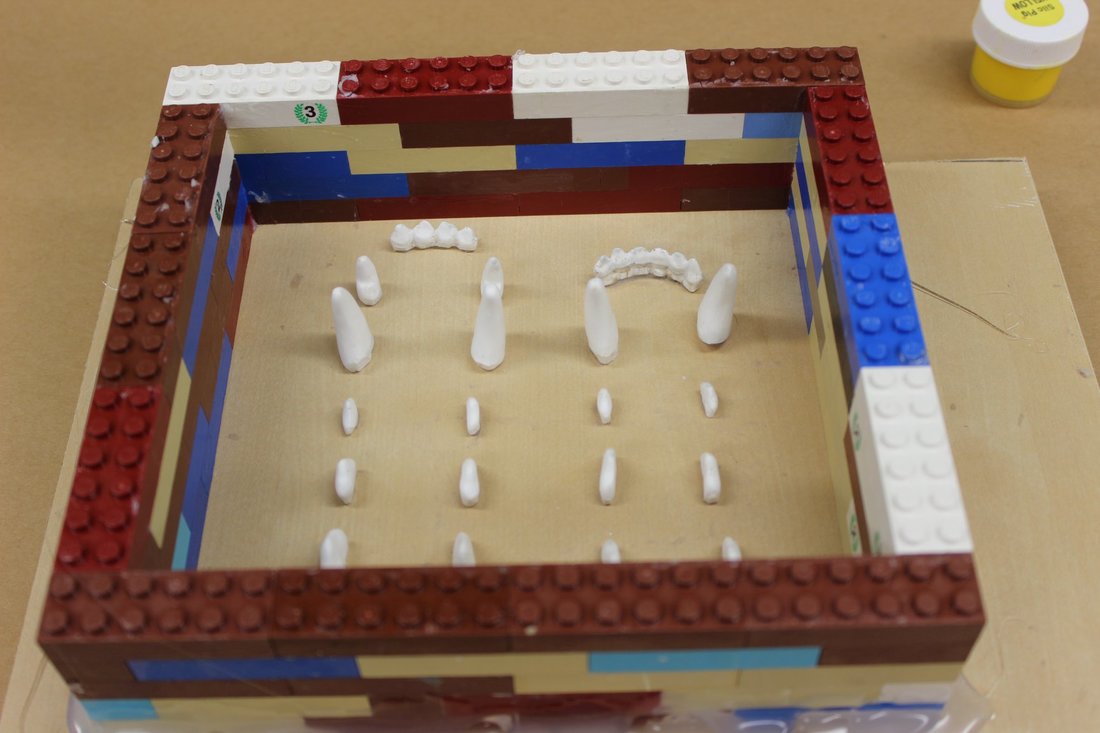
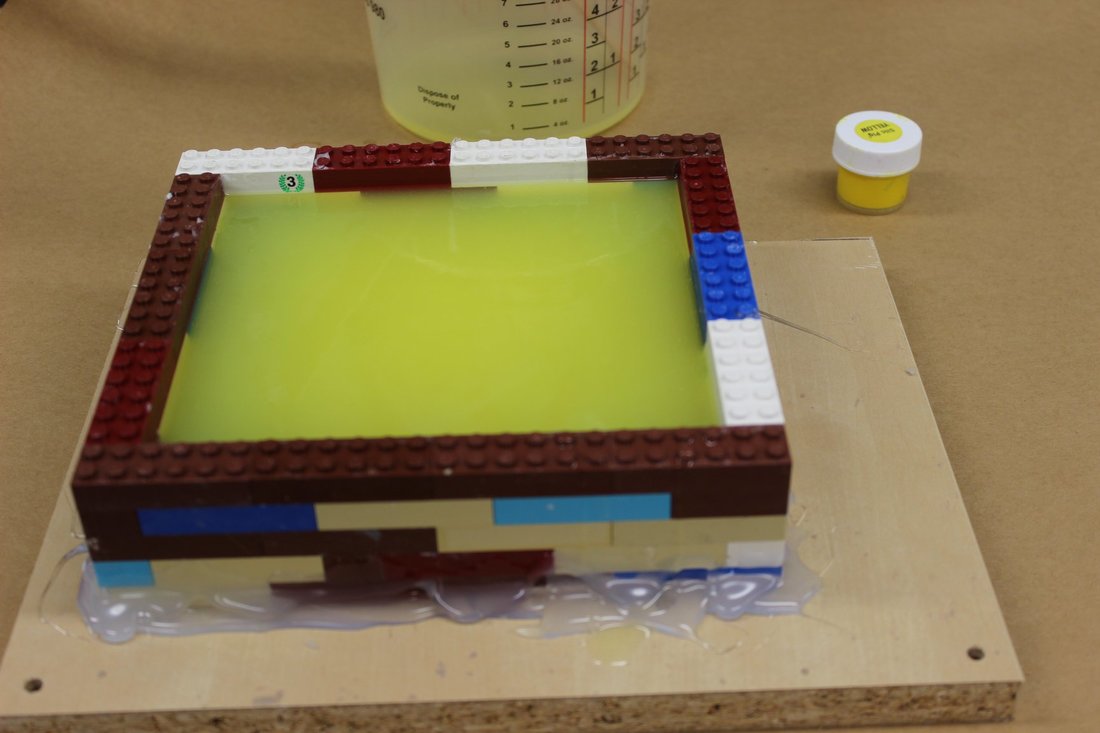
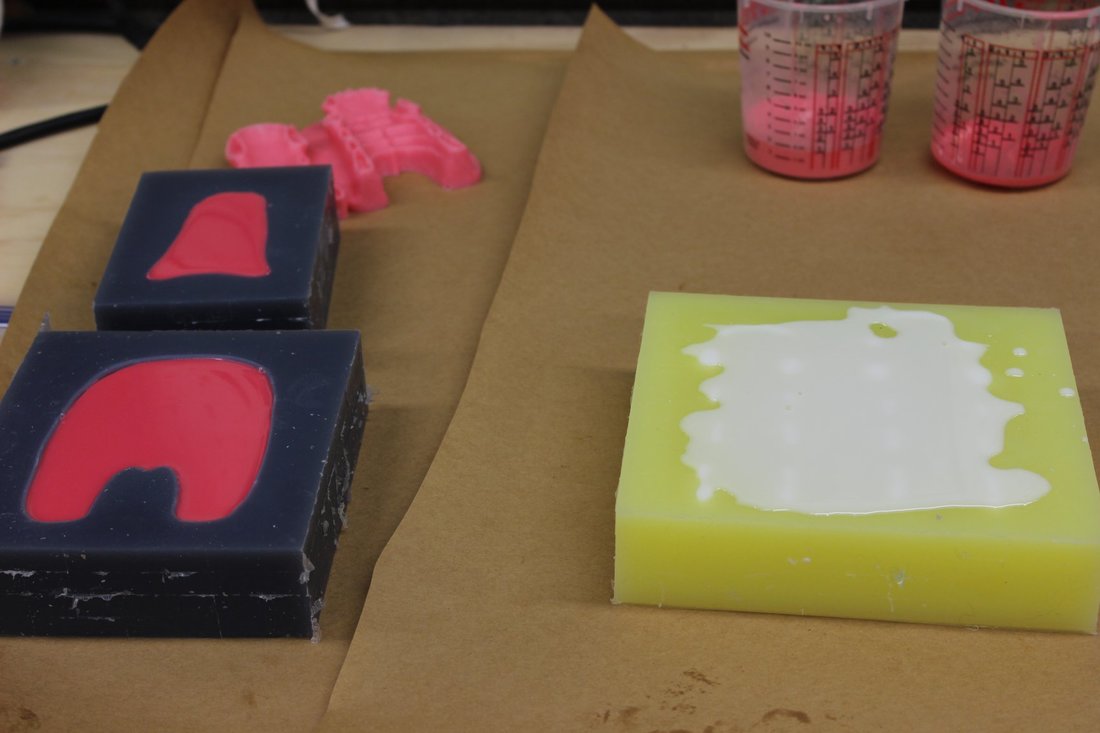
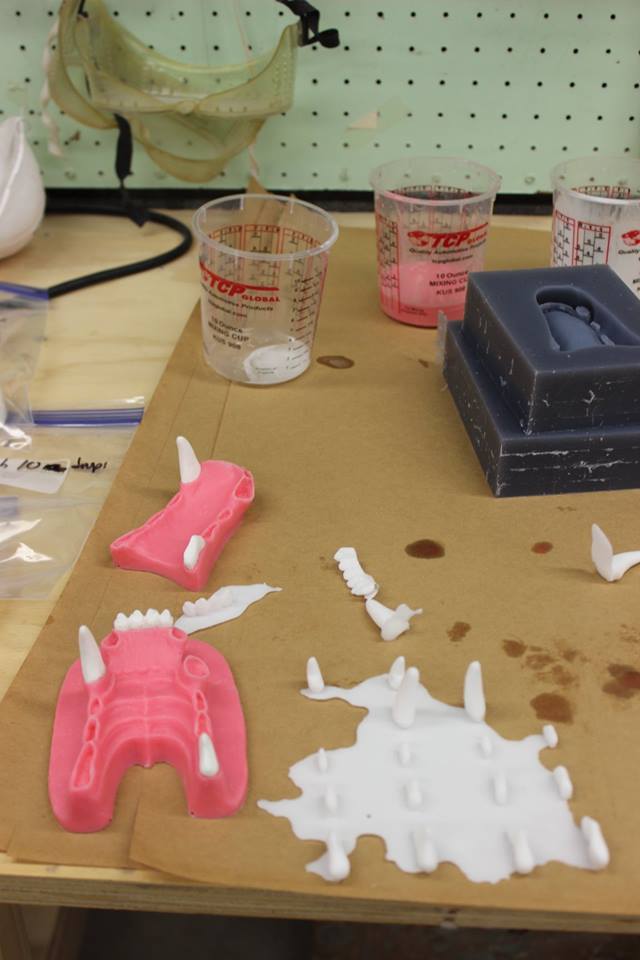
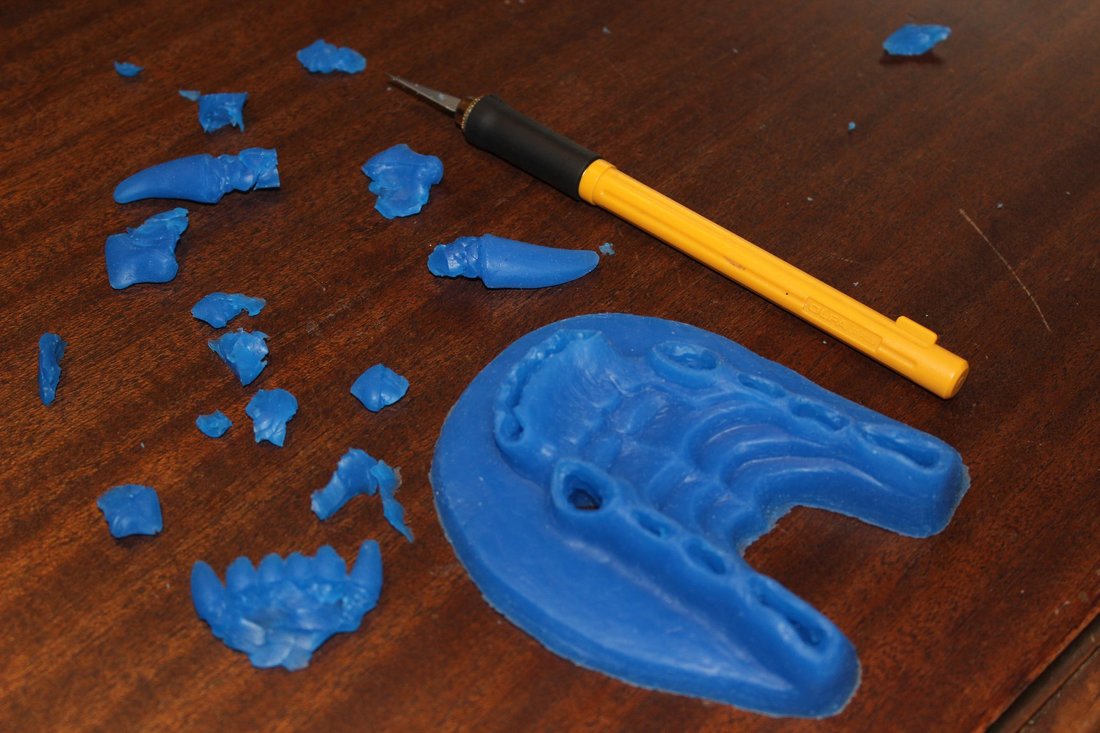
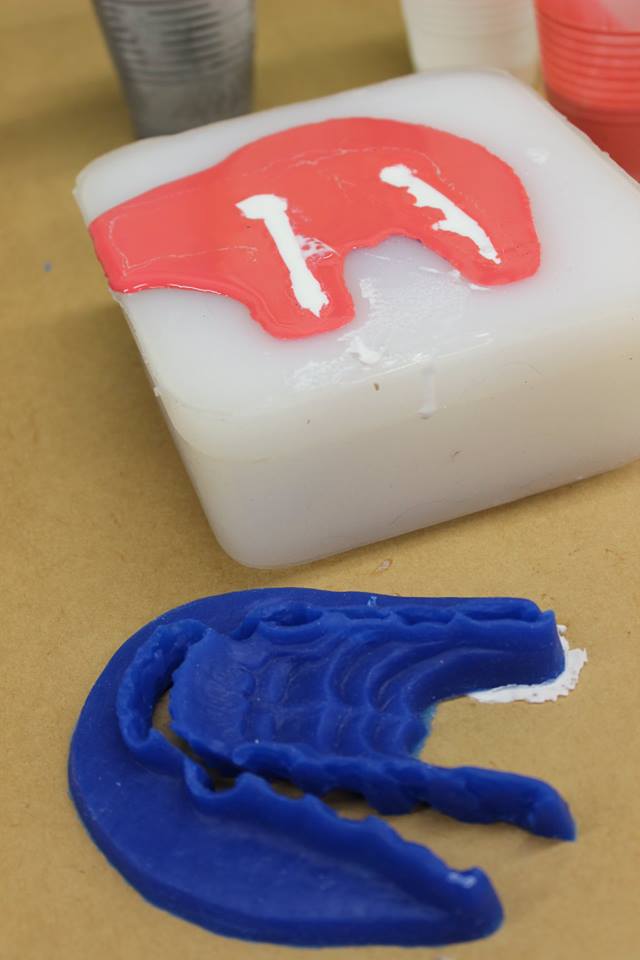
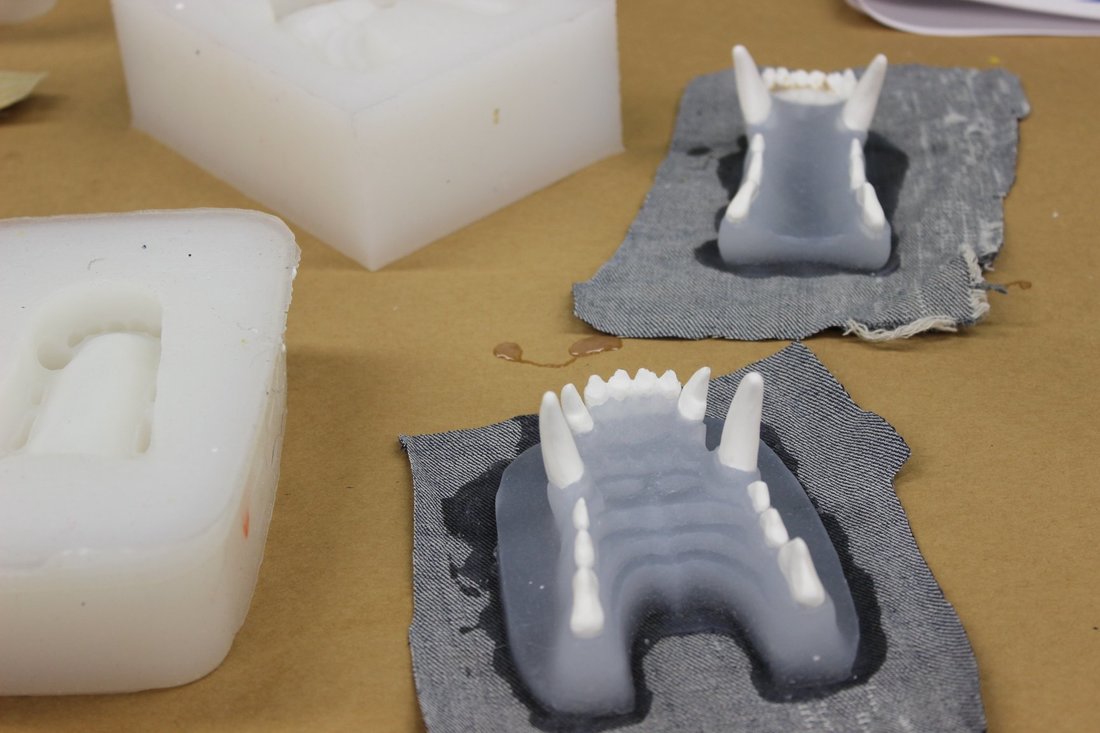
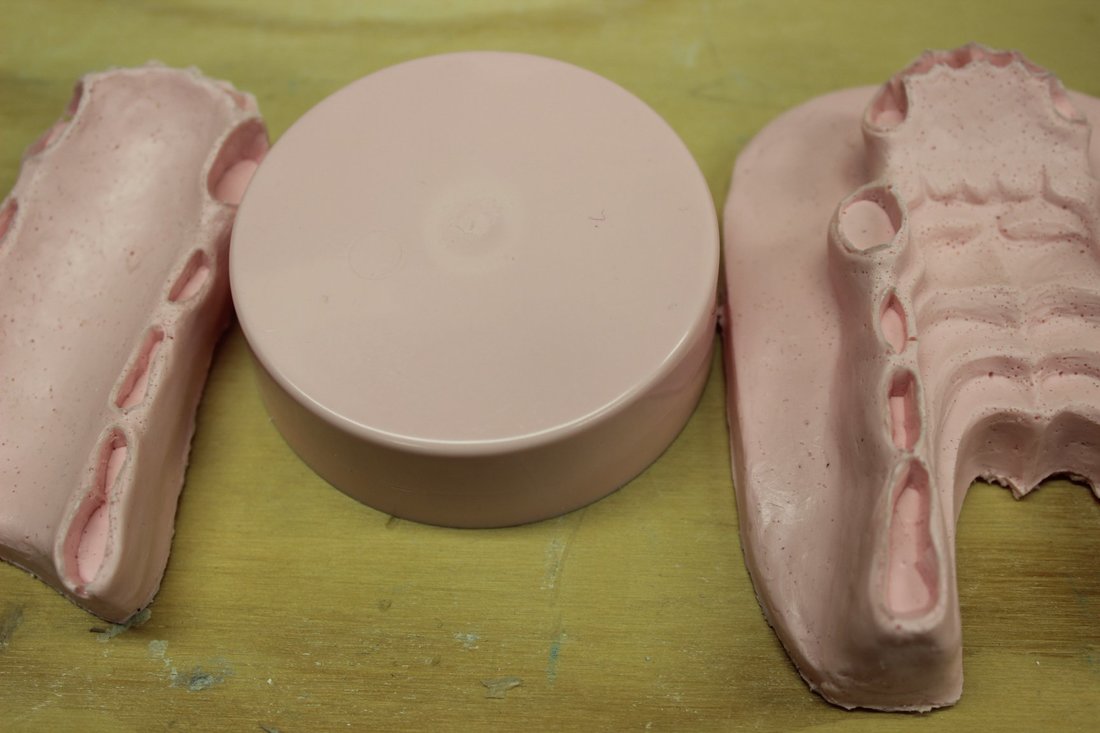
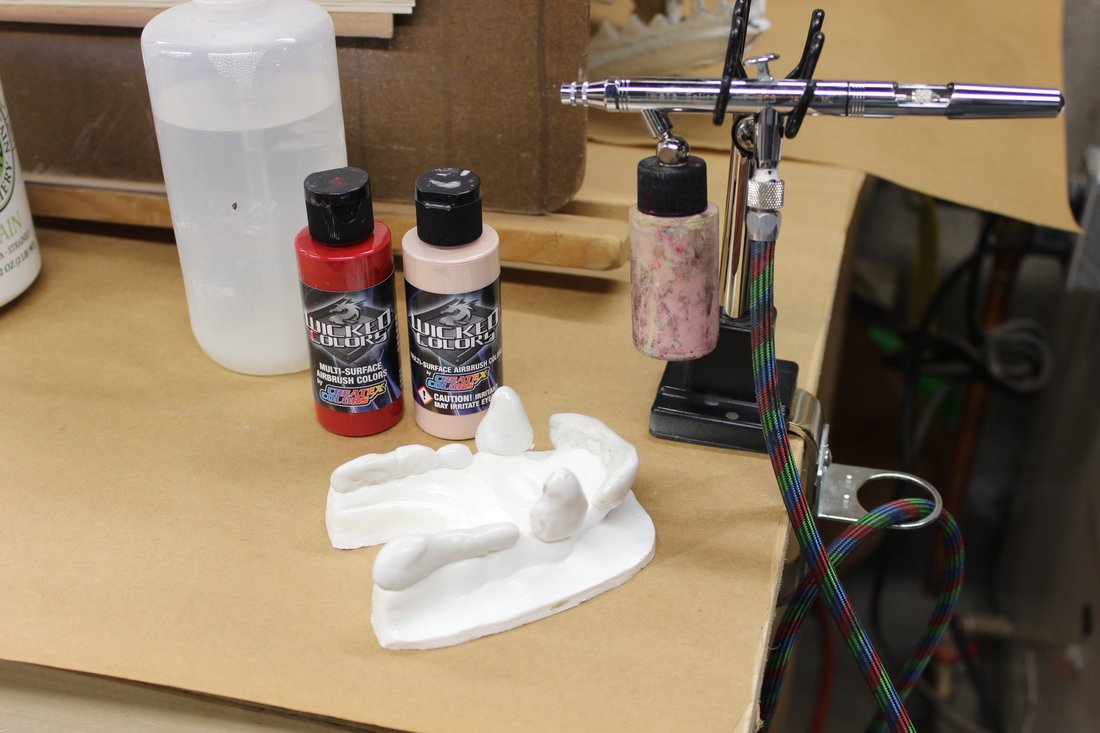
Looking over my photos on my Facebook page I realized I had wanted to do a post about making lips for my masks but forgot! So here goes! The snaky looking thing in the long moldbox on the right hand side of this pic is my first attempt at a lip for my resin wolf head. I sculpted it pretty straight because that's how I had seen other lips sculpted online. Silly me. |
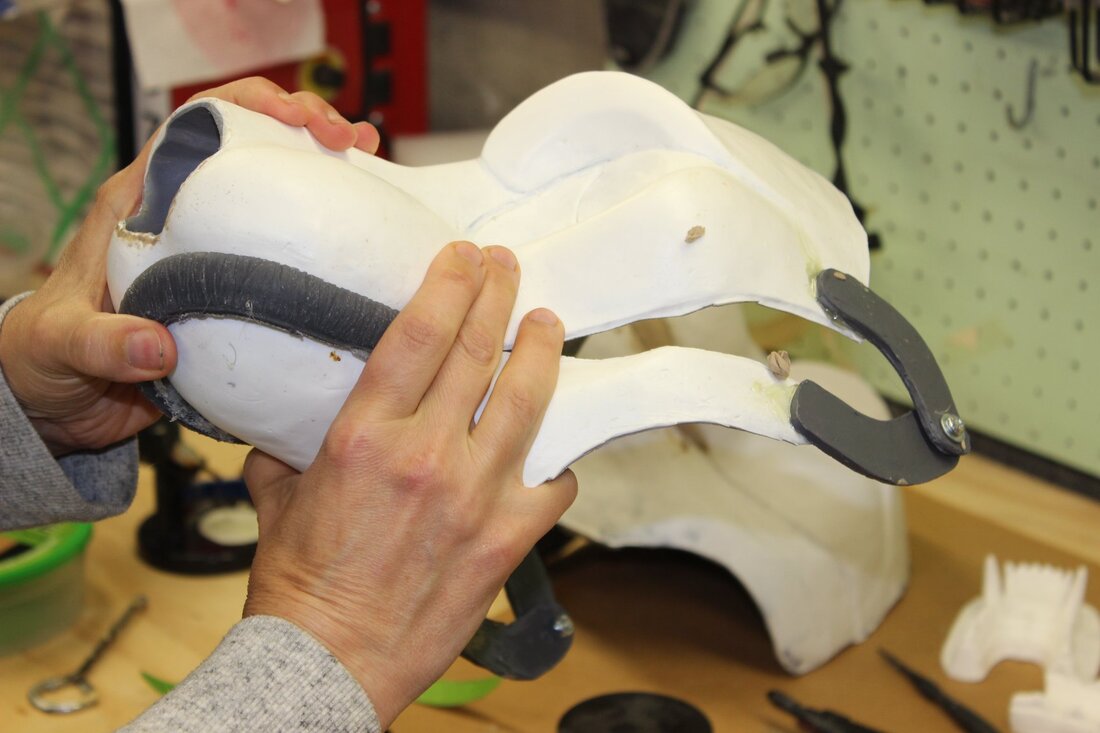
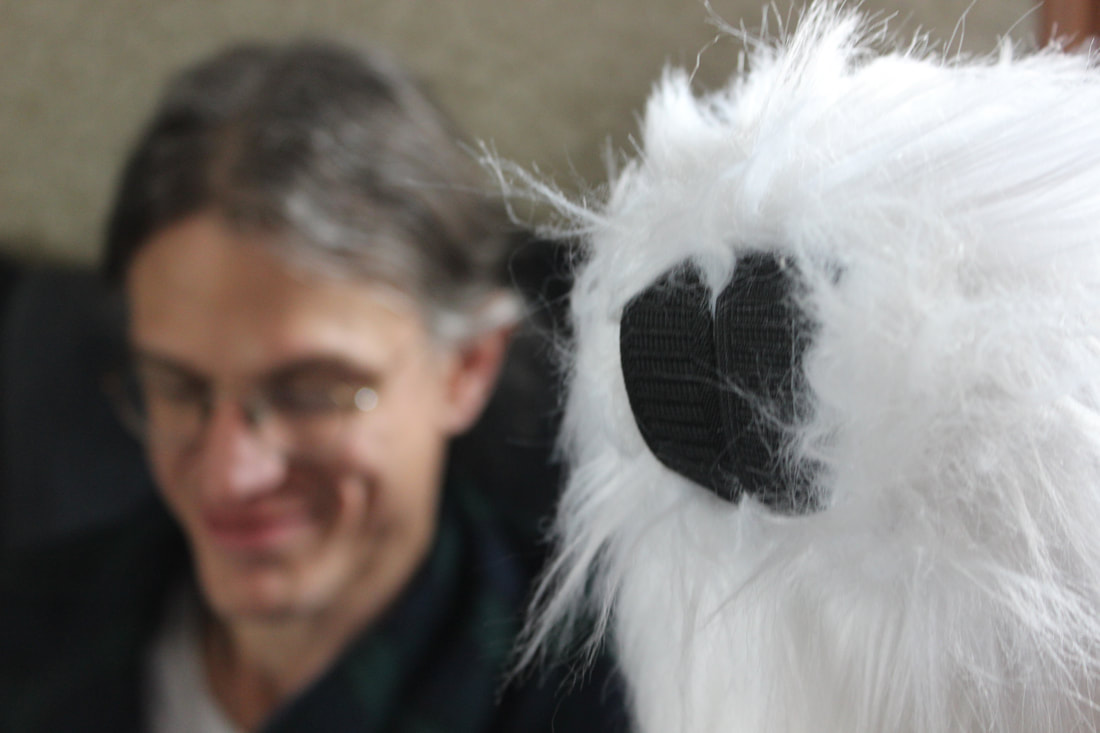
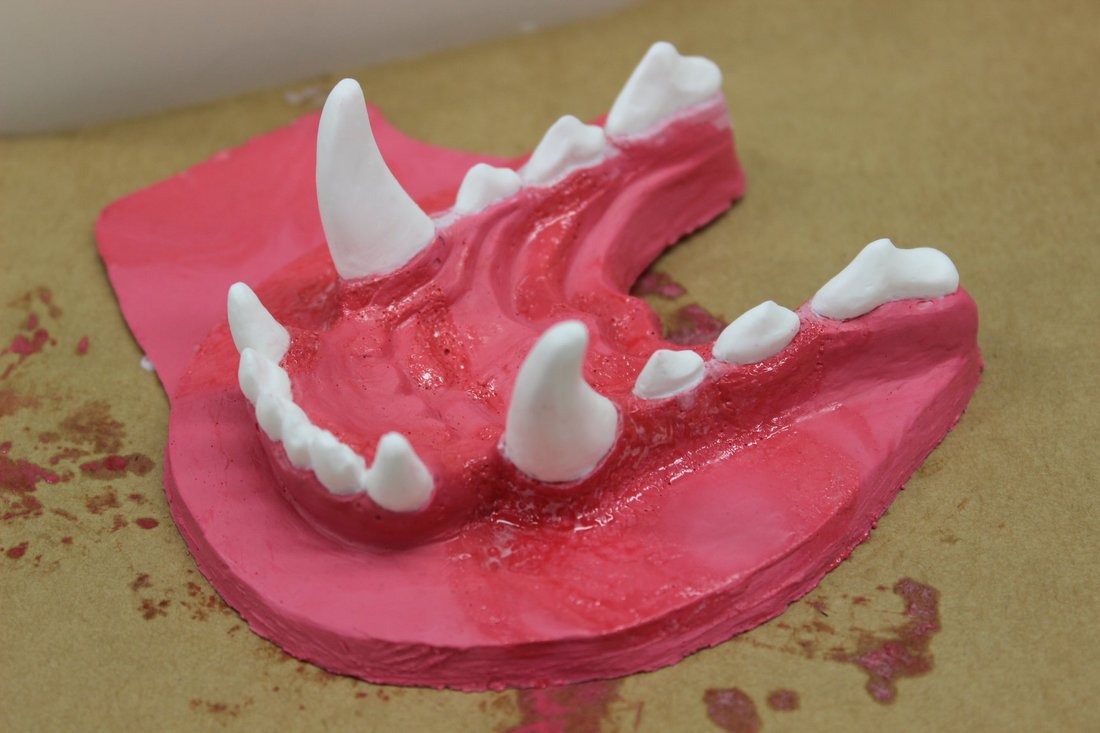
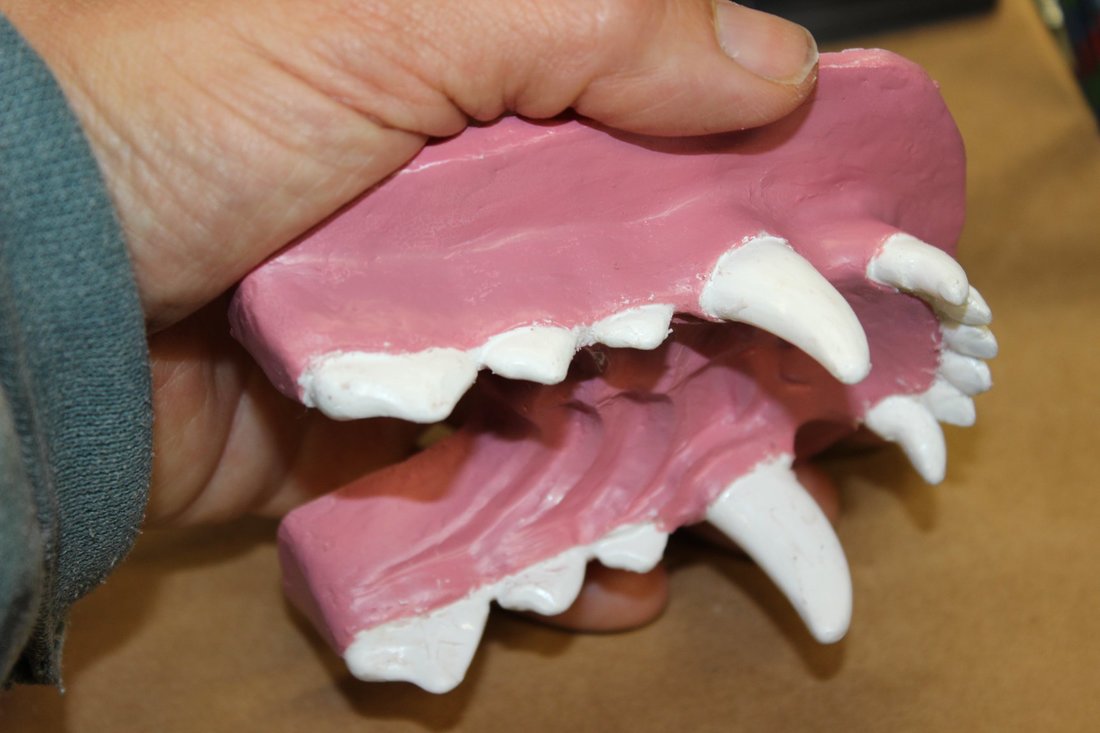
Above, trying to fit a silicone cast of this straight lip on my mask. You can see how it gaps underneath, between the lower edge of the lip and the jaw. No good. 
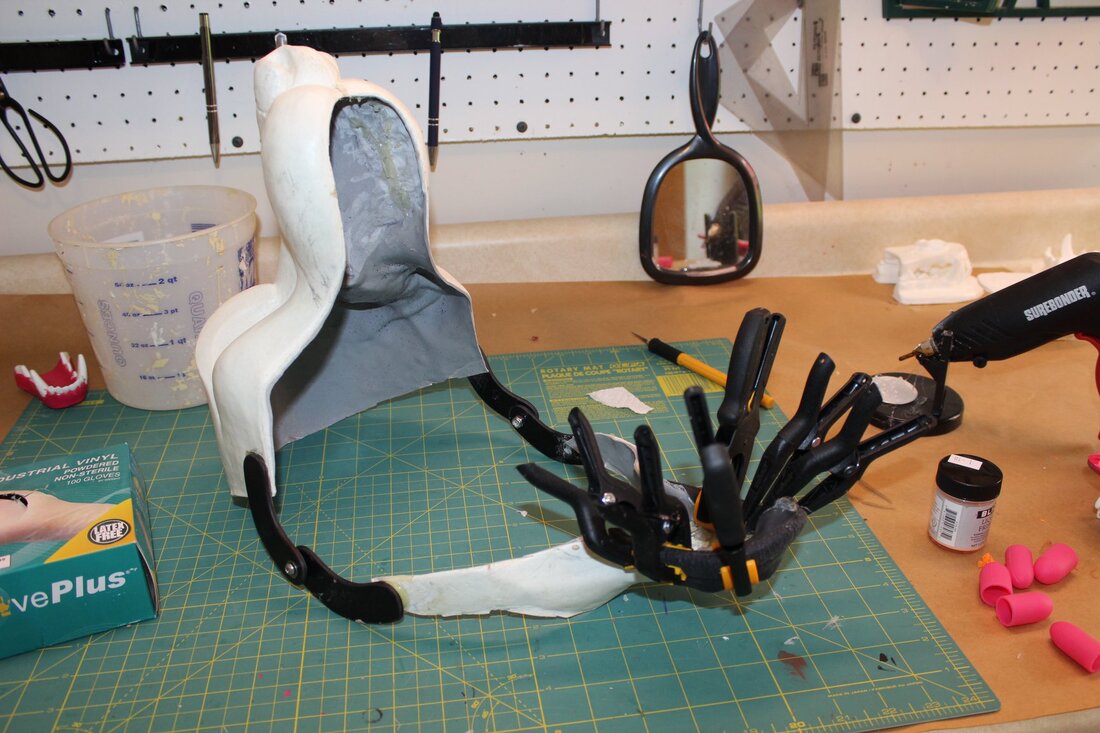
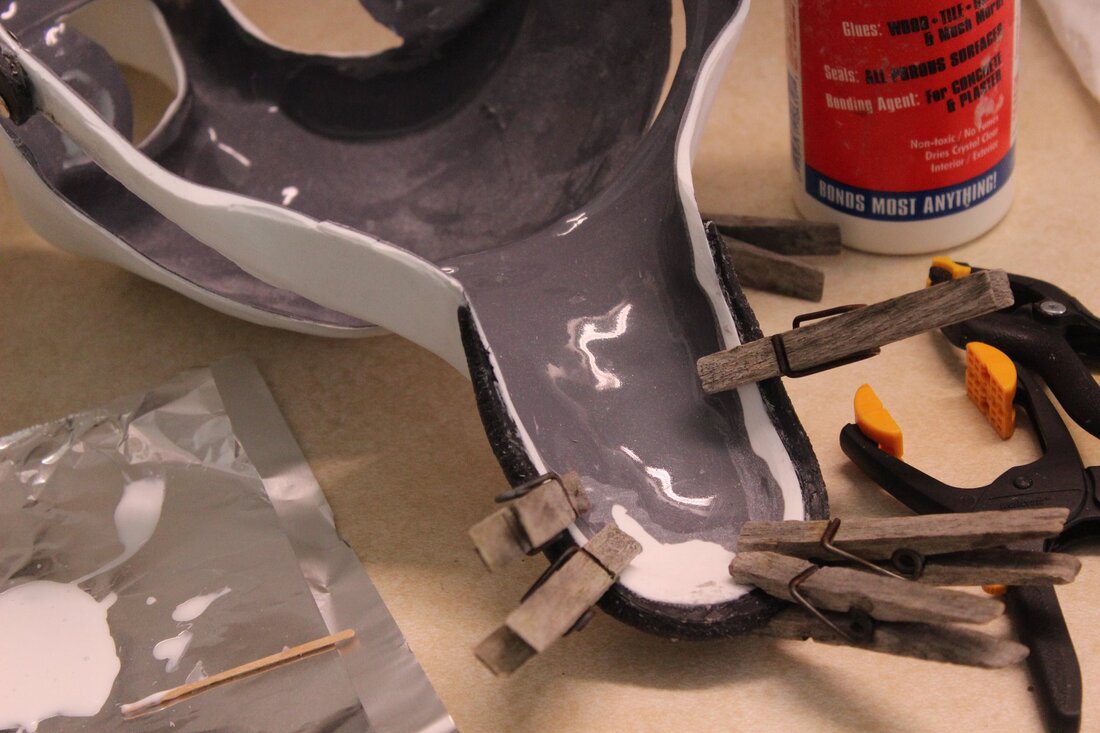
Above, trying to glue the new lip on. I think that pile of clamps might be trying to tell me something.... 
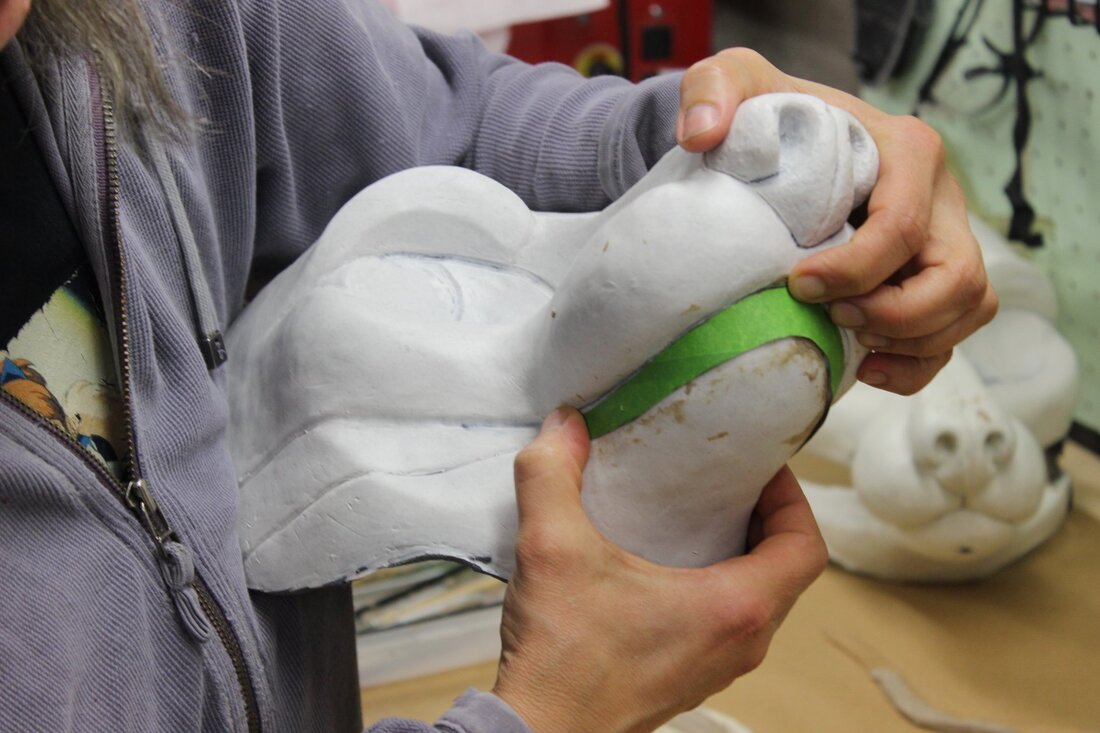
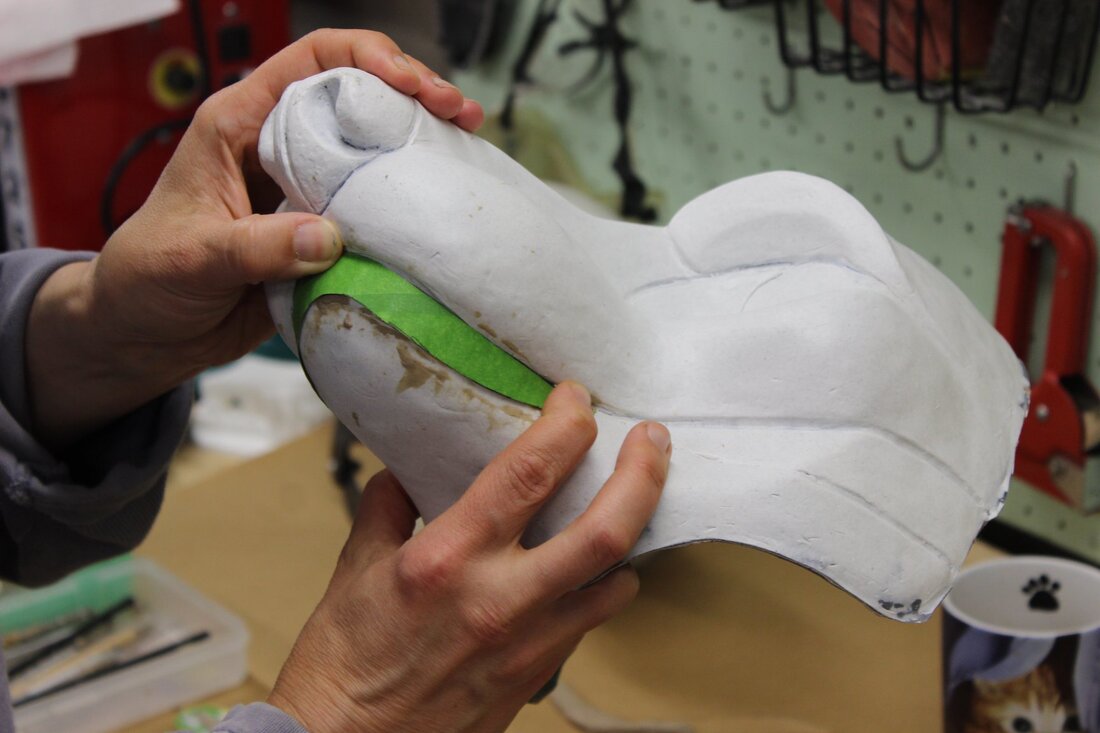
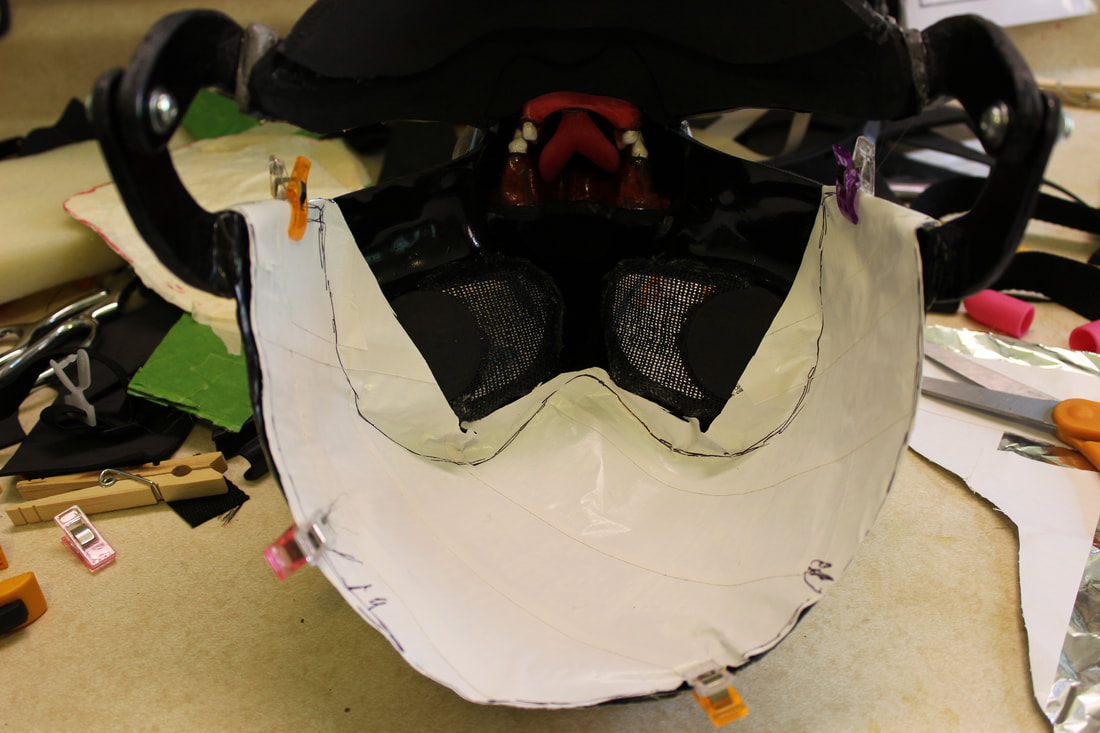
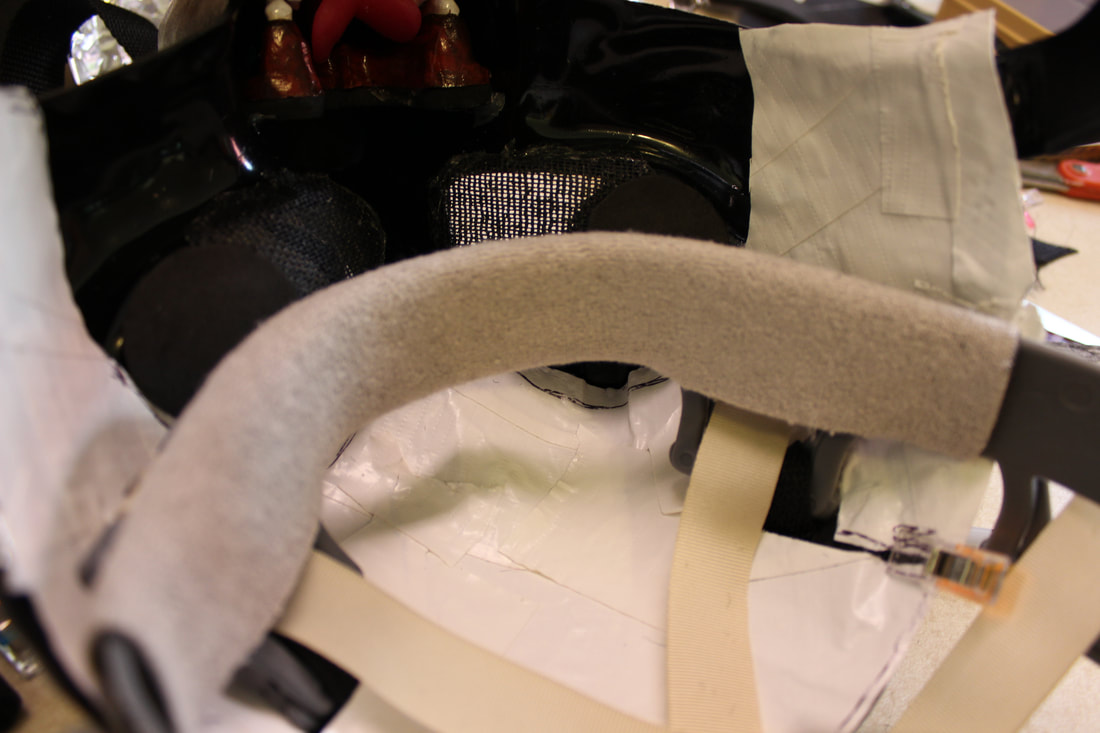
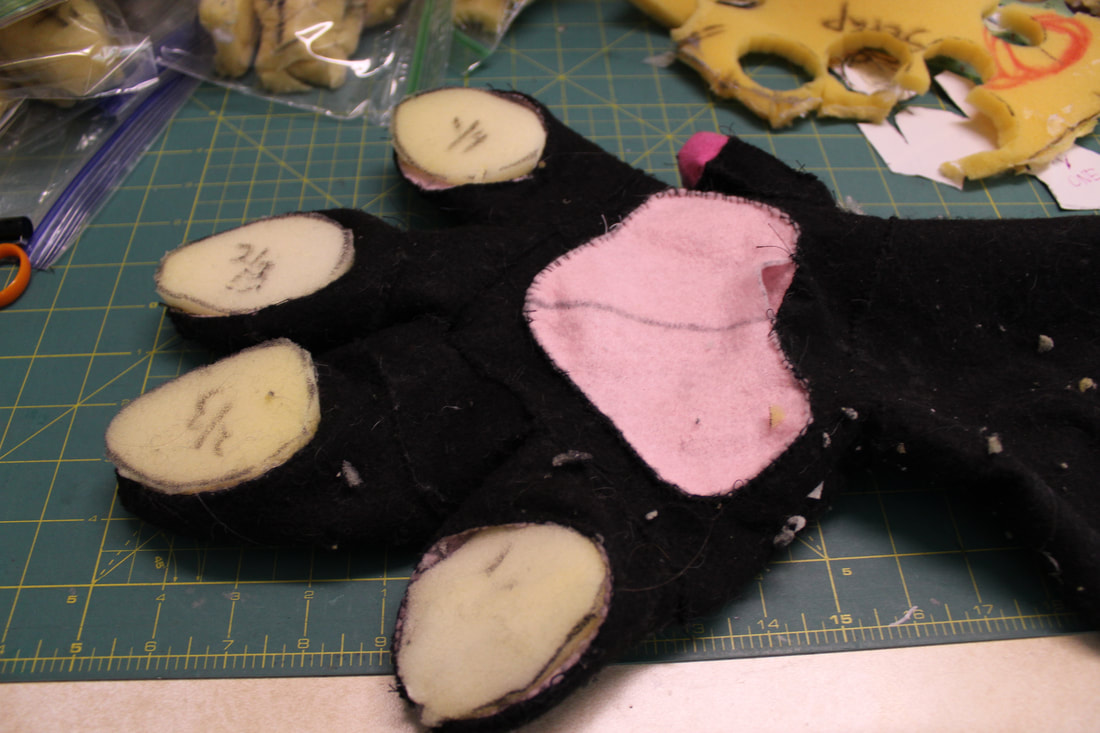
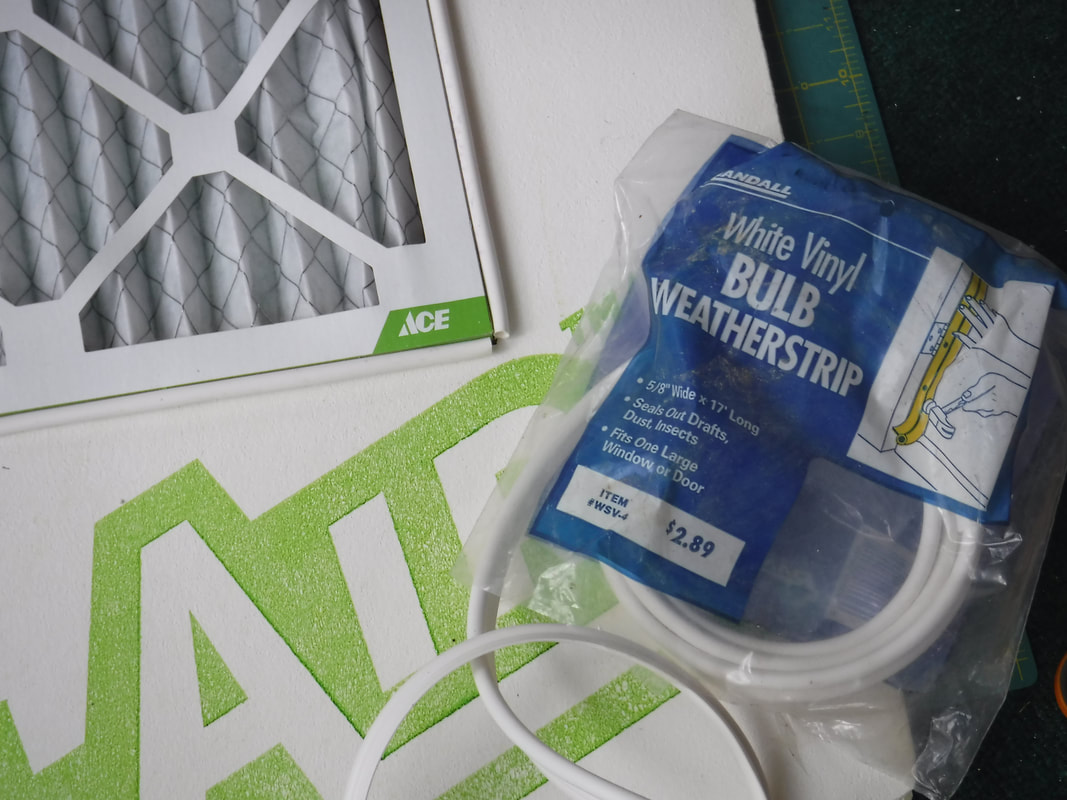
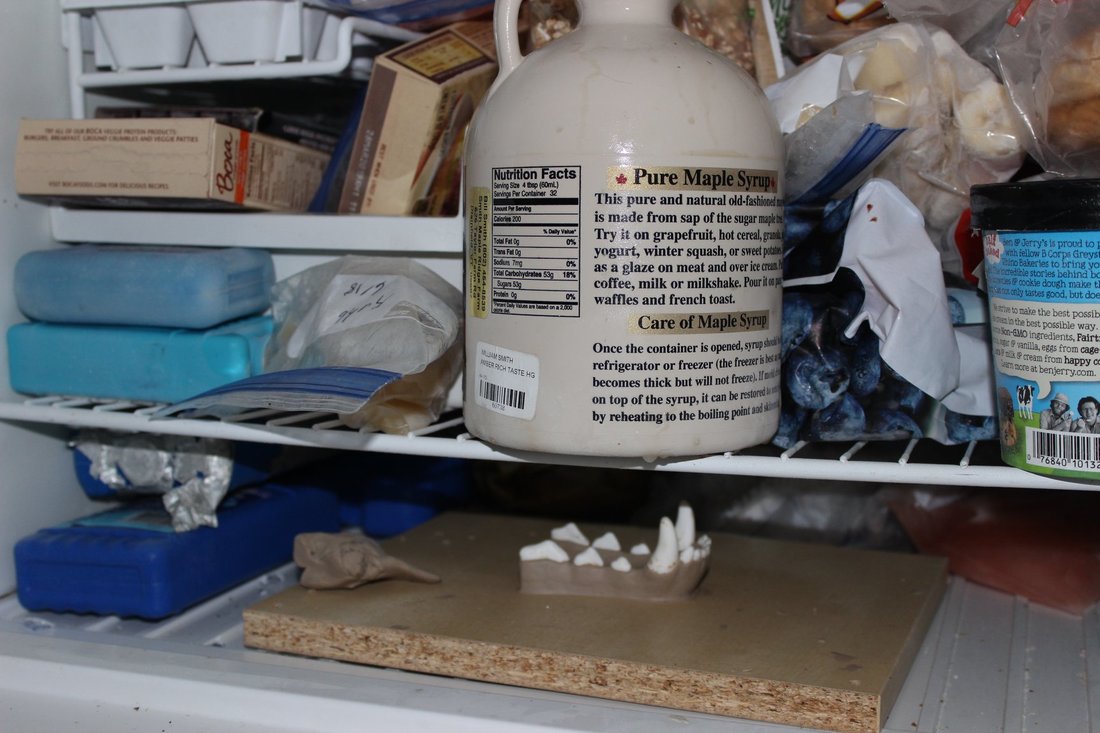
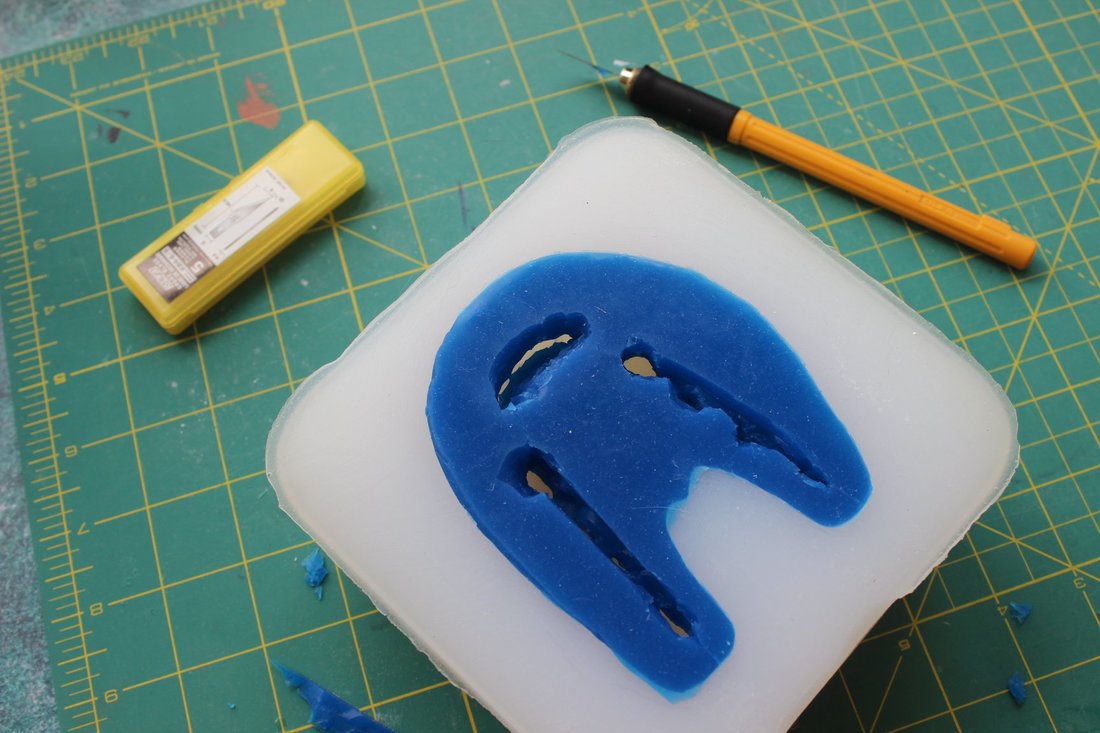
Making a pattern for a more fitted lip. The green thing above is Frog Tape stuck to aluminum foil. I pressed a piece around the lower jaw, sketched the shape of the lip on it, and cut it out. I then made it symmetrical by folding it in half in the middle and trimming it so the two sides would match. Then I tried out the new shape back on the head (above), trimming and fiddling until I was happy with it. 
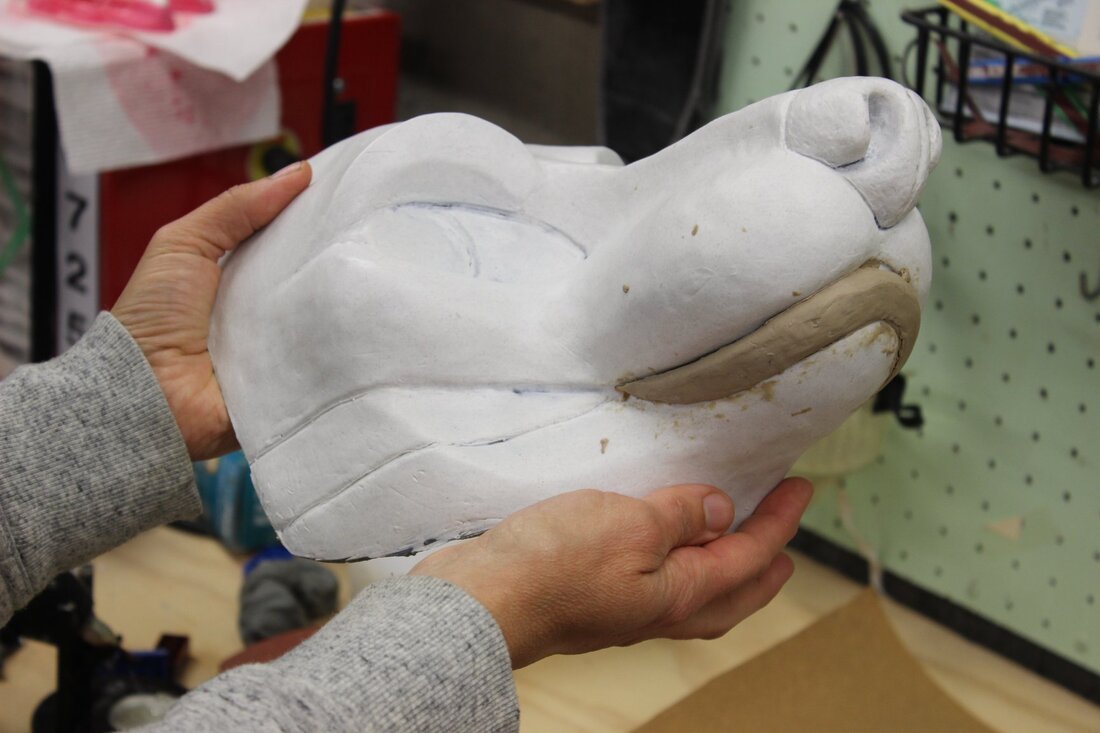
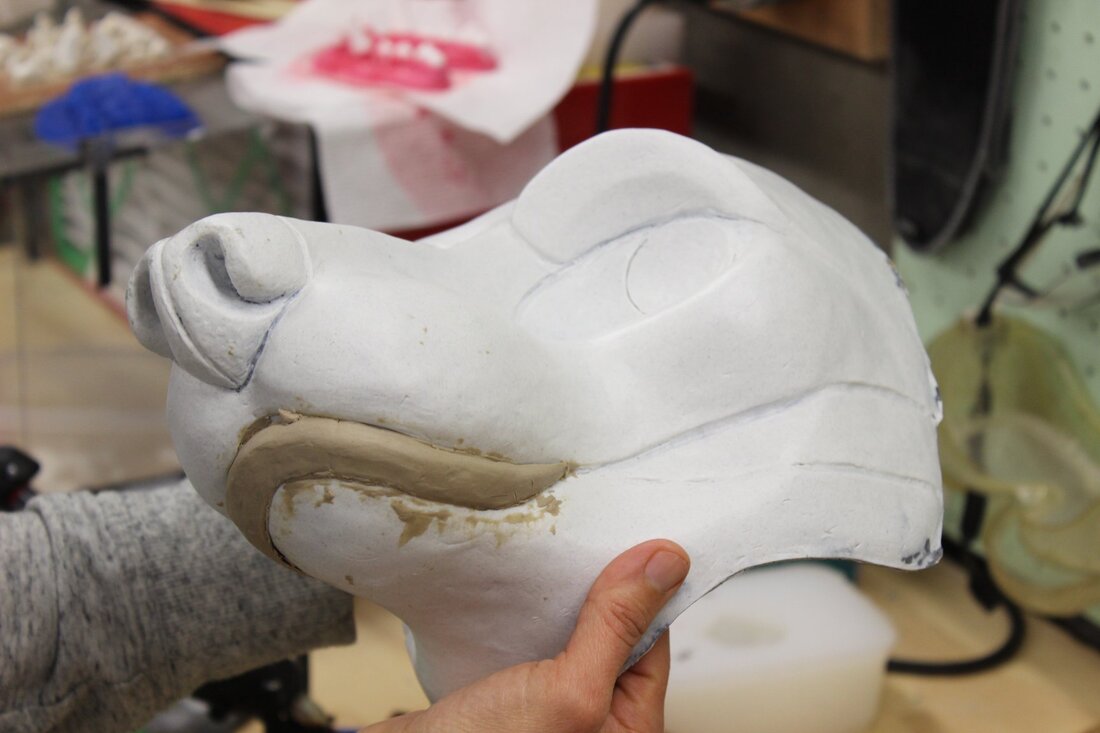
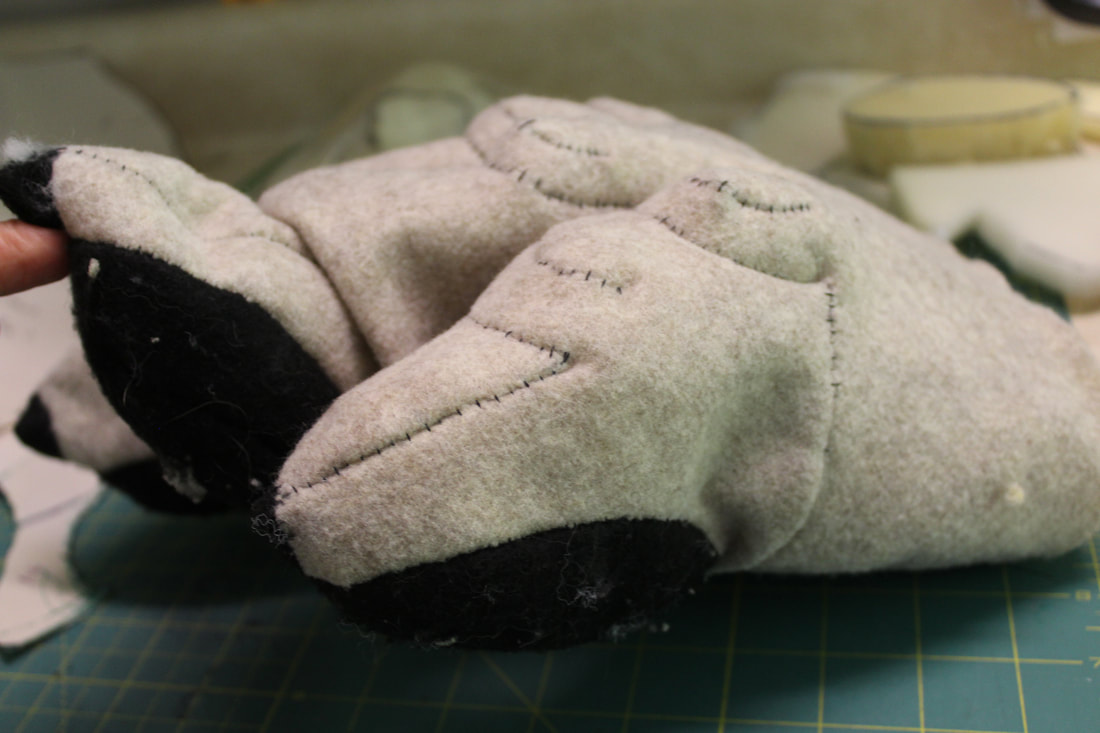
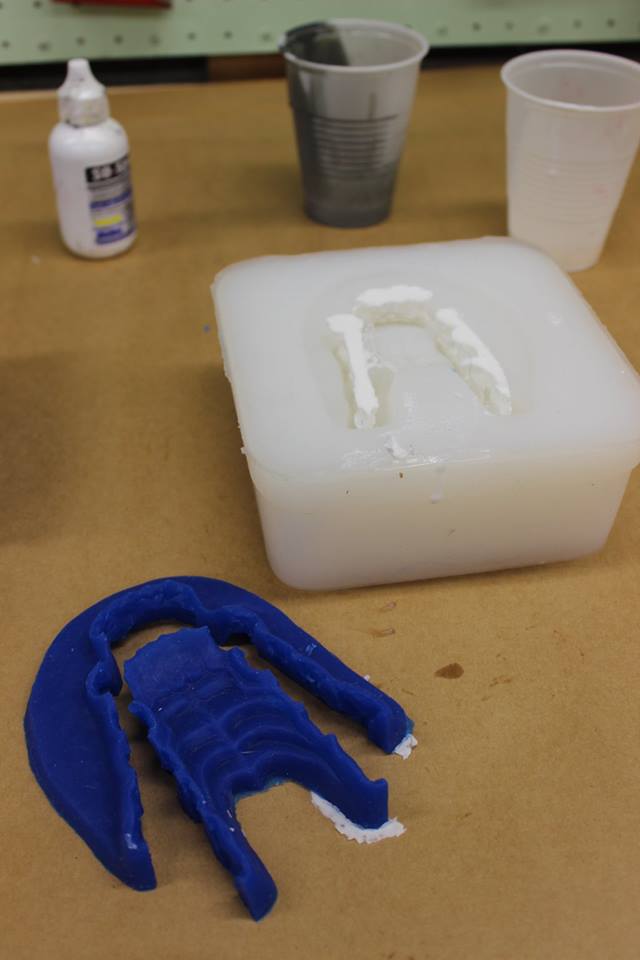
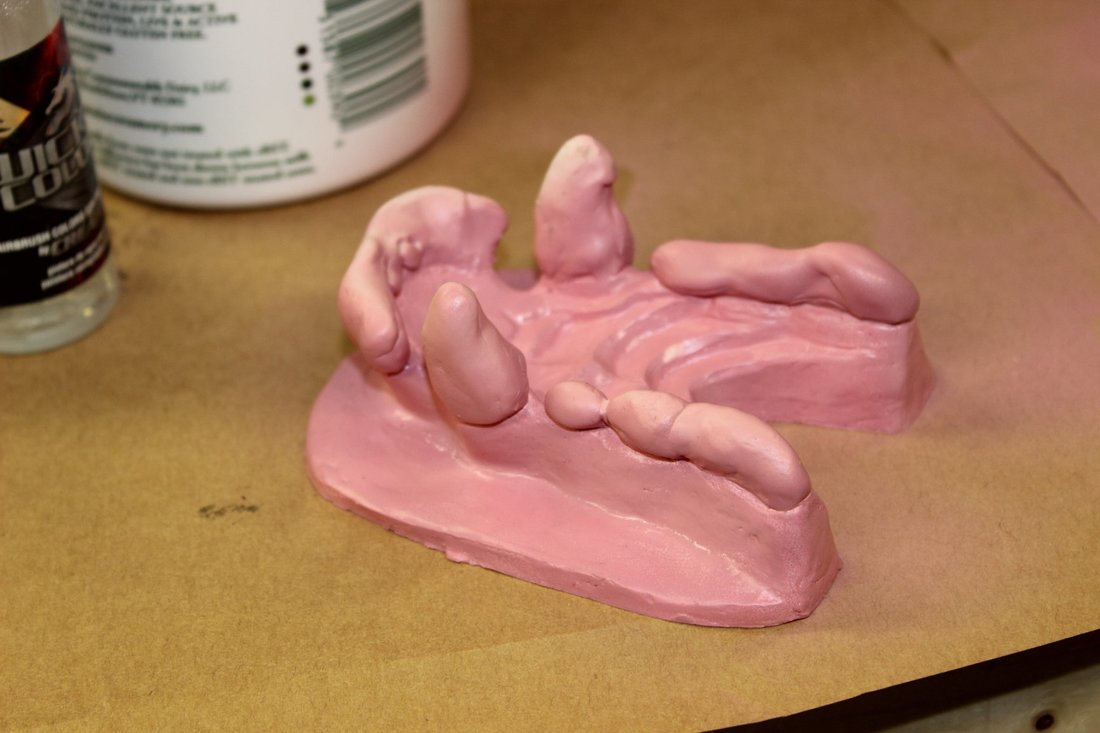
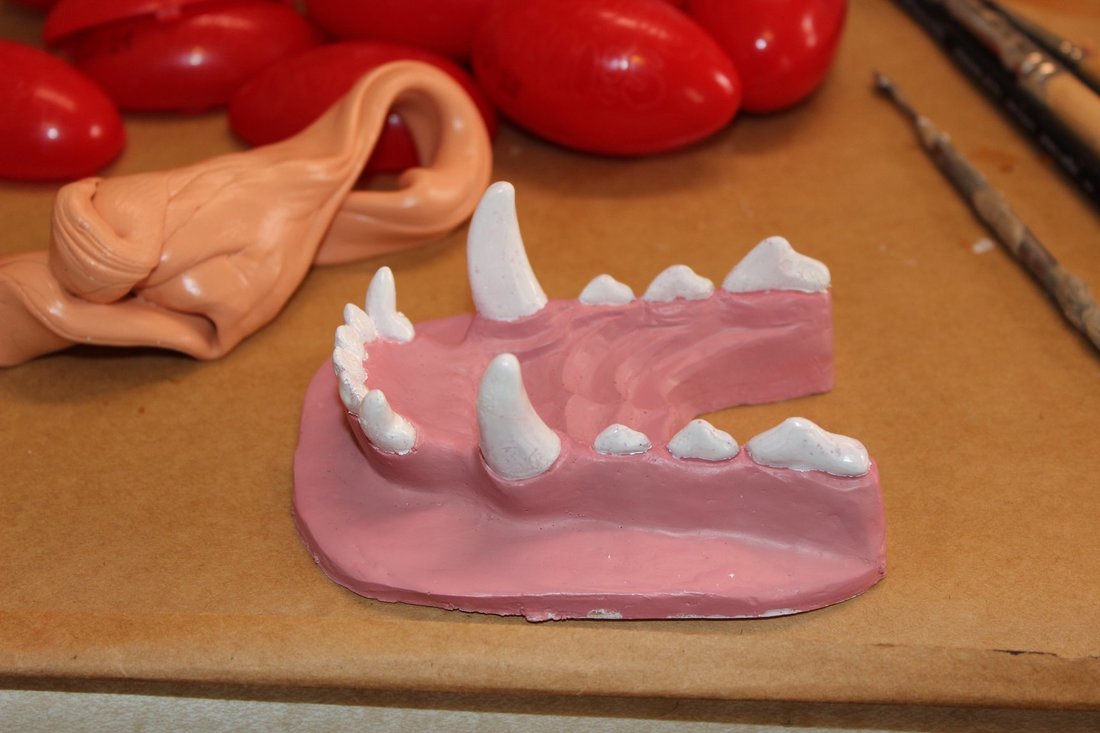
Here I've built the lip up in Monster Clay. It's built right on top of the pattern thingy, stuck on around the edges with a little more Monster Clay, so I can fairly easily remove and reapply the lip to the mask or adjustments as needed. 
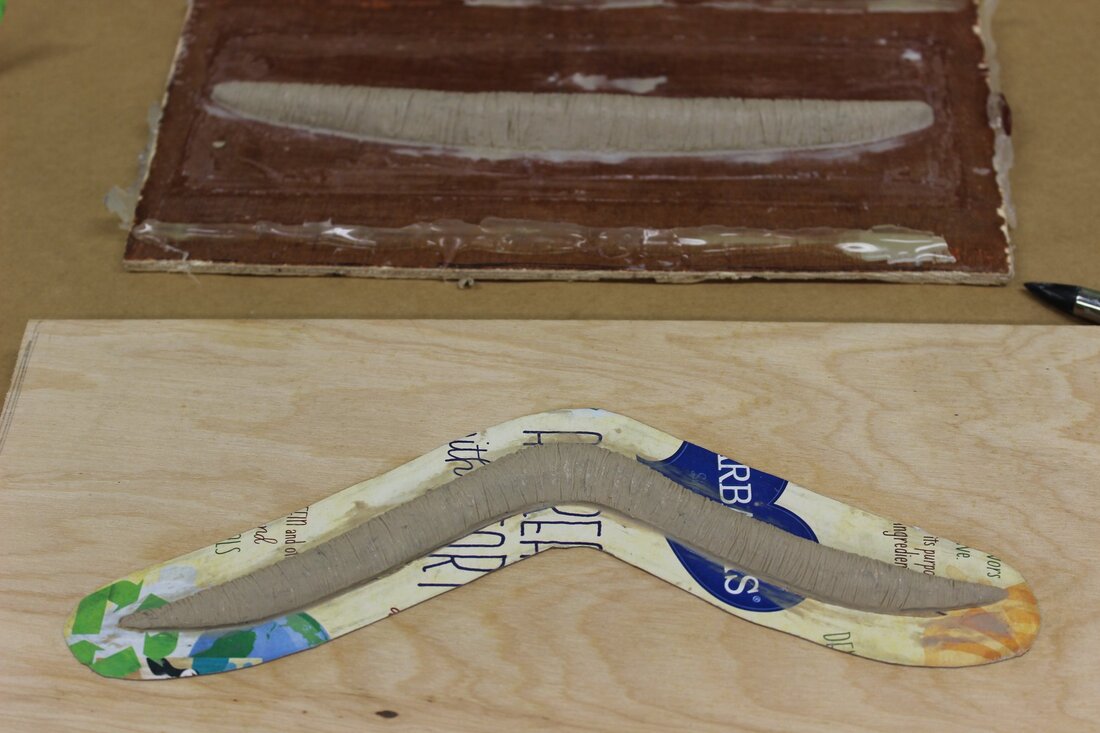
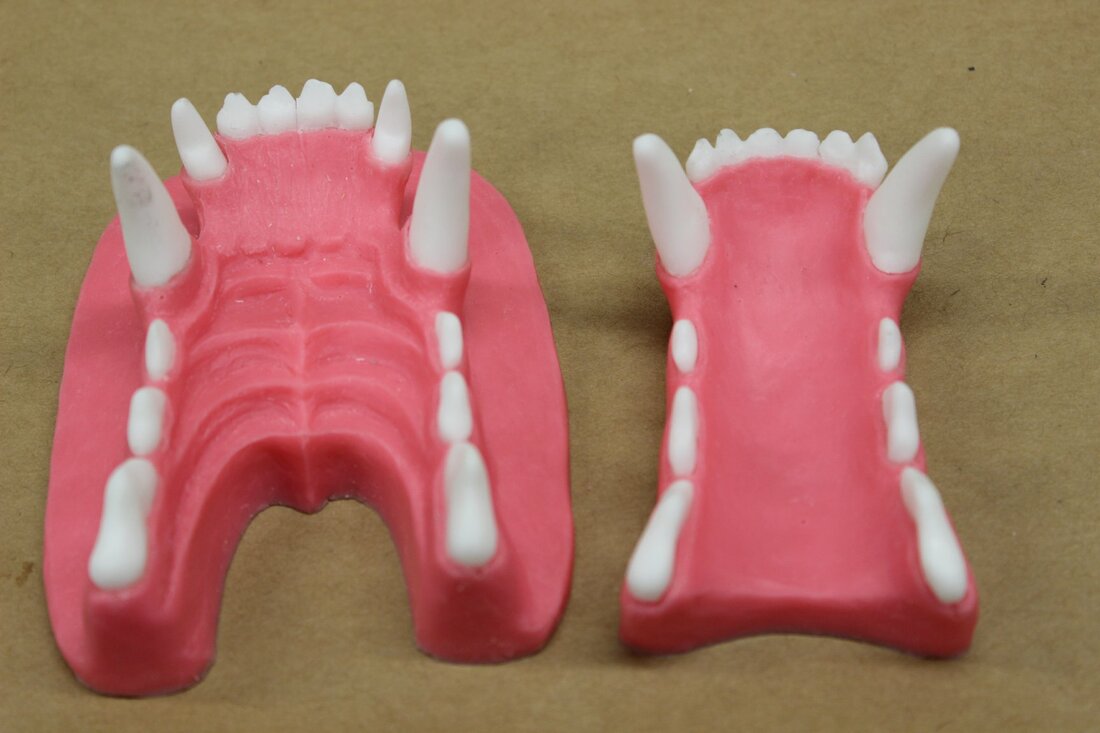
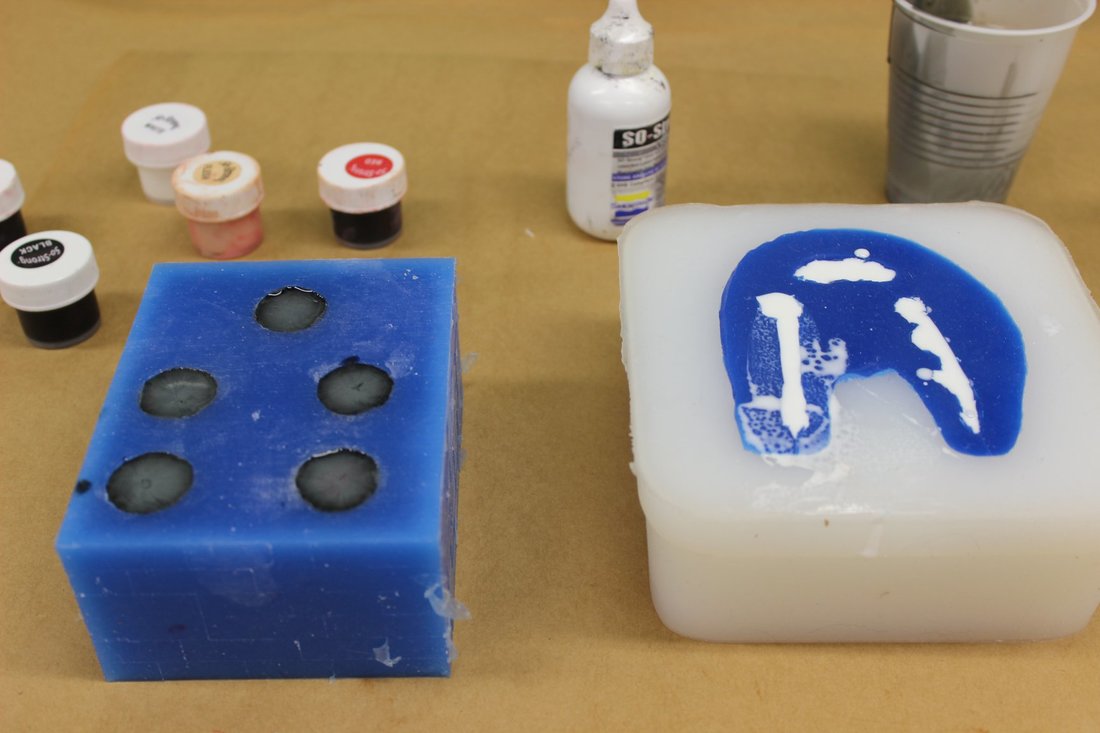
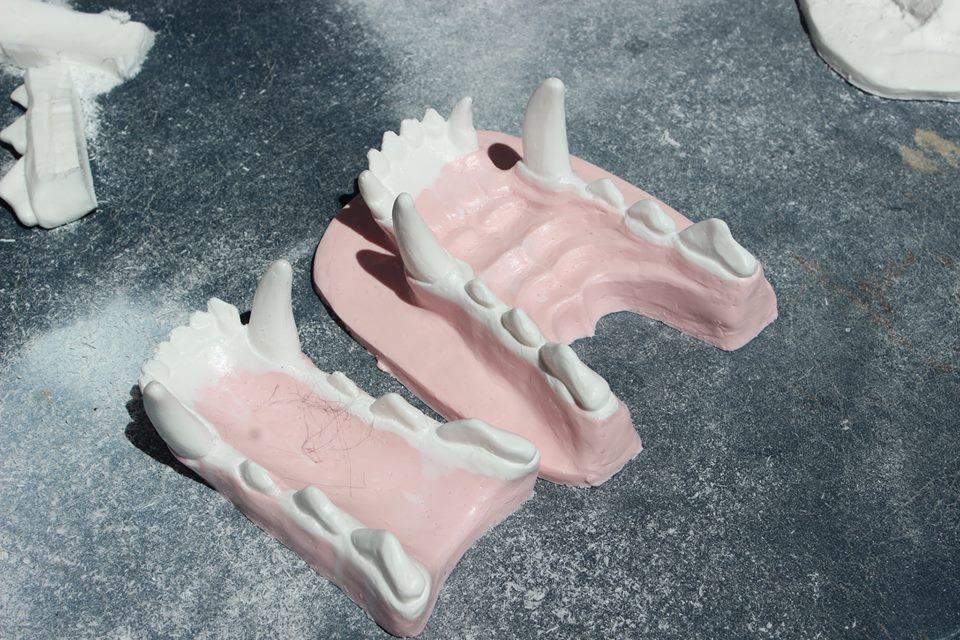
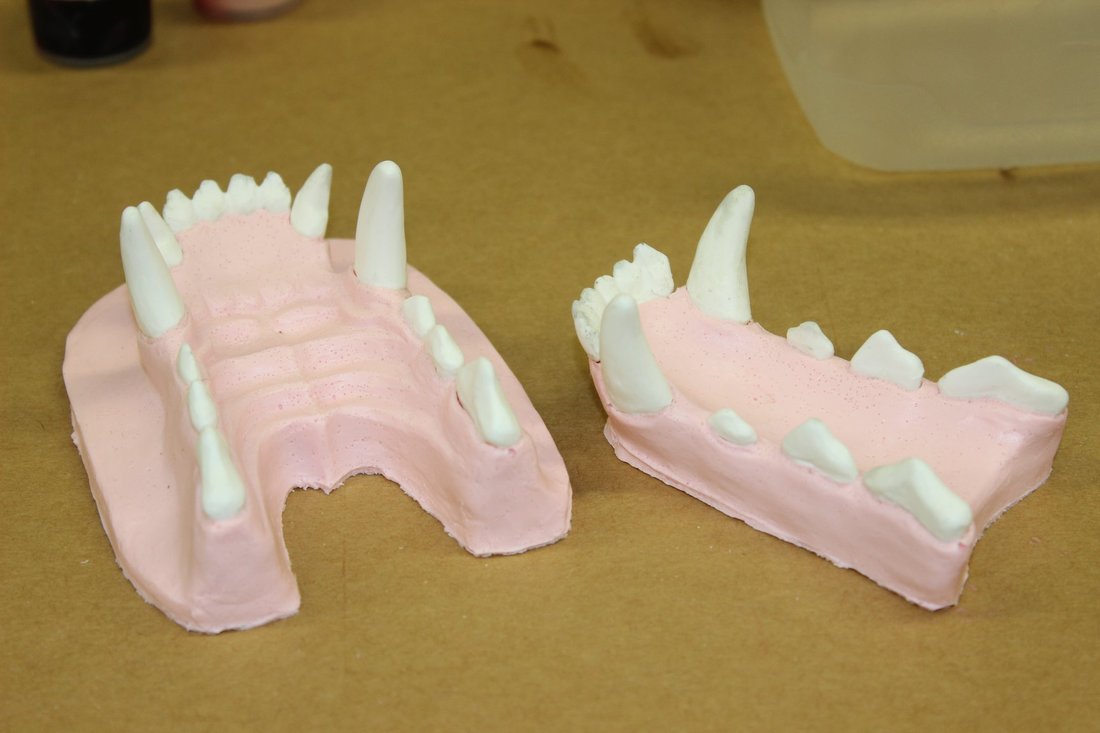
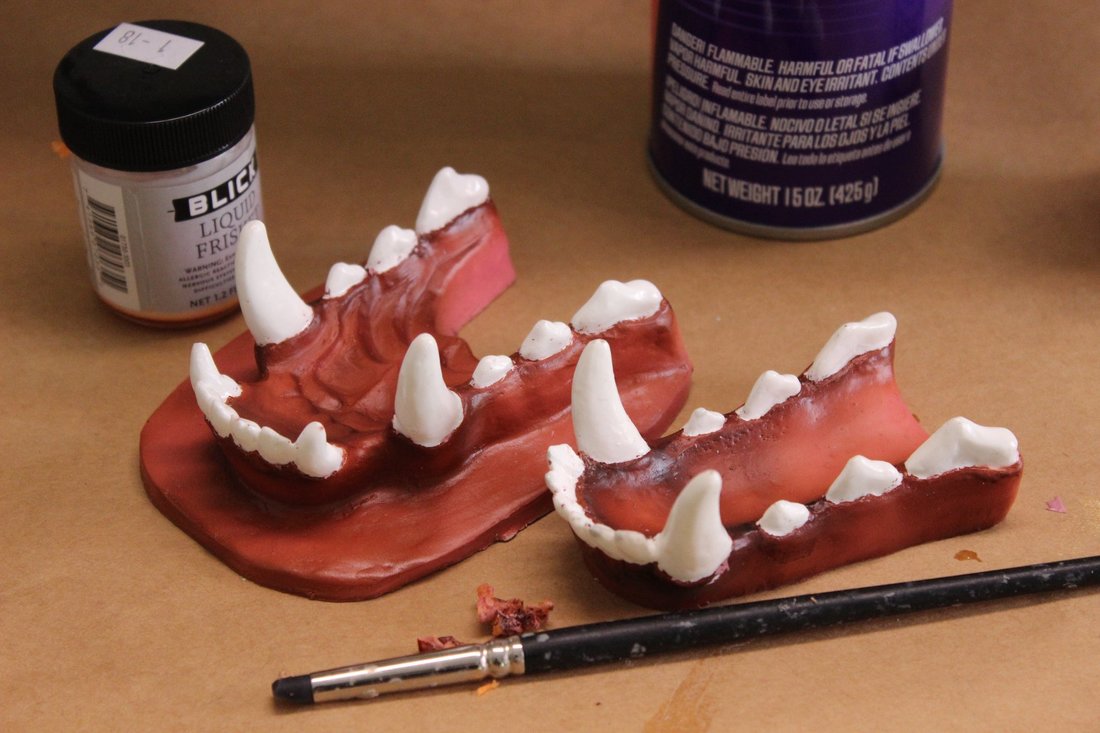
Above, the two clay lips next to each other for comparison. The new lip is on the bottom. Very different shapes. 
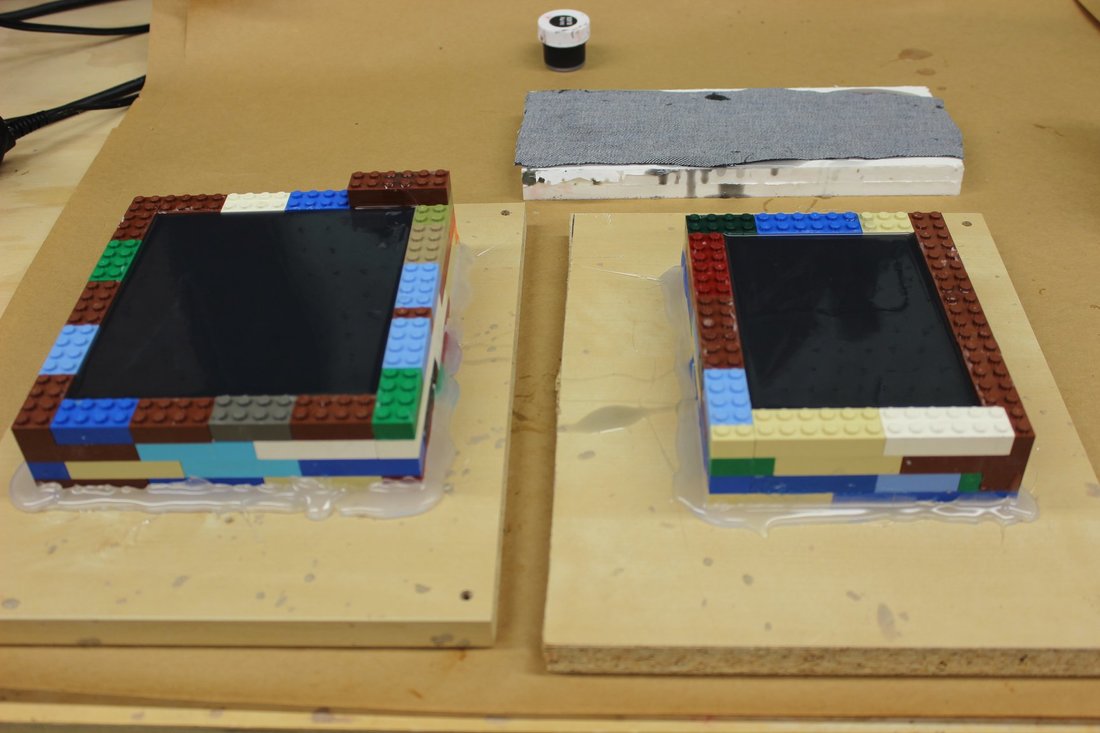
Gluing silicone casts of the new lip in place. Not so many clamps needed this time! (The rubber bands here are actually serving as clamps here too.) I tried using Weldbond instead of hot glue, as Weldbond is theoretically stronger and doesn't leave those lumpy ridges when it dries. Weldbond takes about 24 hours to fully cure, hence the clamps. It did a good job, but I'm not sure it does enough of a better job to justify the long wait time. 
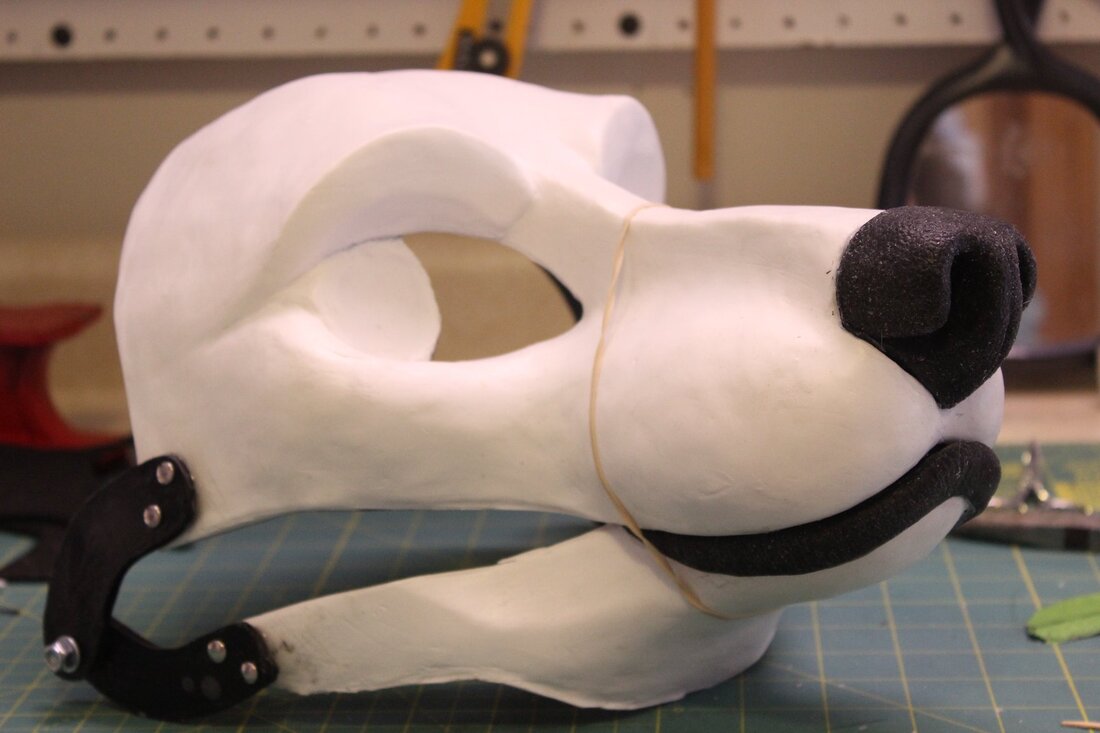
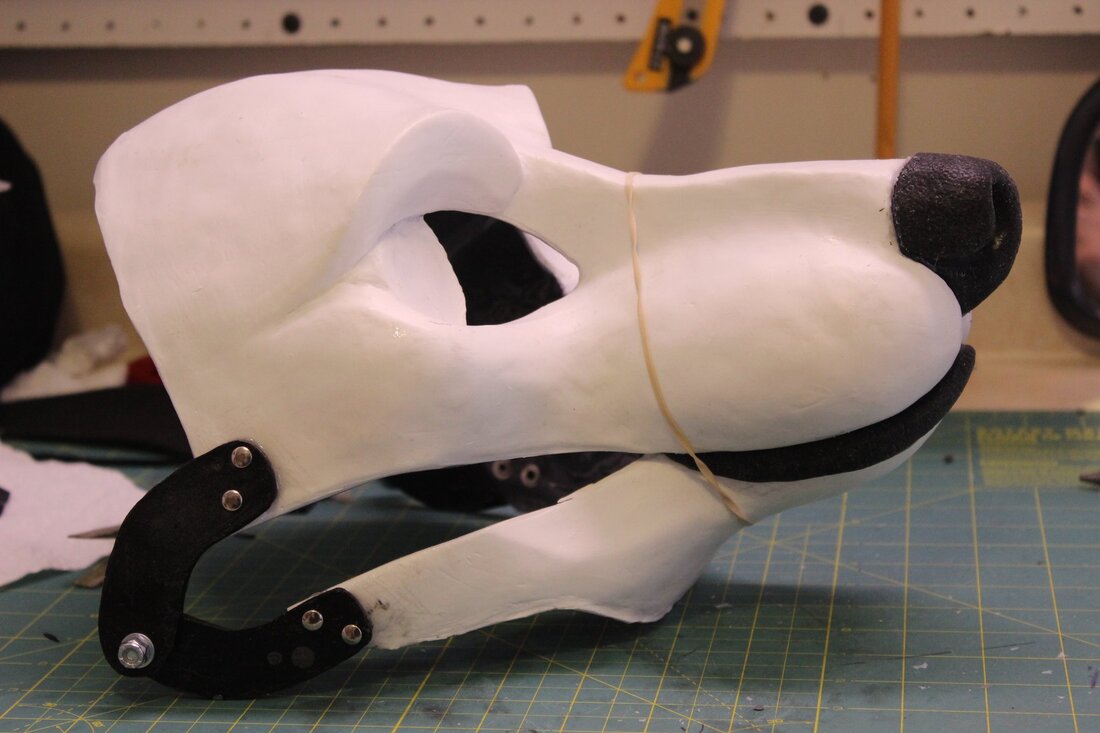
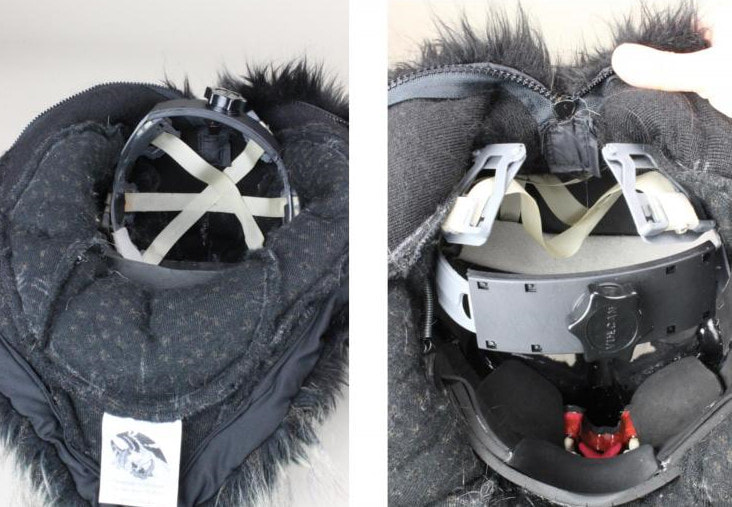
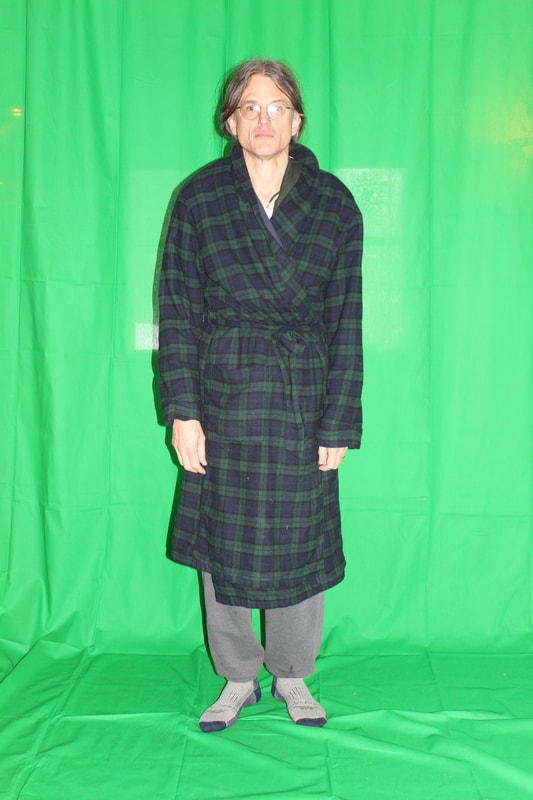
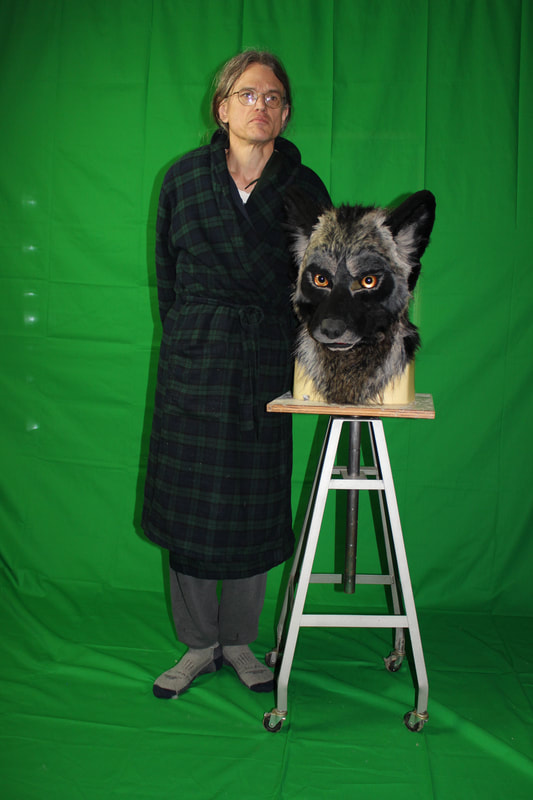
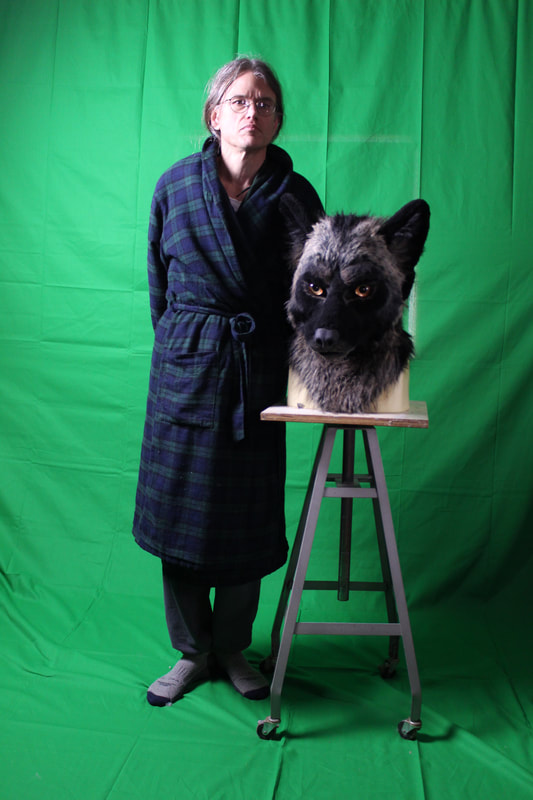
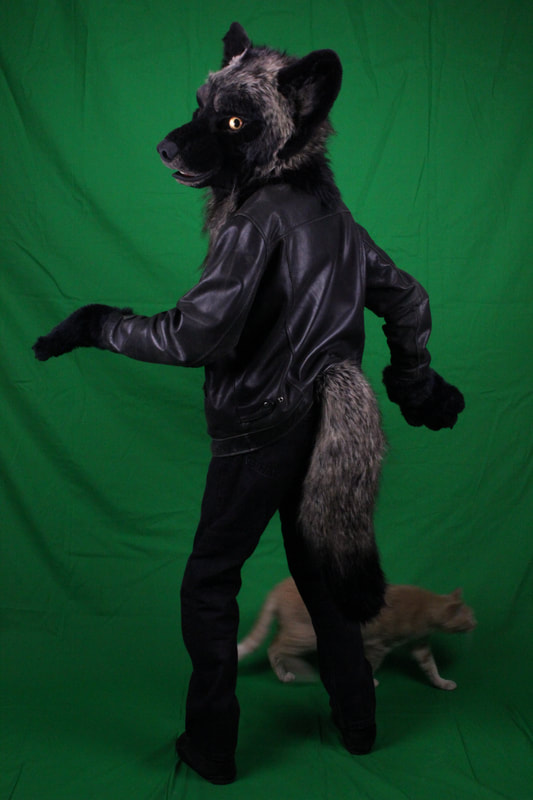
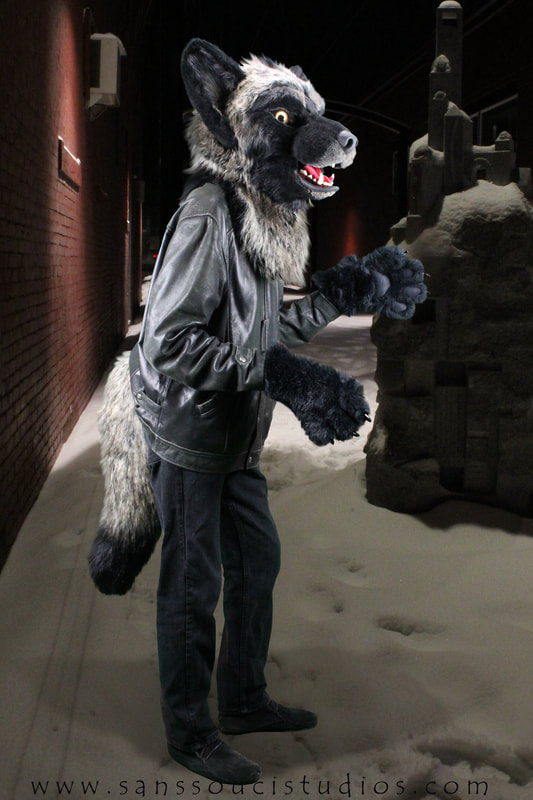
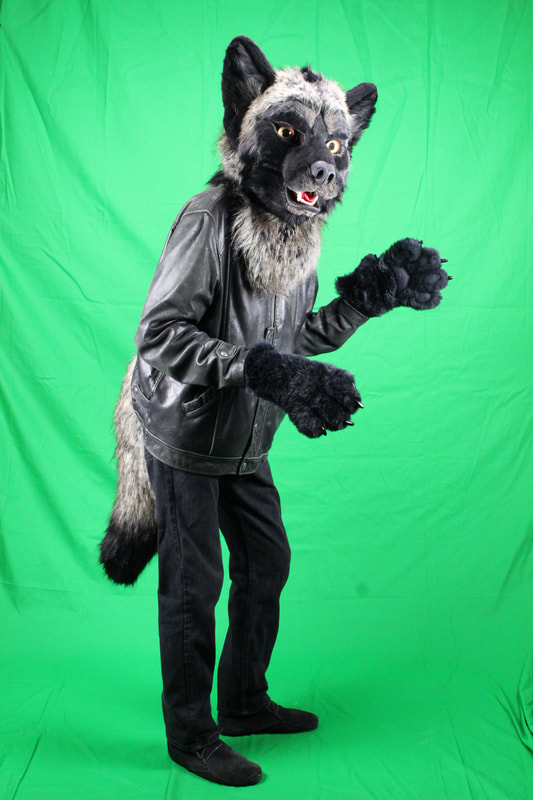
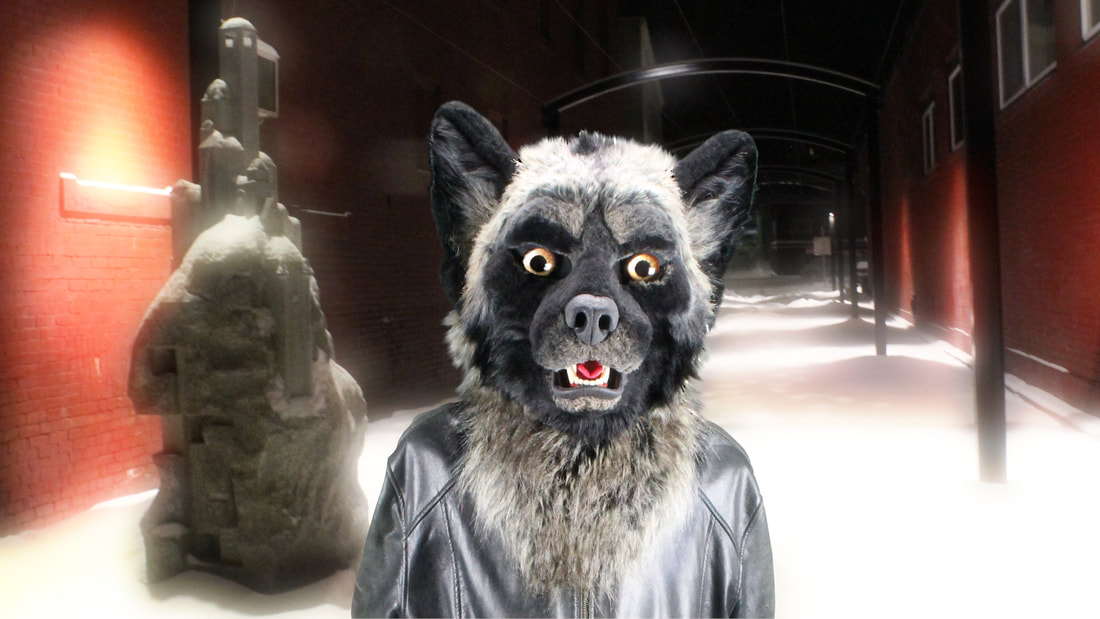
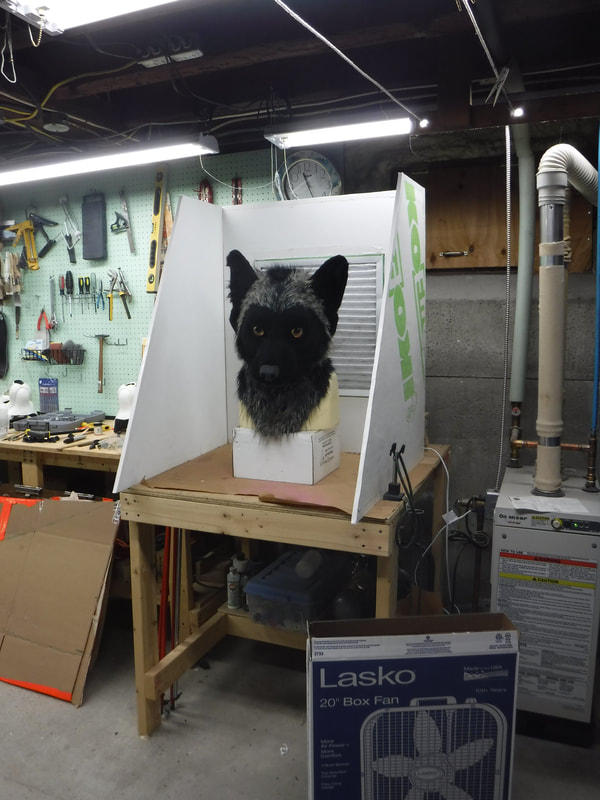
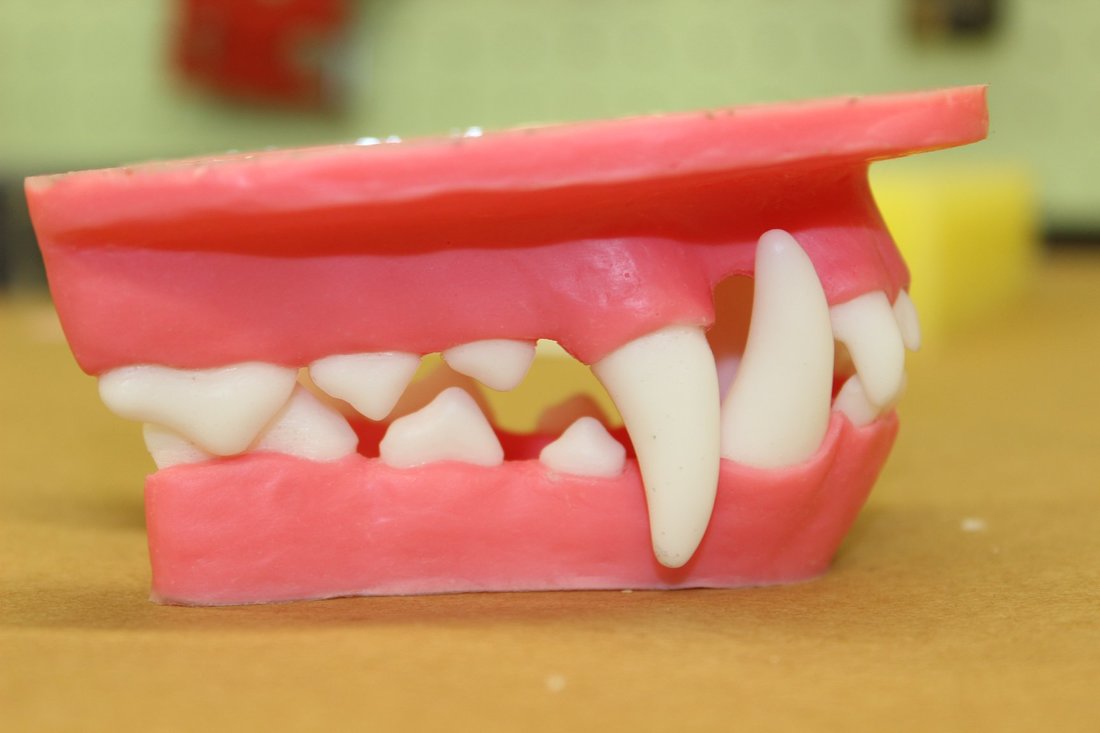
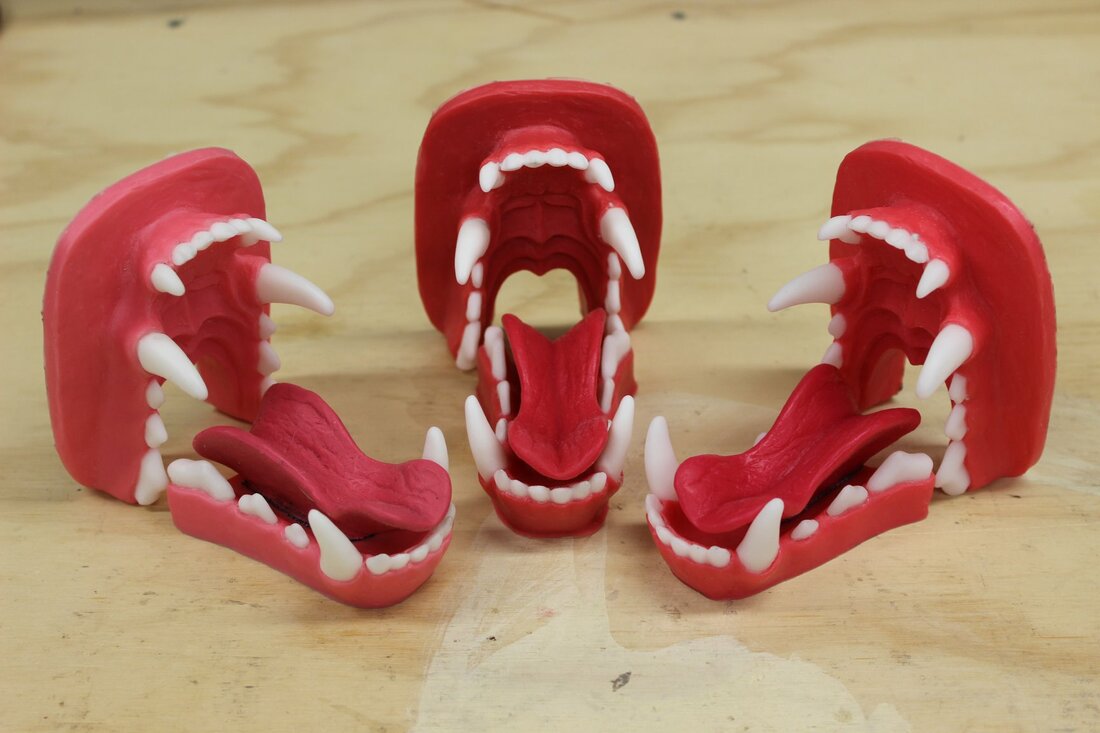
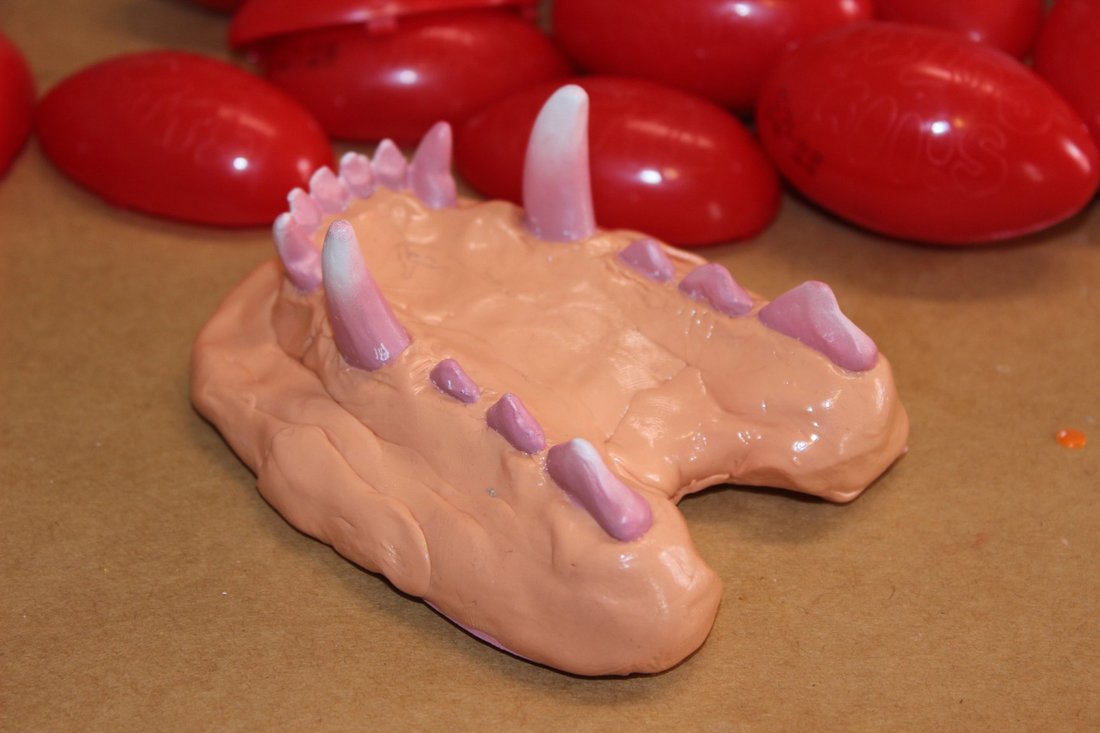
And, the new lips freshly installed. Wheee!!
0 Comments
Above, two straps made by cutting webbing (not elastic, we don't want these guys to stretch!) to about 12” lengths, feeding them through the two front clips, folding them in half and gluing the halves to one another. No glue on the clips, they need to be able to rotate on the straps. The suspension will be (well) suspended from these straps inside the head, allowing it to move and conform to the wearer's head. Now, to make the "slots". The short story is, these two new straps will be glued between two layers of foam inside the head. I imagine the straps could also be riveted inside, or perhaps just glued to the bare resin, but foam sticks really hard to the scored-up inside of a head with hot glue, and the straps stick really hard to the foam so… Plus the foam provides a much larger gluing surface and therefore more security, in my mind anyway. Above, the first layer of foam, visible underneath the browband, has been glued into the head. Then, the the correct placement for the suspension is found, with the browband going across the forehead just above the eyes. The clamps are only temporarily holding the suspension in the correct place, the browband will not actually be fixed to the mask like this but will be able to move inside the head somewhat. Next, the two new straps are glued on the foam directly underneath the two preexisting straps with which they share clips. I glue the straps all the way from the front of the mask to the back, where I trim off any extra. The more gluing surface the better. Again, no glue on the clips! I start working the top layer of foam before the suspension is glued in, and finish it afterwards. Above, making a pattern for this part using standard duck tape patterning procedures. I often use aluminum foil under the duck tape in place of the more standard plastic wrap as it is easier to handle, especially in a concave shape like this. Next, cutting the slots for the clips into the pattern. Cut a little bit, try sliding the pattern over the clips, cut a little more, slowly but surely. Worse comes to worst the slots can be taped over and started over again. Above, the finished pattern for the top layer of foam. Above, the second foam piece has been cut out, laid into the head over the freshly glued pair of straps, and held in place with Wonder Clips. Working from one end to the other I'll unclip one Wonder Clip, smear hot glue around underneath the foam, and press it down until it cools. I work my way systematically across the head, unclipping each Wonder Clip in turn, putting glue under the foam, and moving on. The Wonder Clips keep the foam in the exact correct position while it's being glued. I'll cover the entire underside of the foam with glue, paying special attention to the openings for the clips. Lots and lots of glue, but again, none on the clips!! Trying it out. I'm pleased with how it works. Above, the suspension in the finished head. From these pictures you can get an idea of how it "floats" inside the head. It also makes the mask nice to take off and on, as once the back strap is adjusted to the wearer it's a lot like putting on a baseball cap. No straps to fasten and unfasten. I hope that this has been helpful to you. If you have any questions please feel free to ask! Thanks for looking!
Photographing my first partial "Silas" for sale presented new challenges. I have an indoor tabletop setup to take pictures of smaller things, such as masks, eBay sales items and (not so) occasionally model horses. Unfortunately, the basement where I have my setup is too small with too low of a ceiling to be able to photograph an entire figure. My first thought was the great outdoors, but the lighting can be hit or miss, especially with a dark object like Silas.
The advantage of an indoor setup is that you can play with the floodlights until you get the lighting exactly the way you want it, and you don't need to put on the mask until you are happy with how the lighting looks. (Plus you don't even need to get dressed to go outside!) The backdrop material is fairly thin, and in these practice photos above and below you can see a square of light from a window shining through. We waited until dark for the official photoshoot, though as it turned out it wasn't difficult to edit the square out either. Above, my daughter mugging it up, and the first attempt to remove the green screen with GIMP. The urban backdrop on the right is one we cut and pasted from online to give this all a whirl.
And, TA DAAAAH! The original greenscreen photographs with the finished pictures on the new backgrounds. All I can say for learning GIMP is, GIMP Workshop baby!!! These videos were very easy to follow and the guy's voice was very calm and soothing, which helped keep me from freaking out and throwing my computer out the window on more than one occasion. Especially helpful were these videos- this one on how to remove an object from its background and this one on how to remove a furry object from its background. This one, in addition to being about removing an object from its background also had info about how to make simple shadows and remove colored reflections (like the green on Silas' fur and jacket). Below, images made with this second background photo. And more GIMP workshop videos that were helpful: These three on the Path Tool, a basic operation on GIMP, video one, video two and video three. And a video about how to make shadows, though this one turned out to be more elaborate and complicated than I really needed. The shadows underneath Silas in these finished photos were all created with GIMP. I decided I wanted to do a collage of all my photos for Silas' auction. The photo below was meant to be the background for the collage. In it I learned to do a cool new thing called the Orton effect, a somewhat blurry, dreamy, and light-filled affair. And TA DAAAAHHHH!!!! Finished GIMP photos. I'm very happy to say that Silas' auction was successful and he has since gone on to a new home.
Geez, I had no idea it's been so long since I've updated my blog! But I have been working steadily and hope to have a new mask to auction soon. Part of the holdup was having a place to paint.
Above, the top for the booth. (Check out how dirty the filter got after only a few uses!) I made the top out of 1/4" plexiglass, not the insulation as in the Fine Woodworking article, as I wanted to be able to get as much light as possible in the booth. Portland Glass cut a piece to my specifications for around $30. I made a "lip" out of the insulation and hot glued it to the plexi to help keep it in place. And, ready to rock and roll! Let's get this party started!
My first pair of practice handpaws, made out of my "cheap" white fur. The toebeans are appliqued vinyl, the claws are resin. The cuffs have a bias tape edging and no lining, since early on in my online explorations I had read that linings were a luxury, good only for retaining sweat. However I found the resin claws made the tips of the fingers floppy and stuffing was helpful in stiffening them. And a liner is useful in separating the stuffing from the hands. Which brings me to... My second pair of practice handpaws. These do have a lining as well as the bias tape edging. The toebeans are felt "pillows" sewn into the white fabric, a method Kloofsuits describes in her tutorials above. This method needs less skill than applique to yield a very nice result, though it takes much more time and patience. (This is what podcasts are for!) Even though these were just practice handpaws I wish I had used fabric other than felt, as it pilled all to hell in about two seconds and looks awful. At this point I'm also feeling frustrated by the claws. They look crooked and haphazard in both sets of paws, pointing in whichever direction they feel like when I glue them in, no matter how careful I try to be.
And the a third set of paws, this time made of "good" fabric, with faux suede sewn-in "pillow" toe beans and the new resin claws. I'm pretty happy with how these look.
And, giving the handpaws a try!
Next, hitting the Interwebs for all the tailmaking tutorials I could find. Kloofsuits' was one of my favorites (view here). Switch Cosplay's was another (view here). The biggest difference I found between these two was the their methods for making the belt loops, Kloofsuits' below left and Switch Cosplay's below right. (That's my very helpful hubby holding the tails up and mugging it up for the camera.) I ultimately decided on Switch Cosplay's method, as the loops were less visible when the tail was worn by itself on a belt. Kloofsuits' method is less fiddly and probably stronger, but I suspect it's meant for tails to be worn through a hole in a fullsuit, where the loops would not be visible anyway.
I also did a lot of experimenting with the same pattern using different numbers of pieces, placements of seams, and direction of fur, the sketch above showing the different variations I tried. The one on the far left represents a tail made of two halves sewn together front and back. The advantage is obvious- super simple to make. The second one from the left is made of four pieces and has a seam going down either side as well. This helps give the tail a fuller, rounder look. The third pattern is made of eight pieces and is good for a tail with a black or white tip, and would also allow the fur to follow the tip's curve more closely. The last one is made of twelve pieces and can be used for a tail with a different colored underside, and allows the fur at the top to follow that curve more closely. I made all of these tails out of my solid, "cheap" white fur to be able to see any difference most clearly, and while I did like the way the fourth variation came out the best, I'm not sure I liked it that much better to justify the extra time it took. We will see. One thing I DID like about the fourth variation is that I could cut it out of my fabric with much less waste, since it was easier to fit the smaller pattern pieces on odds and ends I had on hand. Here I am, experimenting on kids again. (They are expressing their sentiments on the matter, though that is harder to do with four fingered handpaws). Both these tails are made from the same pattern, but the one on my long haired daughter is the two piece variation, and the other on her BFF is the four piece one, with a seam running down the sides as well as the front and back. The thing that struck me most about these tails however was the way they seemed to come out of the kids' back at right angles, which made them look more like horse tails than wolf tails. Back to the drawing board. Above, tail pattern, take two. While I like this one better I still think it comes out of the back at too sharp of an angle. As I often do, I printed out the photo and sketched ideas for changes on it, and used that for a reference for the third pattern. Above, showing tails I made from the three patterns I did side by side, the one on the right being one being the one I ultimately wound up using. You can see the different angles at which they come out of the back. The one on the left is the four piece variation, the other two are the most complicated twelve piece one. And TA DA!!! A finished tail, made out of "good" fur, intended to be part of a partial! This is the variation made with twelve pieces, with my third pattern above. Can't wait to start the head. Whee!!!!
Check it out! Jawsets cast in two different colors! Aren't they bee-oootyful?? I decided to try a method I had thought about before but had dismissed as too difficult- making separate models of gums and teeth, making sure they fit well together beforehand, and then molding them. I knew that teeth and gum components carefully cut apart from a single a rubber jawset model and molded separately would make casts that would fit back together with no problem. However, as I wrote about in a previous blog post, the repeated molding and casting in rubber that this method requires caused bubbles to build up in the casts over time. Yuck!! So I would use teeth I cut out of a resin cast to make that part of the mold. I would use a plasticine "borrowed casting" of the gums (I talk more about this technique in this blog post), physically removing any bubbles before molding it. Bubbles can be removed from plasticine but not from rubber! I would make sure the teeth and the gums fit very well together before making molds of either. The big challenge would be not squishing the models and ruining the fit during this process.
Above, the plasticine gum models in their Lego mold boxes, ready for rubber.
I said it before, and I'll say it again... aren't they bee-ootyful???!!!
Below, cutting the teeth away from the rubber jawset as neatly and carefully as possible, and then cutting holes through the entire thickness of the piece. Then, inserting it back into the original mold. The idea is to pour white resin into the mold for teeth, remove the blue part, and then pour pink resin for the gums. Below, the final product. Not too bad. (Tangent alert- the stuff that looks like pink slime is in fact pink slime. When resin is overloaded with colorant it will not cure properly. I was using Smooth-Cast 65D here, a white resin, and I had to put in too much colorant in order to get a color other than very pale pink. The saints at the Smooth On tech support department recommended I switch to a transparent resin, Color Match 325, which I did.) After I made a bunch more of these I decided this method may not be everything I hoped it would be. Sometimes pink resin would leak down over the white teeth and while I could carefully scrape it off before the resin set completely, this was something I'd rather not spend my time doing. Also, I would get thin spots or bubbles between the teeth and the gums at times, which would make for weak castings (I could crush in these spots with my fingers) which was definitely something I did not want. Time to try another method. Onwards!
Some sort of two part mold would seem to be the answer, one for the teeth and the other for the gums. My first thought was to cut the teeth out of a resin jawset with my Dremel, insert them back into the original mold, and make a model of just the gums from which to make a second mold. Below, getting ready to pour silicone for the model.
Below, pink resin gums cast from these new molds, with teeth inserted temporarily. Looks pretty good but.... Damn. The round thing in the middle is leftover resin that cured in the mixing cup. See how nice and smooth it is? See how full of bubbles the gums are? There's lots and lots of things that cause bubbles in castings but here it's due to replicative failure. Each time I demold rubber from rubber, microscopic layers peel away from the surface, creating these bubbles in the mold. (Even if I'm using plenty of release. Which can also cause bubbles, damn!!) Three times I poured rubber into rubber to make these, adding more bubbles with every step. What to do next? Maybe at some point in the future I could investigate stronger rubber, but in the meantime, maybe I should go back to making molds from original sculpts whenever possible.
Below, the gums airbrushed and the frisket removed. Not too bad, except that the paint was still fairly fragile and the frisket would pull bits of it off around the gumline. I was not convinced this would be the go to method. Below, various airbrushing attempts, in various states of completion.A big fat pile of frustration. Some of these are solid pink plastic, with the teeth airbrushed white; some of these are white plastic with the gums airbrushed pink. Ultimately, though, I was not happy with the durability of the airbrushed paint- even with the primer, and even sealed with a topcoat afterwards, it was too easy to scratch and damage. Maybe there is a method I hadn't discovered yet to make the paint more durable, but for the moment anyway I am SO DONE airbrushing these things for sure. On to plan B, attempting to cast in two colors of plastic! |
Categories
All
Archives
March 2023
|