
Looks like I've neglected my blog for.... two years?? I've been busy though, mostly with my first attempt to build my first fursuit-style mask. Especially since I knew neither how to sew nor airbrush before I started out, it was quite the undertaking. Here are the chronicles of my adventures.
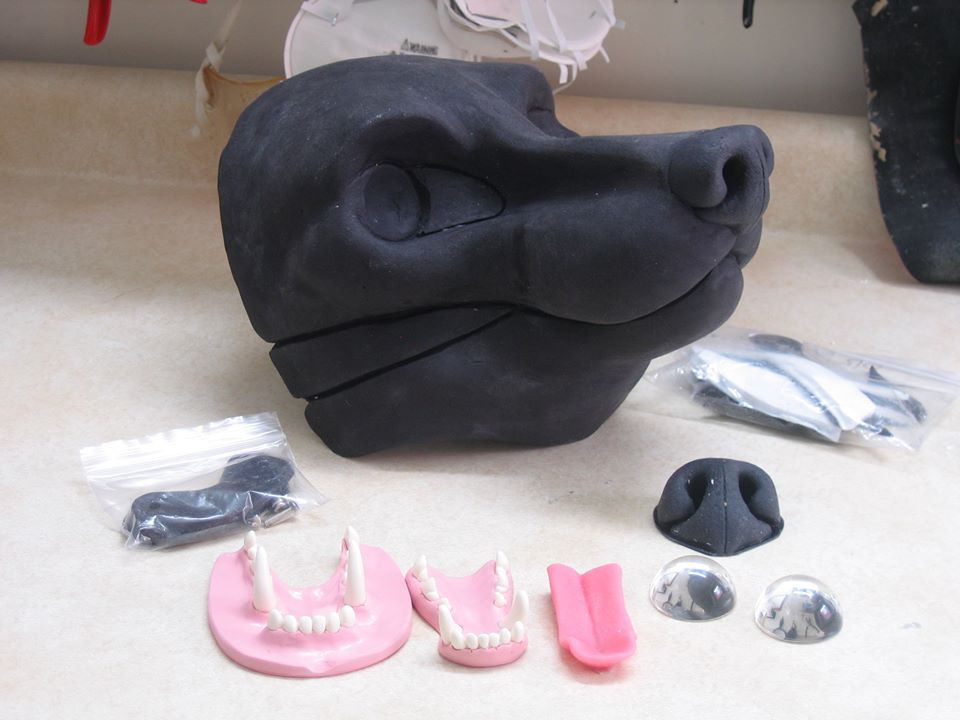 | 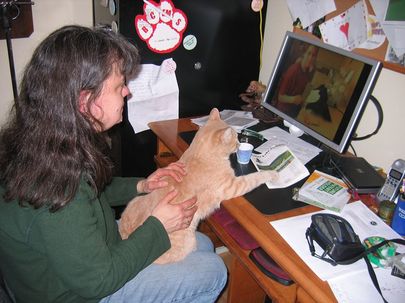 |
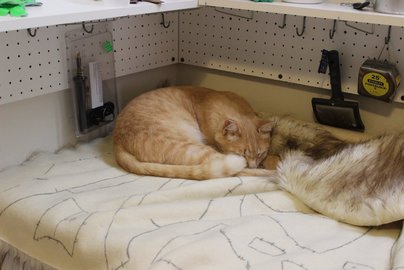
Above left, my freshly ordered mask parts from Dreamvision Creations on Etsy. I didn't want to make any of my own parts this time around, to try to limit the number of variables should something go wrong. Above right, Ezzy and I watching the Dreamvision Creation tutorials online. Ezzy wanted to make sure I didn't miss any important details, he is a very helpful cat.
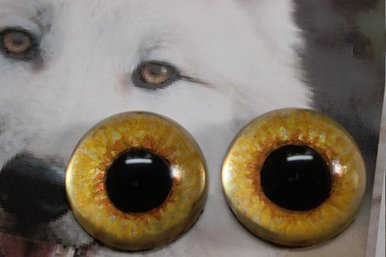 | Left, a reference photo and freshly painted resin eye blanks. This was probably my favorite part of making this mask. |
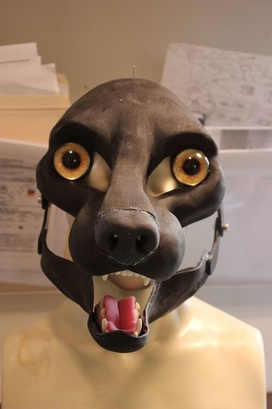 | 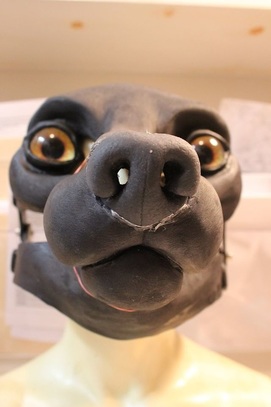 |
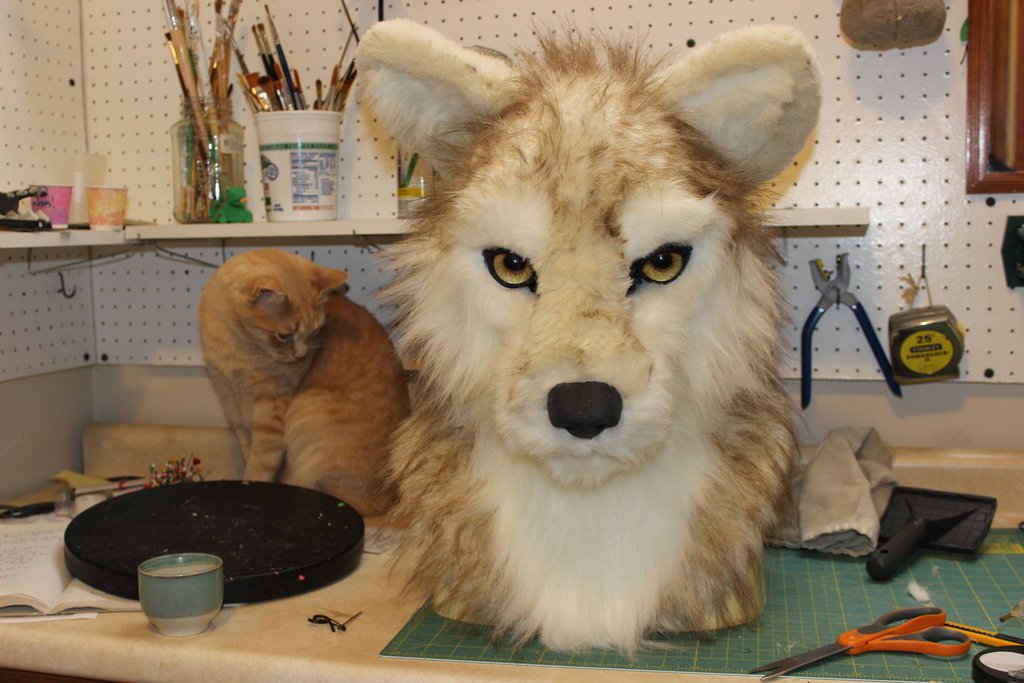
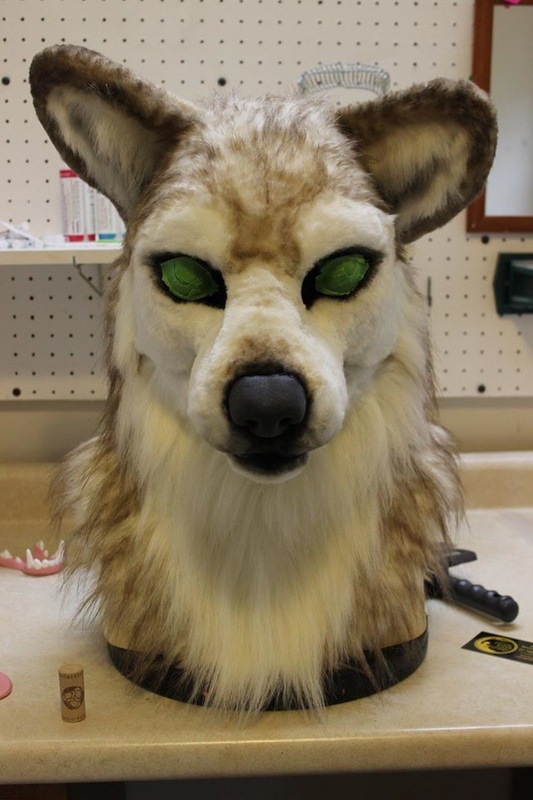
Above left, a dude who seriously needs to lay off the coffee. Hinges have been added and all the various parts glued into the mask base. Above right, eyelids added. It's so cool how the eyes seem to follow afterwards!
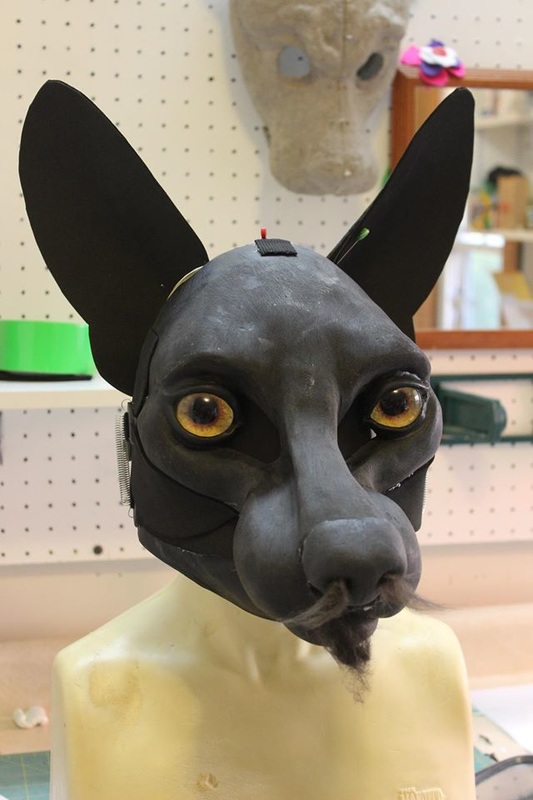 | Left, straps, springs and chiffon over the tear ducts have been added, as well as Foamies ears. I also figured out how to fill in the space between the upper and lower jaw of the base with Foamies, something the Dreamvision Creations tutorials didn't cover! The cat hair beard and mustache are my daughter Isabelle's work. |
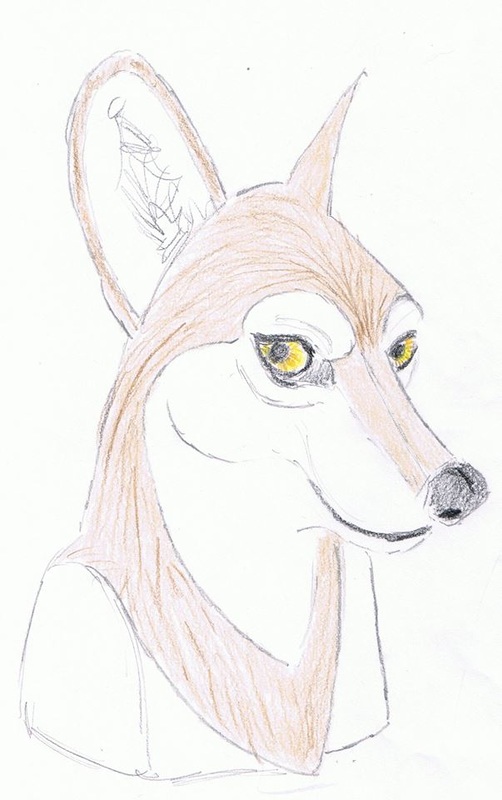 | 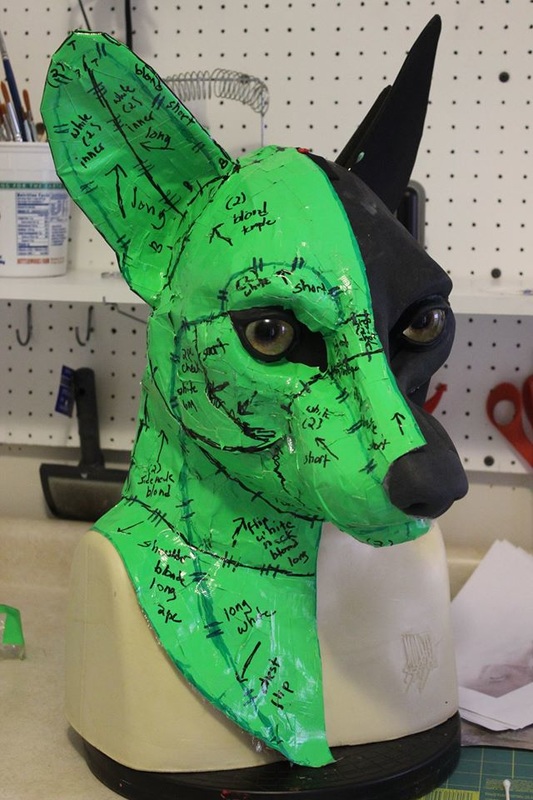 |
Above left, a sketch of my idea for the color and pattern of the mask; above right, the actual duck tape patternwork for the fur. My daughter called the mask at this stage "Green Anubis". I thought I was so smart to use wet erase markers to draw the patternwork, and maybe it made fiddling with the pattern a little easier, but predictably some important reference marks got wiped off. Six of one, half dozen of the other...
 | And the patternwork laid out on the fur. Ezzy approves. |
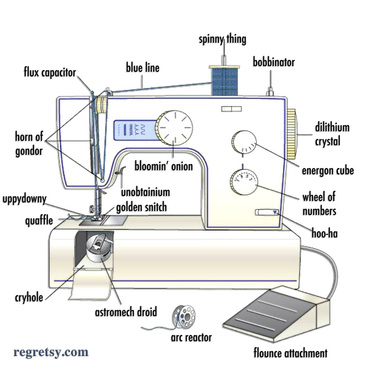 | But... (OMG!!) SEWING!!!!! This was pretty much my view of a sewing machine at this point. |
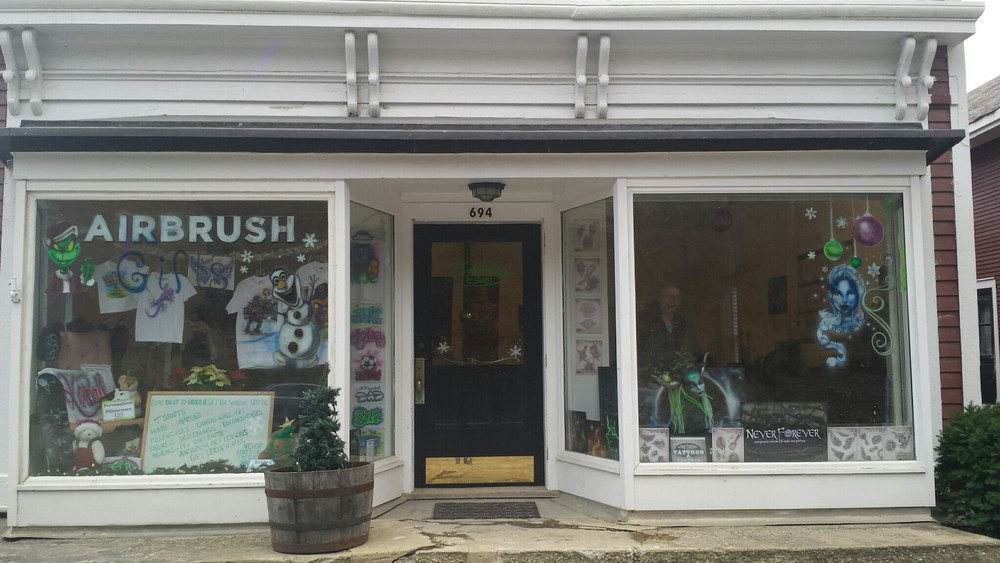
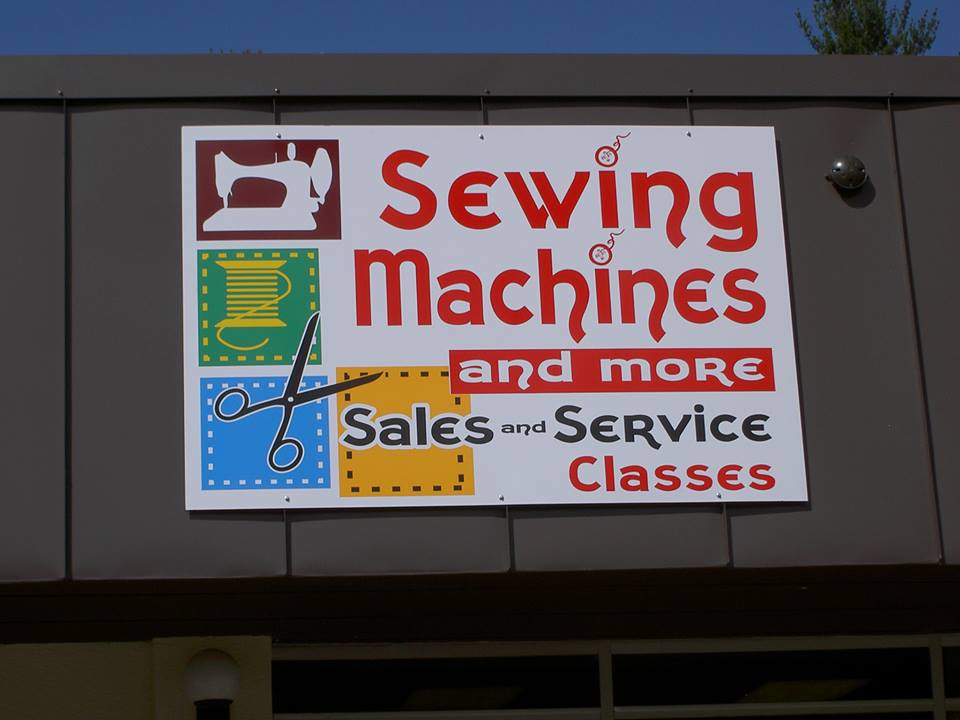 | Note the part on this sign that says, CLASSES! The owner of this store hosts Open Sew classes twice a week, I'd take my sewing machine and fur there and sew under her supervision. If I got stuck (which was often) she'd be there to offer advice and help out. |
 |  |
 |  |
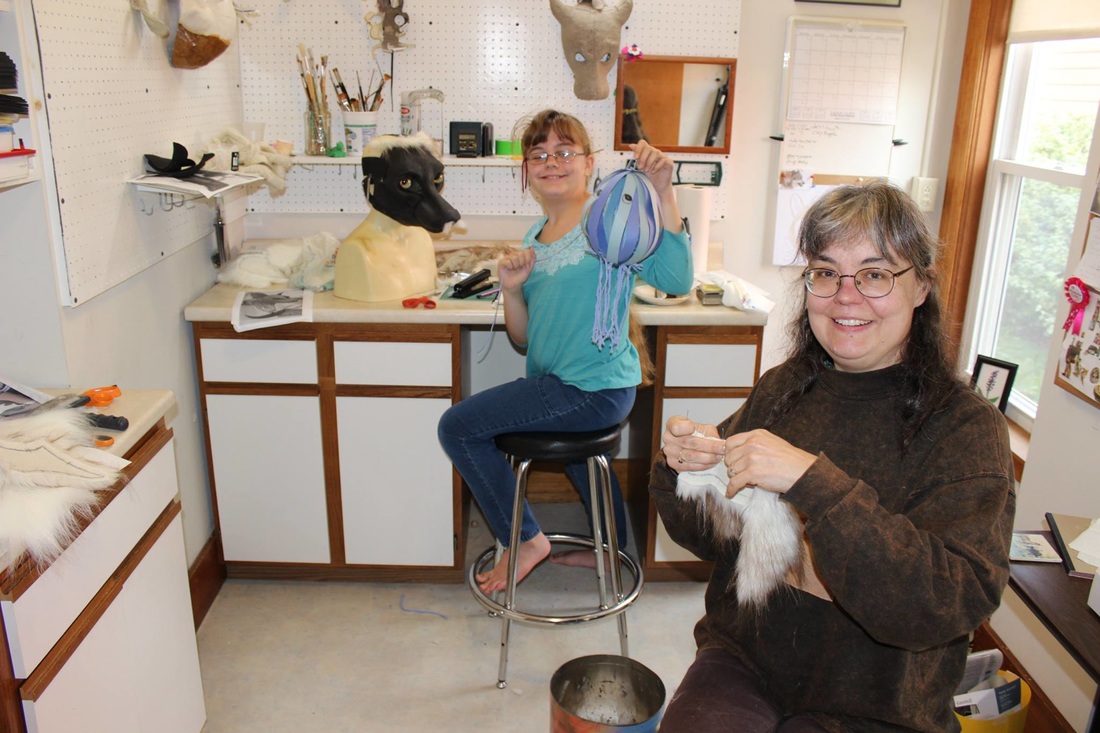
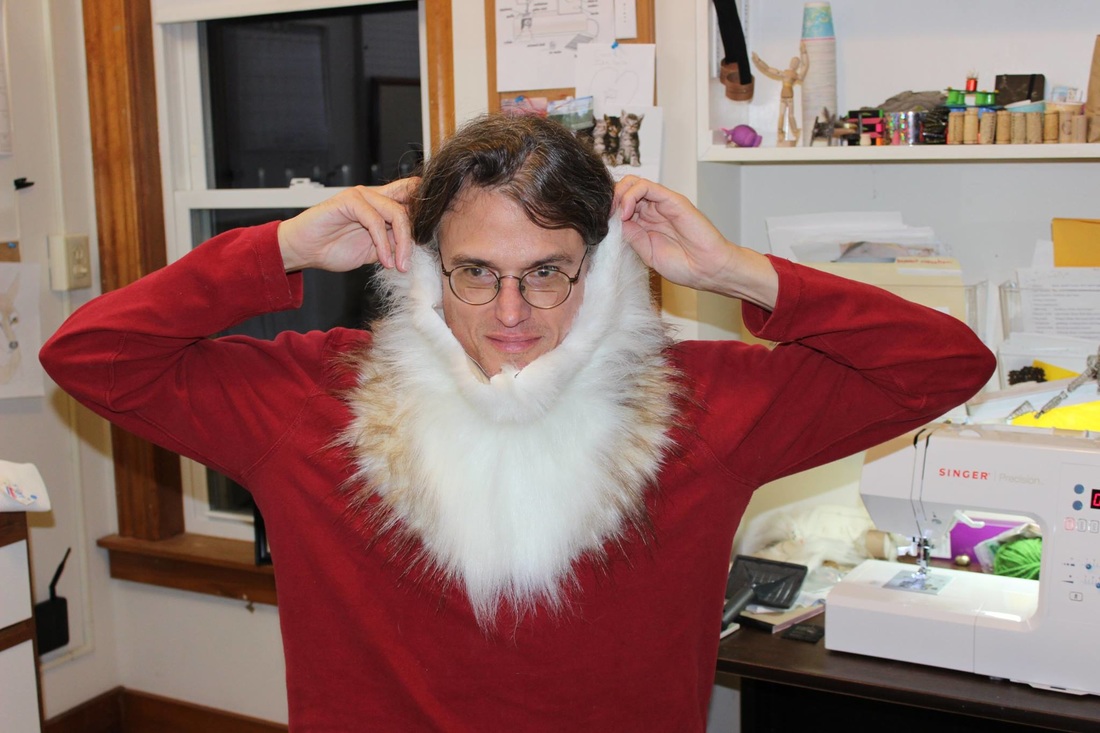
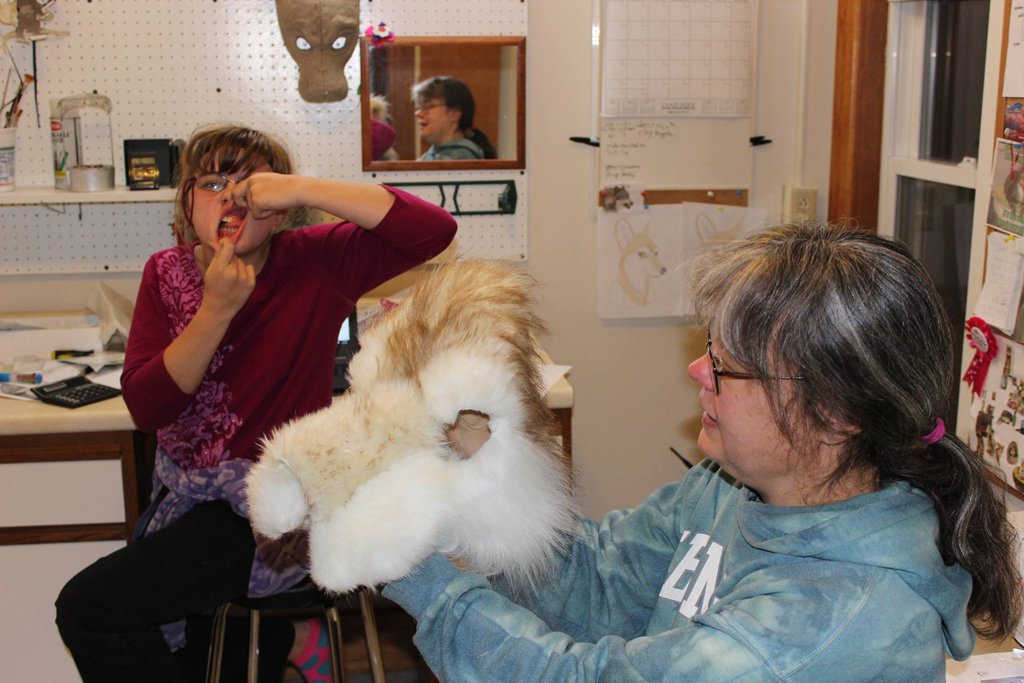
Sewing sewing and more sewing. Top row left, I bravely start pinning pieces together while Isabelle works on a chibi Cthulhu. Top row right, hubby models the front half of the hood. Middle picture, I have finished sewing the face together while Isabelle makes faces too. Bottom row, one ear and the back of the hood sewn on. I later ripped the ear apart and re-glued it, as I didn't like the way the bottom edge was so much thicker than the top edge. Bottom row right, the back of the hood showing the Velcro cover over the zipper, and seams that need picking out.
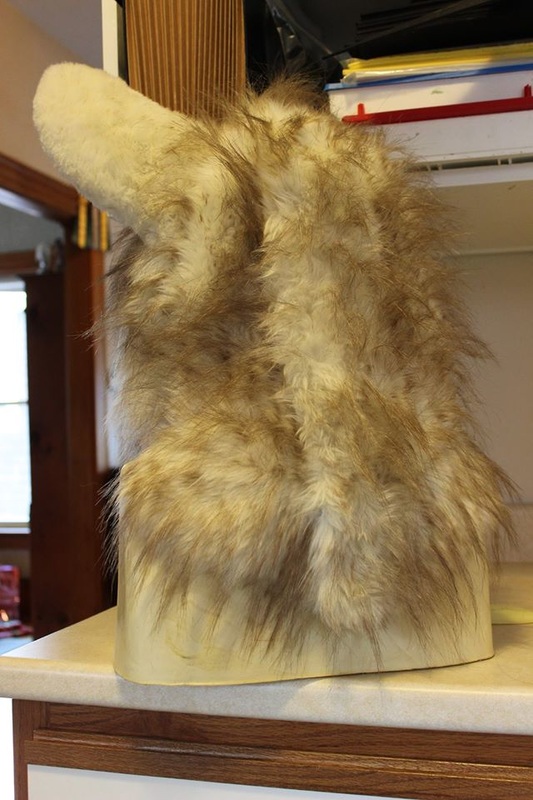
 | And finally, the fur is all sewn together. Here, draped over the base.... |
 | And here, glued down. This was one of the more harrowing parts of the process. I wound up getting rid of my old Ad Tech glue gun and buying a Surebonder glue gun with interchangeable nozzles instead. I needed the glue to flow when I pressed the trigger, and I needed it to STOP when I released it! Ezzy provided moral support. |
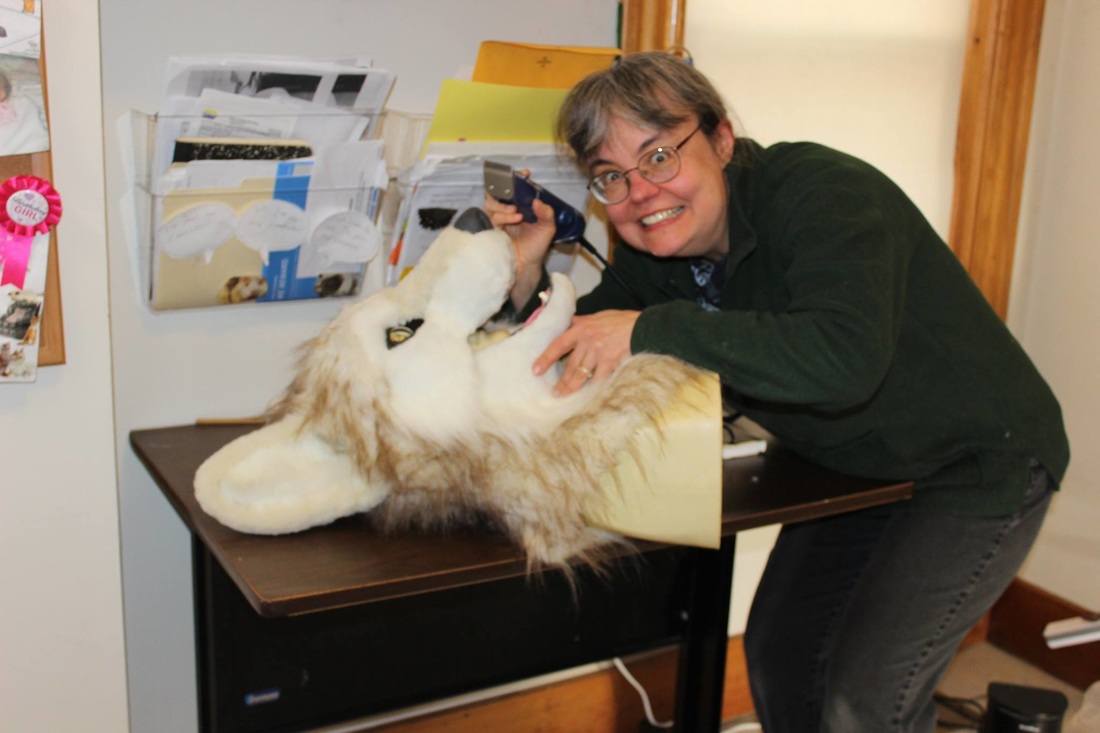
CRAZY LADY WITH CLIPPERS!!! Shaving down and adding some shape to the mask. This part was almost as harrowing as gluing down the fur. It's very easy to make bald spots with the clippers by accident!!
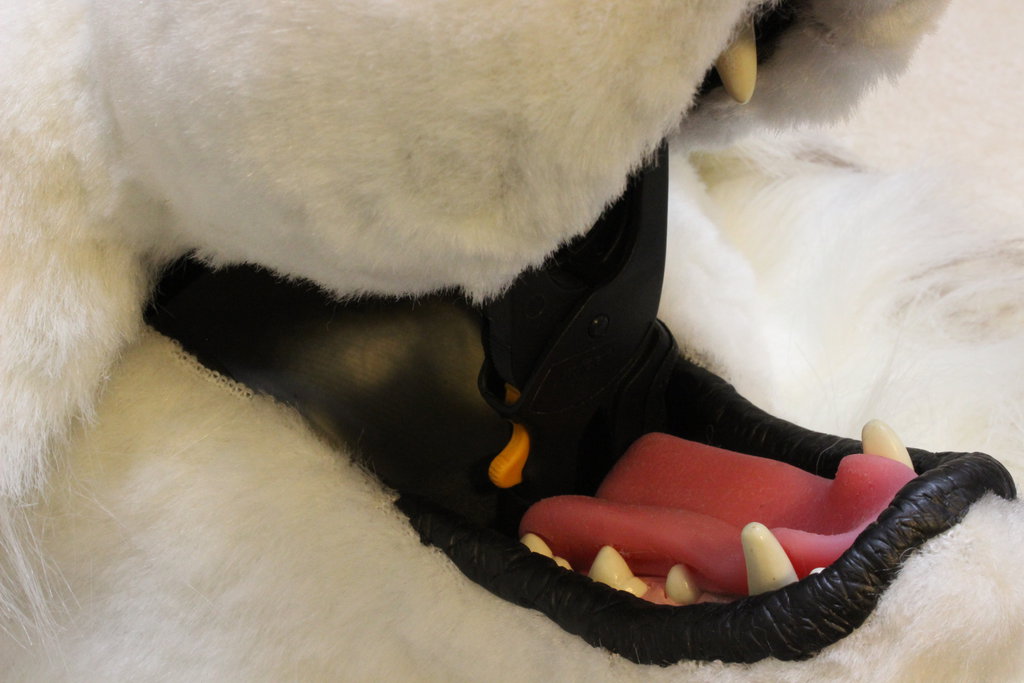 | Epoxy lip added. The tutorial recommended getting the lip more or less on and nicely detailed, and then testing to make sure the mouth opened and closed properly. I found out the hard way to MAKE SURE THE MOUTH WORKS PROPERLY ASAP. As the epoxy was setting up and getting hard and crumbly, I was tearing it off and reshaping it, trying to get it to fit right! Fortunately it all worked out okay in the end. |
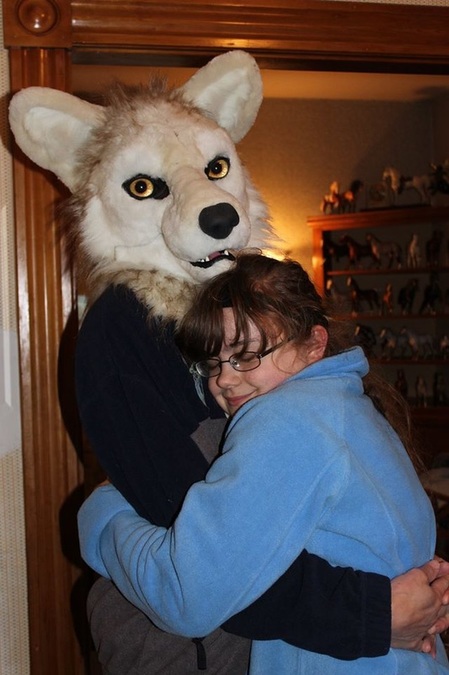
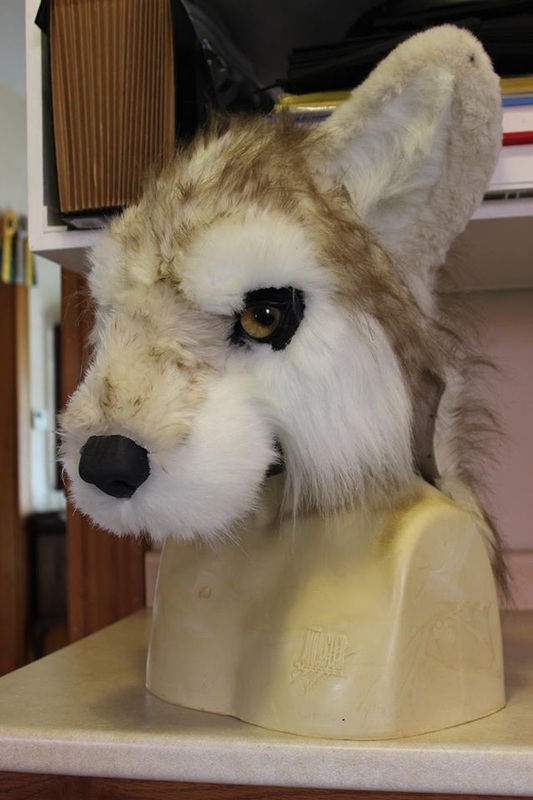
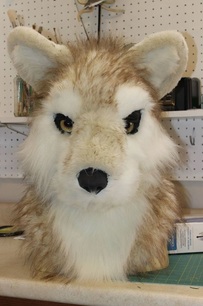
The mask, fully assembled and modelled by my ever patient husband Brian, loved up by daughter Isabelle. Time to get some paint on this puppy!
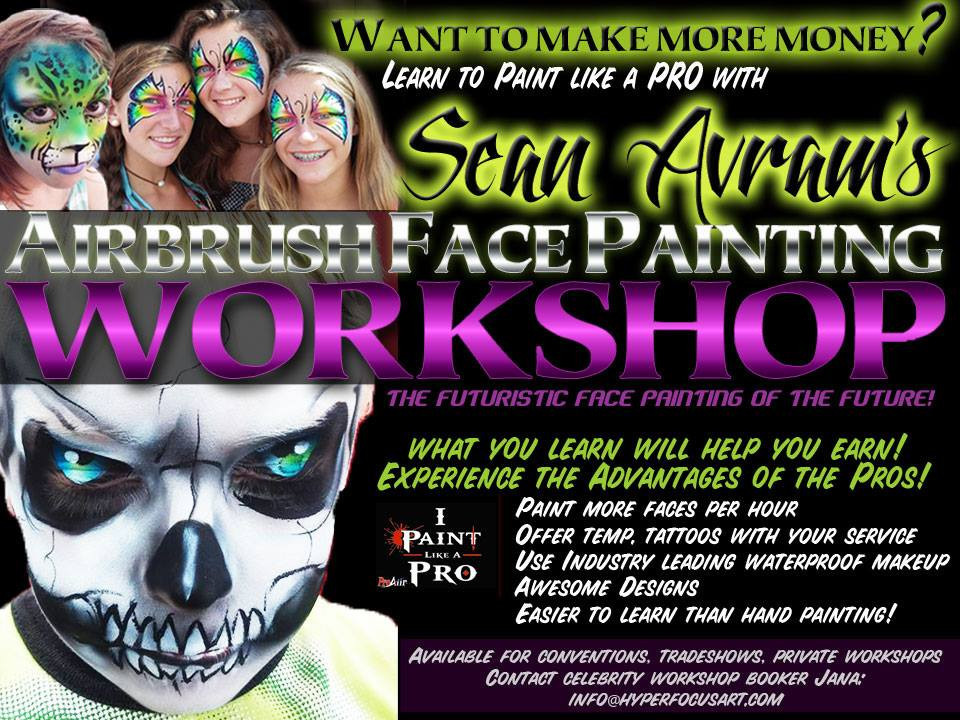 |  |
However, I could airbrush about as well as I could sew (which is to say, not at all) so I decided again some classes were in order. I took a one day, six hour 1:1 intensive with Sean Avram which helped enormously. He told me that airbrushing was largely troubleshooting, and for the next six hours we would see how many ways the airbrush could be clogged and unclogged again.
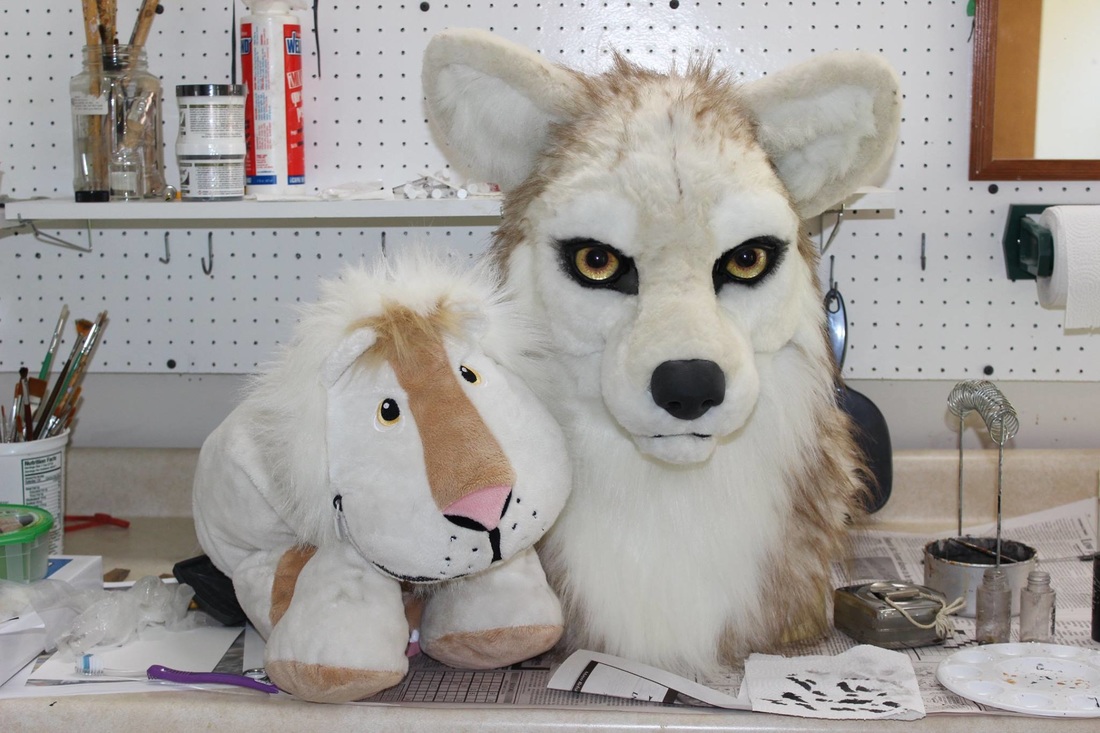 | Here is the mask with black hand painted around its eyes. Its buddy "Leo" is a sacrifical....lion... to warm up on before I actually airbrush the mask. |
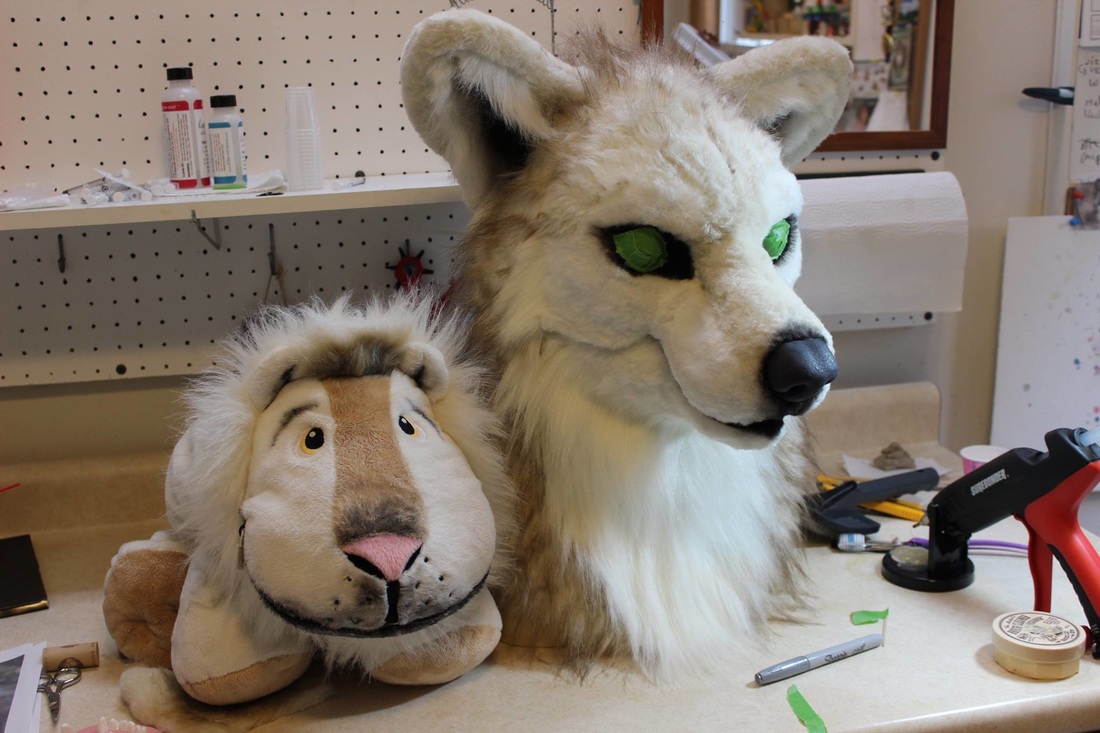 | Black airbrushed inside the ears and around the nose and lips. Next, airbrushing some brown around the edges of the ears and back on to the forehead where it had gotten shaved off previously. Leo looks like he needs a shave too. |
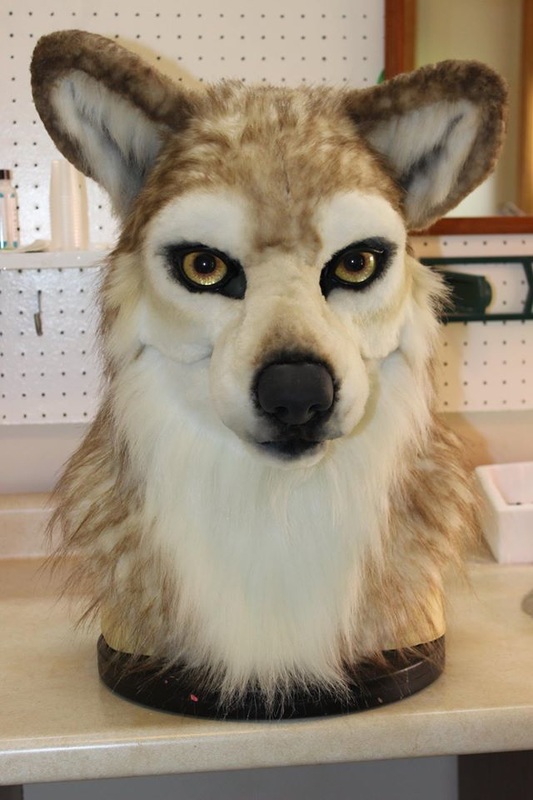
 | Brown airbrushed along edges of ears, around the nose and on the forehead. I'm feeling rather pleased with myself for matching the paint as closely as I did to the brown fur on the neck and shoulders. I've also added a little grey shading around the lips. |
 | Lastly, areas of cream/light tan airbrushed under the eyes. Many of the wolves in my reference photos had these kinds of markings. I'm happy with how I've matched the paint on the cheeks with the color of the fur on the bridge of the nose. |
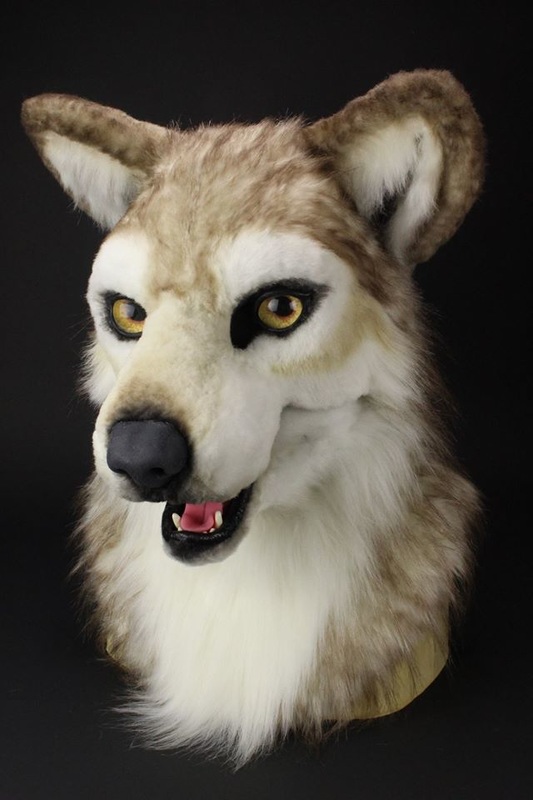
And finally... TA DAAAAAA!!!! All done. Looking forward to making the next one!!
 RSS Feed