
I've been working on the paw design in fits and starts. It seems to be my fate to come up with ideas for super cool improvements just before I think I'm done. And then I write a blog post about them. So, here goes!

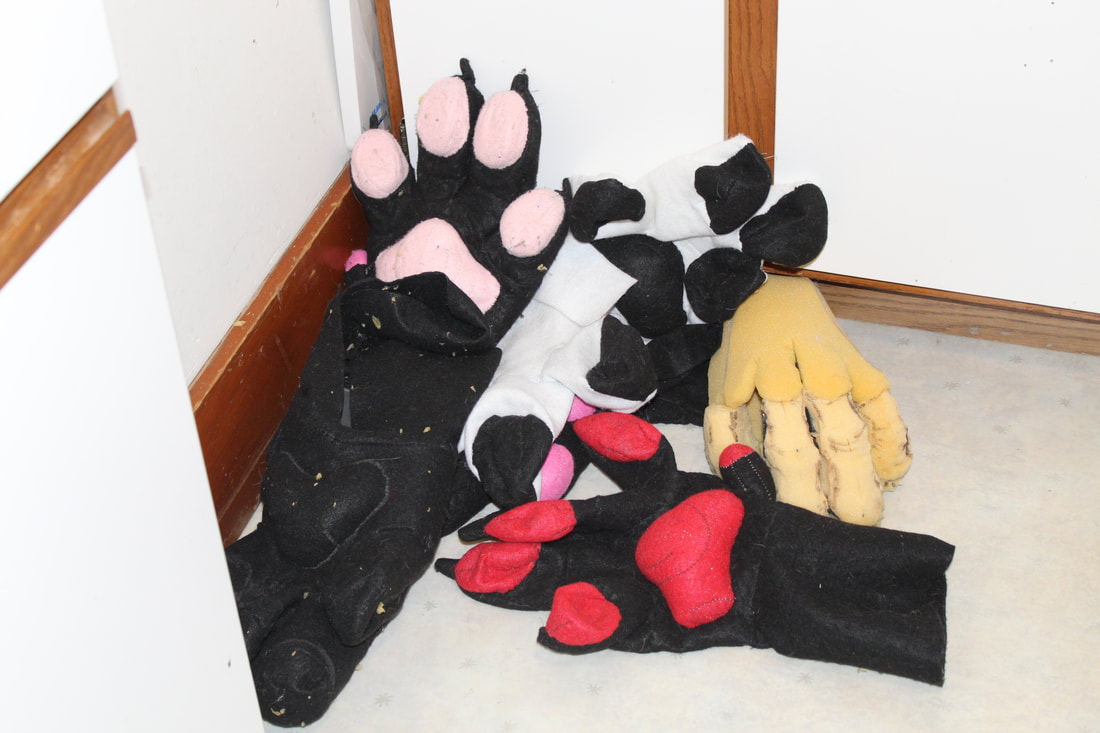
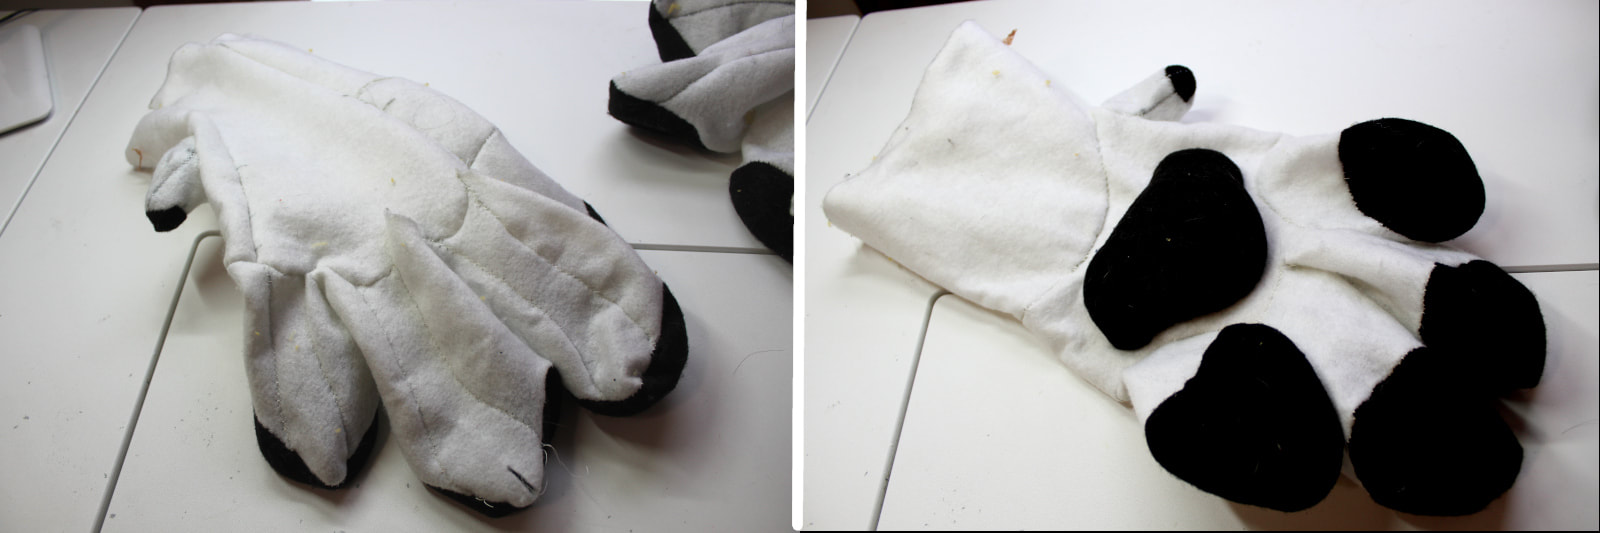
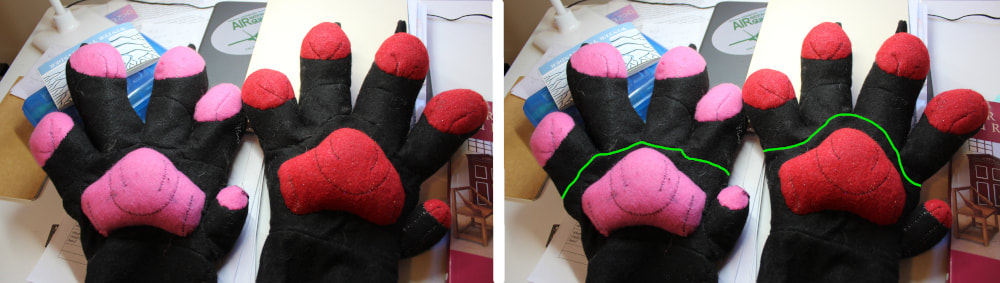
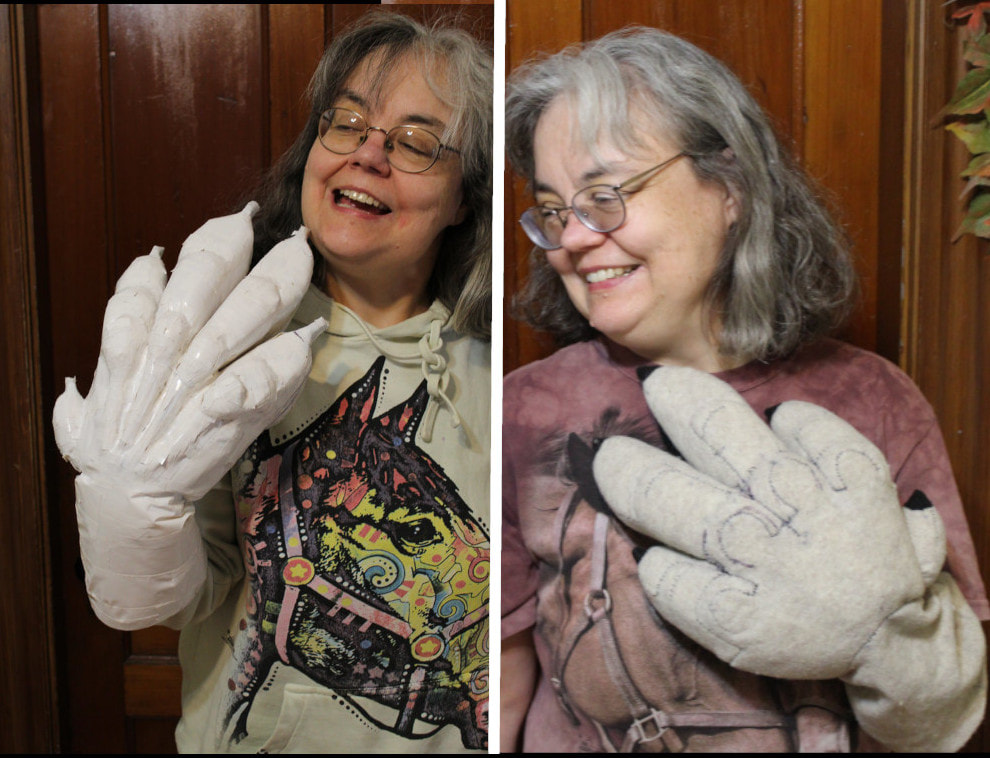
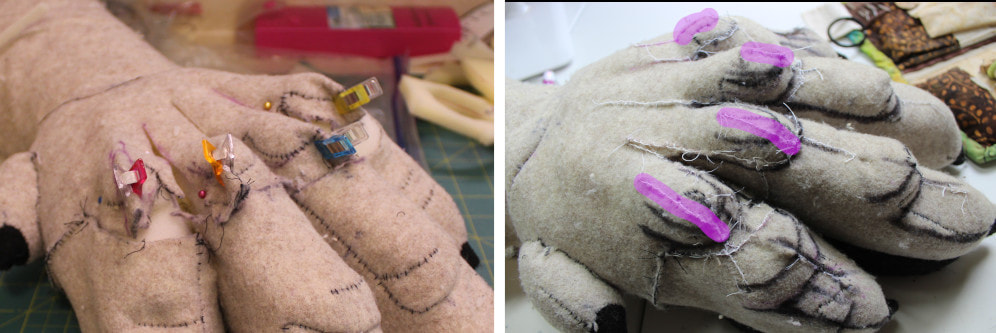
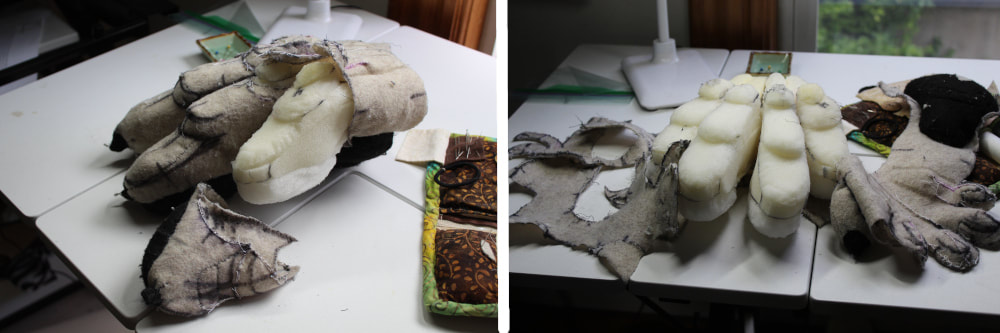
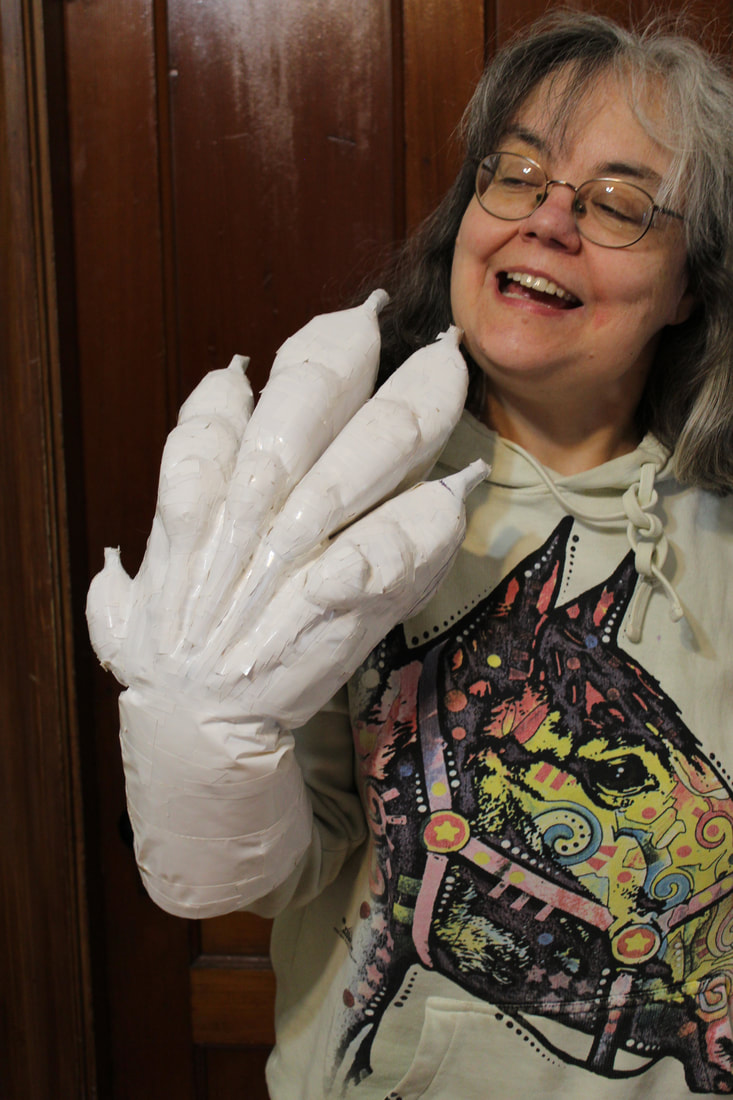
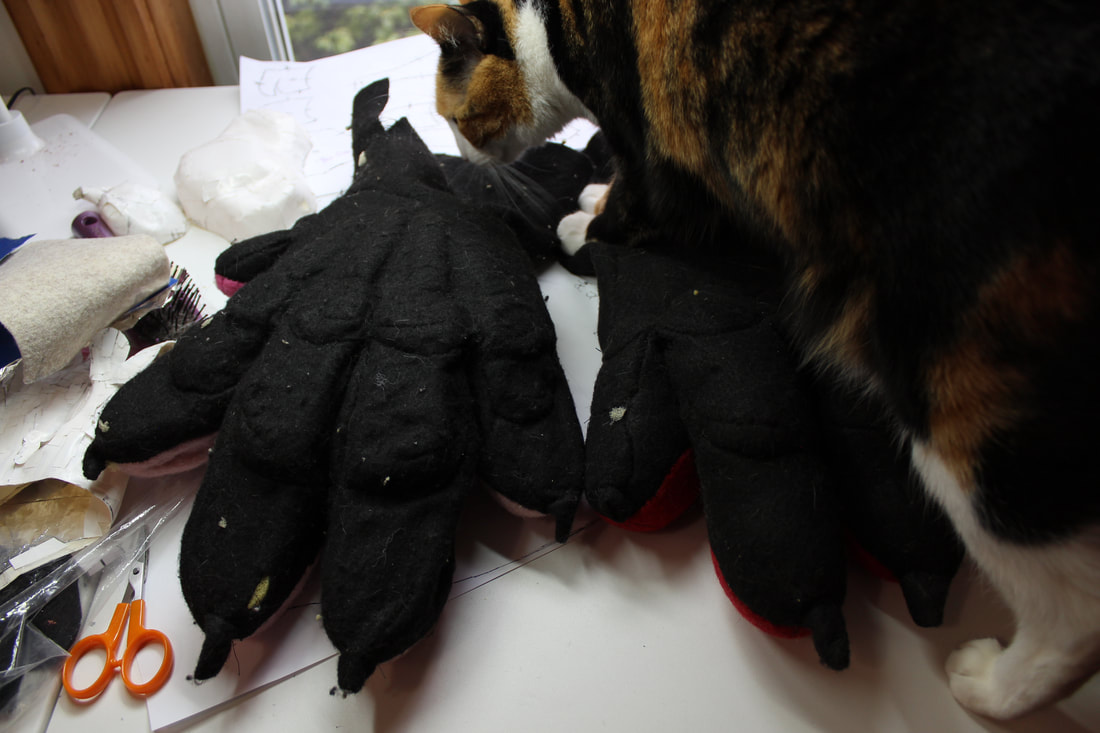
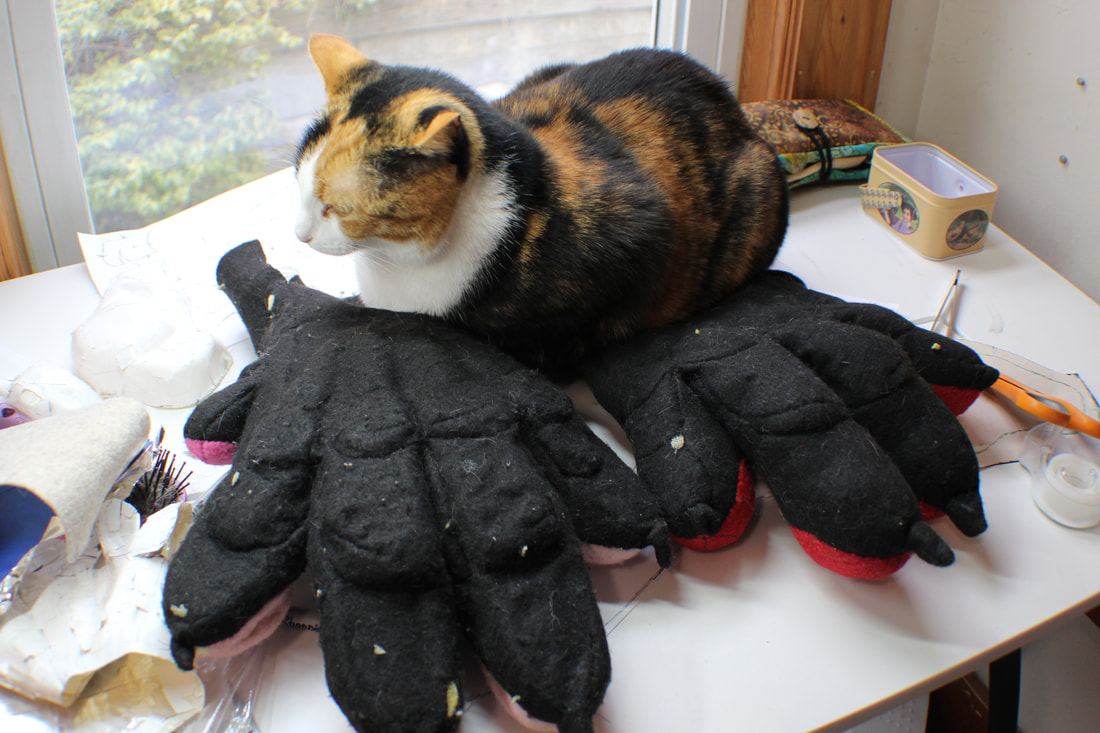
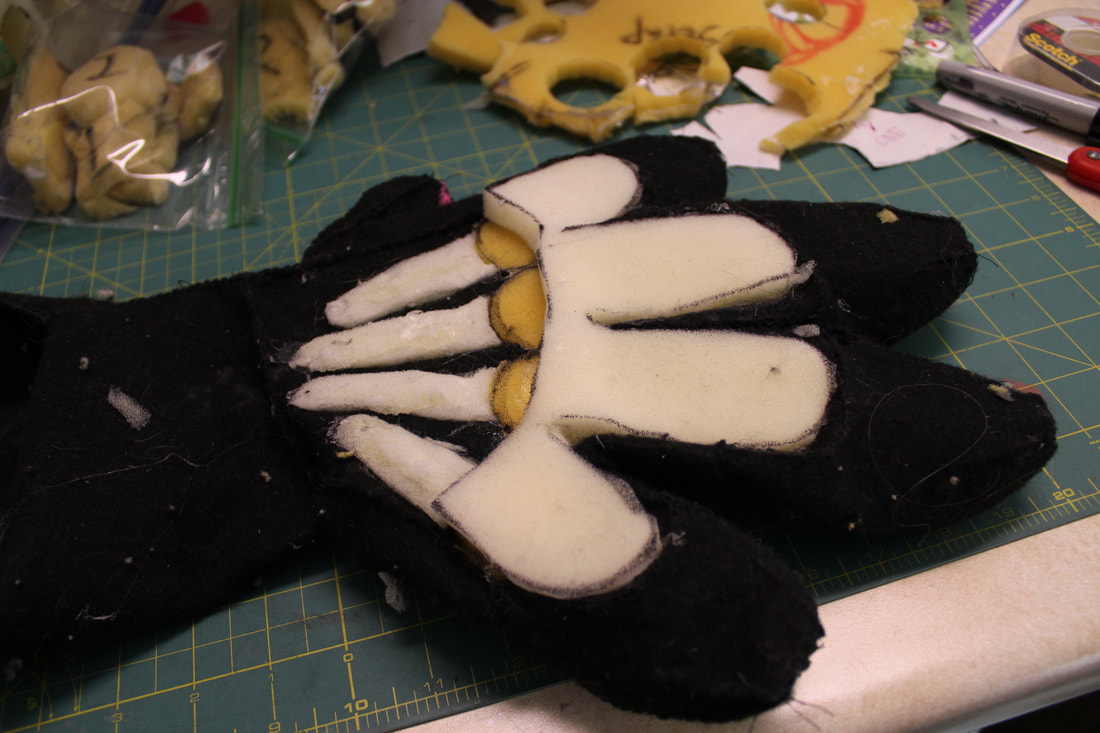
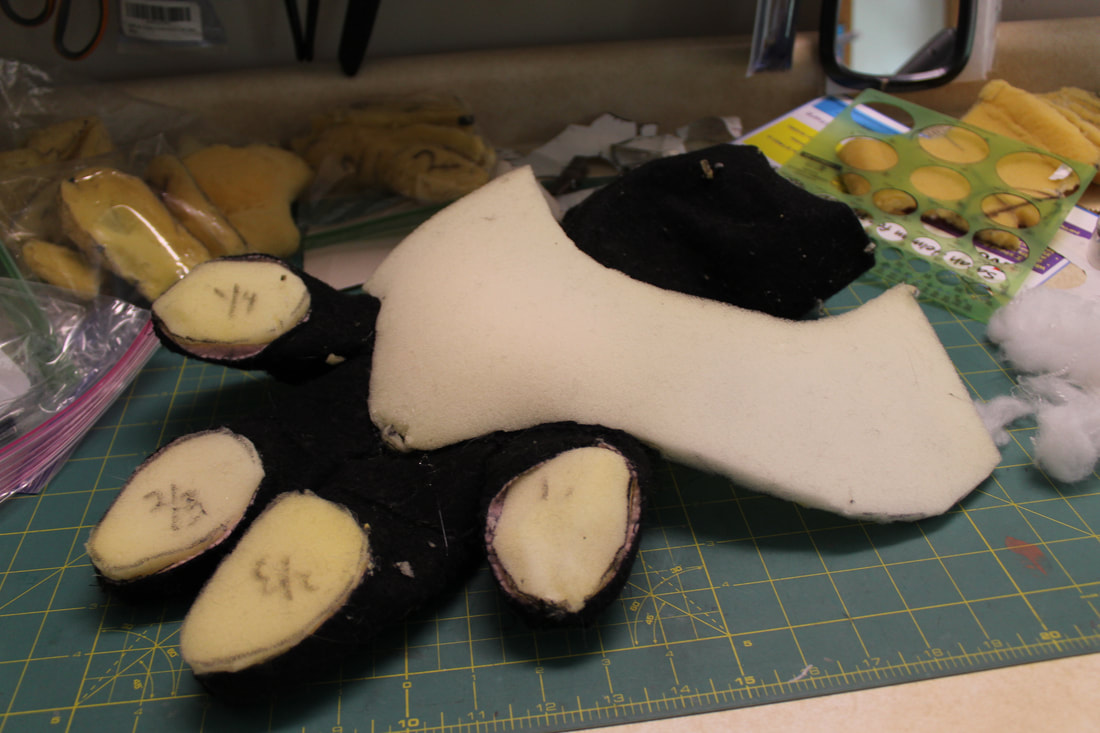
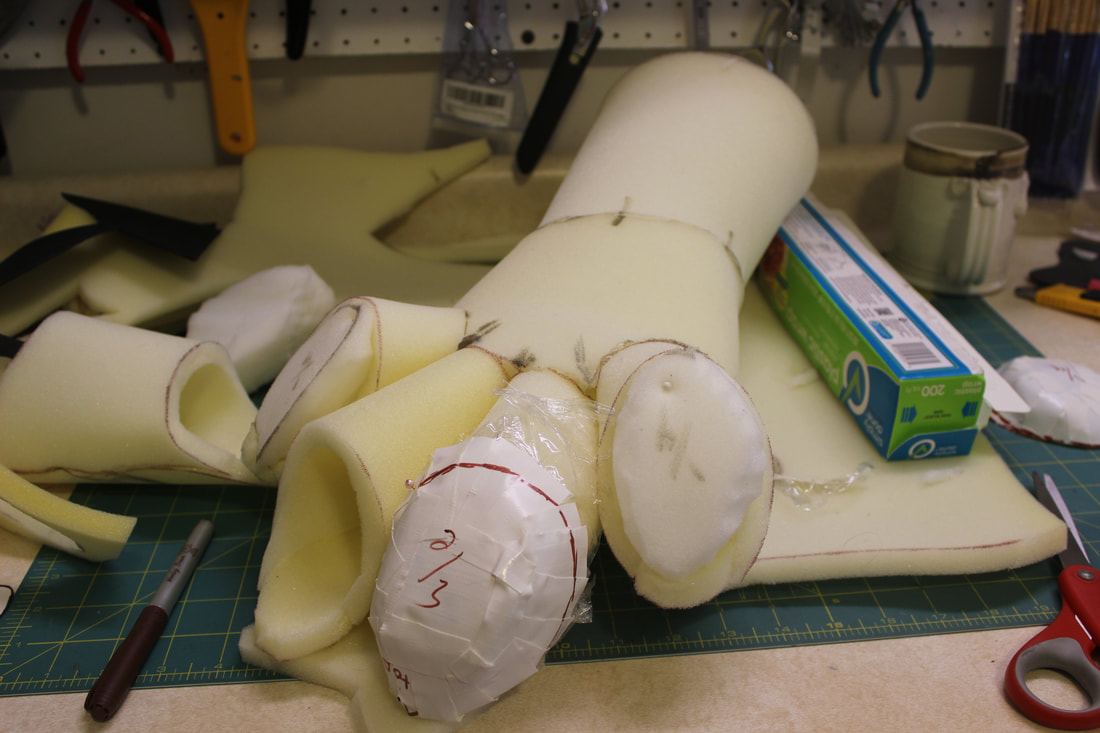
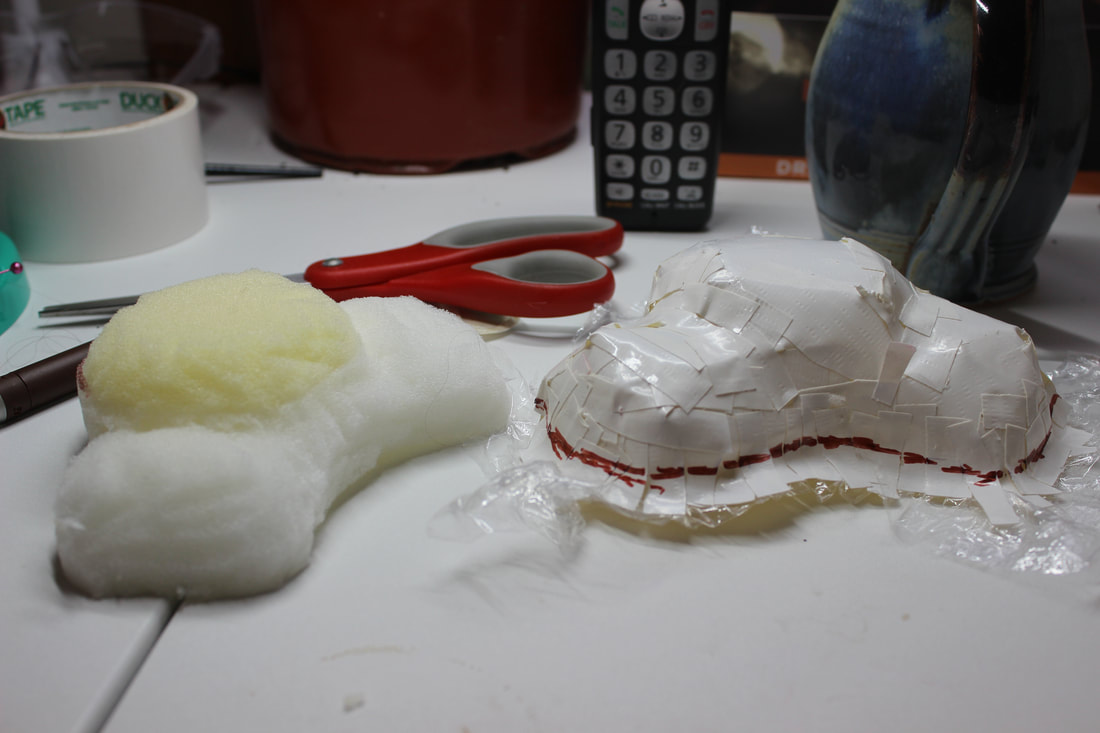
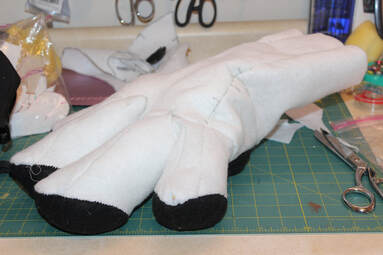
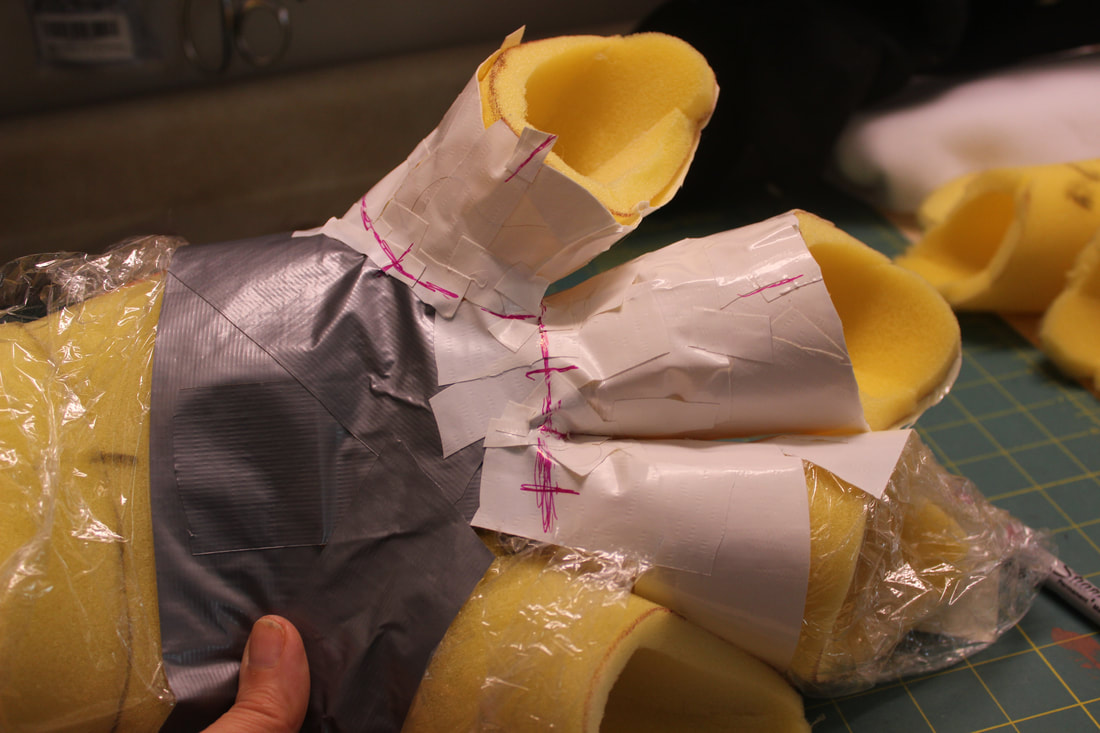
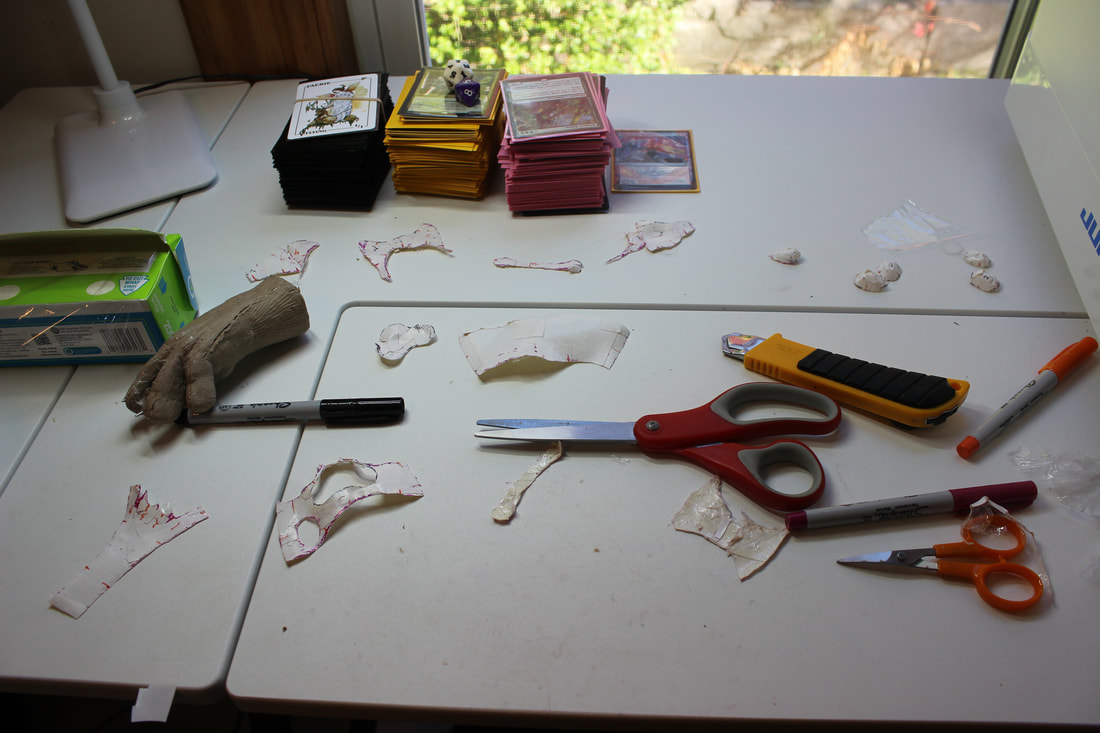
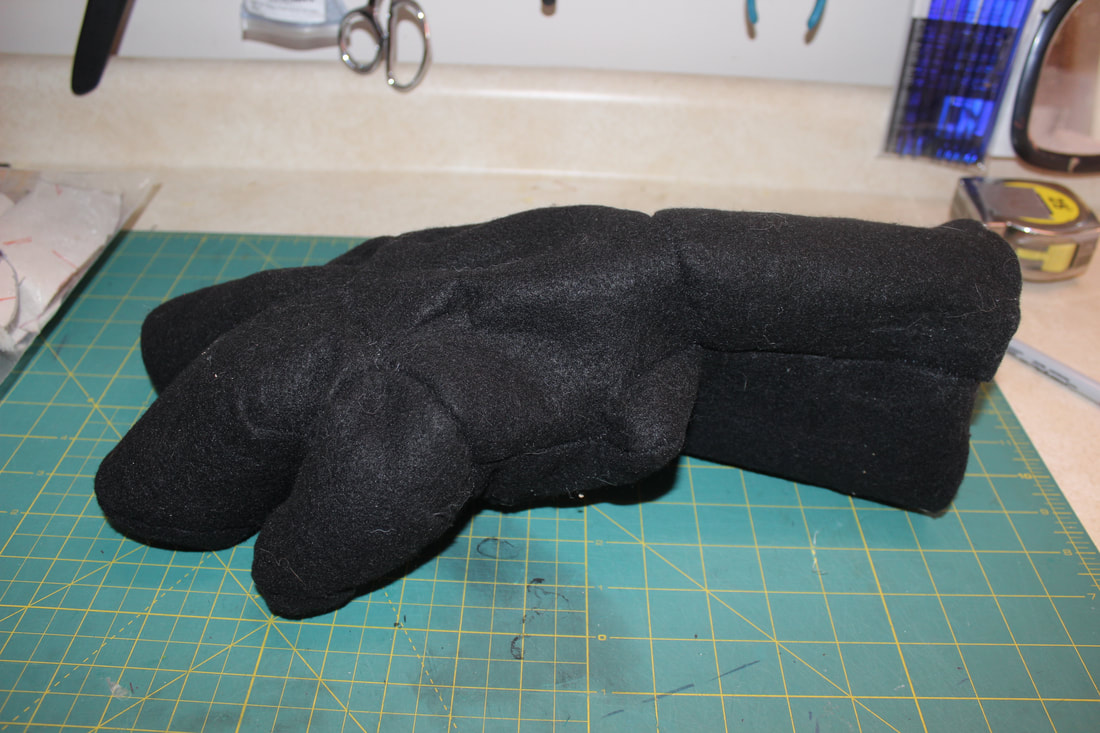
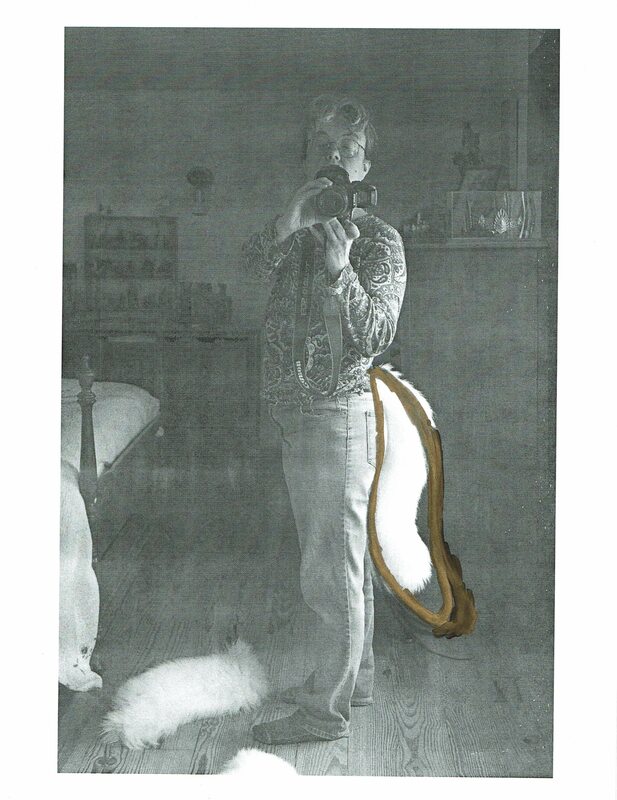
Here we have paws from two previous blog posts, the one on the left being loosely stuffed with Polyfil and the one on the right being supported by an internal foam structure. In this current blog post I'll talk about a new idea I had for this support.

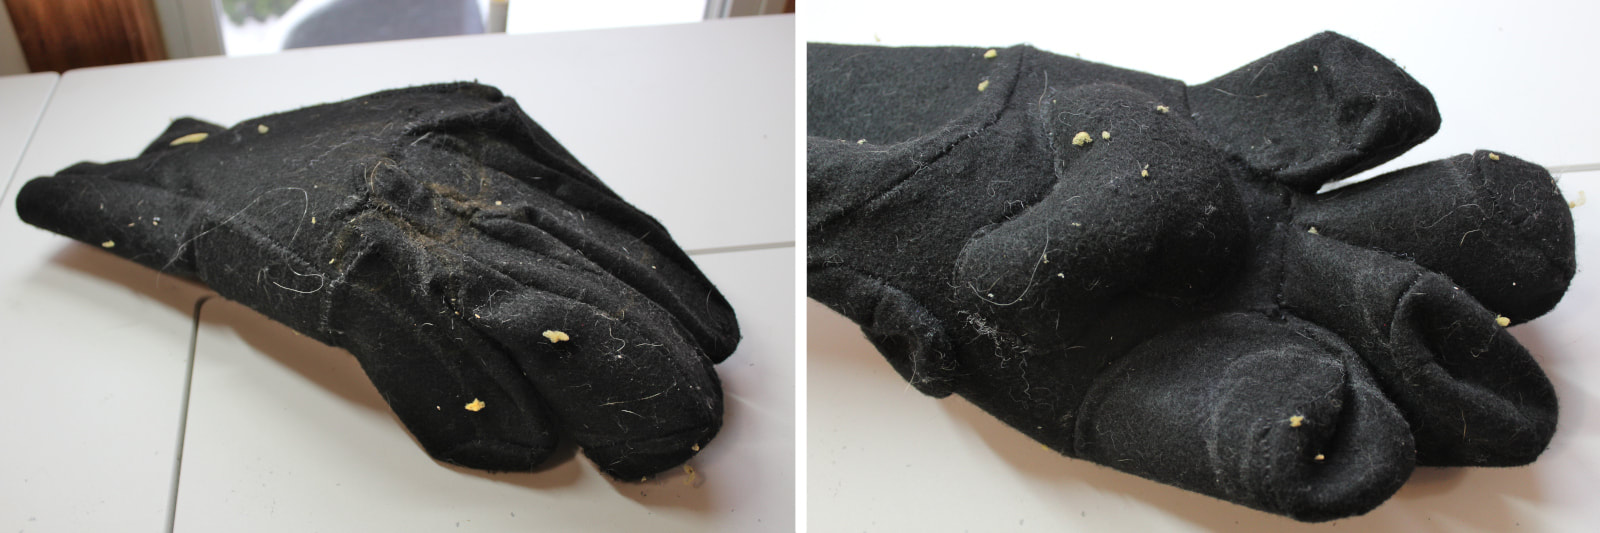
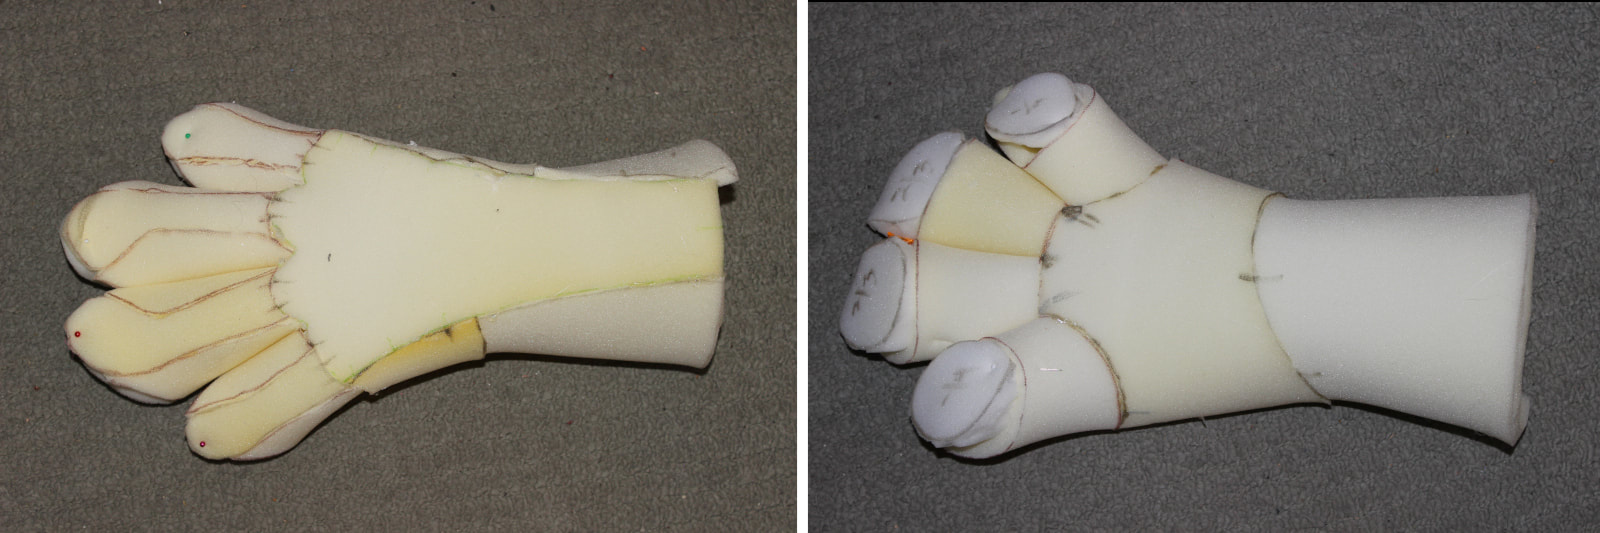
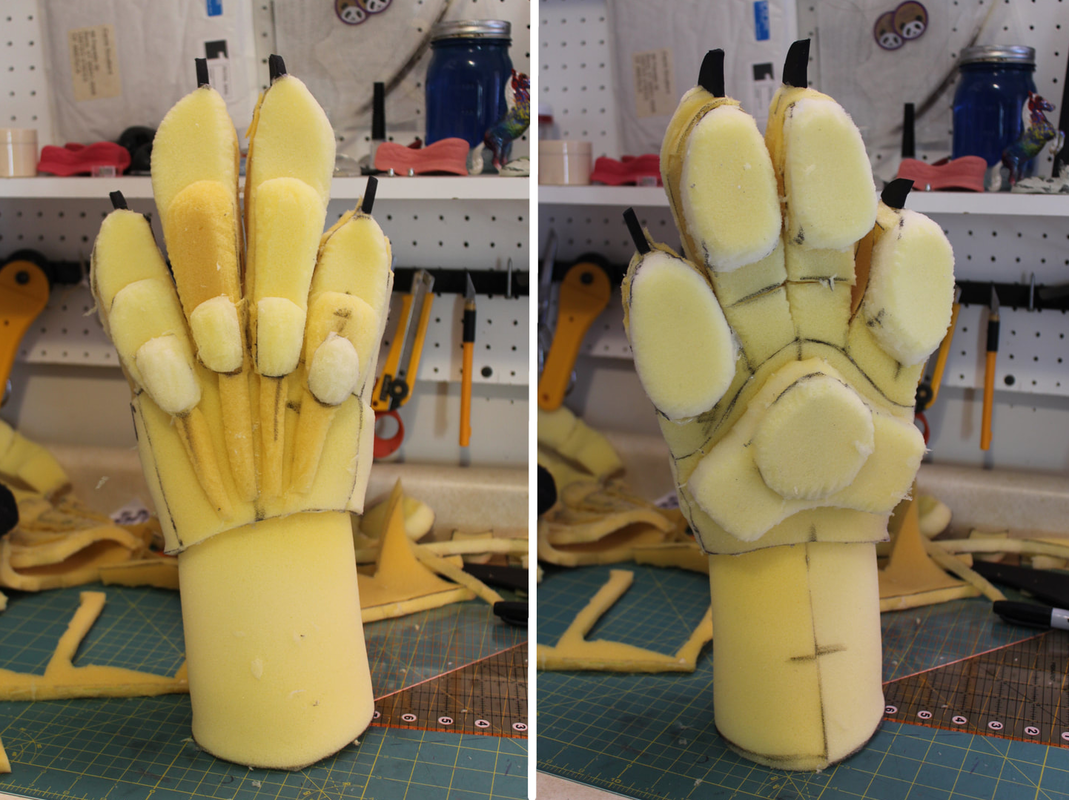
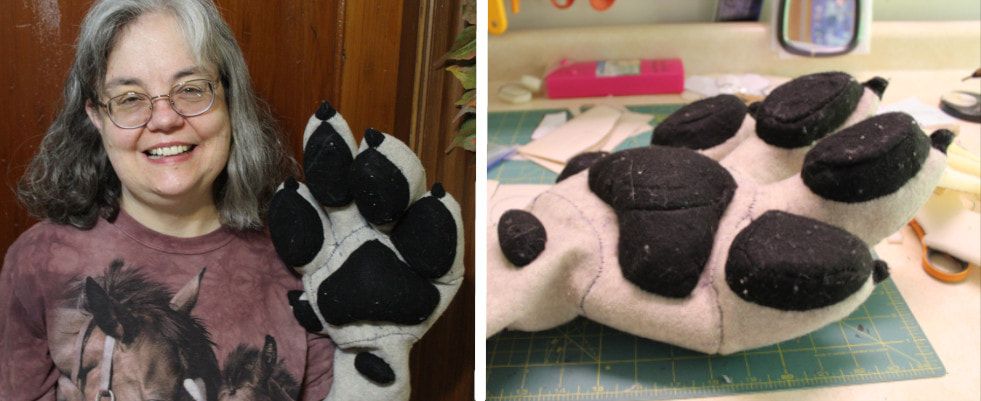
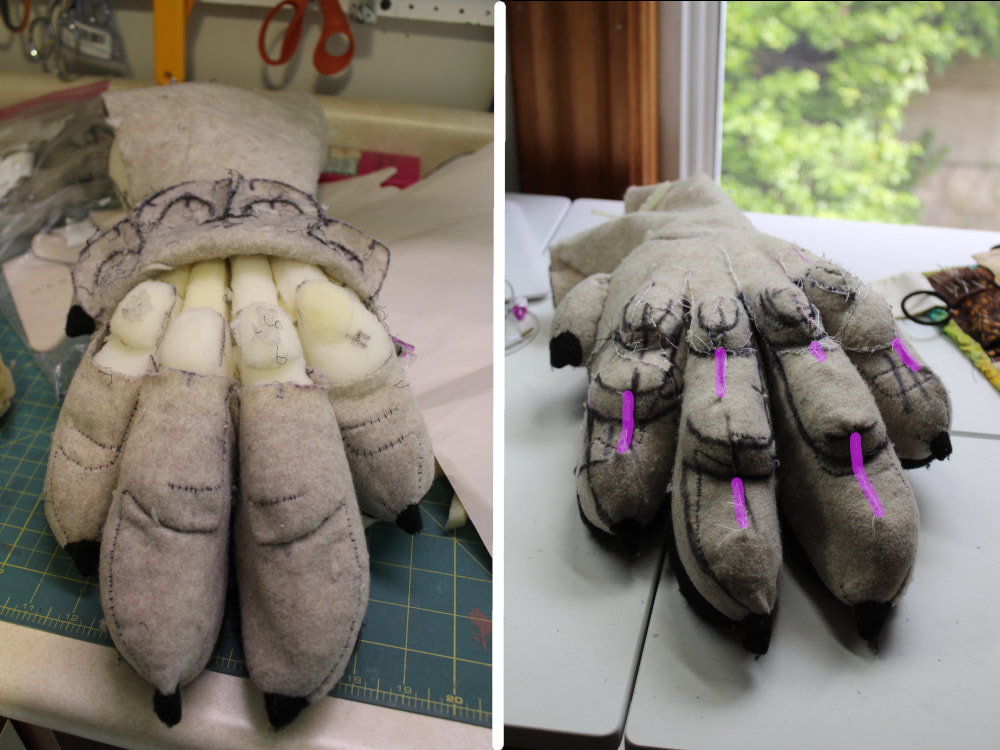
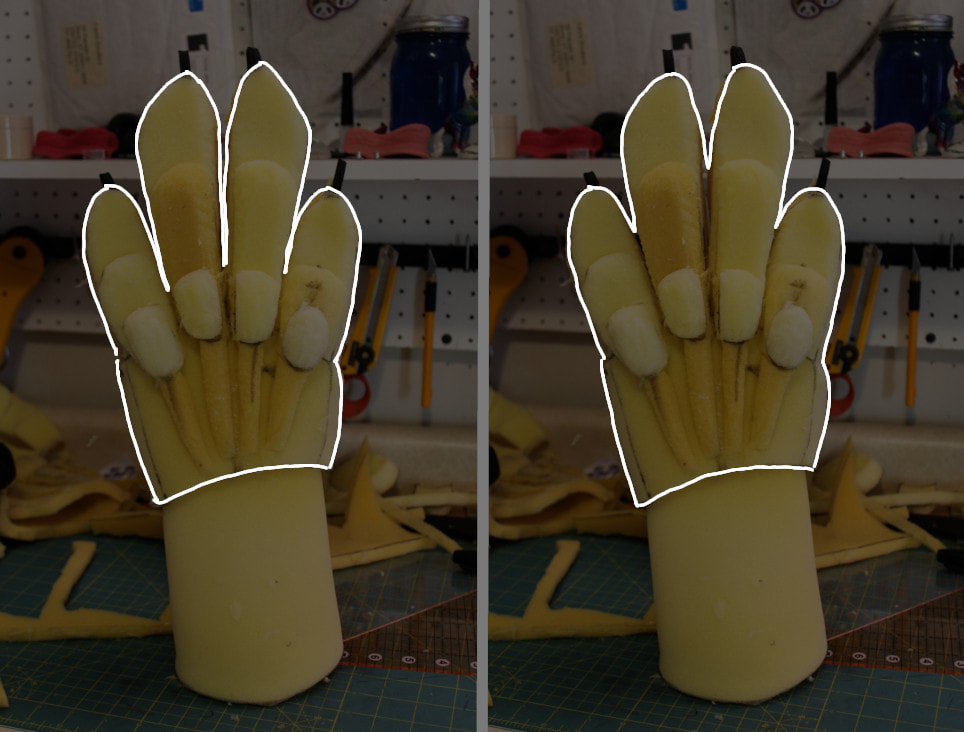
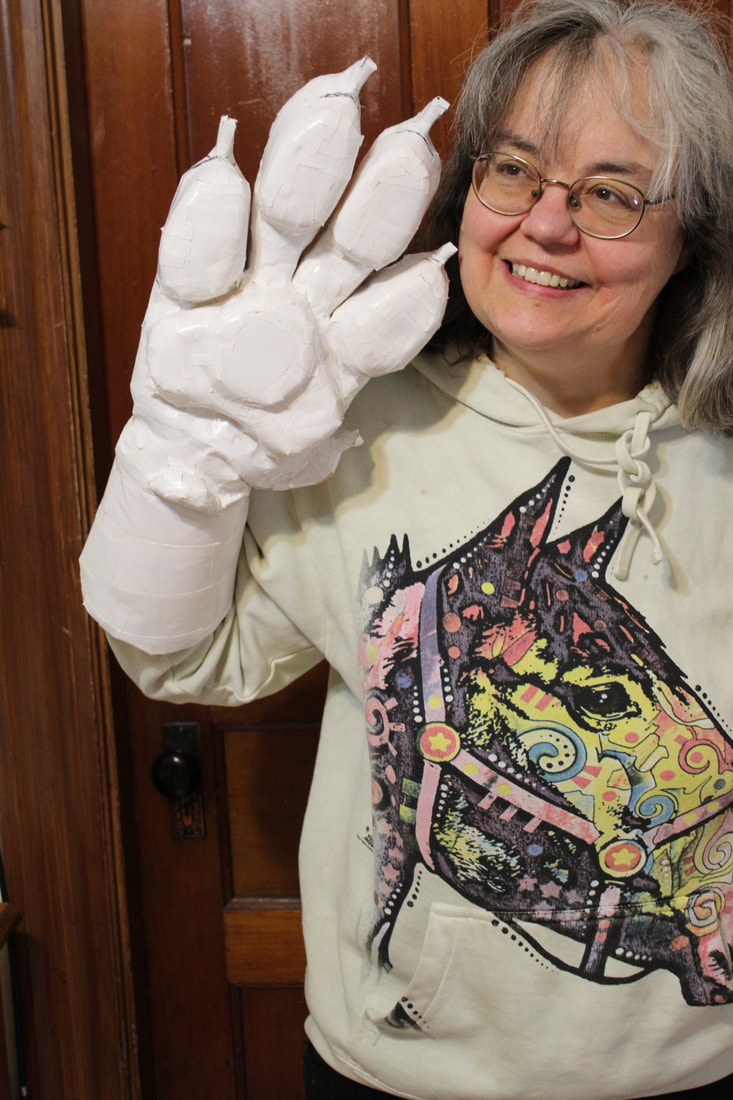
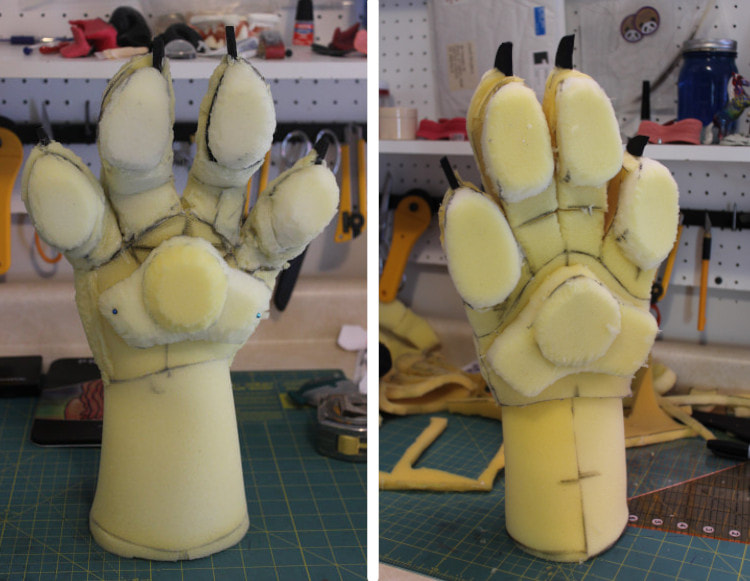
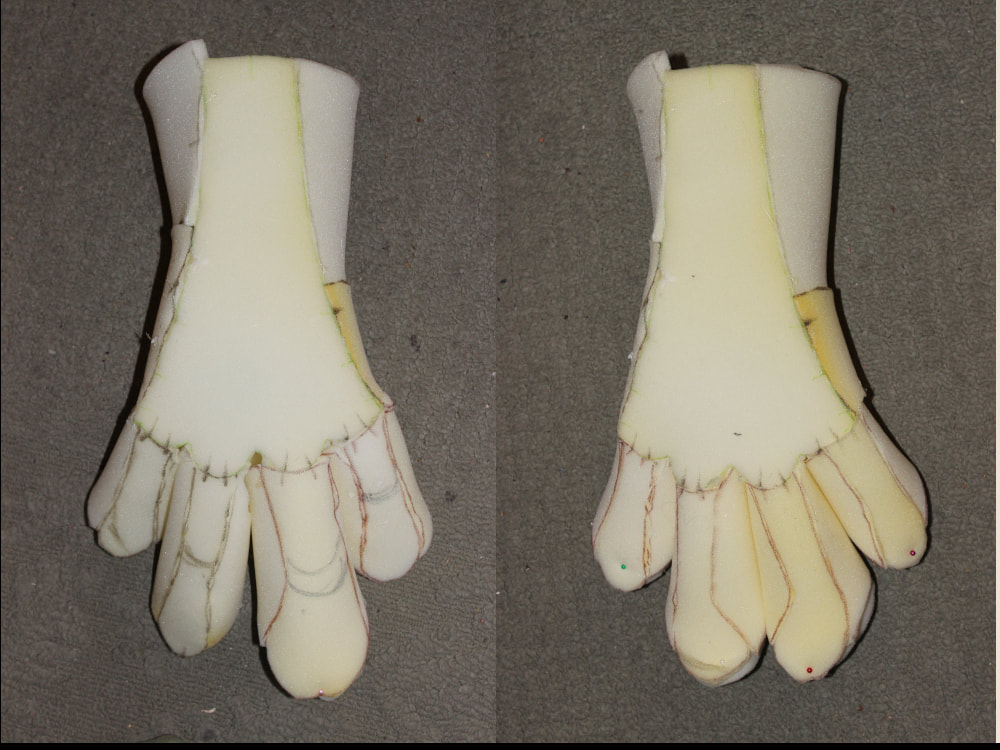
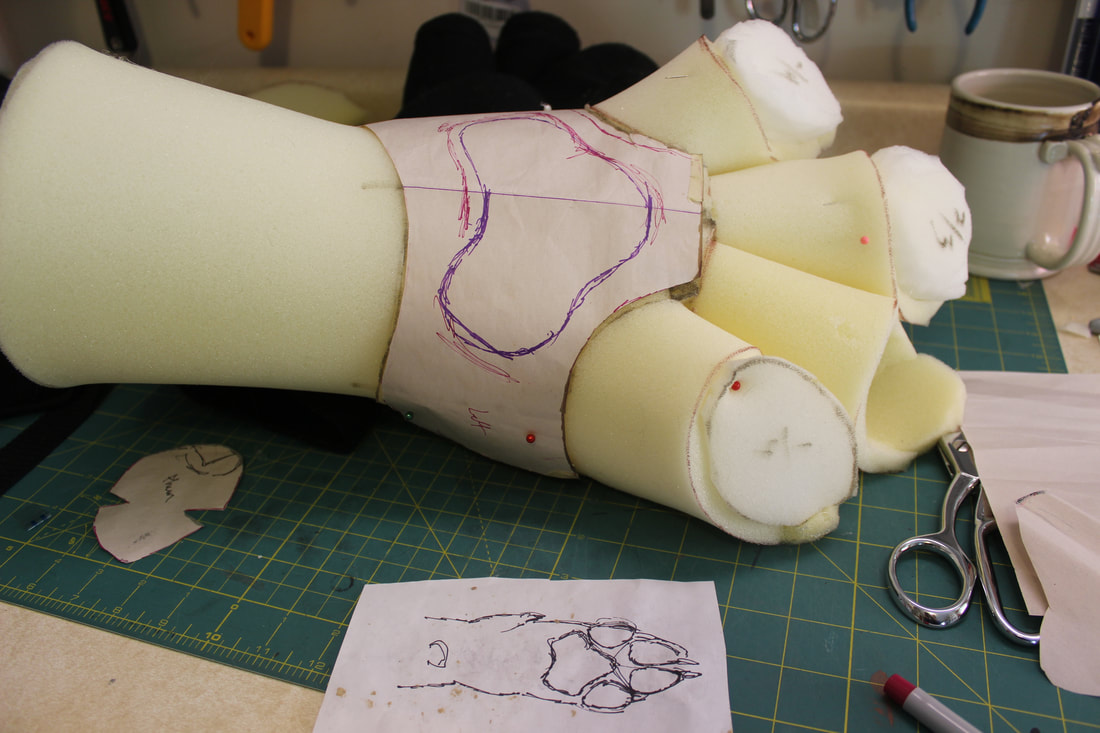
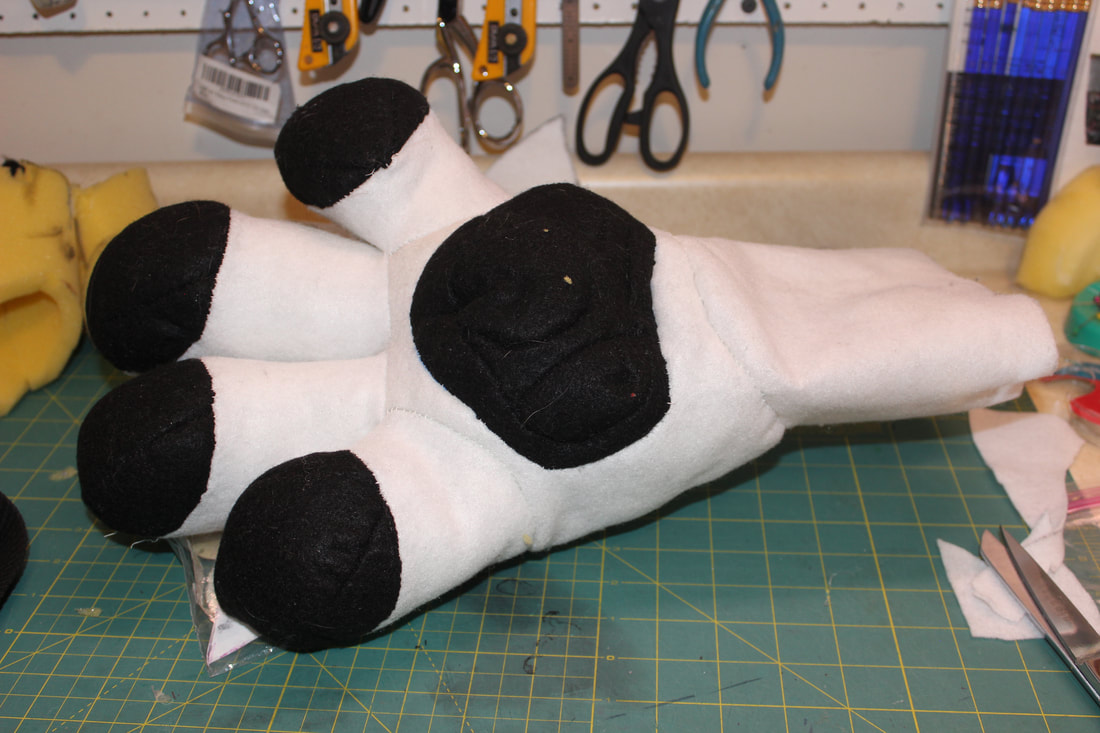
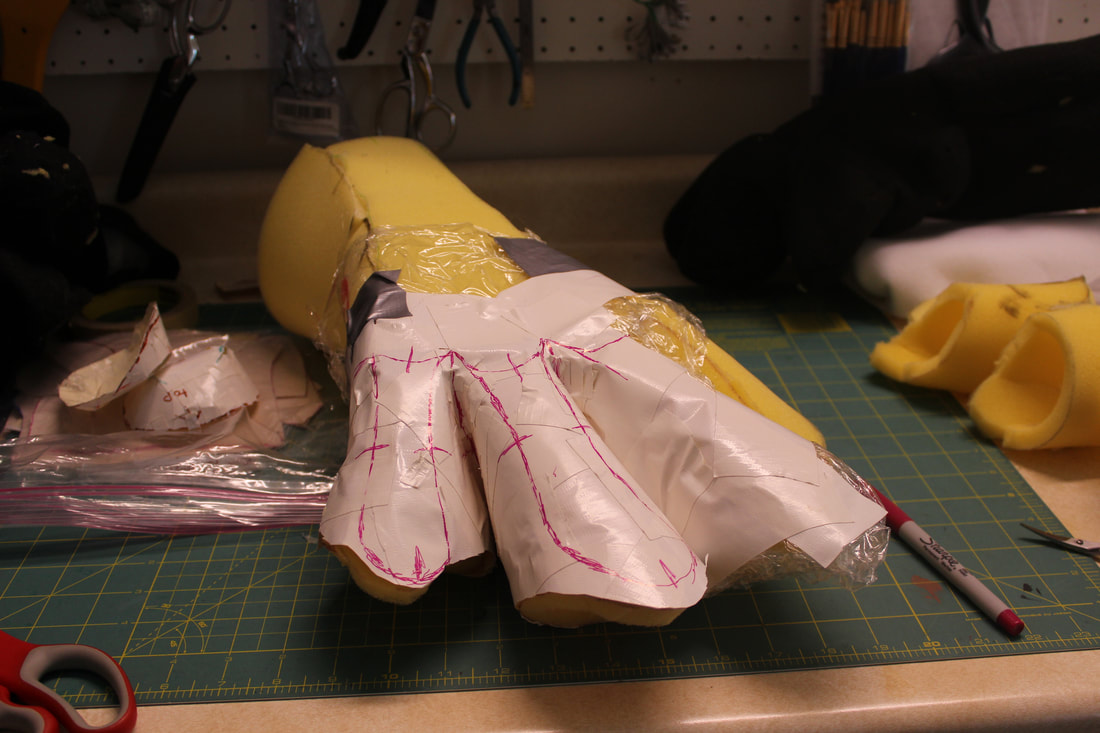
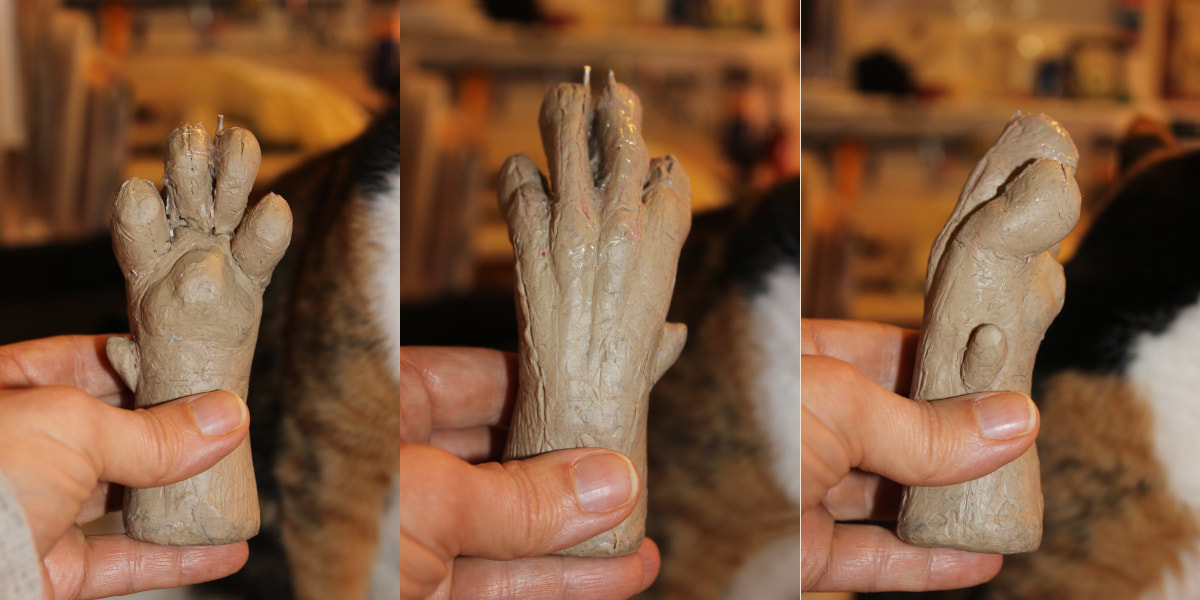
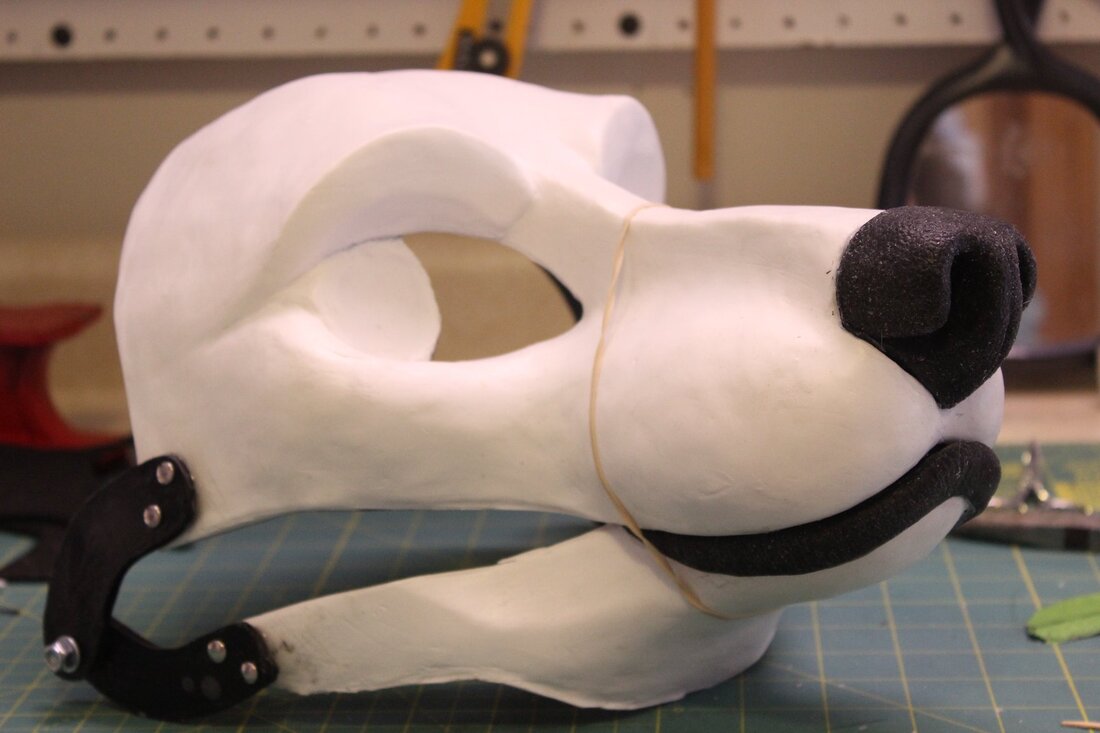
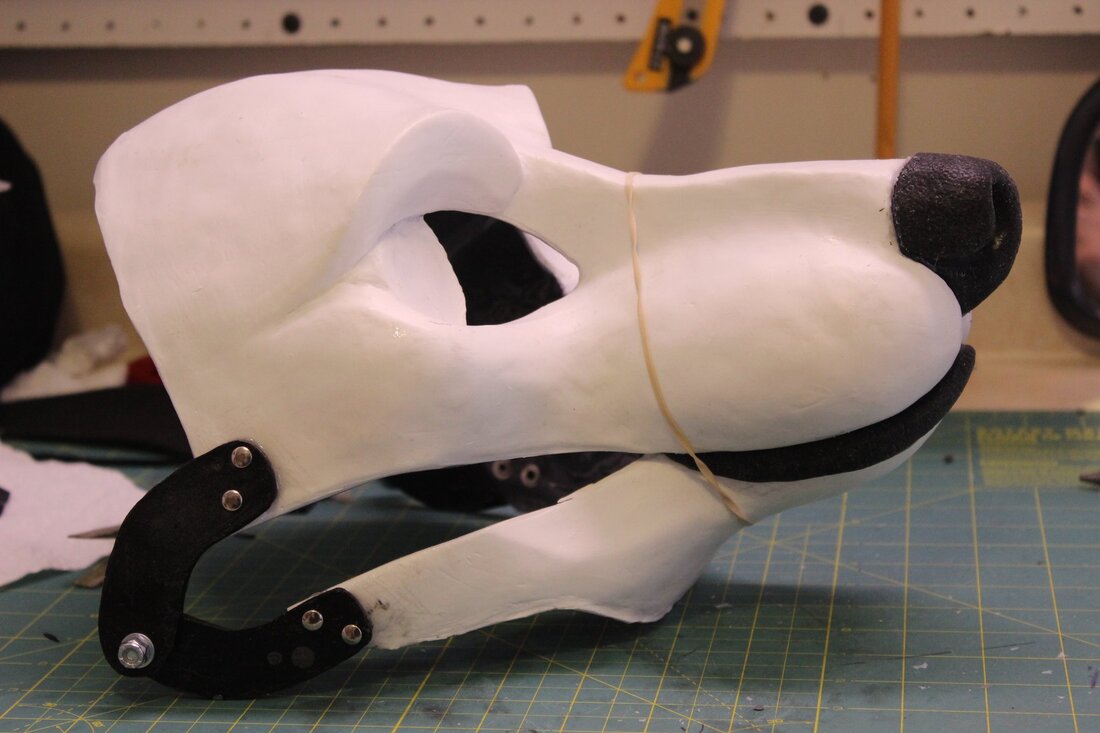
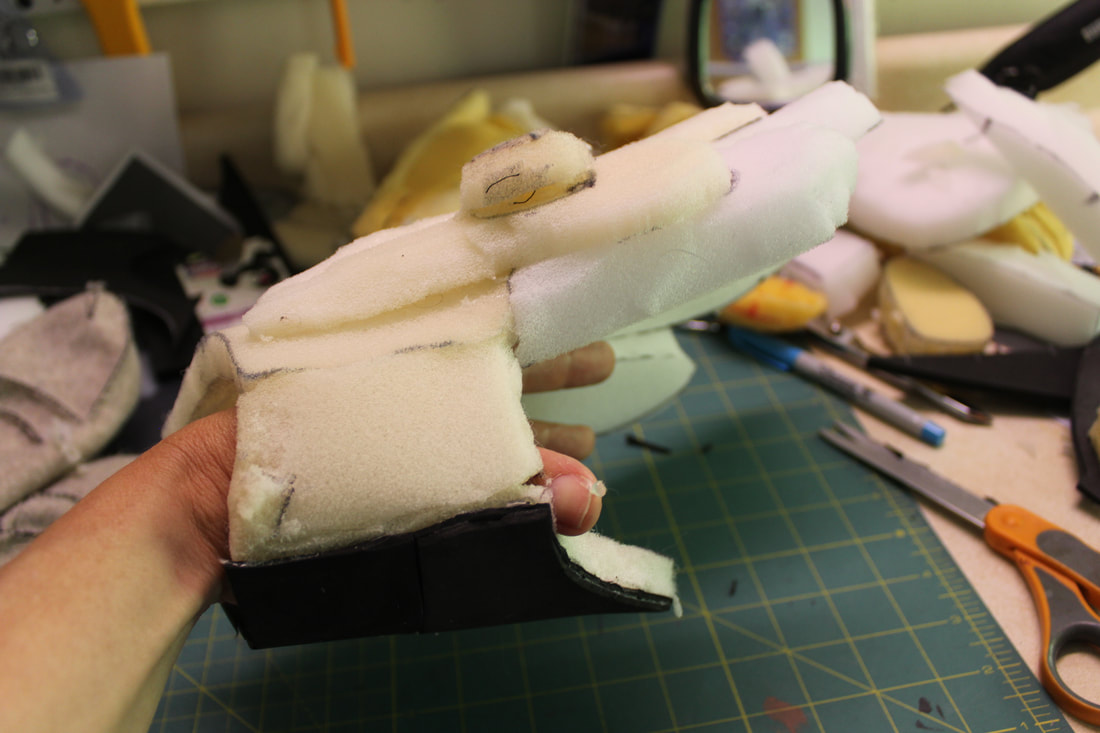
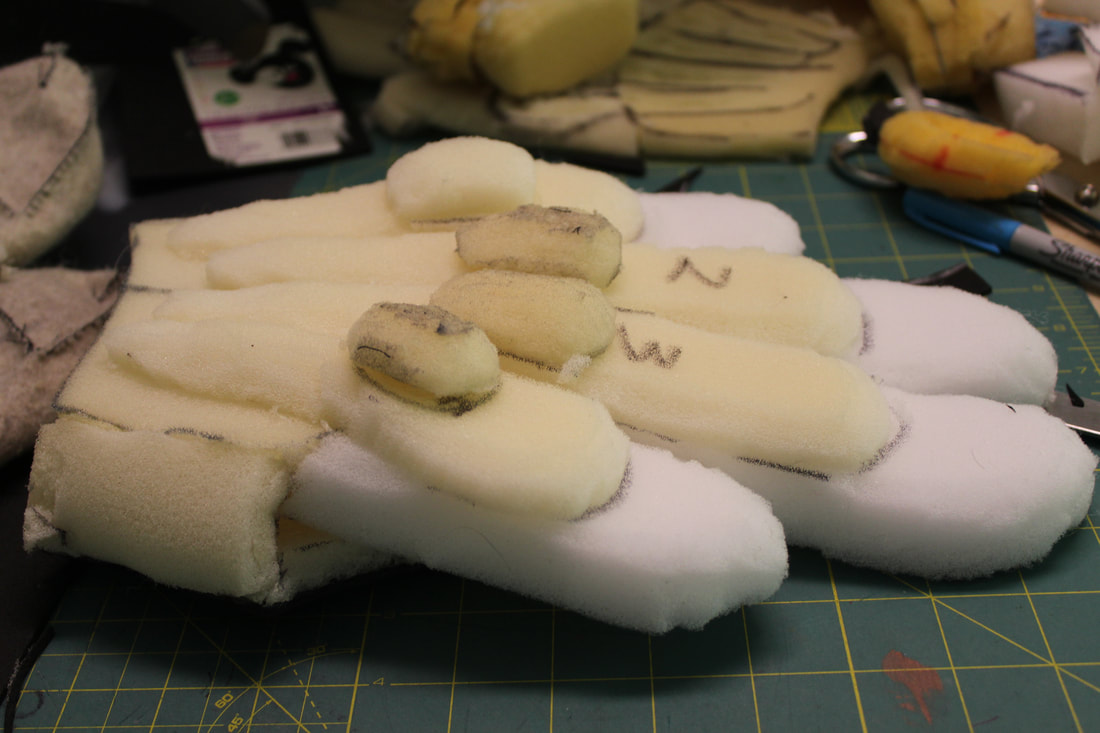
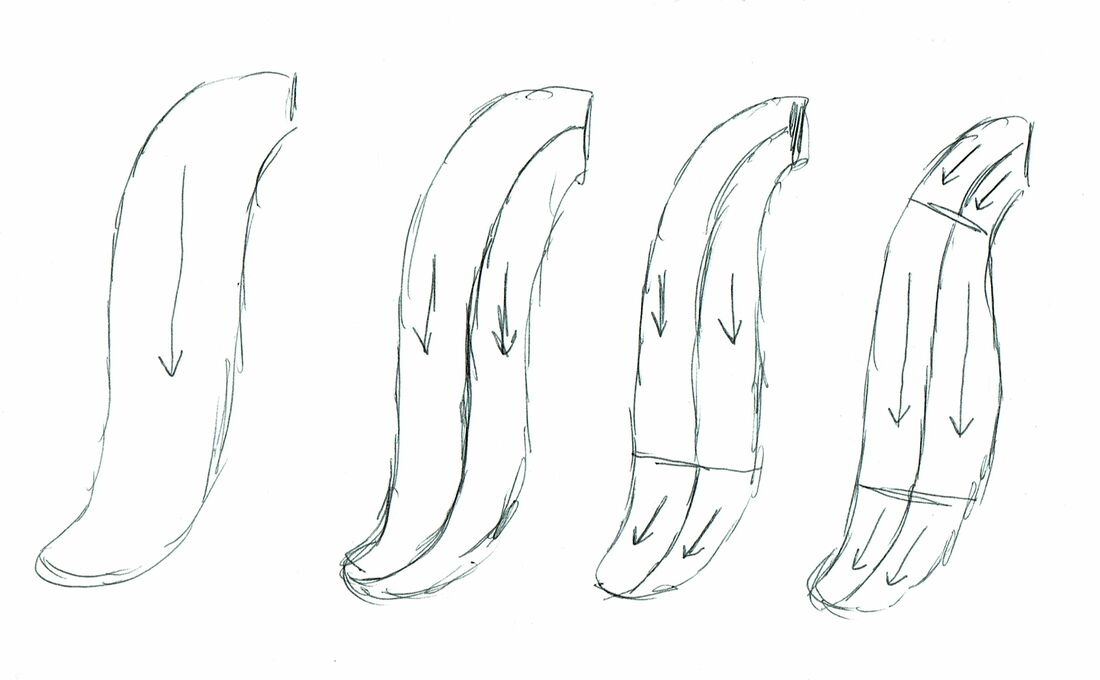
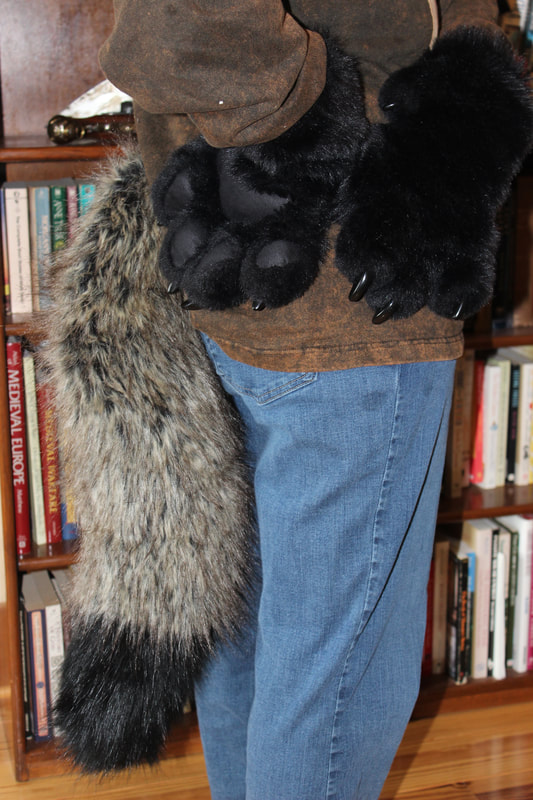
Above, one of the feet I've made since those previous two posts. The reason for making yet another paw was to try out the pattern reduced by 4%, as that would allow me to get the majority of pattern pieces on one sheet of 8" x 11" paper, making it easier for others to download them and print them out. This new paw looks fine at this size. I also used the internal foam structure described in this post to give it shape.
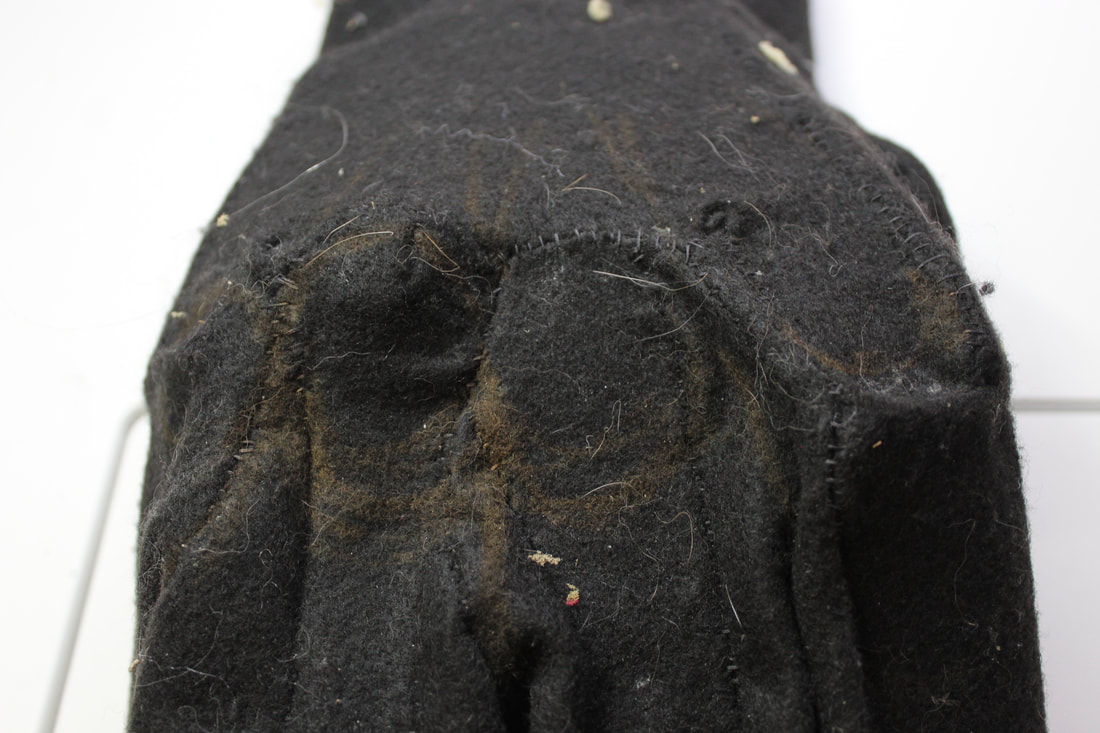
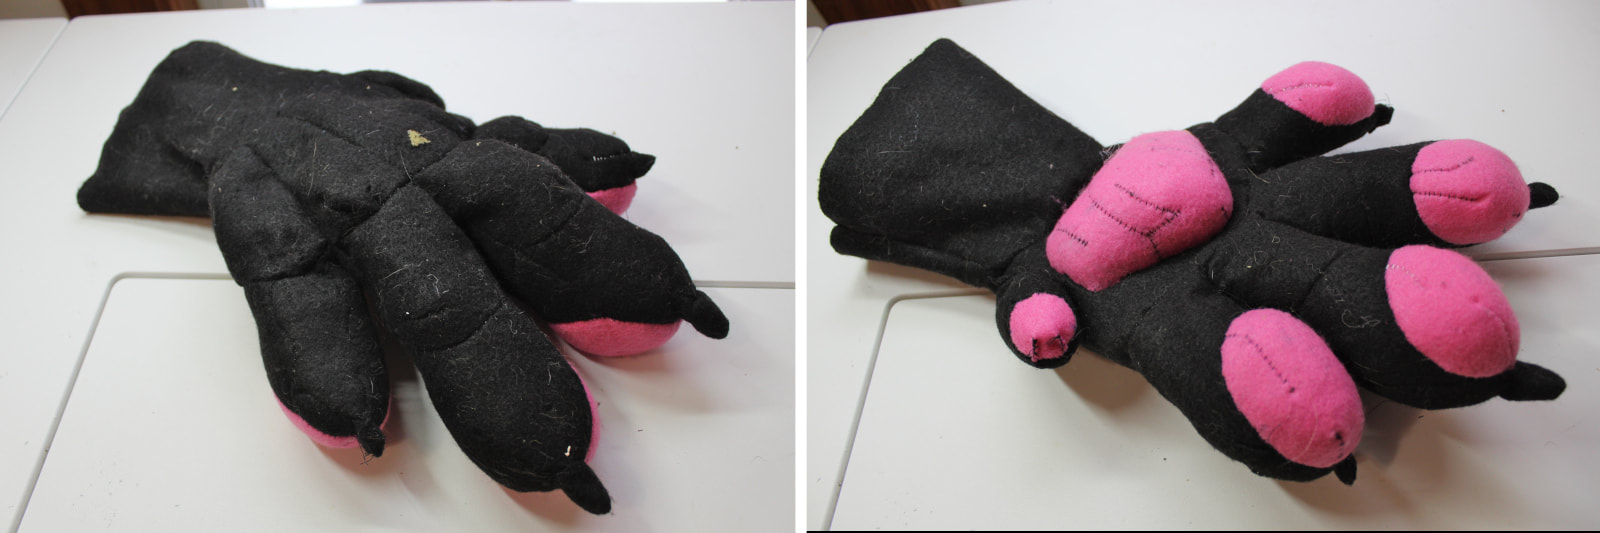
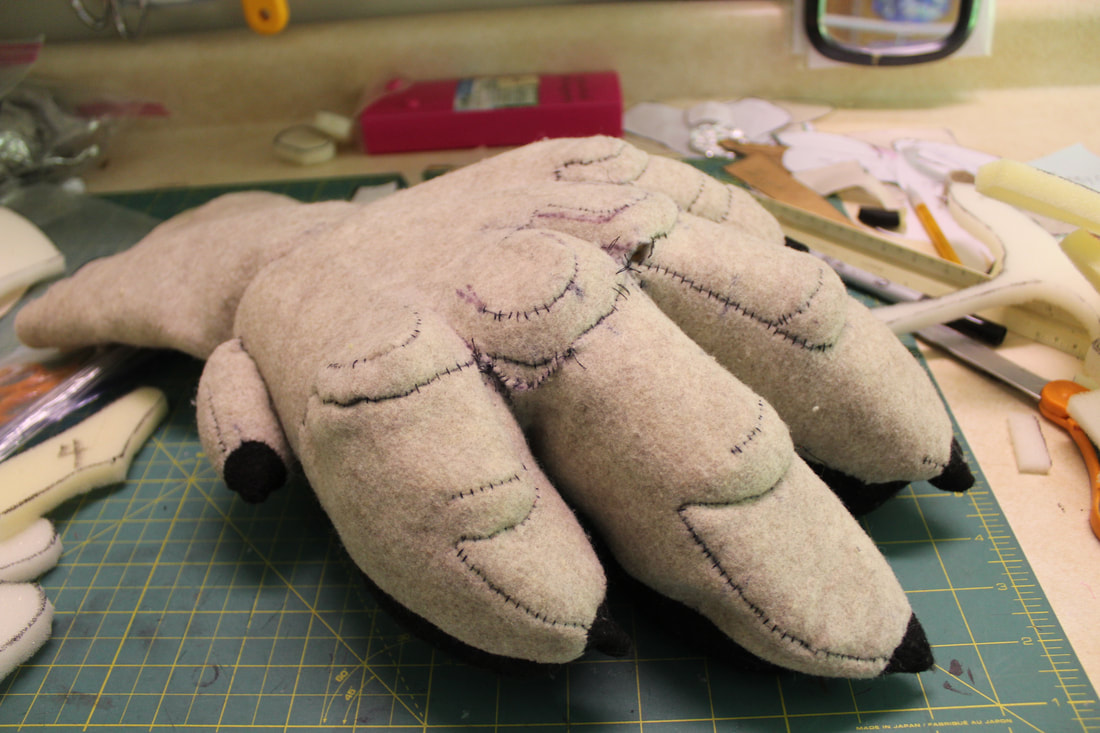
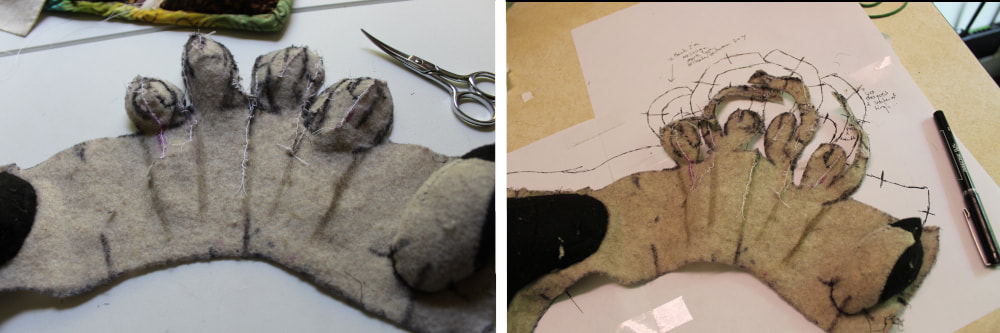
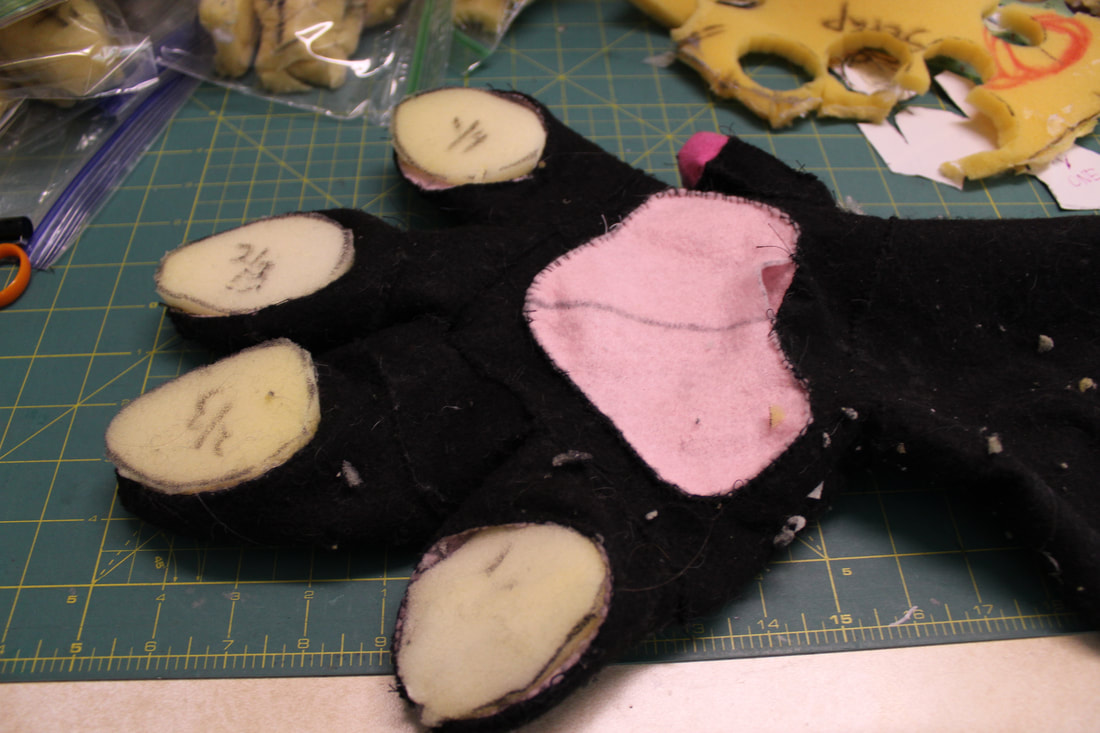
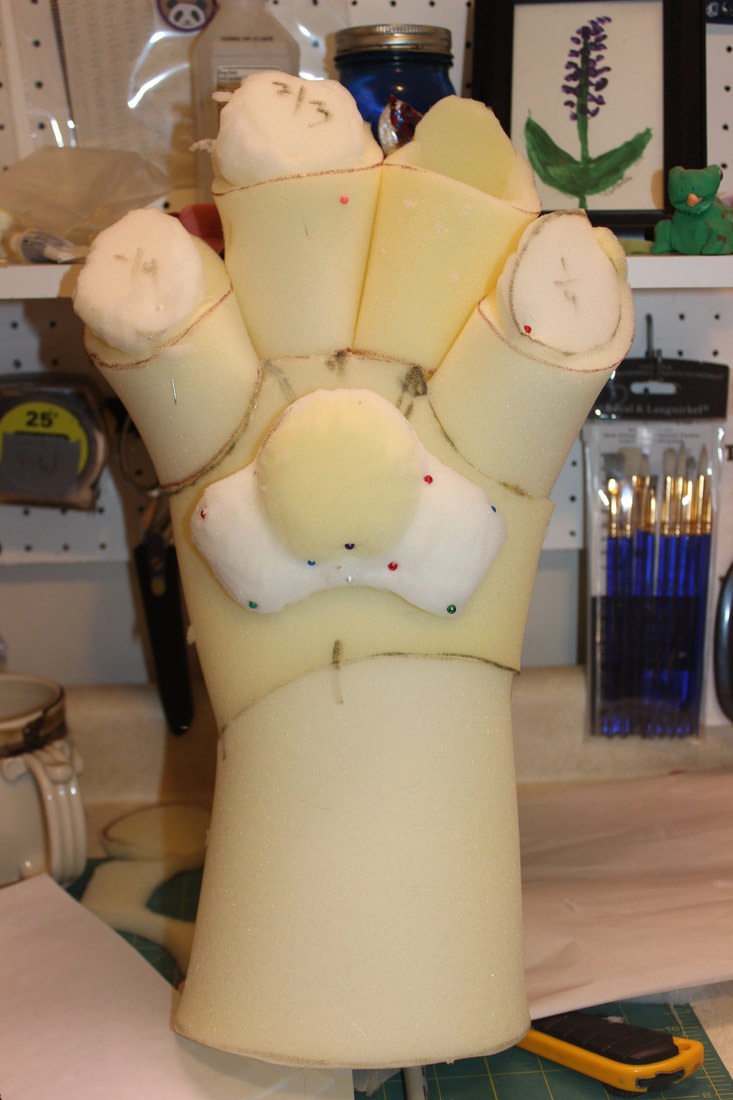
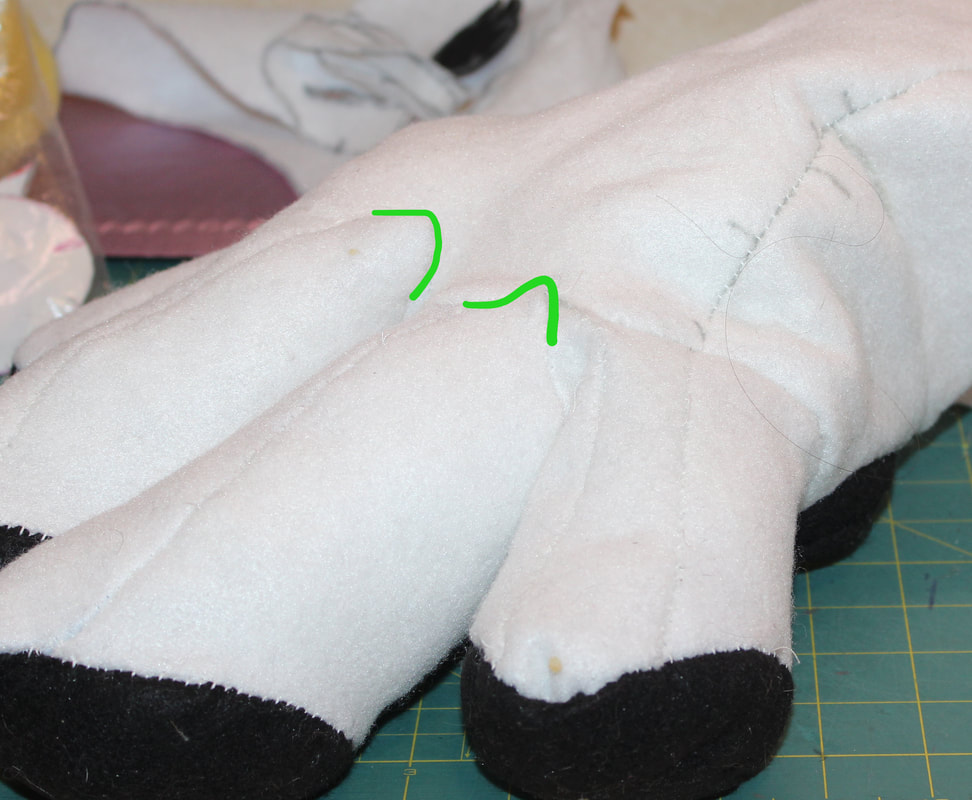
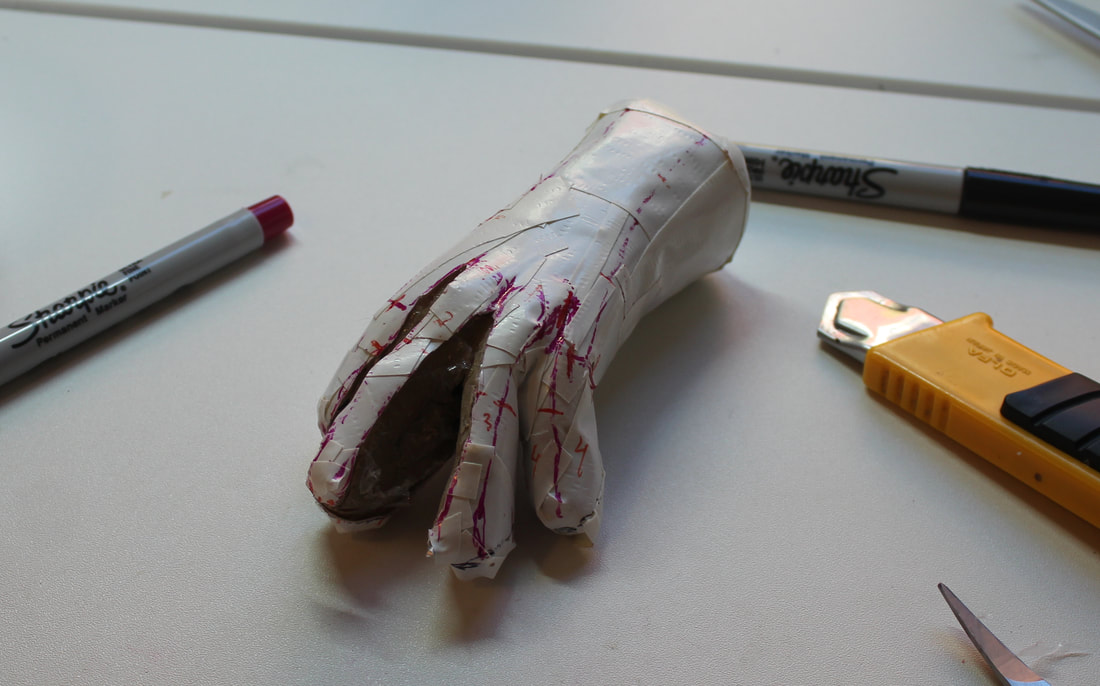
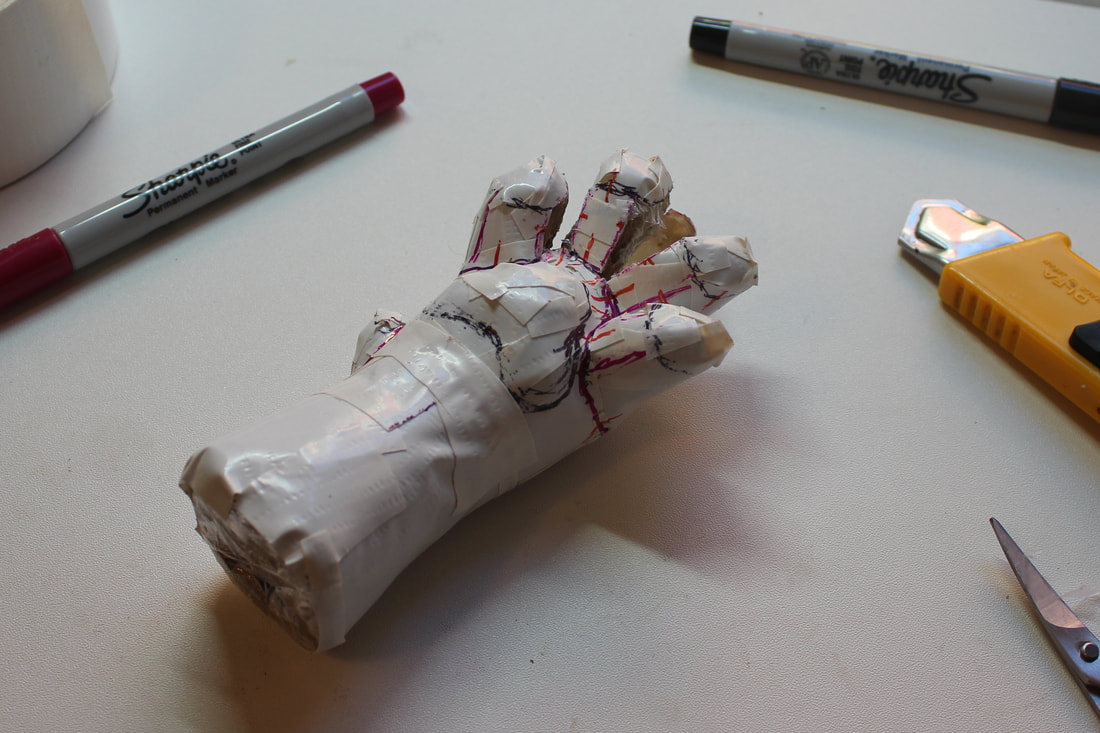
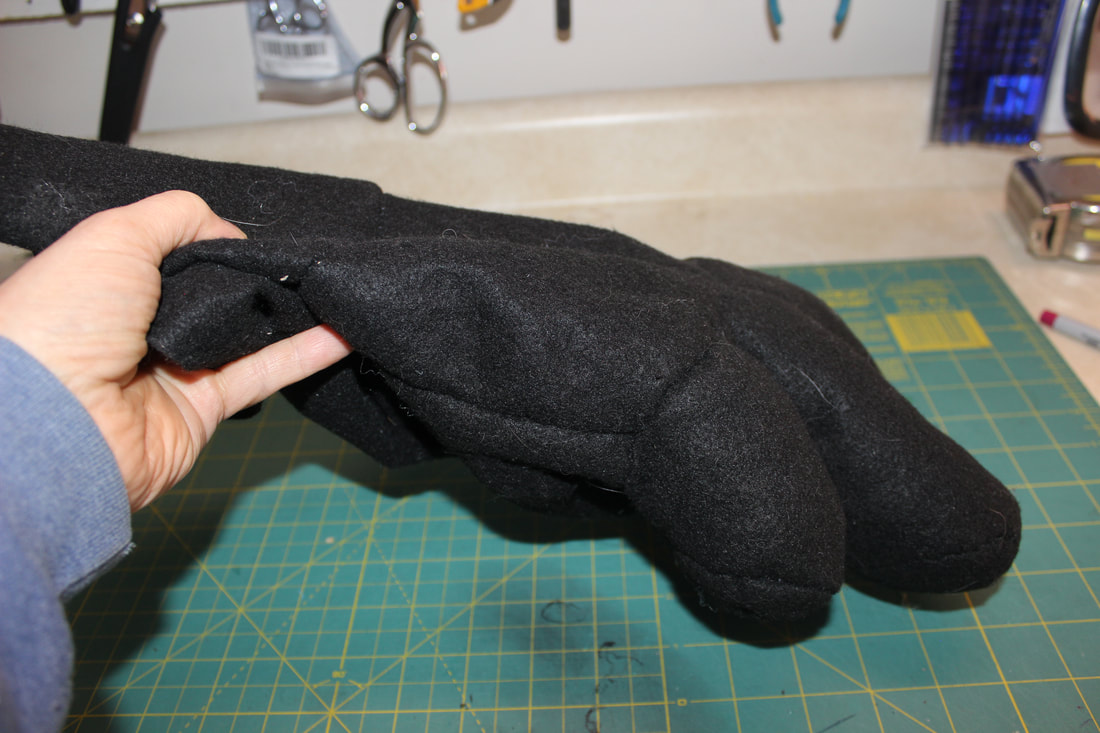
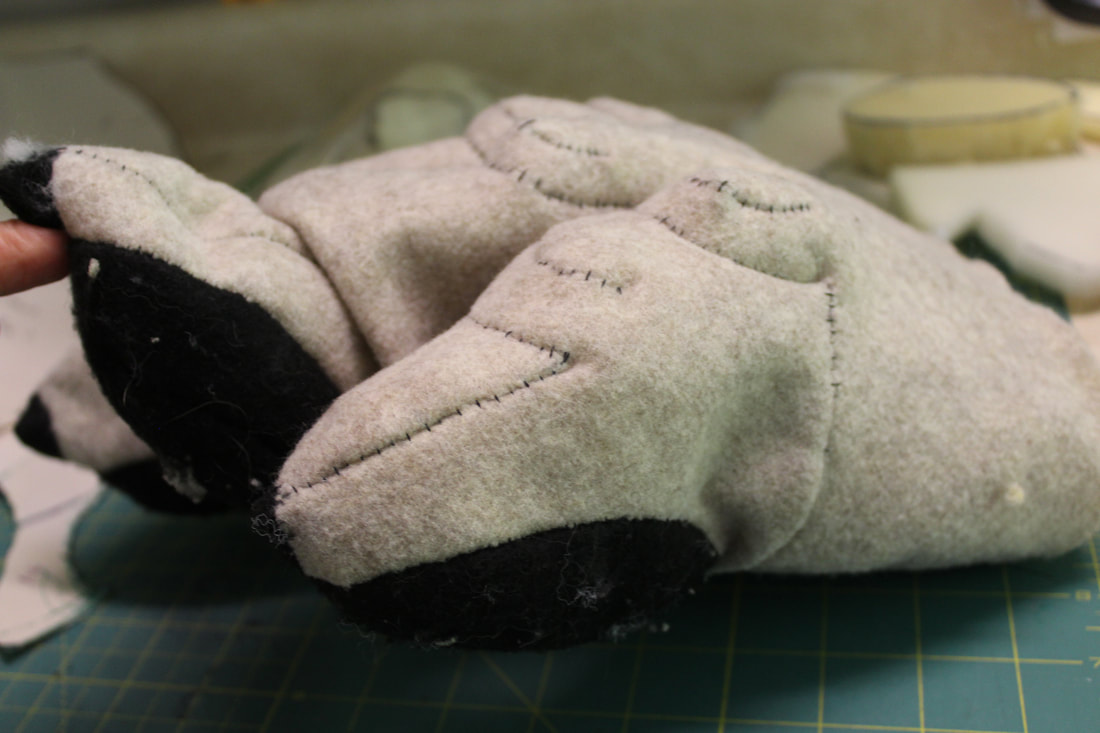
However this method began to present some challenges. One, I had a difficult time gluing the foam and the fabric together neatly, causing the fabric to bunch in places. (Check out that wrinkle on the top of that outer finger in the left hand photo.) Two, as the thickness of the foam built up inside, I had an increasingly difficult time turning the paw inside and right side out again, requiring some parts to be stitched together from the outside using a whip or ladder stitch. Thing is, sewing from the outside requires a fair bit of guesswork ,as all the guide marks are (duh) on the inside of the fabric. You can see above that the area between the palm and sleeve is bunchy where the sleeve got pulled a little too far to one side. You can also see the distinct lack or a dewclaw or palmar or carpal pad, which would also have been needed to sew on from the outside. At that point I was thinking I needed to try something else anyway.
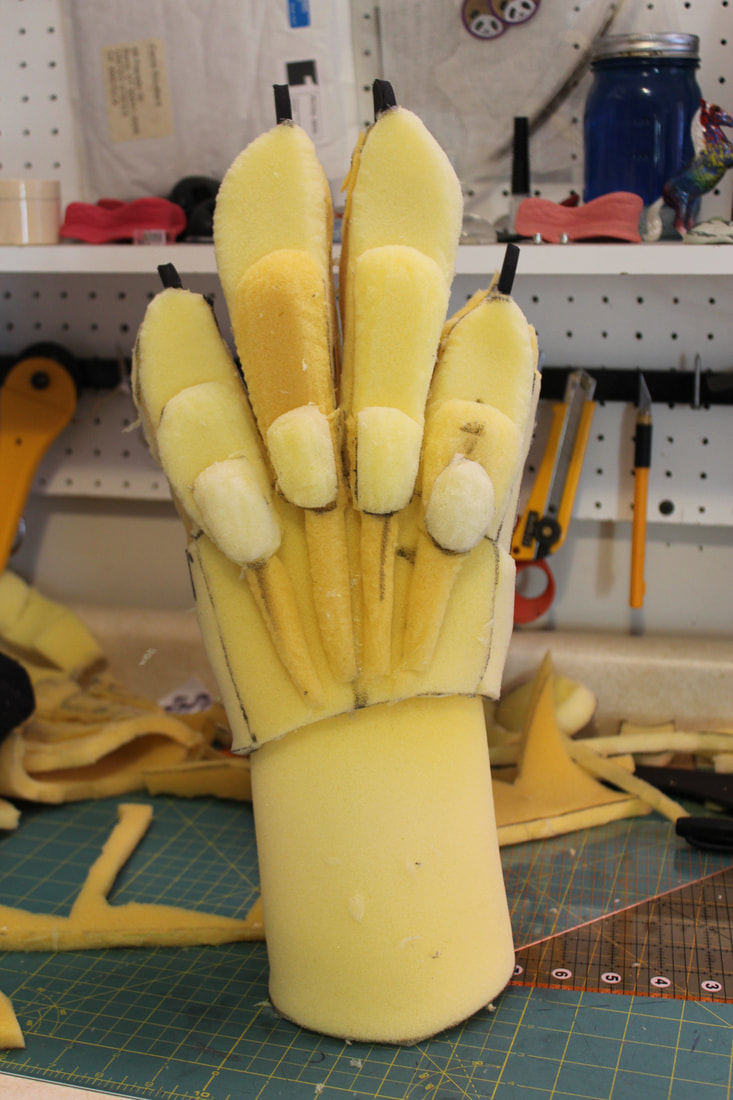
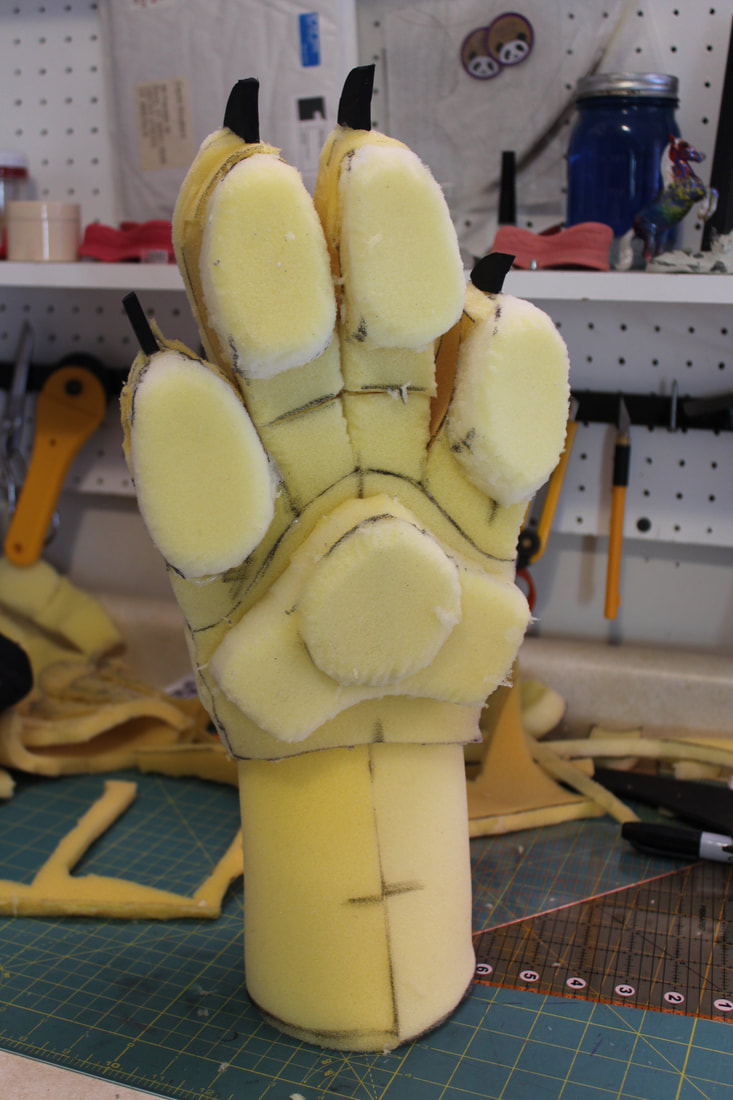
And then, a brainstorm. Foam interfacing!! What would happen if I used interfacing to support the paws? I haven't seen it used at all in fursuits, as it is mostly ironed on and fake fur melts. But, could I use the sew in kind? Lets see!
However this method began to present some challenges. One, I had a difficult time gluing the foam and the fabric together neatly, causing the fabric to bunch in places. (Check out that wrinkle on the top of that outer finger in the left hand photo.) Two, as the thickness of the foam built up inside, I had an increasingly difficult time turning the paw inside and right side out again, requiring some parts to be stitched together from the outside using a whip or ladder stitch. Thing is, sewing from the outside requires a fair bit of guesswork ,as all the guide marks are (duh) on the inside of the fabric. You can see above that the area between the palm and sleeve is bunchy where the sleeve got pulled a little too far to one side. You can also see the distinct lack or a dewclaw or palmar or carpal pad, which would also have been needed to sew on from the outside. At that point I was thinking I needed to try something else anyway.
And then, a brainstorm. Foam interfacing!! What would happen if I used interfacing to support the paws? I haven't seen it used at all in fursuits, as it is mostly ironed on and fake fur melts. But, could I use the sew in kind? Lets see!

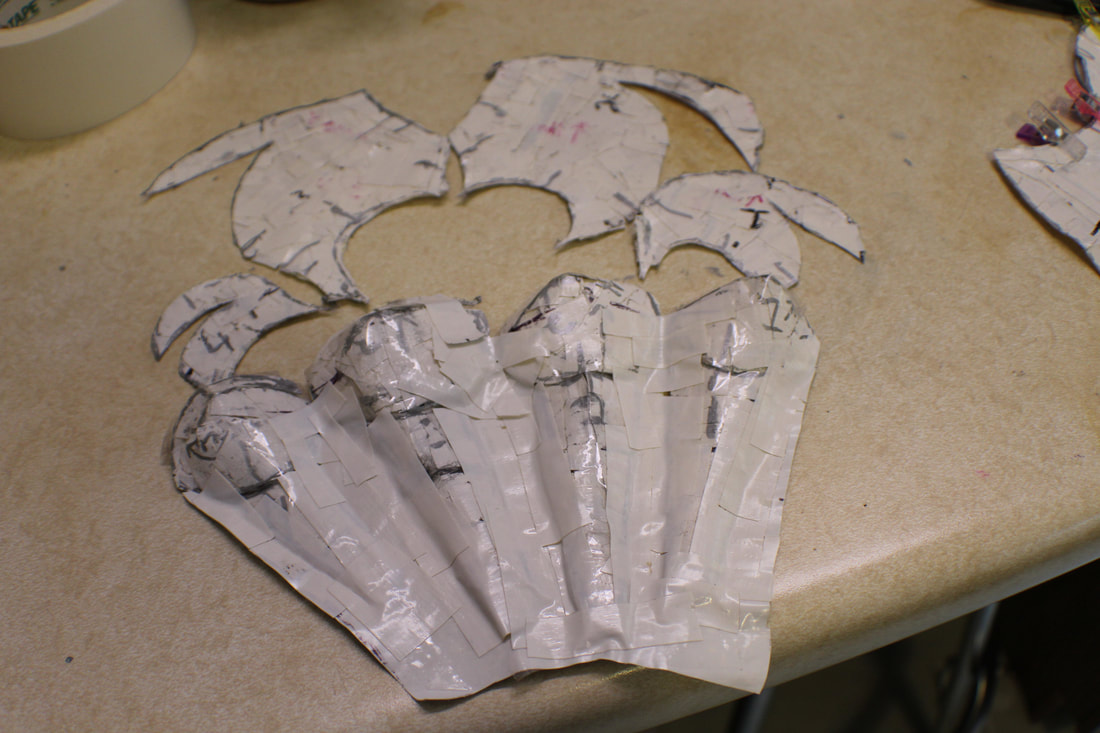
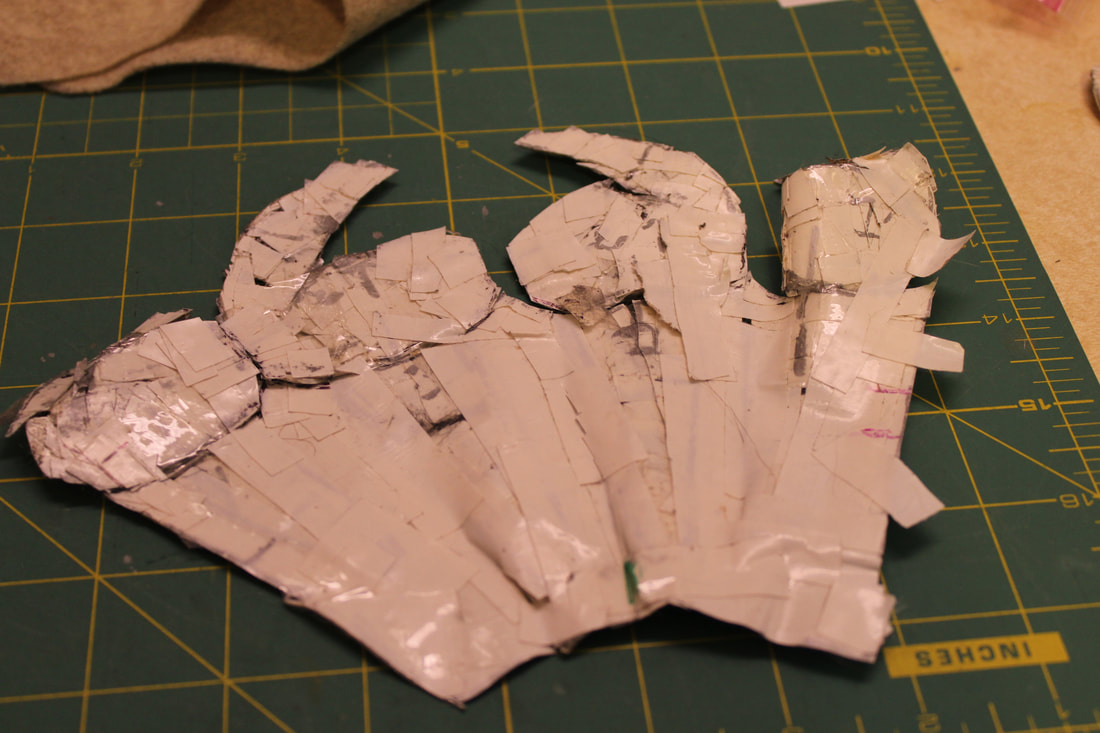
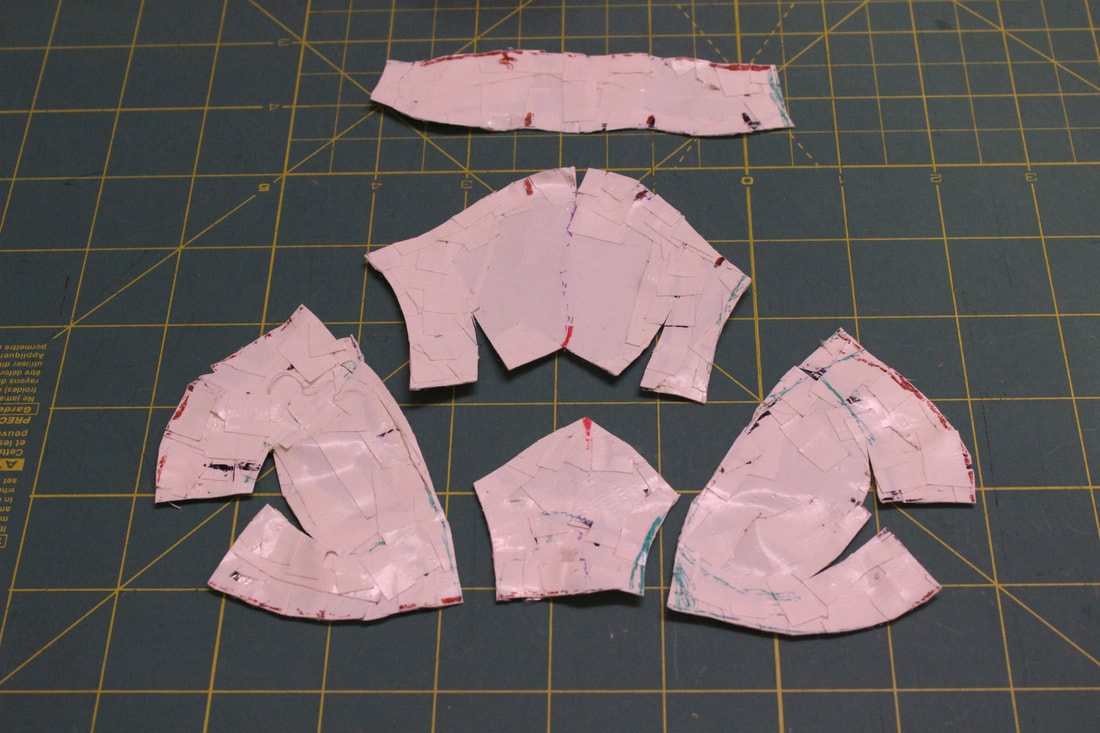
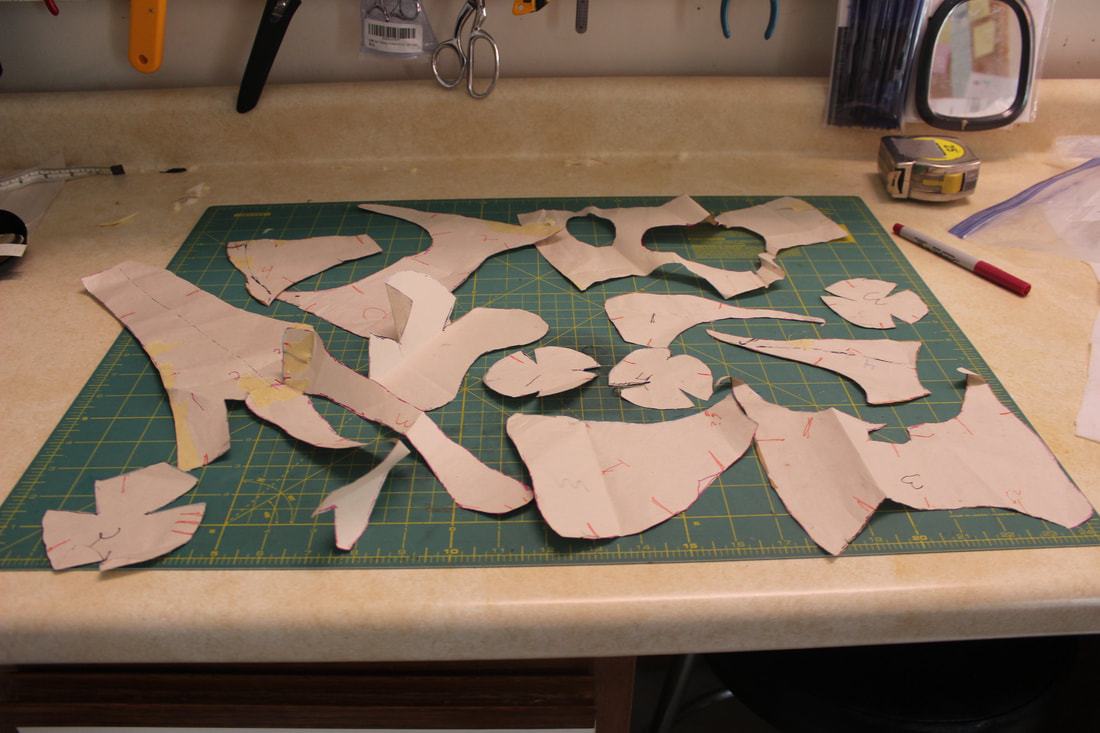
First, printing and cutting out the patterns. Part of me can't believe I haven't posted pics of these before, as they've been the total focus of my studio work for months.

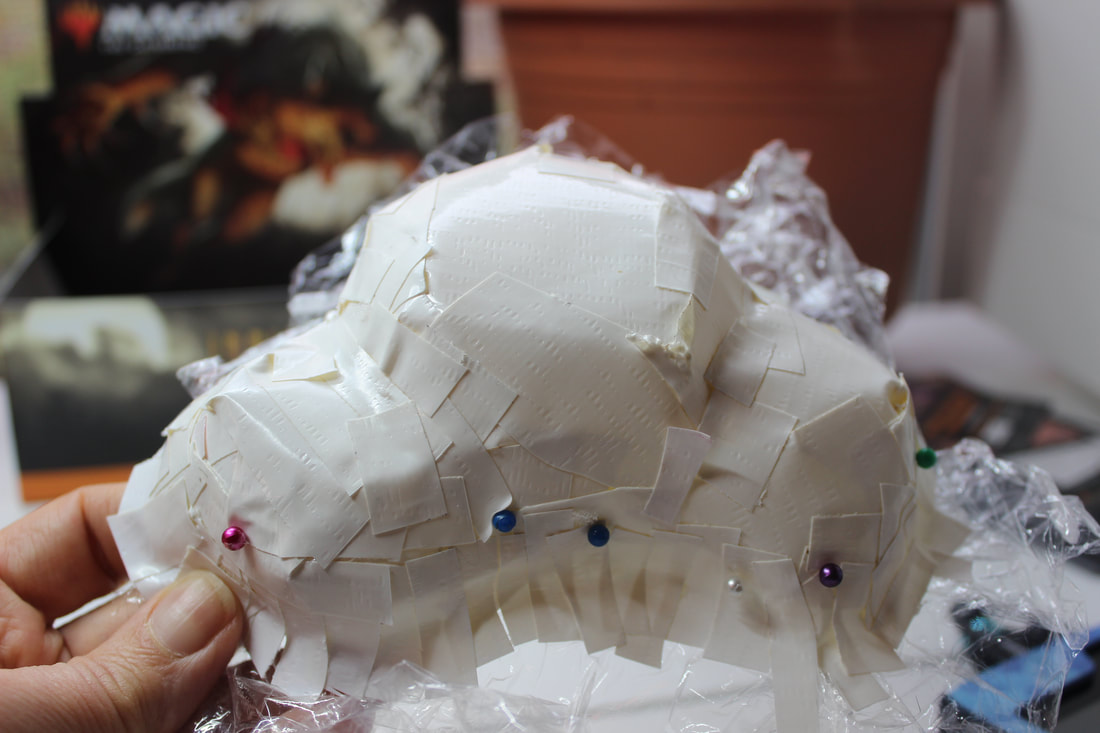
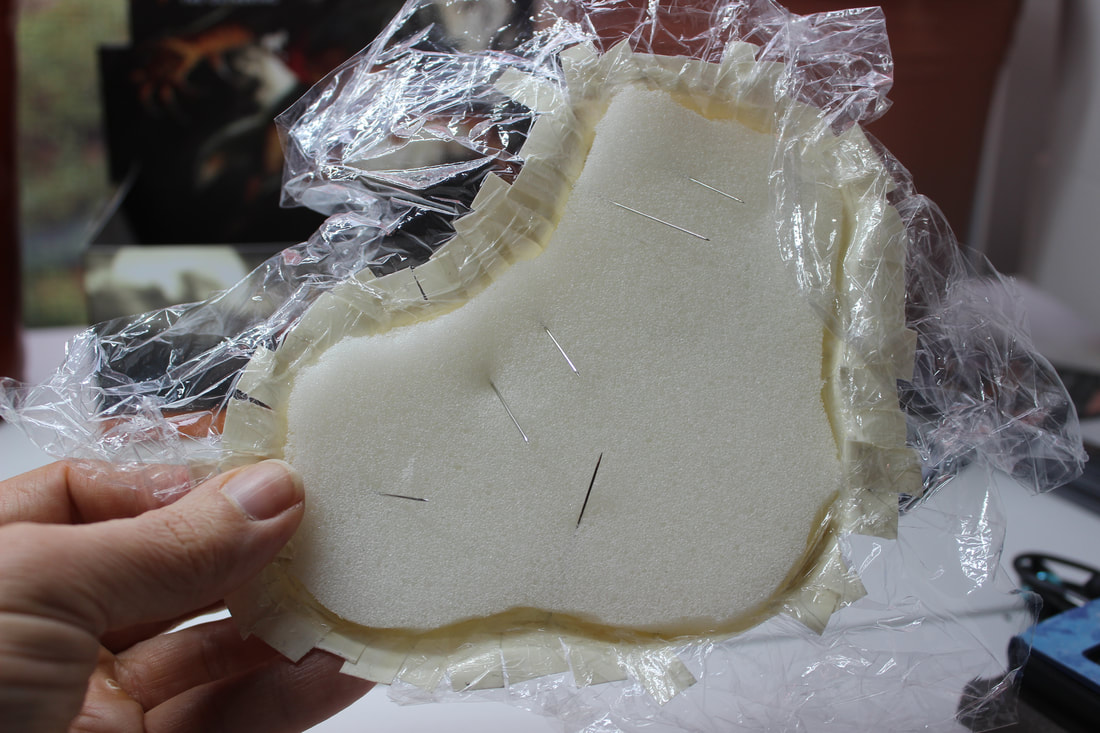
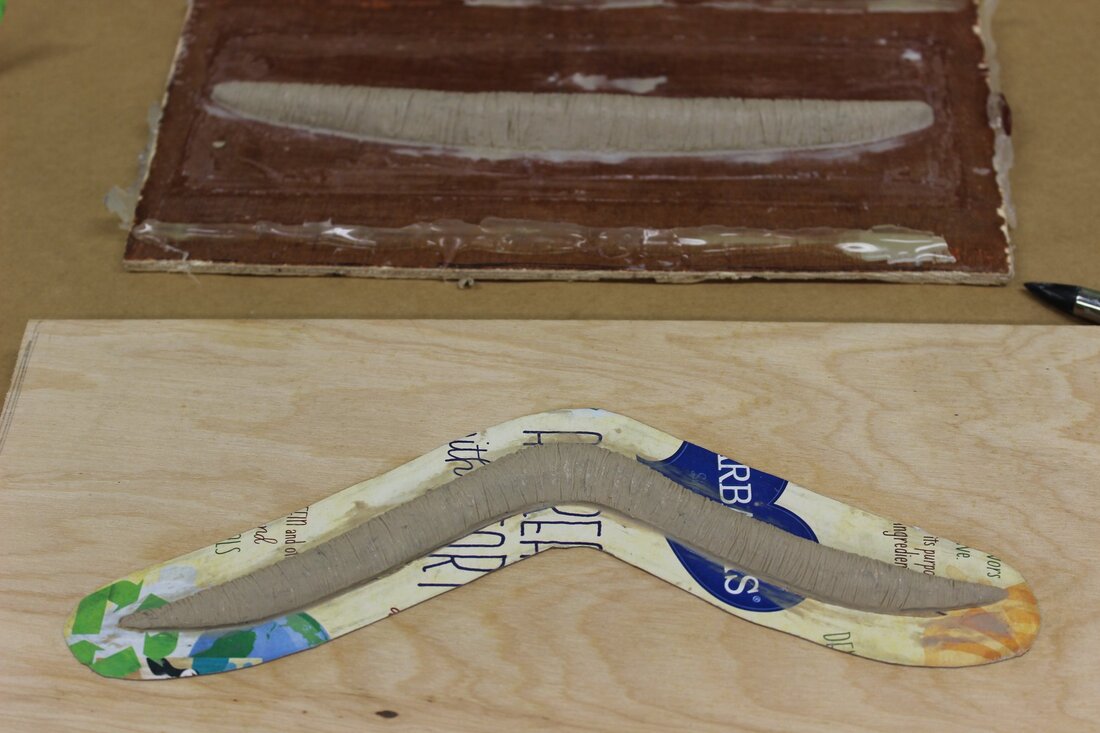
Here I've attached the patterns to 1/4" plain foam interfacing with temporary spray on glue and traced around them. I could do this without the glue but I find the patterns shift around a lot that way, and frustrate the hell out of me.

Cutting out the foam pieces and removing the patterns.

Attaching the foam pieces to the fur using temporary spray, being careful to align the direction of the fur on the fabric with the direction of the fur indicated on the pattern pieces.

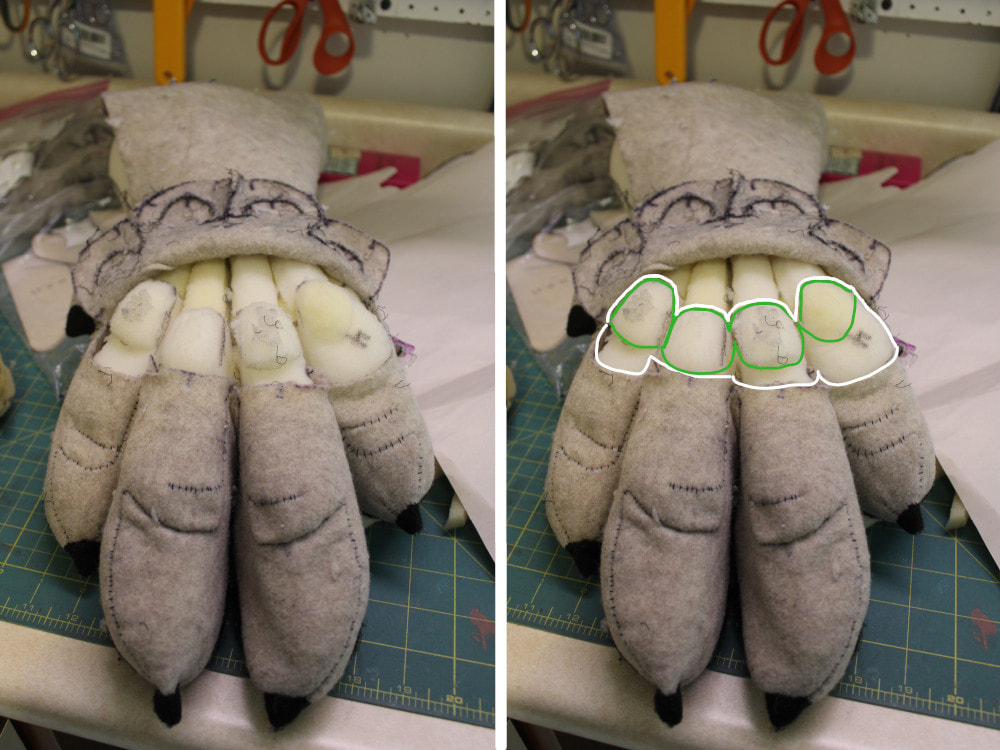
Cutting out the pieces again. I left a tiny 1/16" lip of fabric hanging over the foam, as this will help insure when I sew everything together I'll catch both layers with the needle.

A view of the tiny lip of fabric sticking out from the layers of foam.

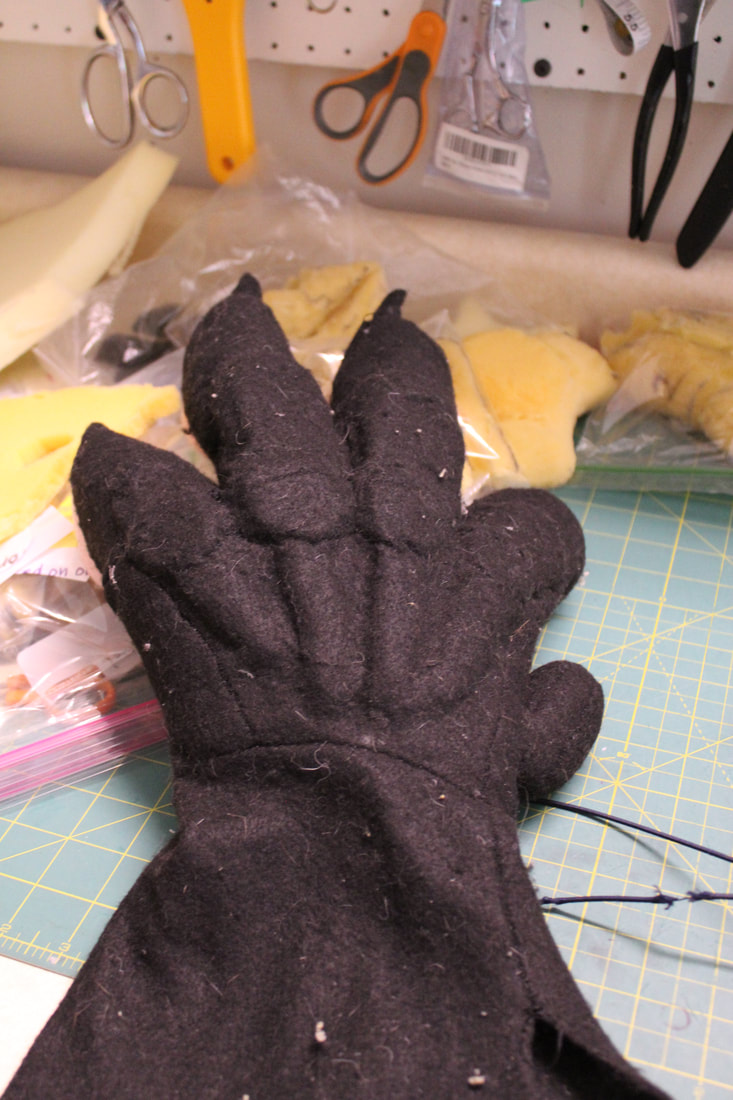
The inside view of a couple of stitched up toes.
And tadaaa....
And tadaaa....

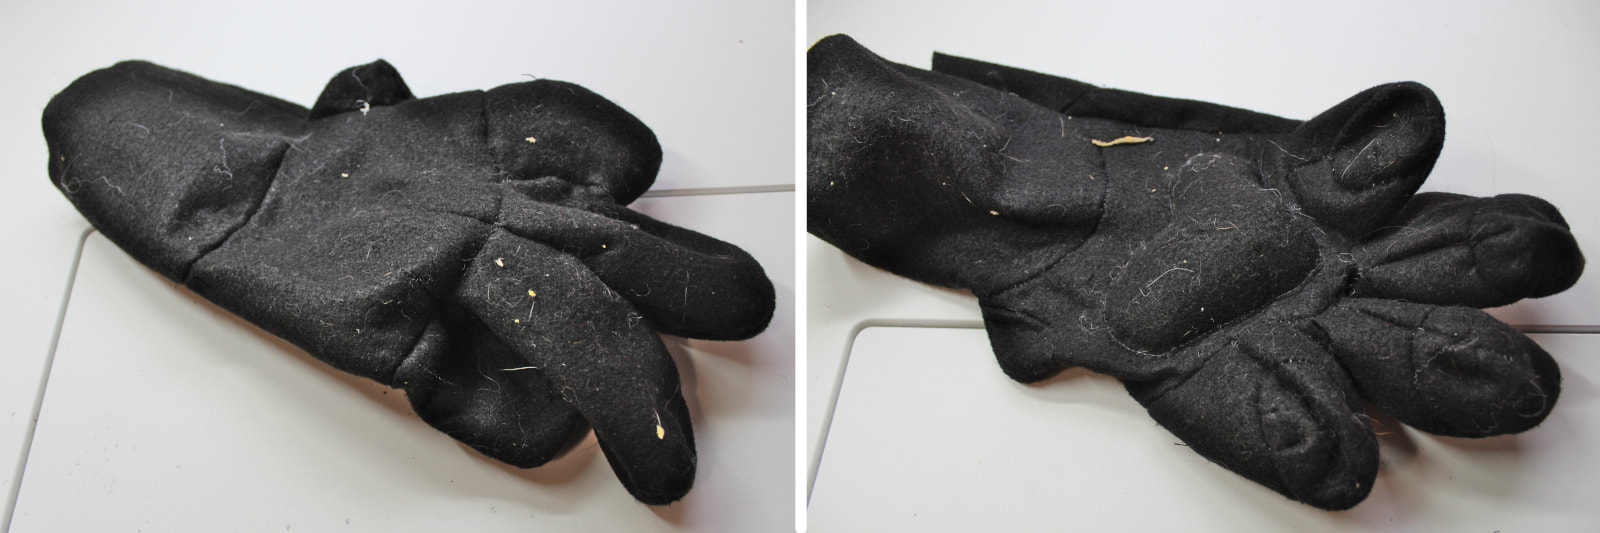
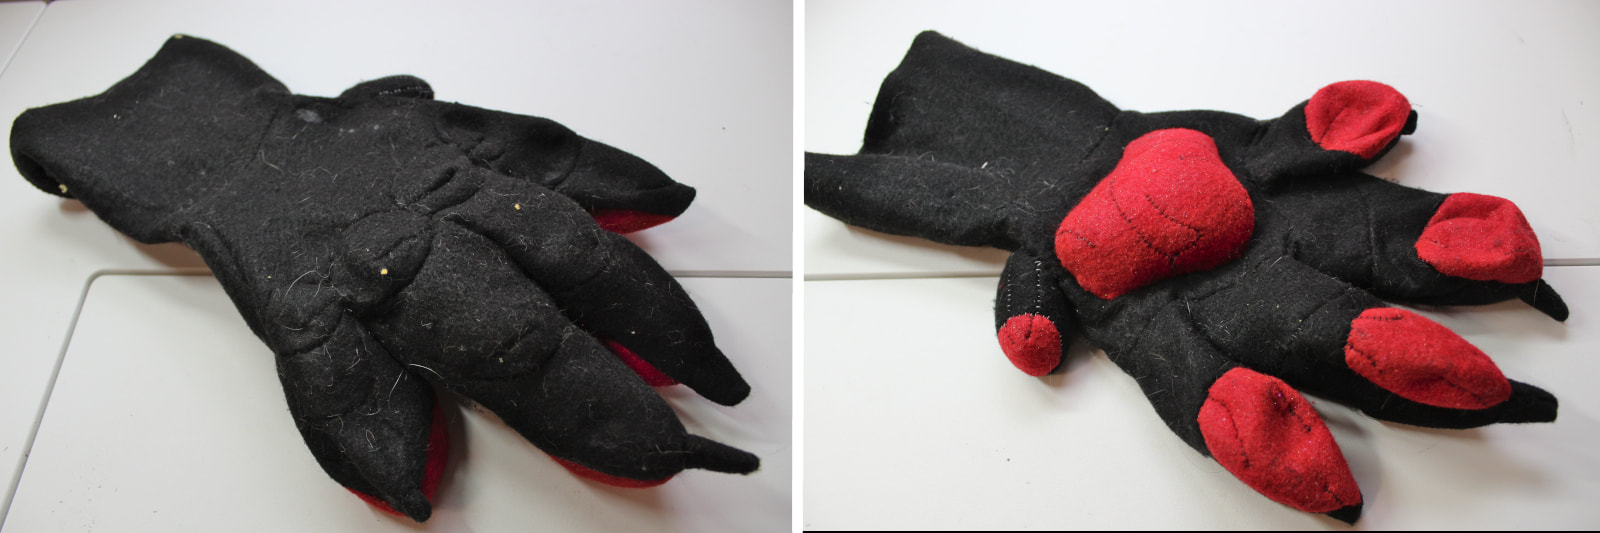
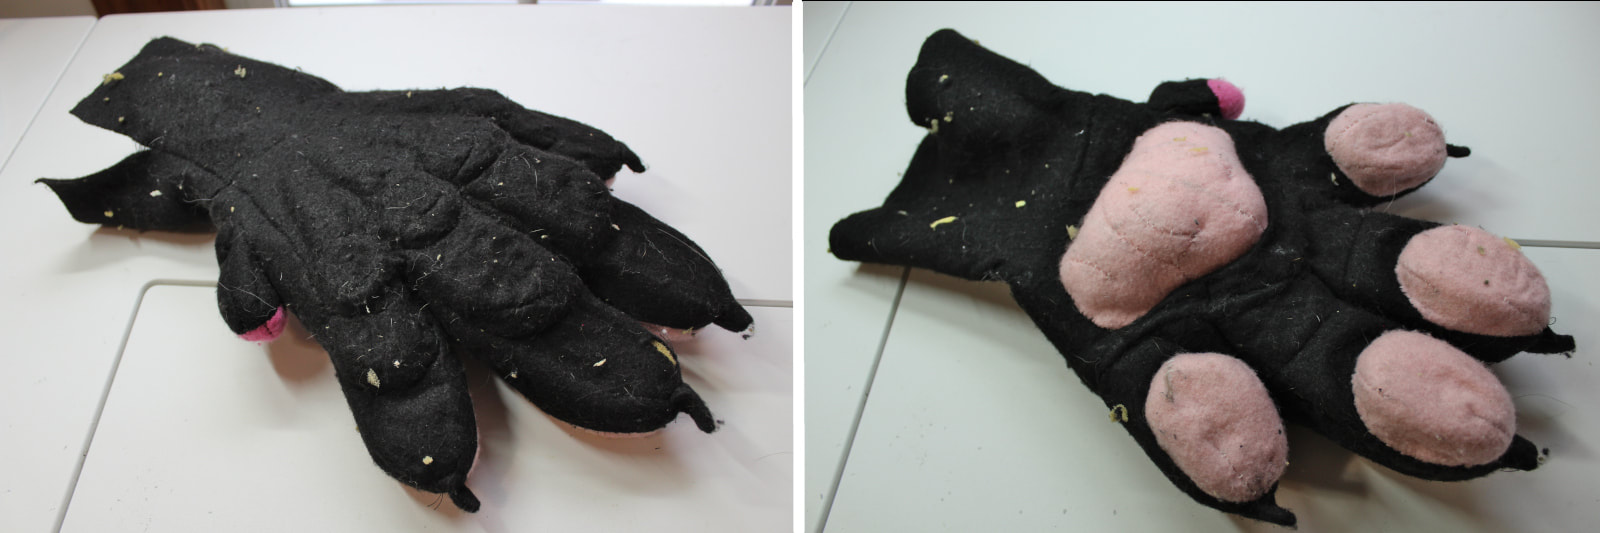
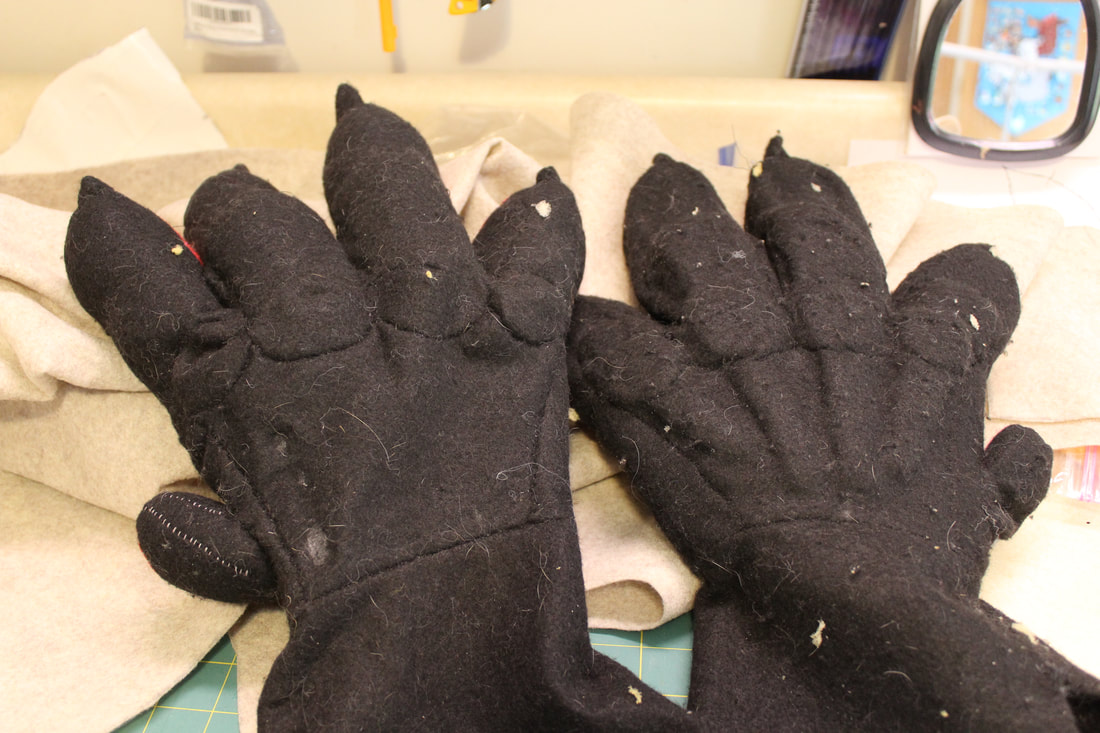
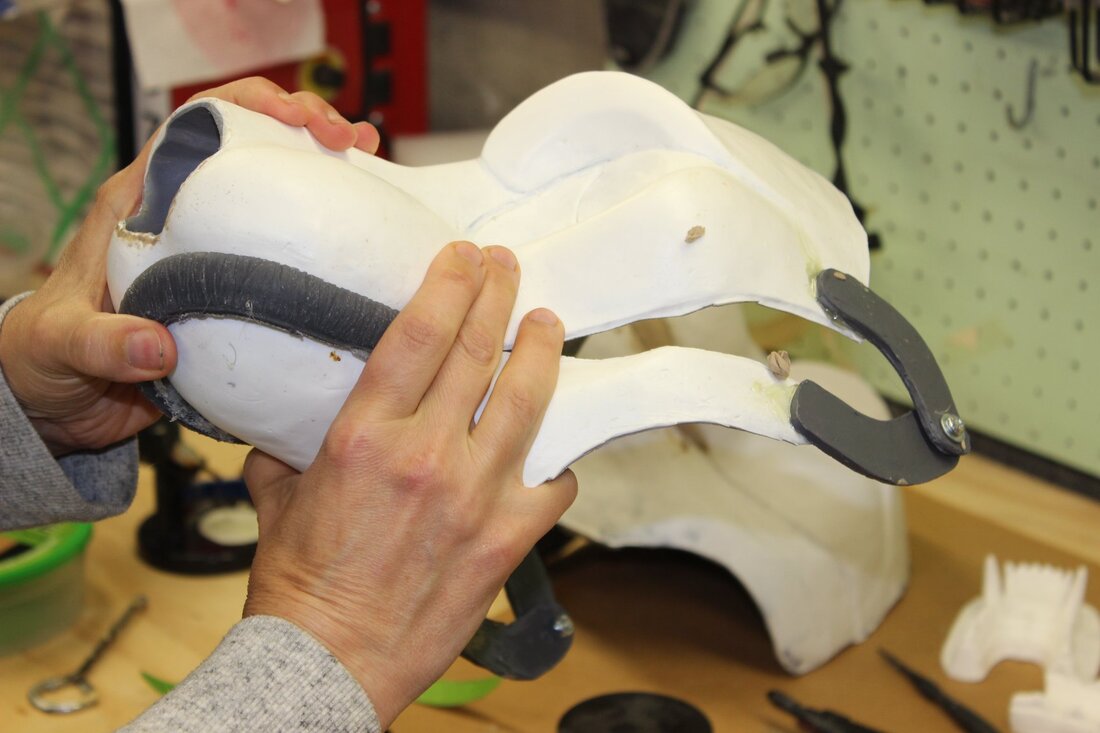
Wrinkles dammit. I wound up using some thicker foam to form the tendons but didn't line it up quite right, so, wrinkles. I have ideas to make it better next time. However, the sleeve looks much nicer and the dew claw was not just relatively easy to sew on but looks fantastic.

Another view. The fingers mostly look nice and smooth, though I don't know why there's a weird dent in the inside finger in the left hand picture. I suspect it's a sewing mistake. Something to figure out.

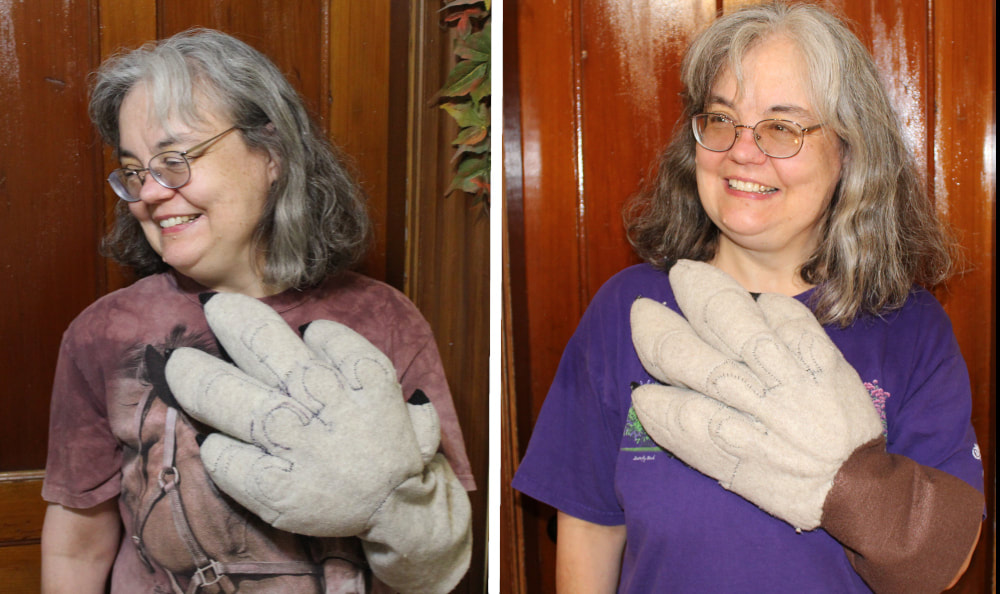
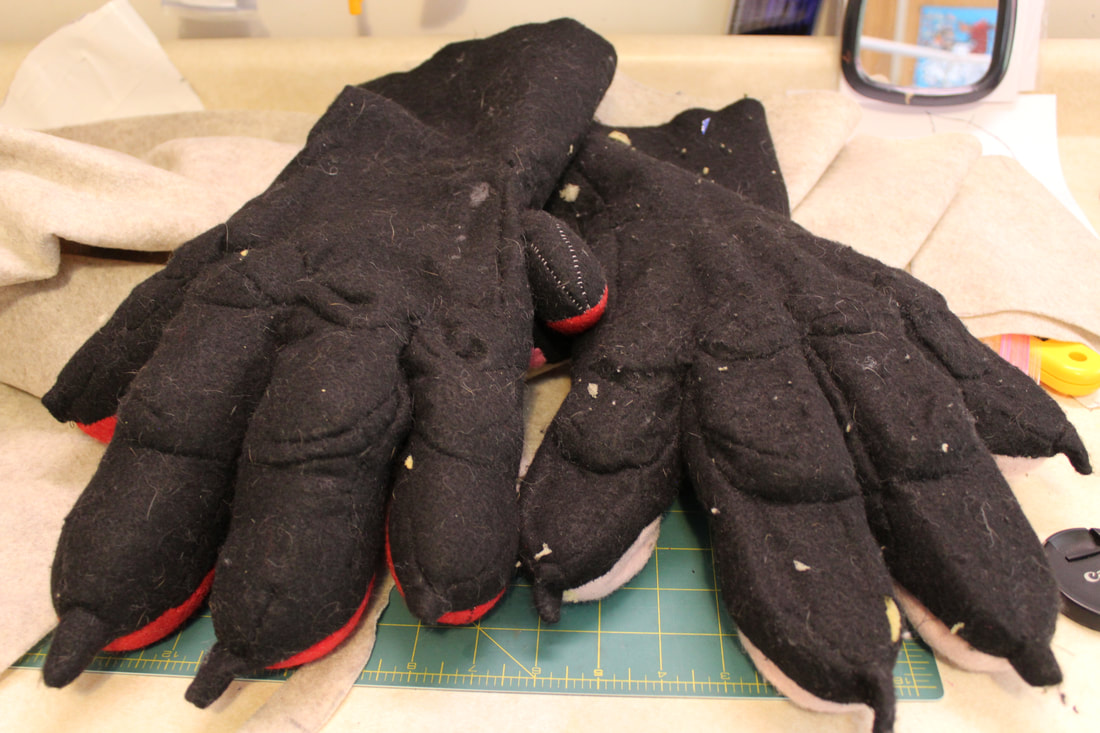
I have to say though that the underside of the paw looks fantastic. I'm thrilled.
I might have an idea for future improvements... Onwards!
I might have an idea for future improvements... Onwards!


 RSS Feed