
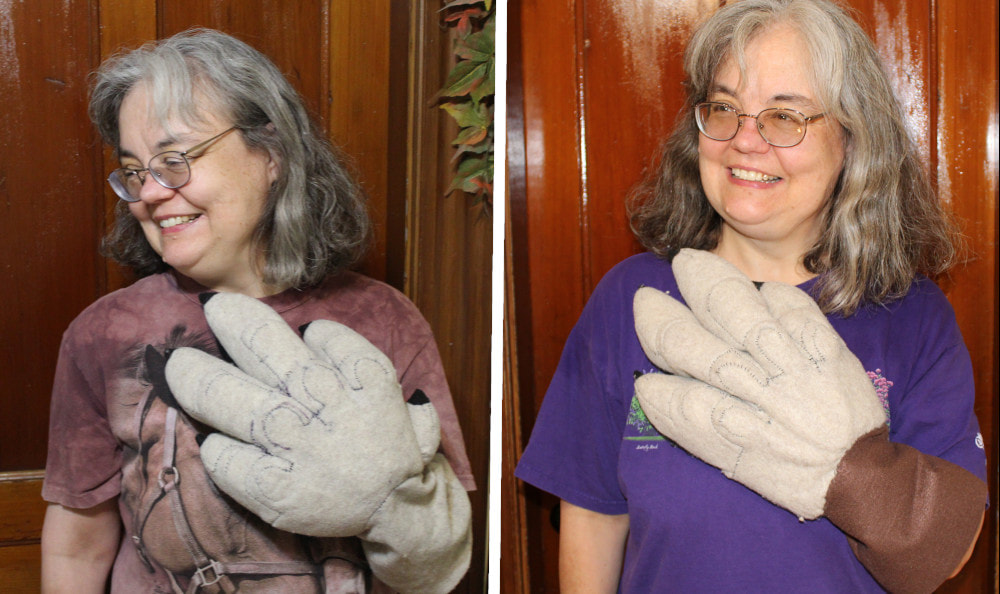
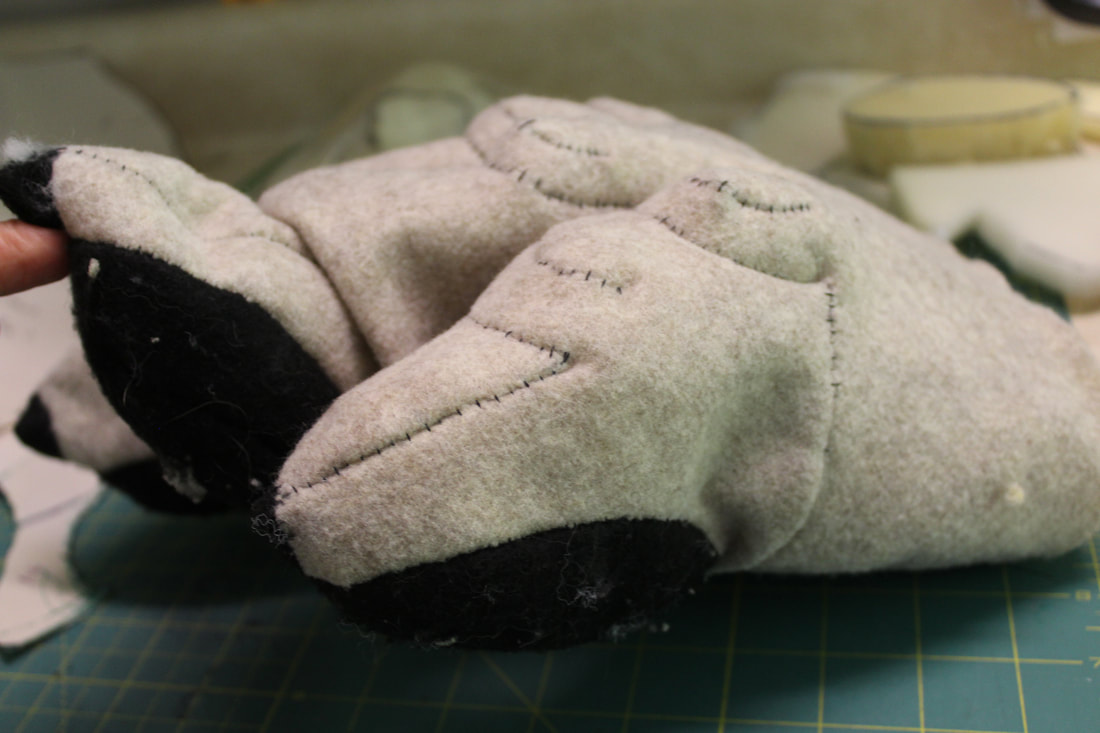
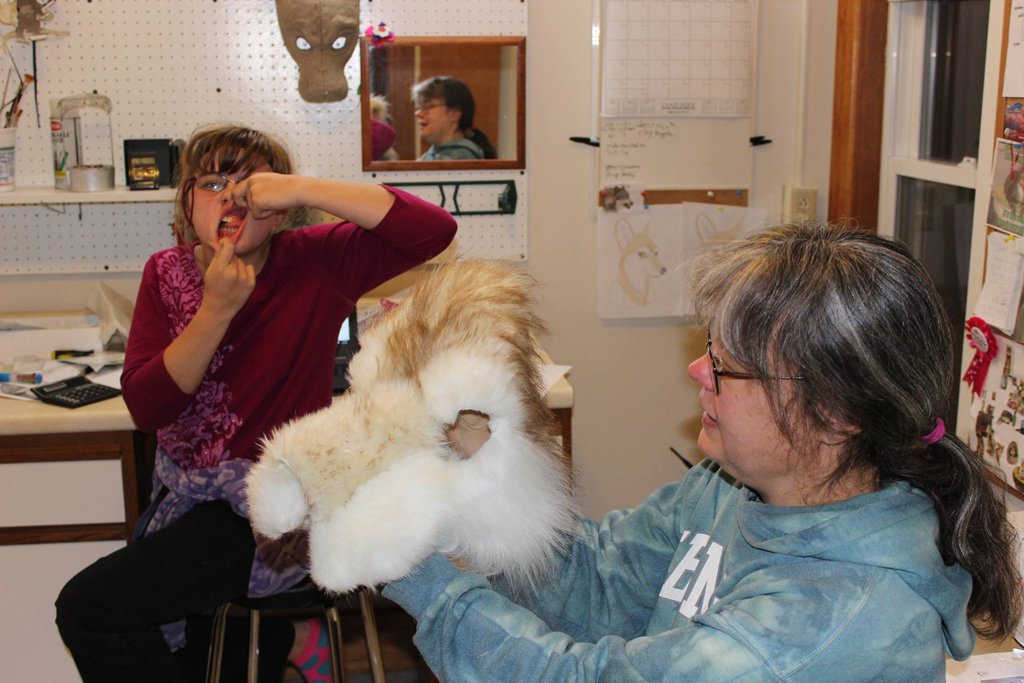
So here we have the before and after pic from my last post, in which I talked about deblobbinating the paw by repatterning it using "Frankensteining", a method using felt patches and temporary adhesive spray. Here I'll talk about deblobbinating by using inside supports.
As this paw is so much bigger than the wearer's hand, it was clear from the get go it would need some kind of internal support, as otherwise it would look like a weird bag hanging from the end of the wearer's arm. I had some faint hopes that I could just stuff it with fiberfill and use the lining to hold the fiberfill in place, but nope, too blobby. See above left.
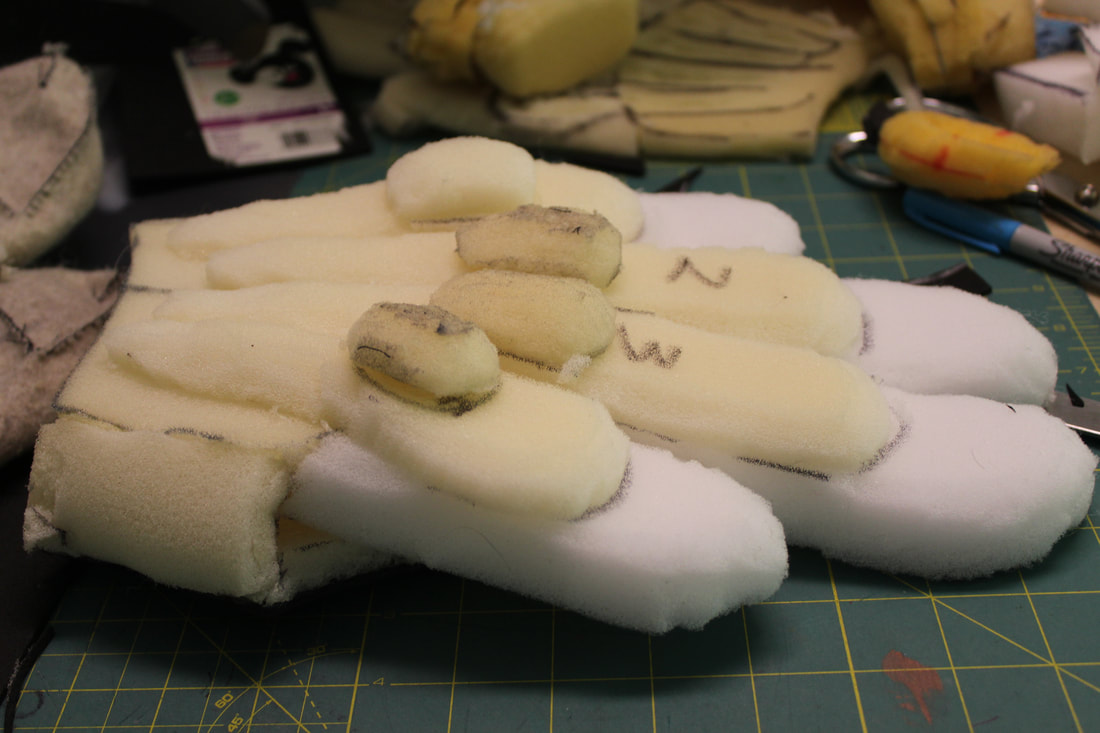
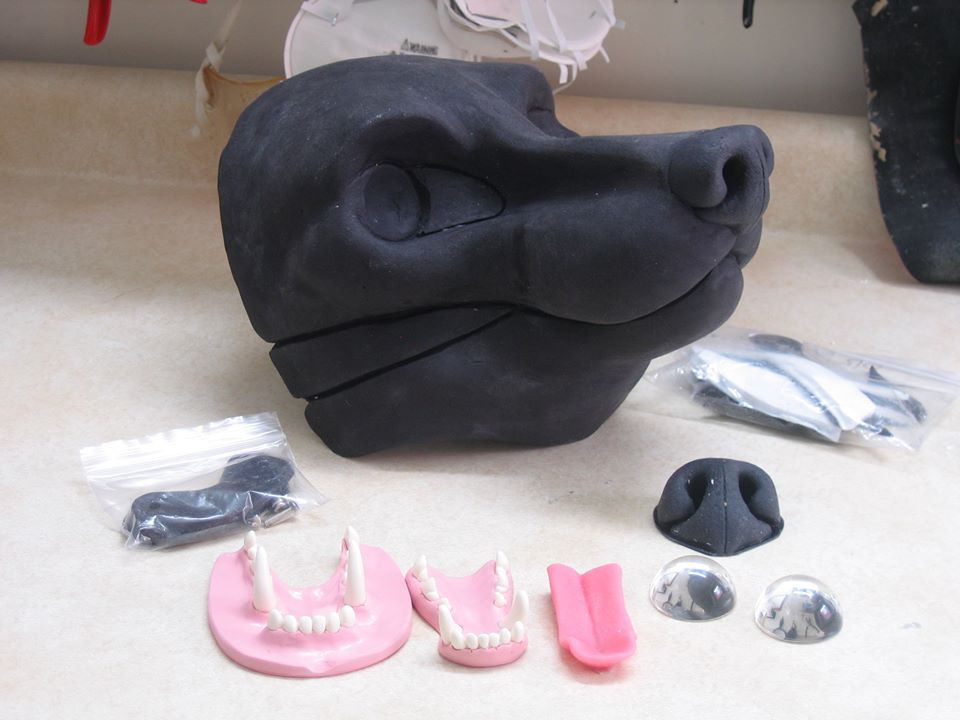
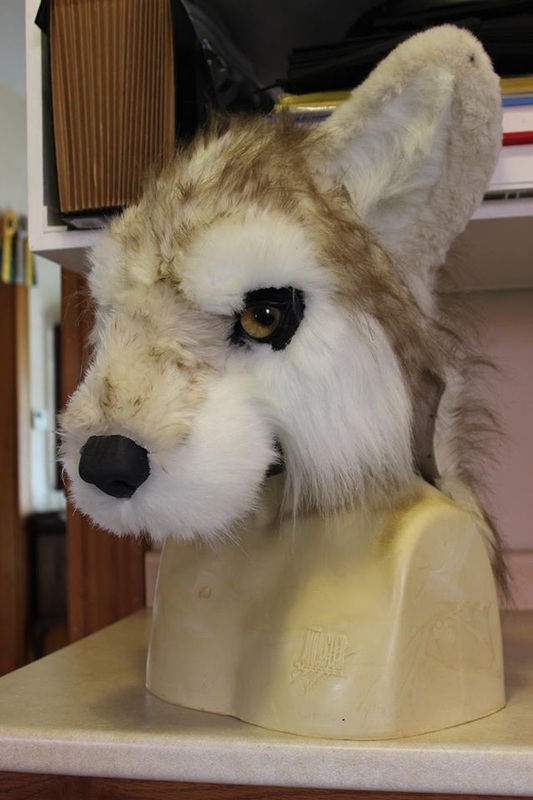
The next solution to present itself was stuffing the original foam hand (from which I made the pattern) inside the fabric one. Remember this guy?
As this paw is so much bigger than the wearer's hand, it was clear from the get go it would need some kind of internal support, as otherwise it would look like a weird bag hanging from the end of the wearer's arm. I had some faint hopes that I could just stuff it with fiberfill and use the lining to hold the fiberfill in place, but nope, too blobby. See above left.
The next solution to present itself was stuffing the original foam hand (from which I made the pattern) inside the fabric one. Remember this guy?
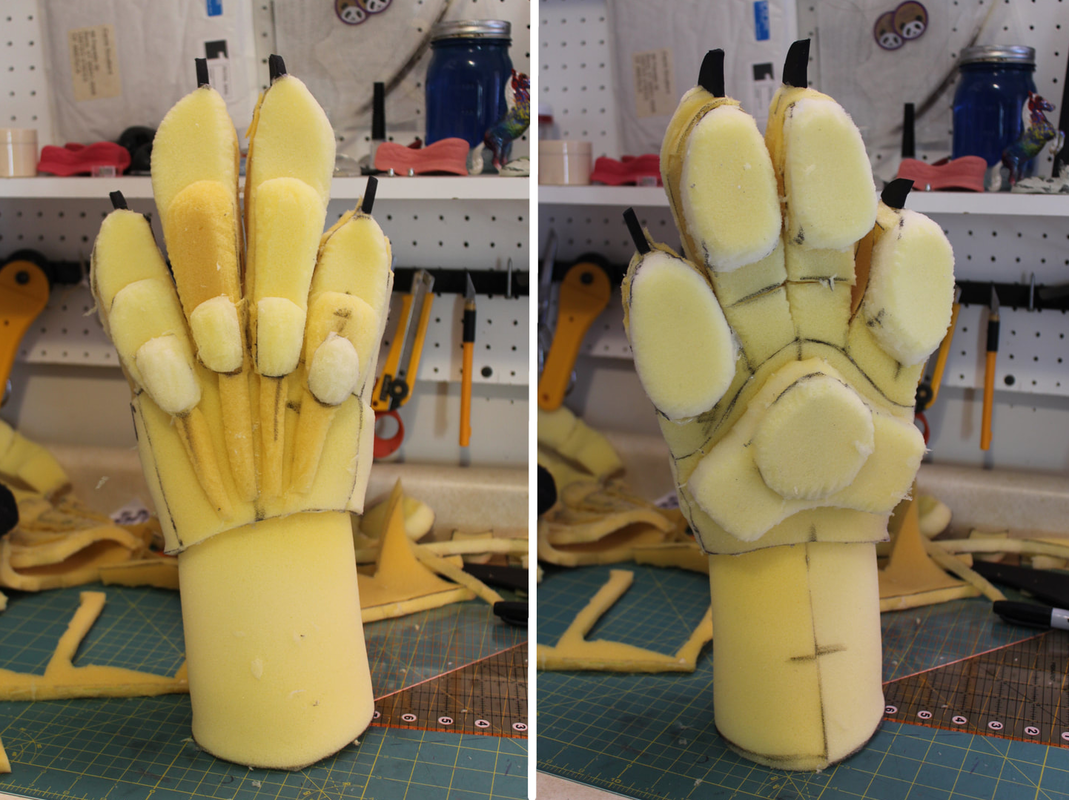
Nice thought but nope, doesn't fit. The wrist is narrower than most other parts of the hand, and squish as I might the foam fingers don't really fit through the fabric sleeve at the wrist. Plus, there's a lot of bitty details to line up and glue down, like tendons and knuckles, and I don't know how I'd see to maneuver a glue gun between the foam and fabric once one is stuffed in the other. There is also the very significant consideration that I would really not want to recreate the entire foam hand every time I made one of these.
So.. next approach, two considerations... First, can I use only parts of the foam hand? What is the minimum amount of foam I can get away with to get the look I want? Second, since I can't stuff a finished foam hand into a finished fabric one, to what degree can I add foam as I sew up the hand and build the support as I go?
So.. next approach, two considerations... First, can I use only parts of the foam hand? What is the minimum amount of foam I can get away with to get the look I want? Second, since I can't stuff a finished foam hand into a finished fabric one, to what degree can I add foam as I sew up the hand and build the support as I go?
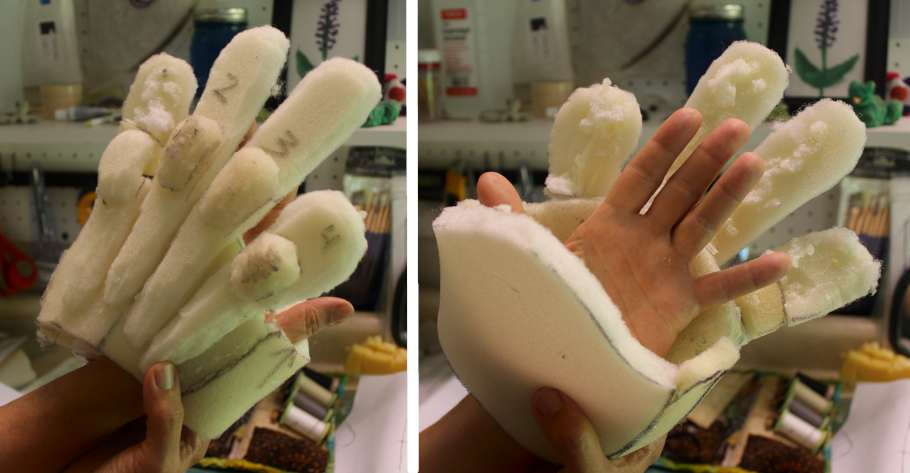
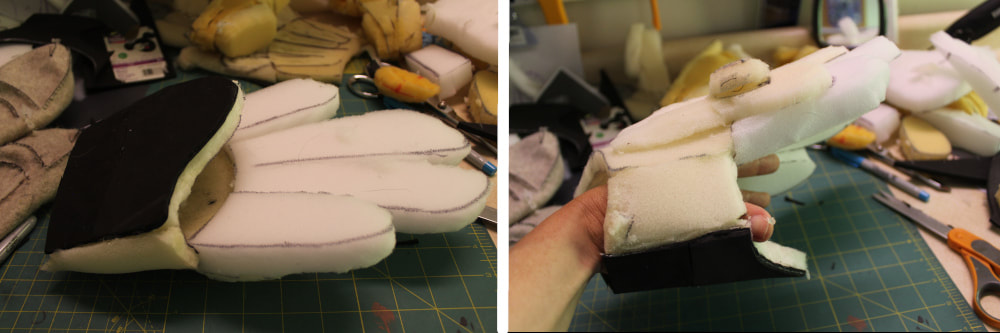
My first take on the bare minimum. A foam "tube" to support the palm and back of the paw, and foam detail to add definition to the knuckles, tendons, and first joints.
I removed the sleeve from the fabric paw so I could maneuver the foam inside, and held it all lightly together with temporary adhesive to get an idea of how it would work. (The palmar pad is missing, I know.. I hadn't added it onto this particular draft as I I was already pretty confident it worked. Pardon the little foam bitties.)
And, ouch. The toes could easily bend uncomfortably backwards at the spot where the foam support in the first joint ended. I did not like this at all.
Here I've added foam that goes all the way to the tips of the fingers.
More views of the support piece with its additions. (The black thing is a patch of sorts, as I ripped a hole in that piece of foam in my zeal.)
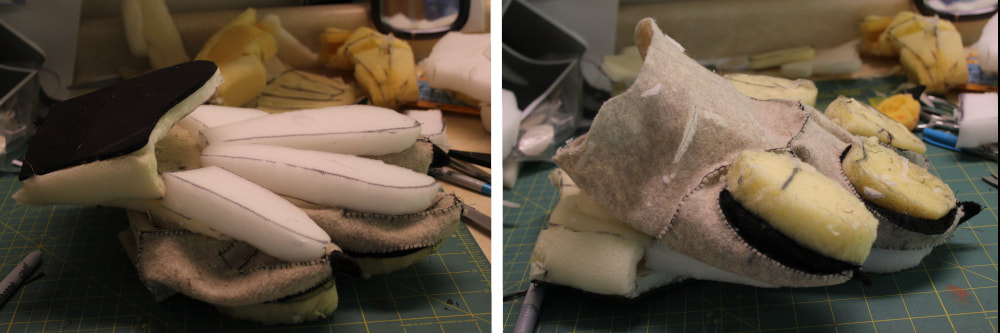
Now that the support piece is that much more complicated, I need to be able to better see what I am doing while installing it. I turned the fabric paw inside out, sprayed the support piece with temporary adhesive and laid the tops of the two parts against each other, tugging and fiddling to get everything lined up and in the right place. The tube thing for the palm will flip into the correct position when the hand is turned right side out, though with some difficulty. That stupid piece of black foam that I used as a patch did not help. I've also added foam to support the toebeans here, as I'm curious to see how that will look.
When I flipped the whole thing right side out again, I was much happier with how the fingers looked while moving, from above anyway. When viewed from the underside, the palm and fingers bunched and folded in some pretty odd ways. Time for more supports? I decided to try adding some foam to the undersides of the fingers, in the process connecting the palm piece with the toebean pieces. Also, putting the parts together as above allows me to line up and glue the top carefully before turning it right side out, but not the bottom. (I imagine I could do it the other way too, lining up the bottom but not the top, though the top being the more complicated piece it makes sense to do it that way.) How could I line both the top and the bottom parts up carefully before turning everything right side out? If I left one end of the foam tube open, I could lay the tops of fabric and foam together, line them up and glue them down, roll the fabric and foam over like a giant burrito, repeat with the bottom pieces, glue the ends of the foam tube together, then turn right side out. Viola!!
I also found that when the bottom of the finger was supported, the top didn't bend back as easily as it had before, so I could get away without foam all the way to the fingertips, just stuffing instead.
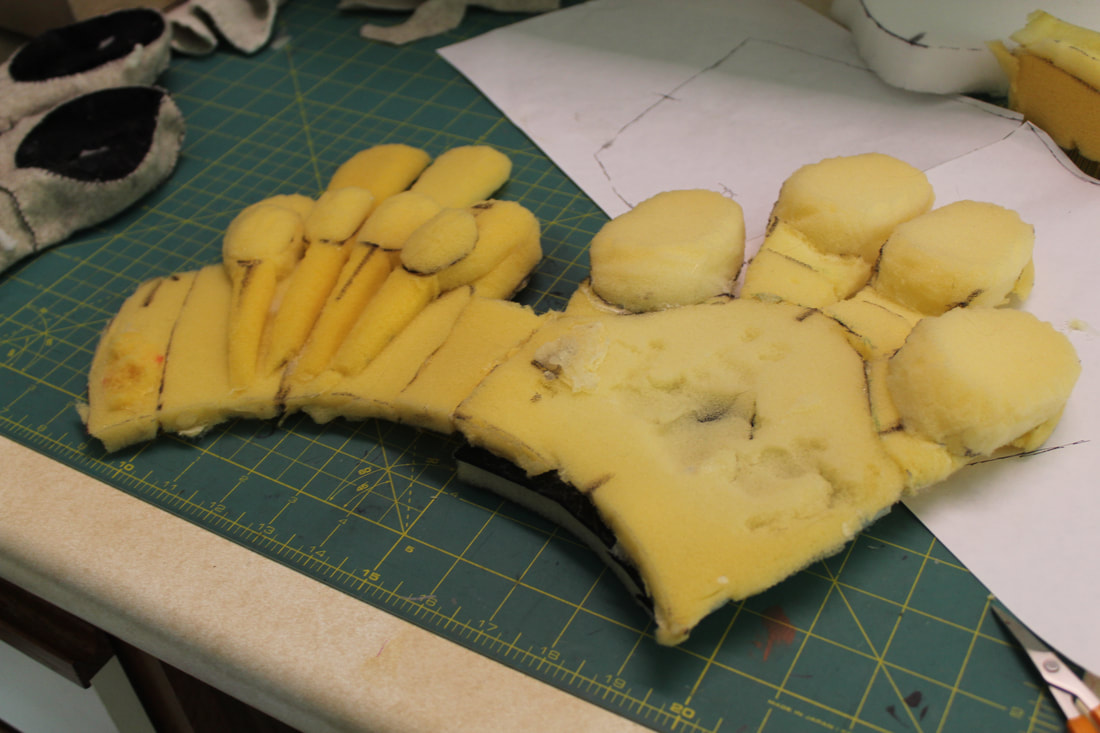
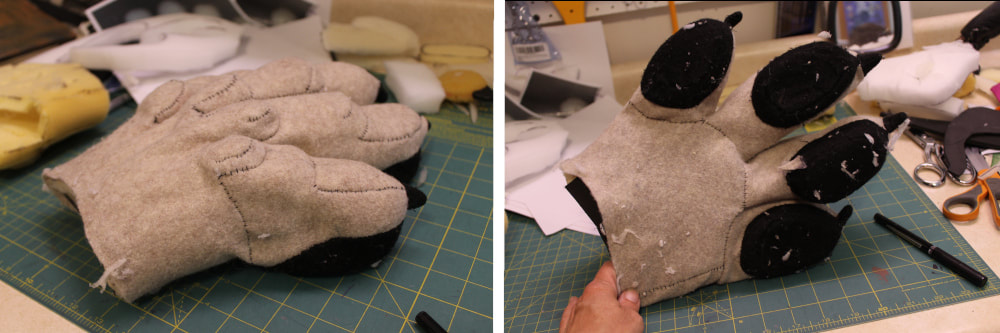
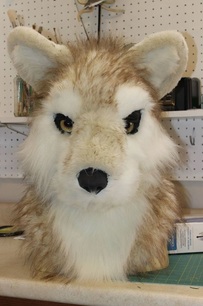
The support that's actually in the finished draft. Look familiar? That's because it was one of the paws I made a tape pattern from, partially disassembled.
Finally, I sewed the sleeve back on, using a ladder stitch as I had to sew on the "good" side (such as it is with felt) as opposed to the underside, as it was now very difficult to turn the paw inside out again. The spray adhesive complicated matters, as it wanted to collect on and knot up my thread and needle. I'm not sure if I'll be using the temporary adhesive for paws I plan on selling, so this may or may not be an issue.
Next, to make a pair of finished paws using this pattern, and actually offering them for sale! Stay tuned!
PS Fun fact!! Trying to describe hand parts in this post made me go on a somewhat useless Internet search for the terms. I did find the term "Flagina", which supposedly is a name for the fold of skin between your thumb and forefinger. Hee hee!


 RSS Feed