Below, a short video we made to showcase Maxine before her auction. Which never happened, as a visitor to the studio made an offer we couldn't refuse, and she went home with him. Still, it's a fun video, so we'll share it here.

|
|
|
Below, a short video we made to showcase Maxine before her auction. Which never happened, as a visitor to the studio made an offer we couldn't refuse, and she went home with him. Still, it's a fun video, so we'll share it here.
0 Comments
I'm starting to get over my terror of airbrushing and look forward to it instead. It helps to keep in mind that if I find a new way to plug the airbrush up, and subsequently find a new way unplug it, I've learned something new and made progress. This particular go round I found that what I thought was one piece of the airbrush was actually two pieces. Paint can dry in there and plug things up. The two pieces unscrew from each other, and I can get in there with a dental pick. All is good.
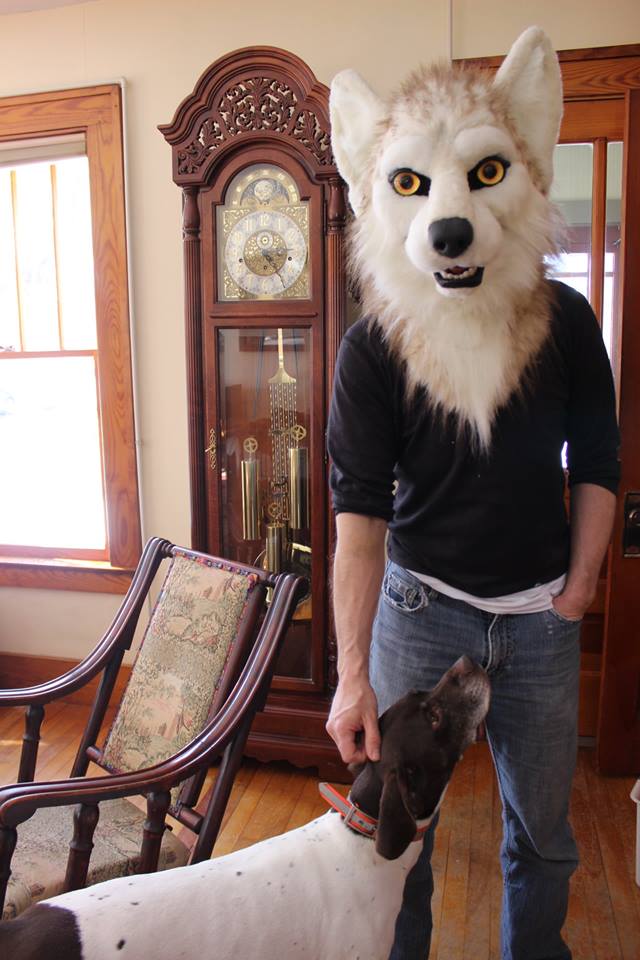
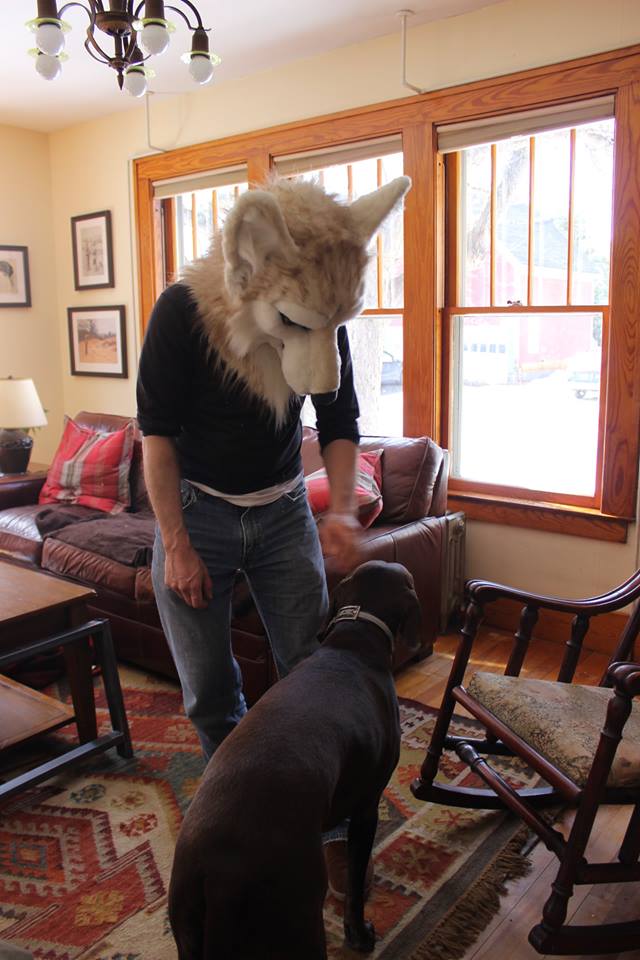
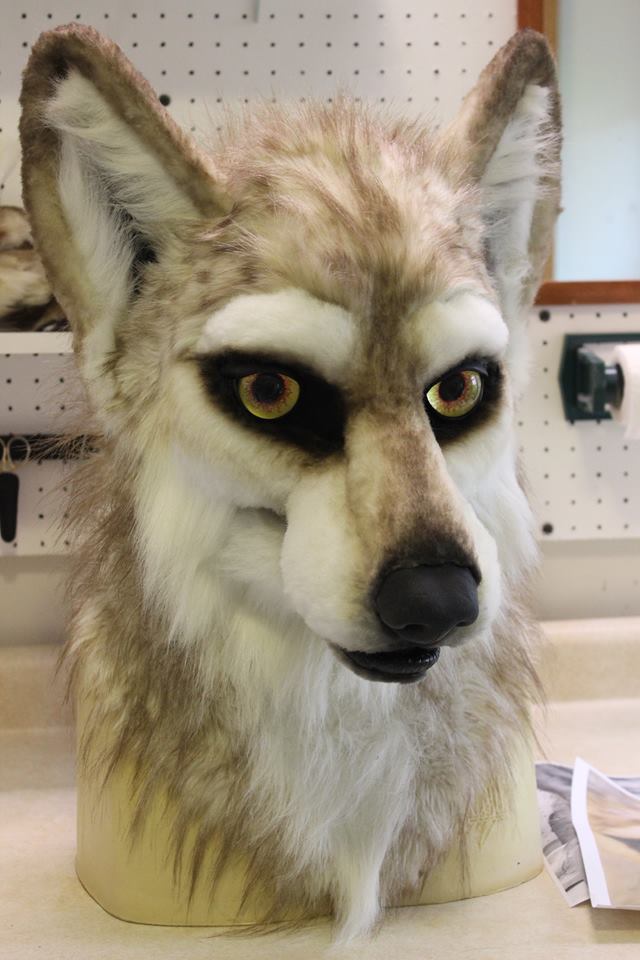
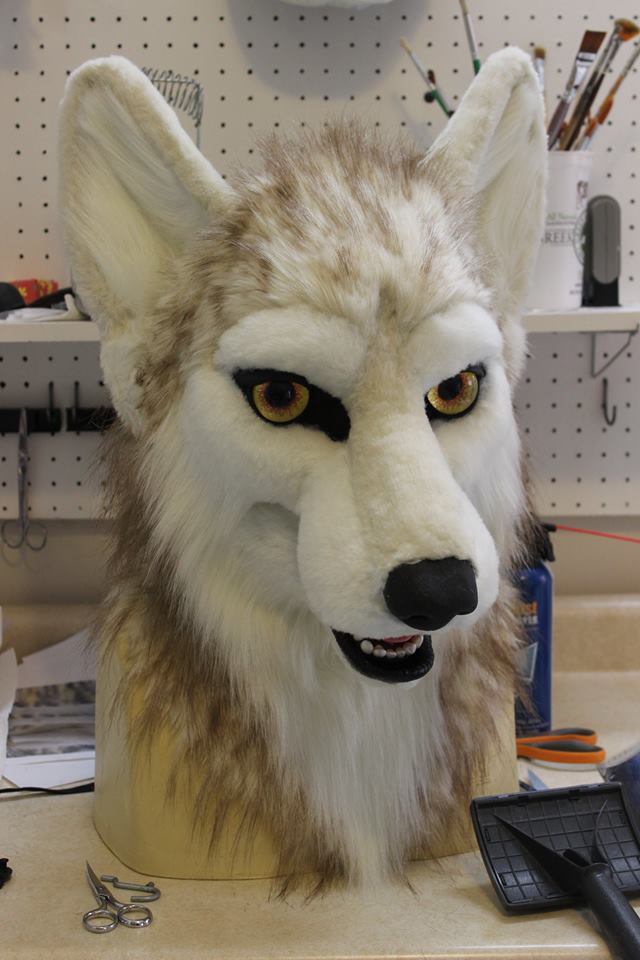
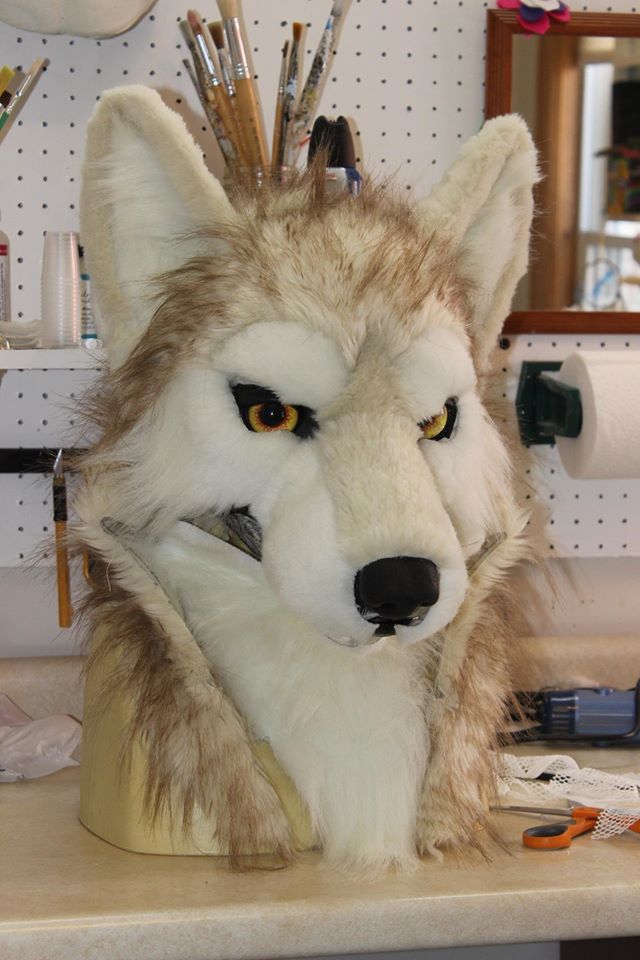
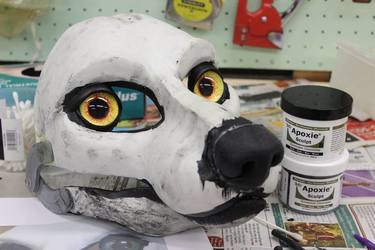
Above, Maxine before any airbrushing, modelled by Uncle Nathan and visiting with his two dogs. The dogs don't know what to think. I was very happy I kept detailed notes on which paints I mixed to get the colors for Max, as it made coming up with those same colors for Maxine that much easier. Yay for notes!
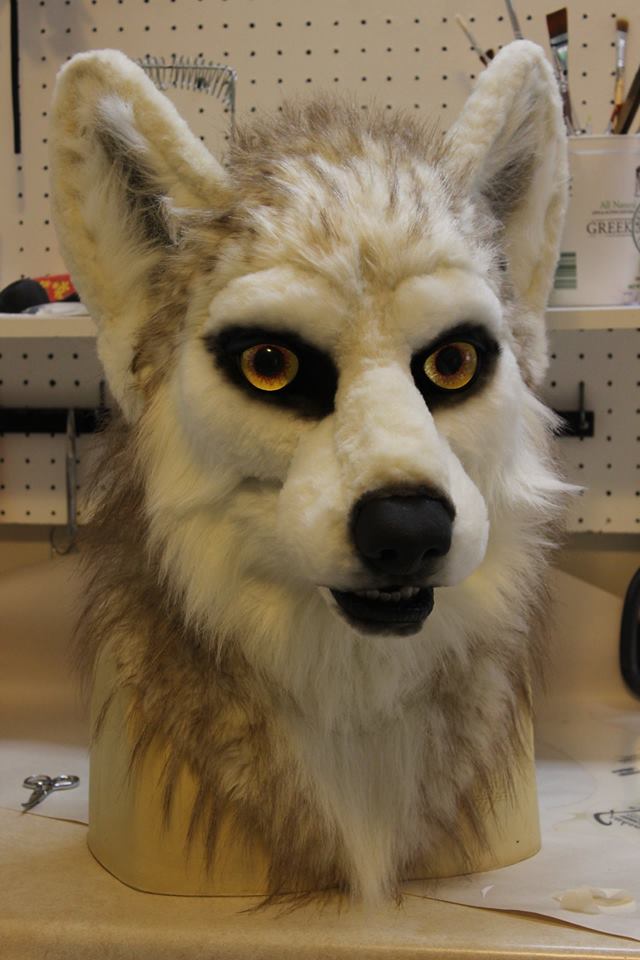
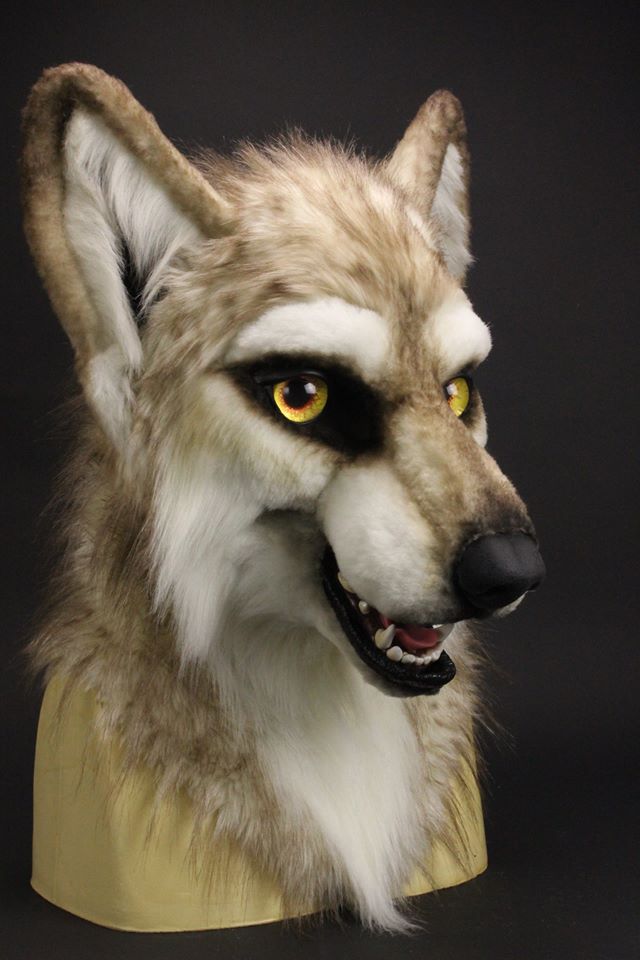
Getting there! In the homestretch with Maxine.
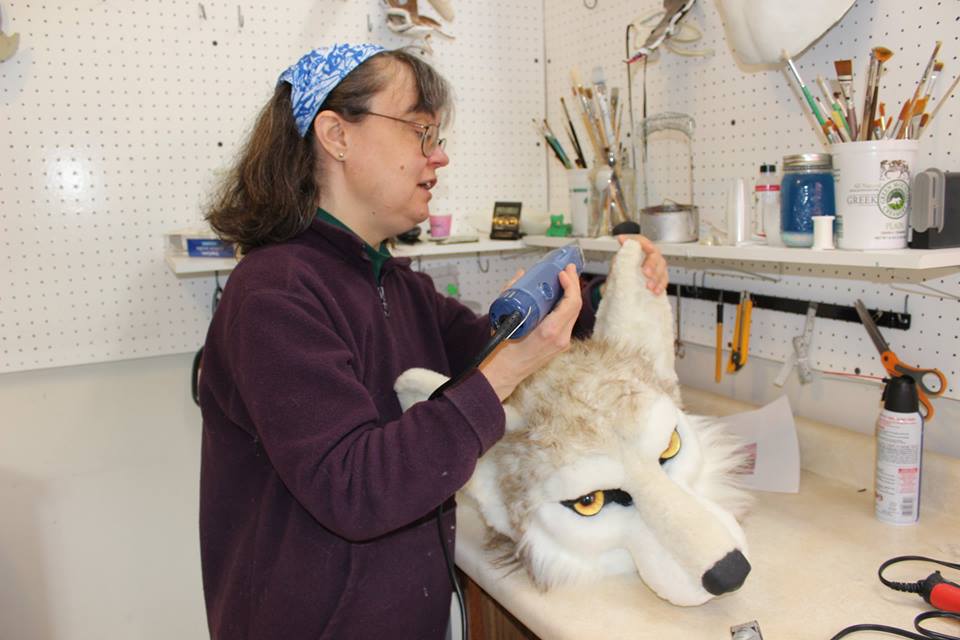
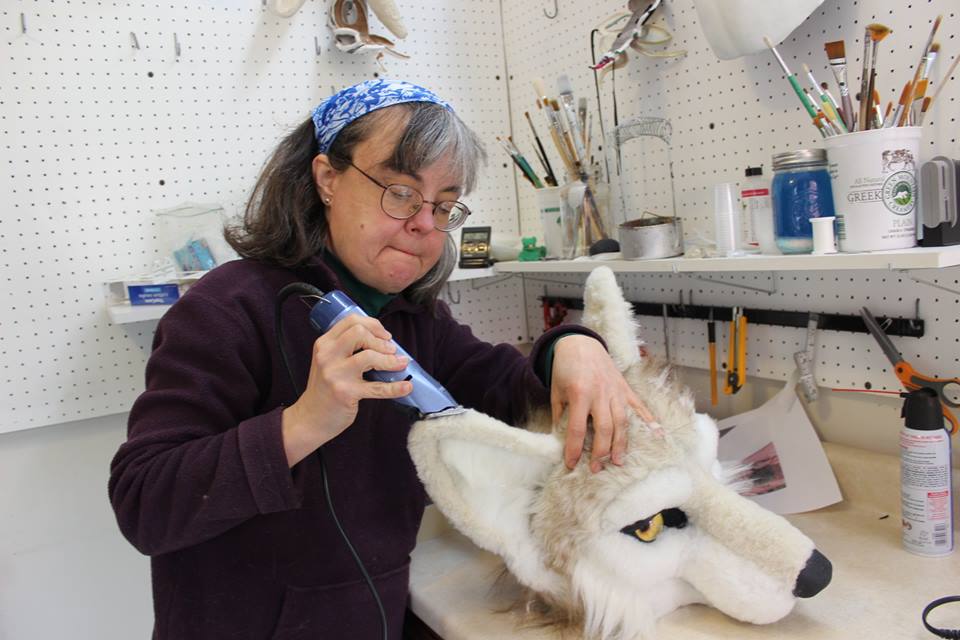
Maxine before her shave and trim, left;and after, right. I was more aggressive pre-shaving the fur pieces with Maxine than I was with Max. Easier to sew pieces with shorter fur, and definitely easier to shave them when they're not glued on the head!
I also had a lot more respect for the clippers! Can't be too slow or too careful, especially when shaving into corners such as the area between the nose and cheek, or between the lower jaw and the front of the neck. Bald spots can happen in the blink of an eye! I was also able to make better use of my mini-clippers this time around. They can't do diddly when the blade of the clippers is flat against the fur, it helped a lot to tilt them in a little bit, almost as if I were combing the fur with them, just going over the very tips very lightly. Much more control that way. 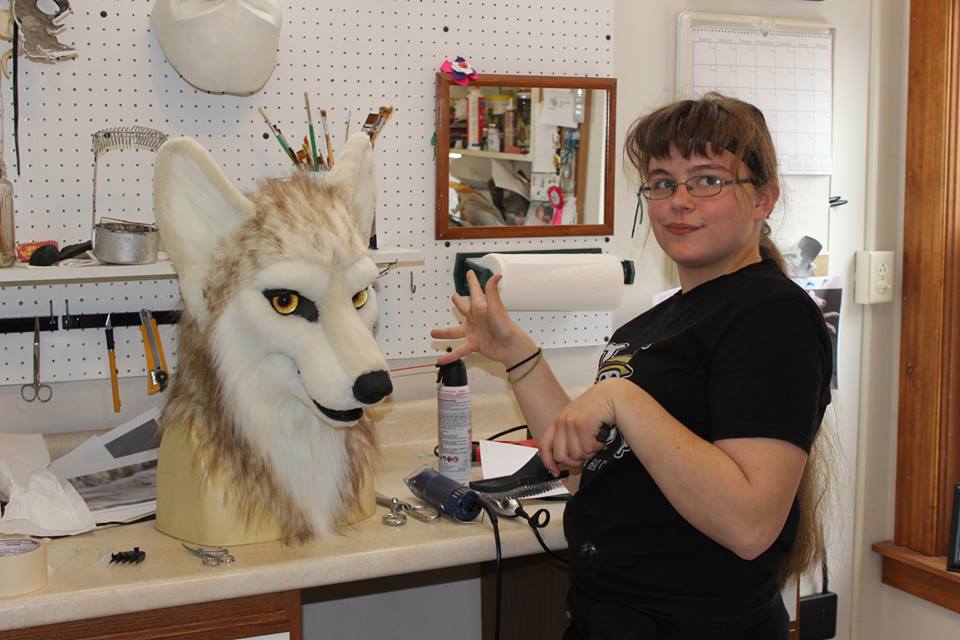 Daughter Isabelle gives Maxine a brush and comb after her shave and trim. Next up, airbrushing! Some of the biggest improvements I hoped to make from my last head to this one involved sewing. Specifically, I wanted to see just how well I could get the fur to fit the resin head, and I knew that last time most of what got in the way were my noob sewing skills. Too much bulk, in the way of excessive seam allowances, between the fur and the resin base. My control of the sewing machine was not precise, my seams tended to wander a bit, so the seam allowances could not be trimmed as closely as they otherwise might be. It did not help that my seam allowances were cut unevenly out of the fabric to begin with. Watching Monoyasha in her tutorials whip the pieces out of the fabric with an art knife made me think *I* could whip the pieces out of the fabric with an art knife- um, no. My sewing teacher tactfully pointed out it would help a lot to cut the seam allowances evenly and carefully next time. I also invested in a shiny new pair of Gingher fabric scissors, and cut the fabric by carefully sliding the tips along under the pile while cutting, to avoid abruptly shearing off the ends of the fur. This made cutting a great deal more precise. Another thing that helped a lot this time around- practice and experimentation. On scrap fur, before the good fur. Kinda obvious, but.... I pretty much sewed up an entire mask out of scrap fur before I moved on to the fur I actually wanted to use.
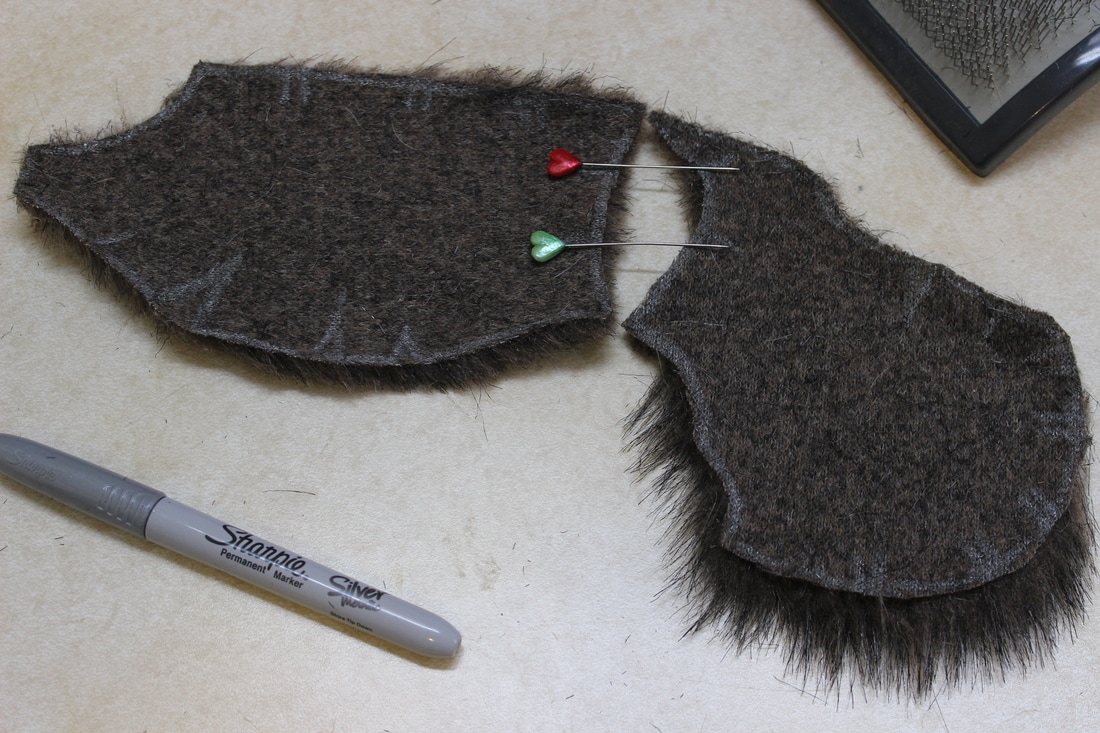
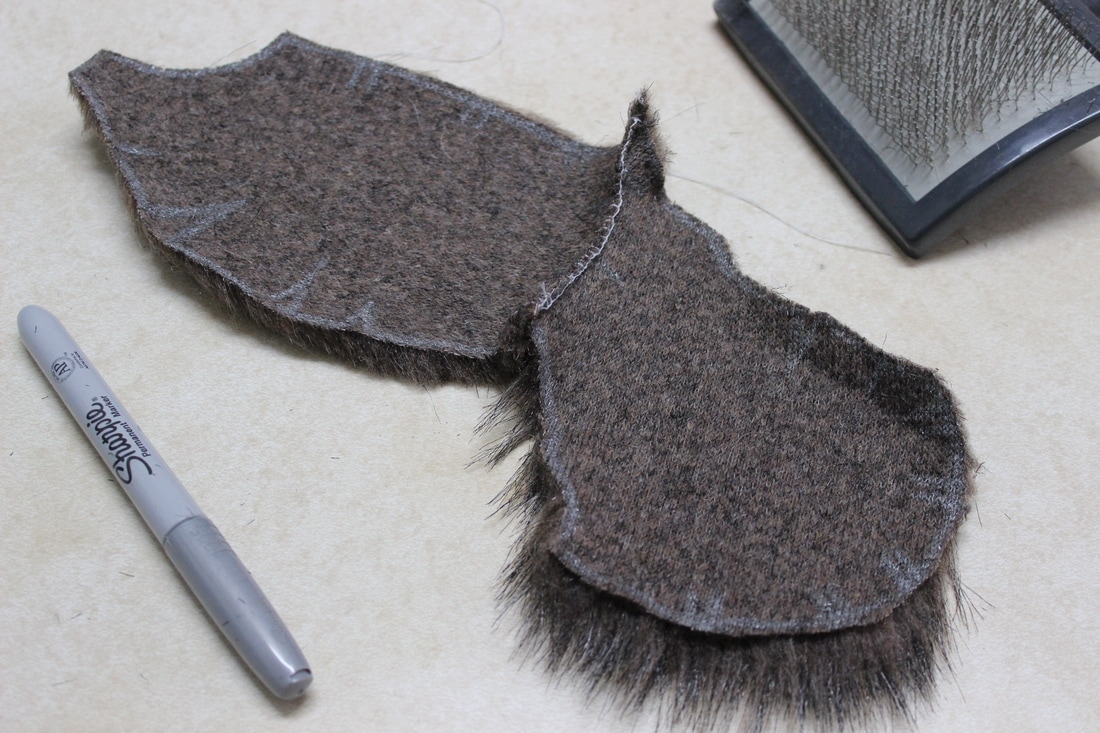
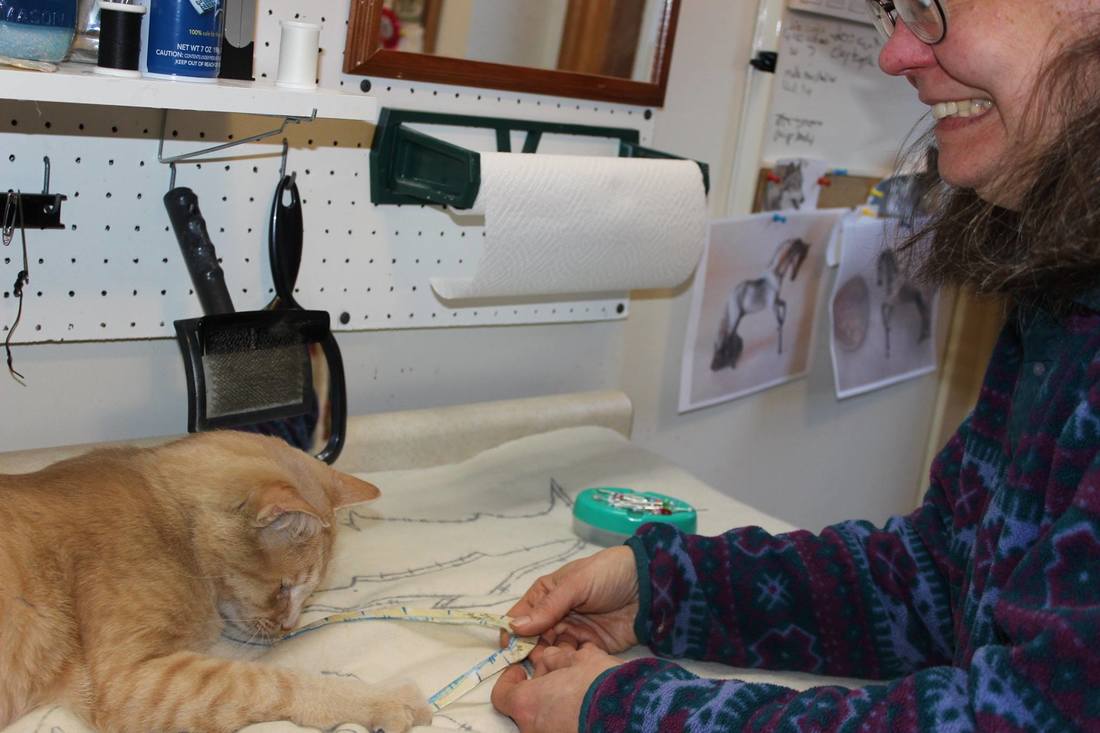
Above, the muzzle and the cheek pieces, cut out of scrap fur. Left, the pins are laid across the hash marks that show where these pieces join together. That's a pretty intense curve! I tried several times to sew it with the sewing machine but just could not get a seam anywhere near as precise as I wanted it to be. Which, resulted in a seam allowance I could not trim closely, which in turn resulted in unwanted bulk between the fur and the base. Above right, the solution to this problem... hand stitching! Specifically, the blanket stitch. Precise control, just about no seam allowance to speak of. You can see just how sharply the two pieces curve when where they join together.
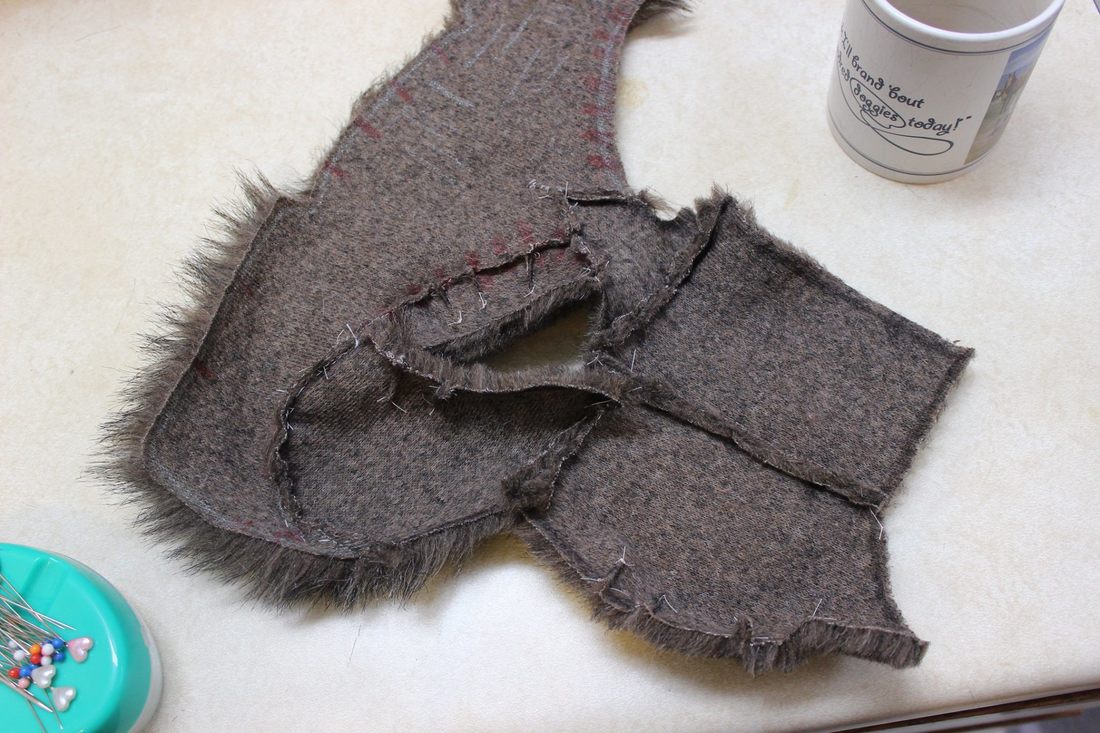
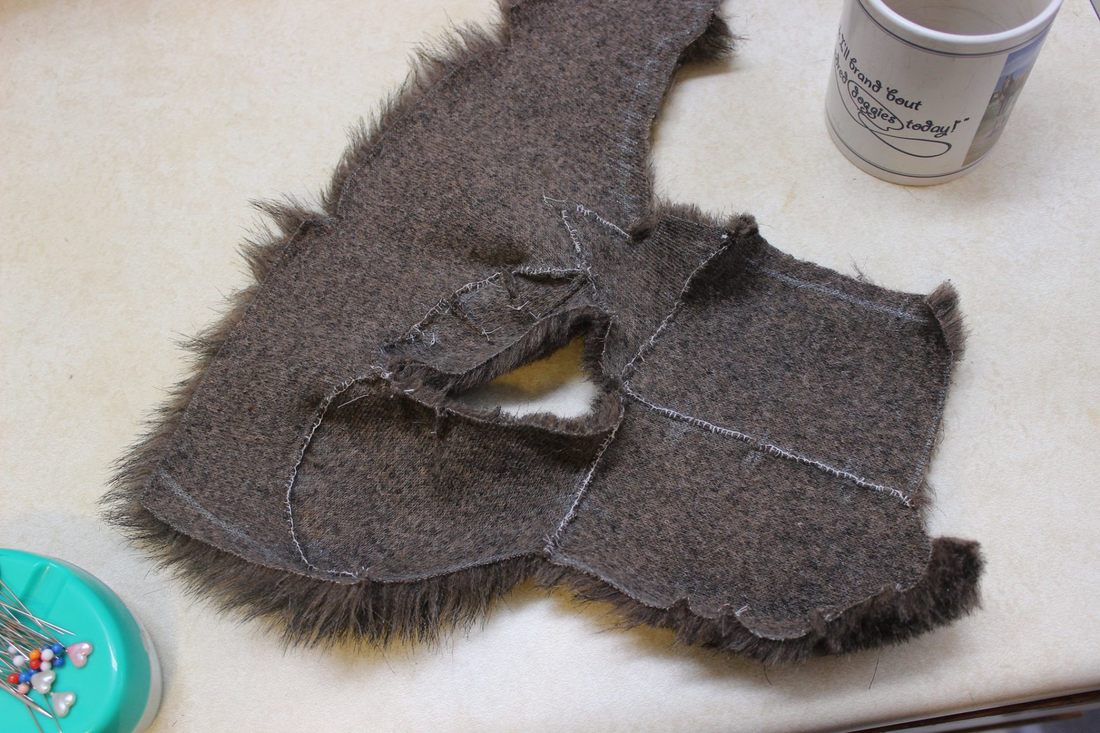
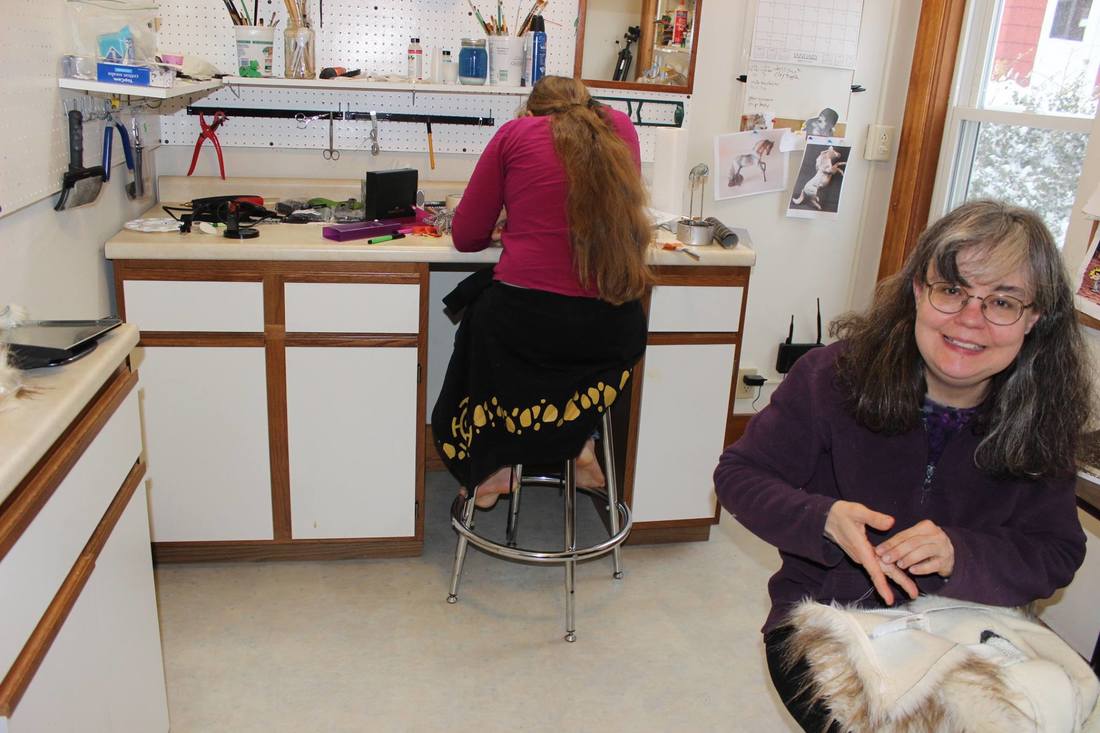
Above, half of the face sewn together out of scrap fur. The piece in left hand photo is machine sewn, the one in the right hand photo is hand sewn with the blanket stitch. You can see how much more bulk there is in the machine sewn piece, especially at the juncture between the muzzle and the cheek and the inside corner of the eye. For someone at my skill level with a sewing machine it's just about impossible to get that corner's three seams to come together precisely. Of course, it takes a zillion times longer to sew by hand, but, that's what audiobooks and NPR podcasts are for. 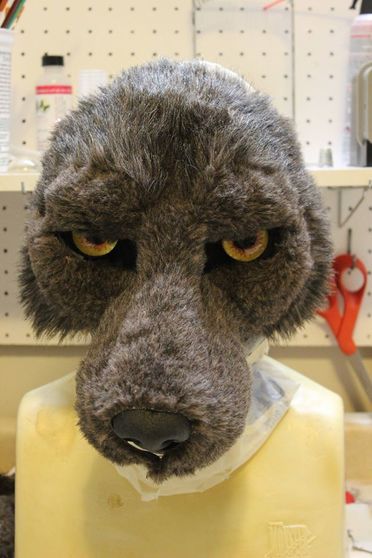 Above, scrap fur sewn by hand into the face of the mask. I'm happy with how well it's fitting. Though I also can't help but think of this: 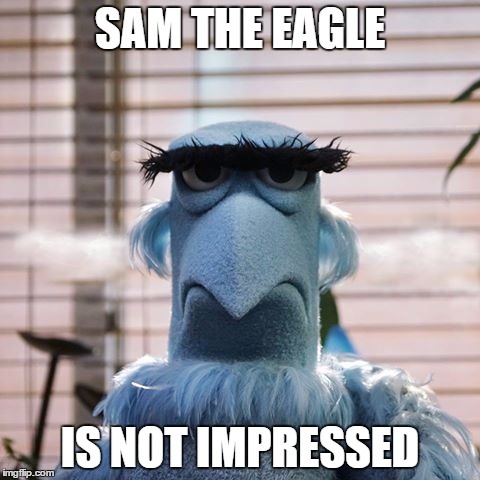 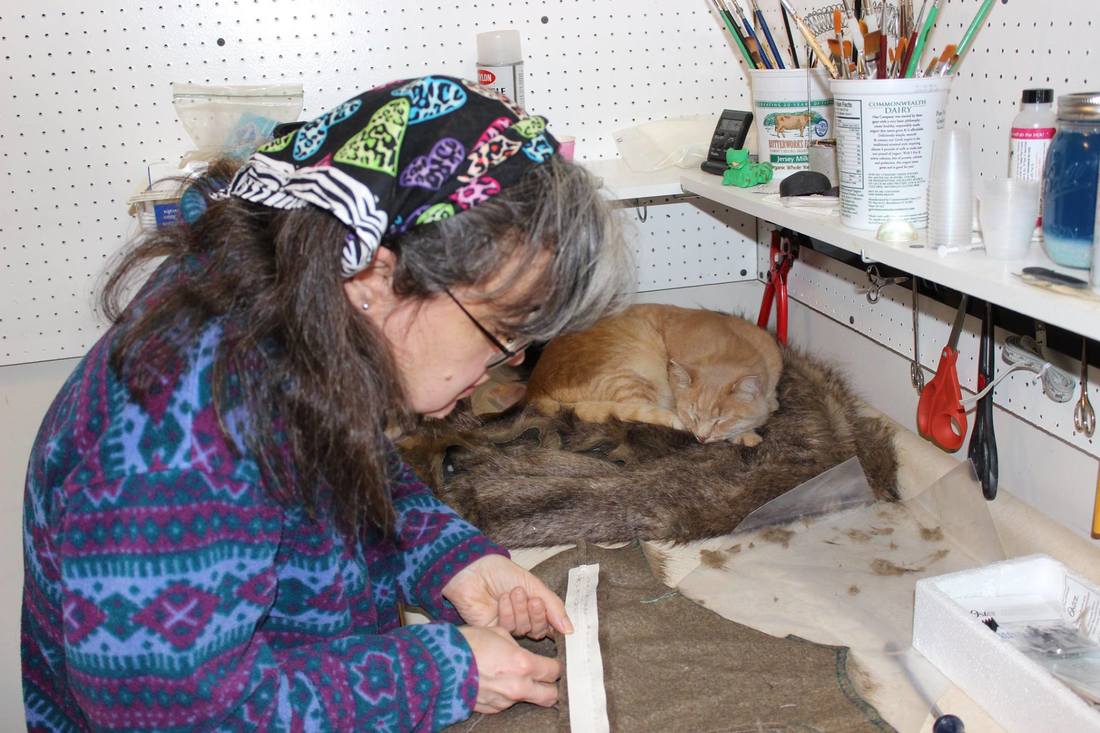 Next, hoods. I wasn't sure if I liked the way Max's hood looked or not. The Velcro closure over the zipper made the hood relatively easy to get on and off, but it added a noticeable ridge down the back. My sewing teacher suggested I try to find a softer Velcro with a better drape next time, something I haven't done yet. However I did find a bunch of zipper tutorials online and made not one, not two, but three hoods trying them out. Ultimately I used the method described in my good ol' Reader's Digest Complete Guide to Sewing. Above, laying out a zipper on a seam that's been temporarily basted closed, while Ezzy delights in this fantastic new cat bed that miraculously materialized on my work bench. Whoops, tangent alert! I must properly introduce my readers.. meet Sans Souci Studios' Feline Assistance and Cat Hair Distribution Department, aka Ezzy. He is a very helpful cat. 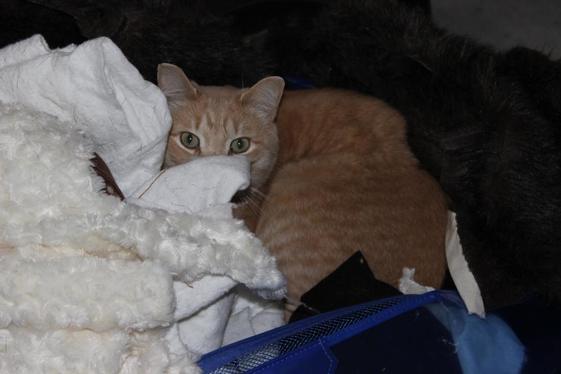 Ezzy loves it when I break out the faux fur totes. 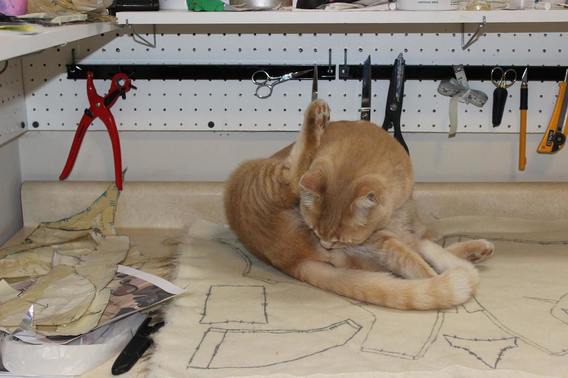 He also loves to help with laying out the pattern. Above, you can see just how helpful he's being.
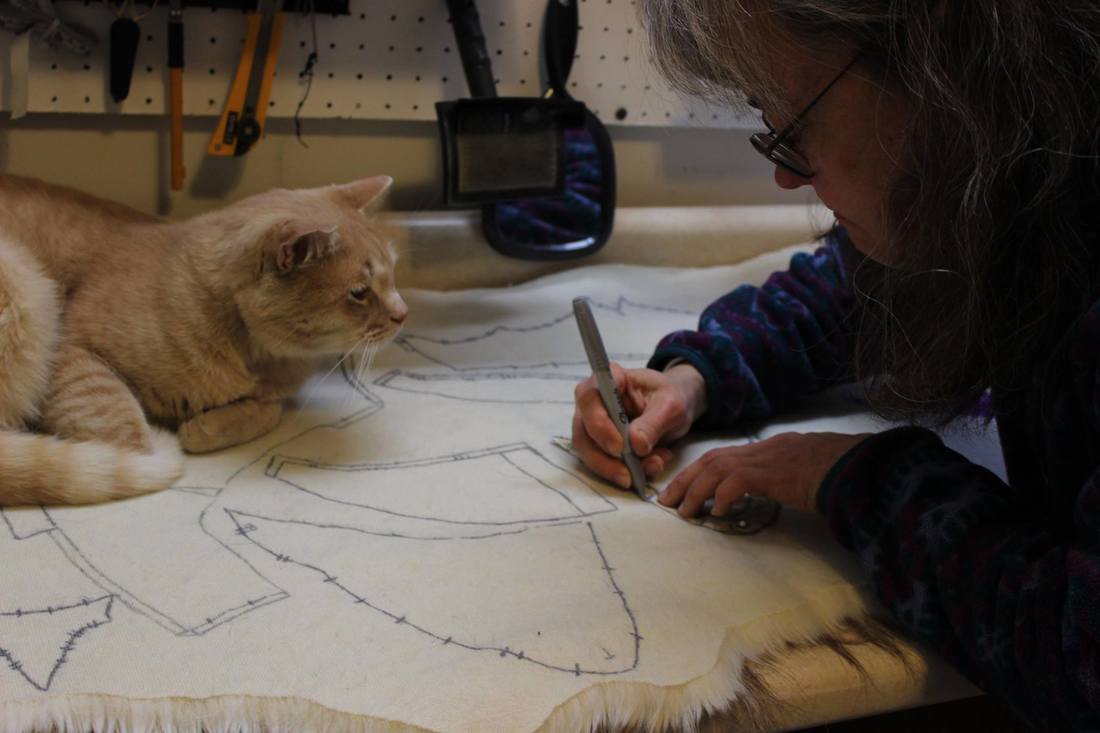
Above, after carefully considering the matter, Ezzy decides that that pattern piece should be ALL HIS!!
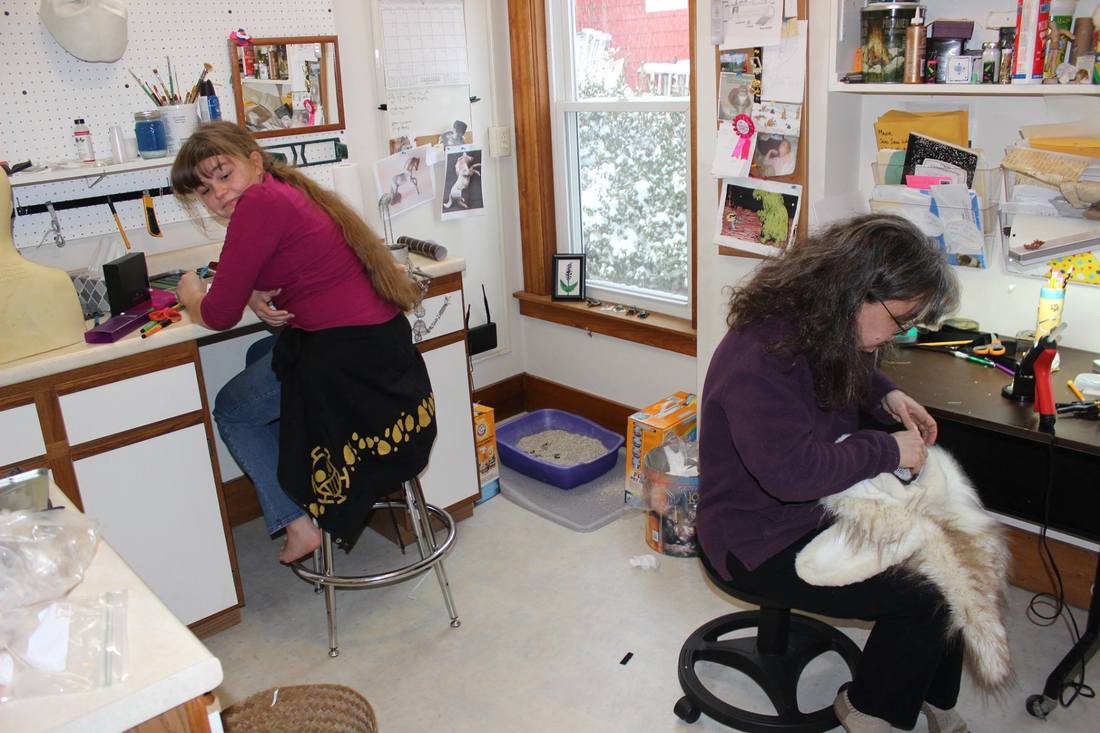
OK, now that we've gotten that out of our system, back to sewing. (That's my daughter Isabelle smirking at me.)
Almost done! Above left, big pieces sewn together and pinned on; right, sewing all done and laid over the base. I wound up hand sewing the face, the ears, and pretty much anything else that would be supported by glue on the base. I machine sewed anything where there would be more stress, such as the zipper and the hood. I used the back stitch with upholstery thread on parts that required strength but were difficult to get at with the sewing machine, such as the area between the ears where the back of the head and the hood join. It was a good thing I did as much practice sewing on scrap fur as I did, as using different methods like this required adjustment to the pattern and the seam allowances on each piece depending on how I planned to sew it. (Ie, the blanket stitch doesn't require a seam allowance.) It was good to have thought this through before cutting into the good fur!
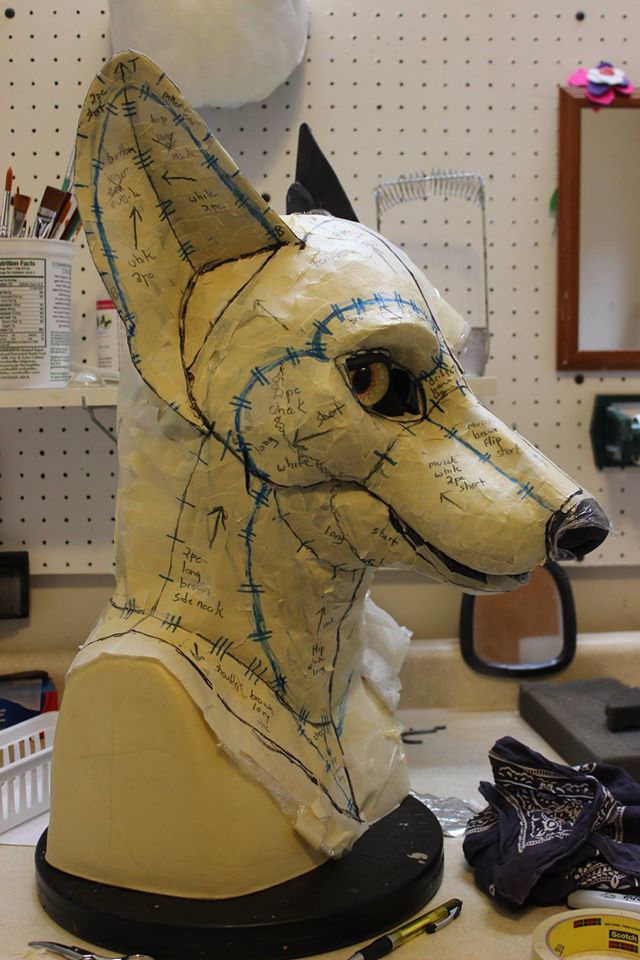
A difficult thing for me to do as an artist is figure out when I'm being overly perfectionistic and when I really do need to put in more effort. I think in the case of sewing, putting in the extra effort really pays off. I love patterning! Seems like alchemy, turning masking tape and magic markers on a resin base into lovely soft fur on a lifelike head! The tutorial on patterning at Dream Vision Creations is quite good, I didn't find any gaps in the info there I had to figure out how to fill in myself. 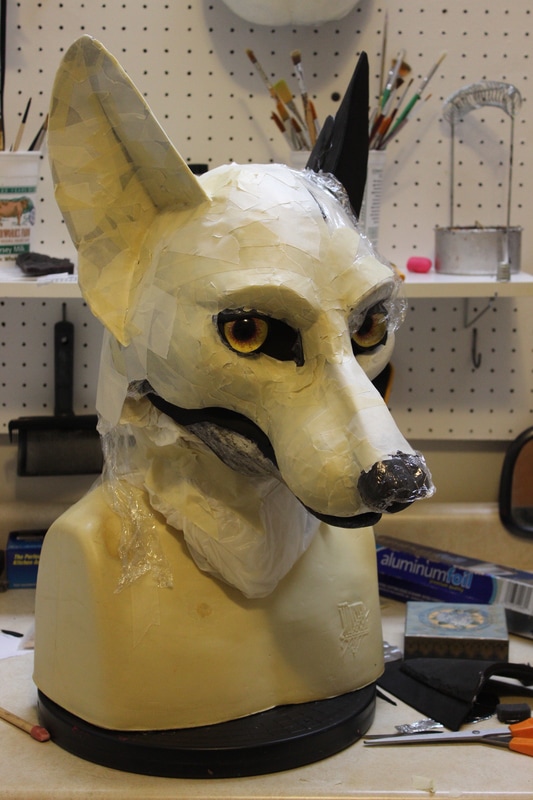 Above,starting the endeavor. The base is covered with a layer of plastic wrap and masking tape, the neck is filled out with plastic bags from the grocery store. Note to self- prior to patterning, save plastic shopping bags, don't be so efficient about bringing them to the recycling station at Price Chopper. This time around I wound up having to steal a big handful at the self-service checkout after buying a few token cans of tuna fish. 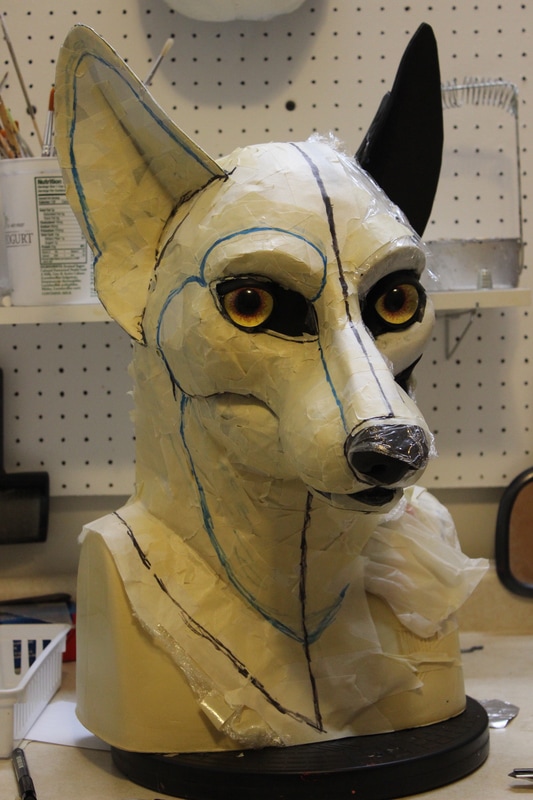 Above, the taping completed, and the markings/areas of different colors marked in with blue magic marker. I haven't decided what kind of tape I like best for patterning yet. Last time I used Duck Tape, which is tough and durable (and comes in lots of fun colors!) but very, very sticky and so a little tricky to work with. This time I used plain old Scotch brand masking tape, which is less durable and not quite sticky enough.
Above, pattern pieces labelled. Looks about as comprehensible as hieroglyphics. I won't get into what it all means here, as the DVC tutorial covers it well, but I will add this one comment- too many hashmarks to show how the pieces go back together are almost as bad as too few. After I had my fur pieces cut out and ready to be sewn together, I had a fair bit of trouble figuring out how the cheeks and eyebrows lined up with the top and back of the head. It didn't help that with so many hashmarks, forgetting to mark one or two in on the fur pieces was inevitable. Taking reference photos like these of the whole thing before it's cut apart can be a real lifesaver.
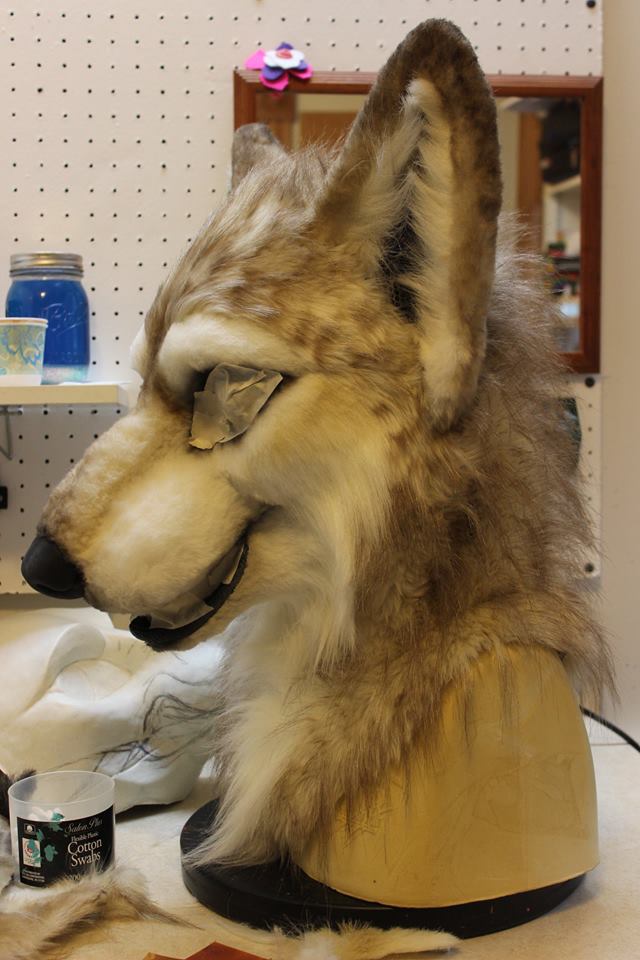
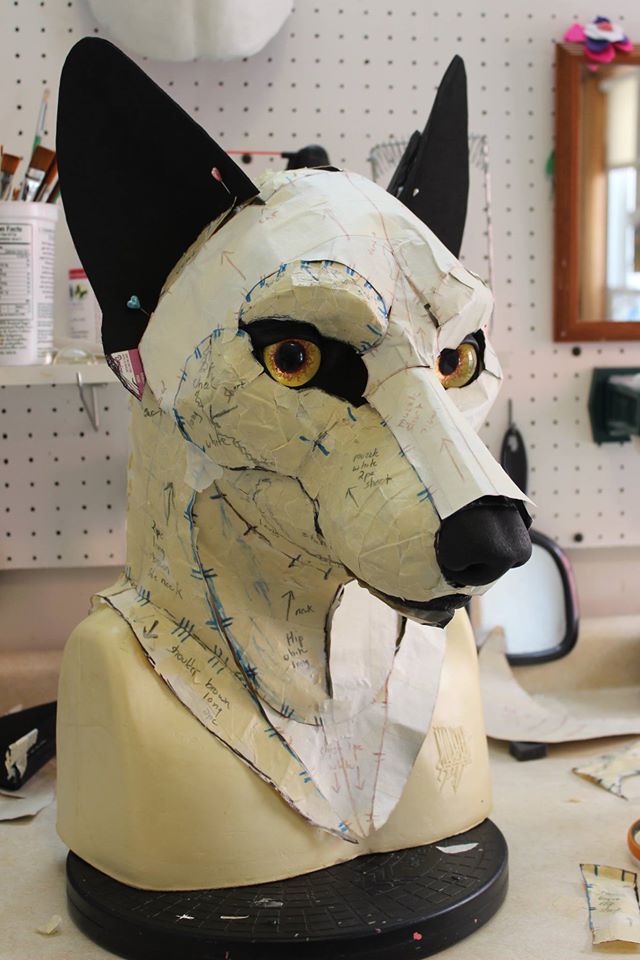
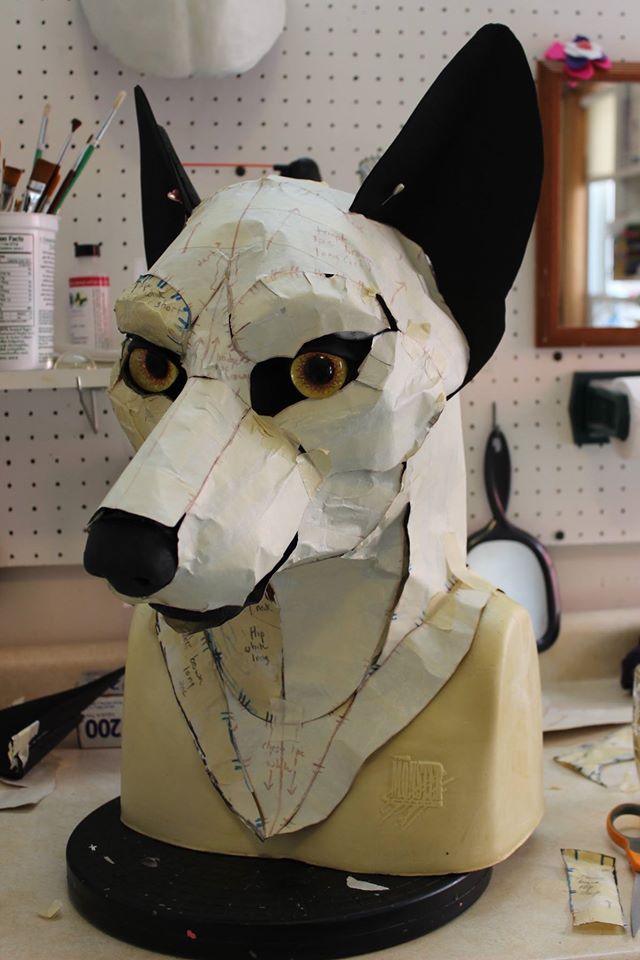
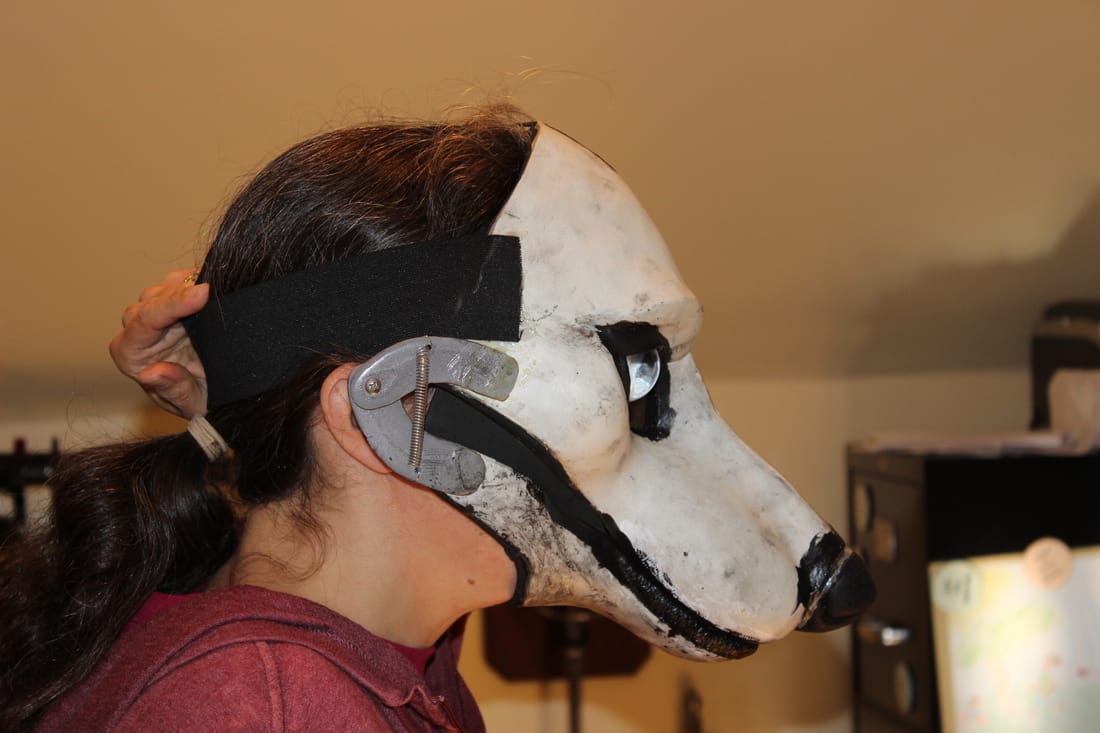
Above, the head after a visit from the resident OMG OCD!! department. This being my own resin head, and my first effort at making one, I was acutely aware of all its asymmetries, however small they might be. One question I had was how a pattern made on only one side of the head (standard practice as I understand) would fit on the other. So I traced out the pattern on tape covered aluminum foil and flipped it to cover the other side of the head. And yes, I concluded, doing the pattern on only one side of the head works just fine. If anything, doing this helps even out any of the head's little asymmetries. One thing this exercise DID do was help show me which pieces could be flipped from one side to the other, thus making one big piece without a seam, and which pieces really did need to be two pieces, even if otherwise the fur was all the same color and all went in the same direction and such. For example, the big panel on the neck directly below the jaw looks like it could be one piece, saving me a seam up the middle, but I found there was no way to make one big piece out of it and accommodate the curve going from the center of the chest to the underside of the jaw. So two pieces it stayed. The little triangular shaped part under that piece, however, could be flipped and made into one piece. 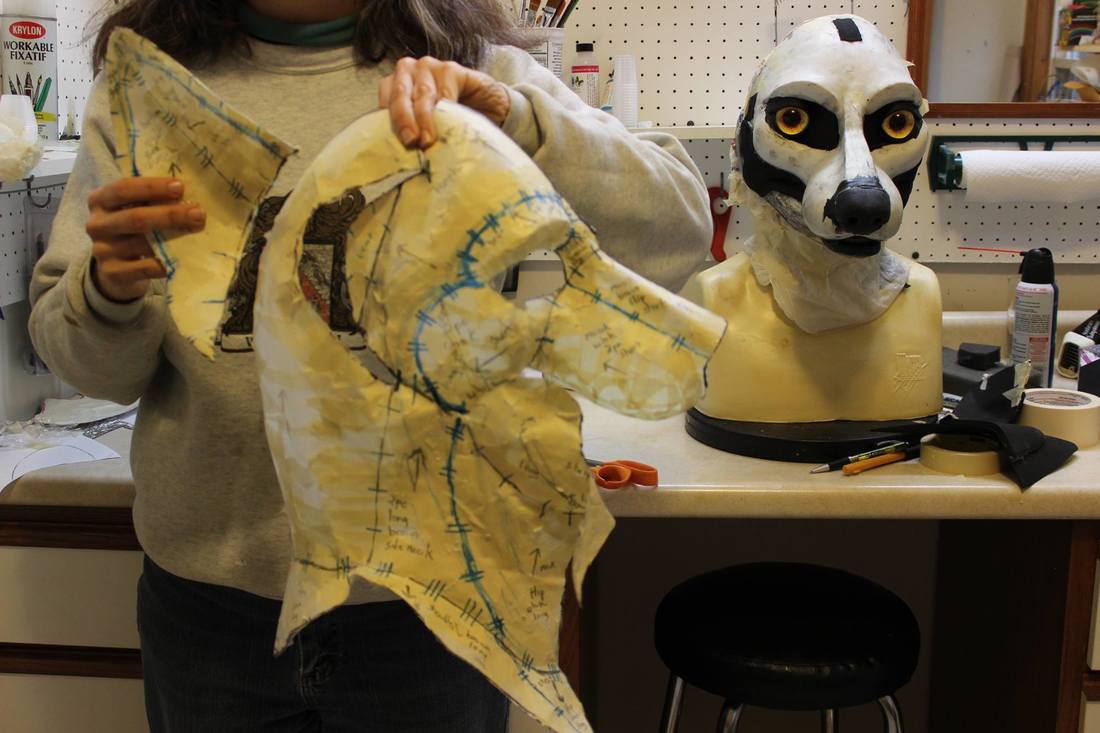 Above, the pattern removed from the head, ready to be cut apart and used for a pattern. I think the masking tape "skin" is so cool. Next, laying out the pattern, cutting out the pieces and sewing! Moving jaw test for Maxine the Mask. Thank you to the long suffering hubby for his patience!!! I'm pretty happy with it.
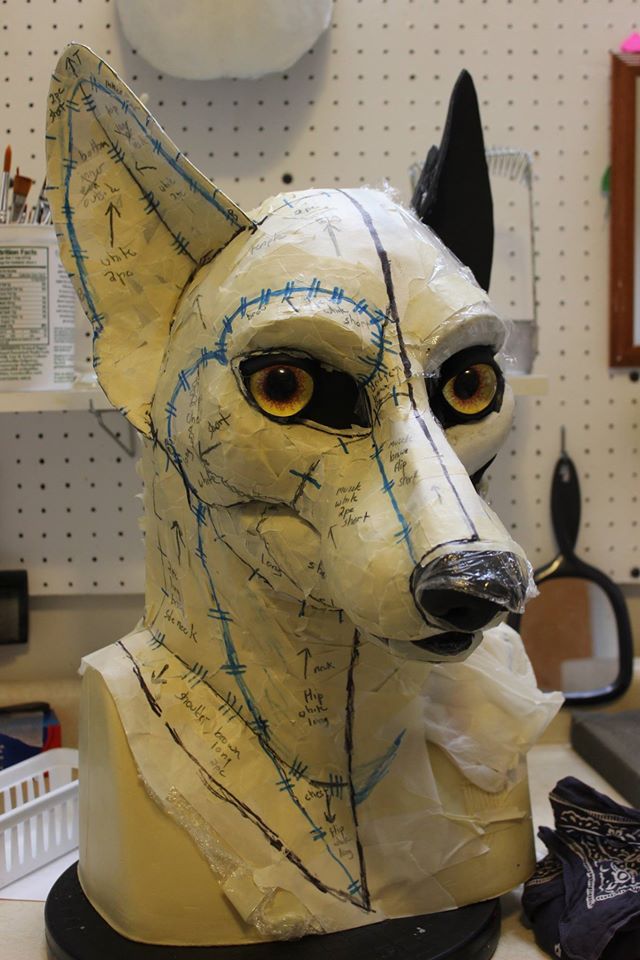
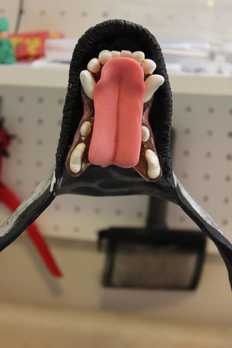
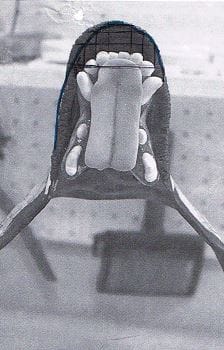
I also wanted the teeth to sit up much higher in the lower jaw than they did in my first head, as they kinda disappeared into lips and fur after I got it assembled. I played a lot with layers of Foamies underneath the teeth to get them exactly where I wanted them, and so far I'm happy with how they look.
As with the previous head, I've been referring to the DVC tutorials online as I work on this head, and much to my confusion they've started redoing that series- when I did the first mask, the lips were applied last, after the airbrushing, and now they're applied early in the process, along with the eyelids. Maybe they were done last in the first series so that airbrush overspray wouldn't get on them, but that's easy enough to paint over with black paint. In any case it was a pain to apply them with fur already there, and so far I like this way better.
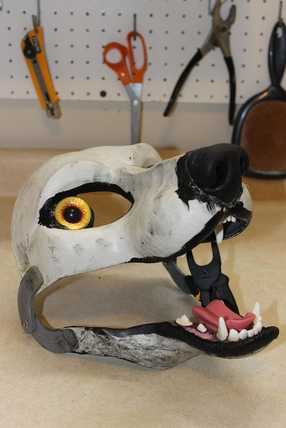
I also learned the hard way it's best to cut the cast up right before assembling it. I was so excited to get a good cast I couldn't wait to open the eyes up and hinge the jaw, and then I let the head sit, and sit, and sit.... and the jaw warped, shifting to one side. Now the head has an expression kinda like this: :-/ Nothing that can't be fixed with a Dremel and some epoxy, but still, something I'd rather avoid in the future.
Above, working out how to resculpt the jaw to make it look straighter. I often take a photo of an area I'm working on, print it out and draw on it, to help visualize what I should do. In the printout /drawing to the right, I've decided to dremel off the lip outside of the thick blue line. Another point for adding the lip early on- it gave me a way to tweak the jaw I wouldn't have had otherwise.  (And... one day I went down into the basement to work, and I found my daughter had gotten into my packing peanuts....)
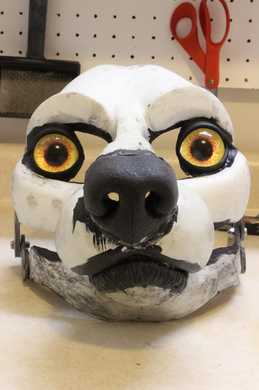
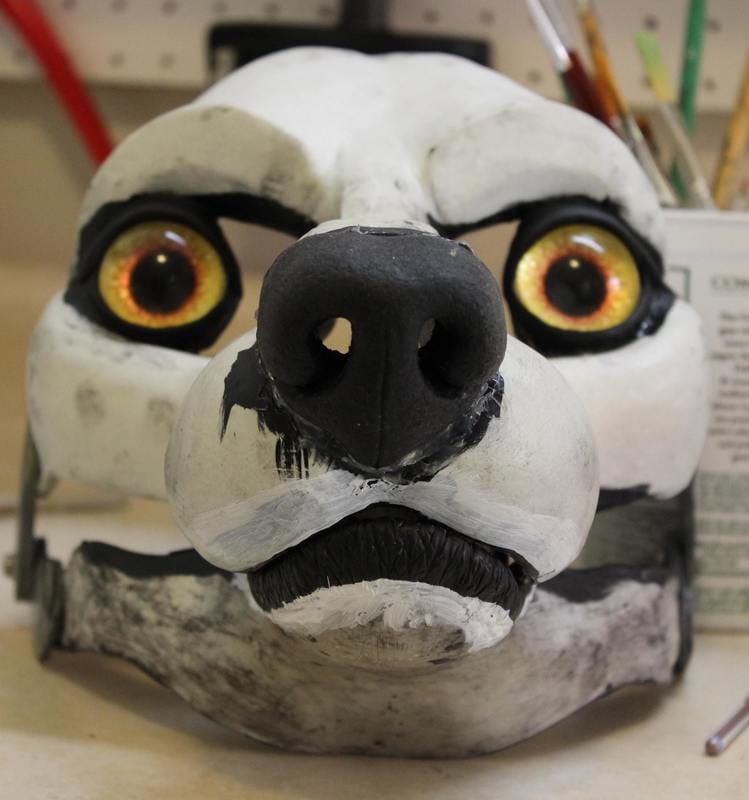
Above, the lower jaw resculpted and straightened out a bit. I think it looks much better. Neatening up the edge of the lower lip helped a bit too. 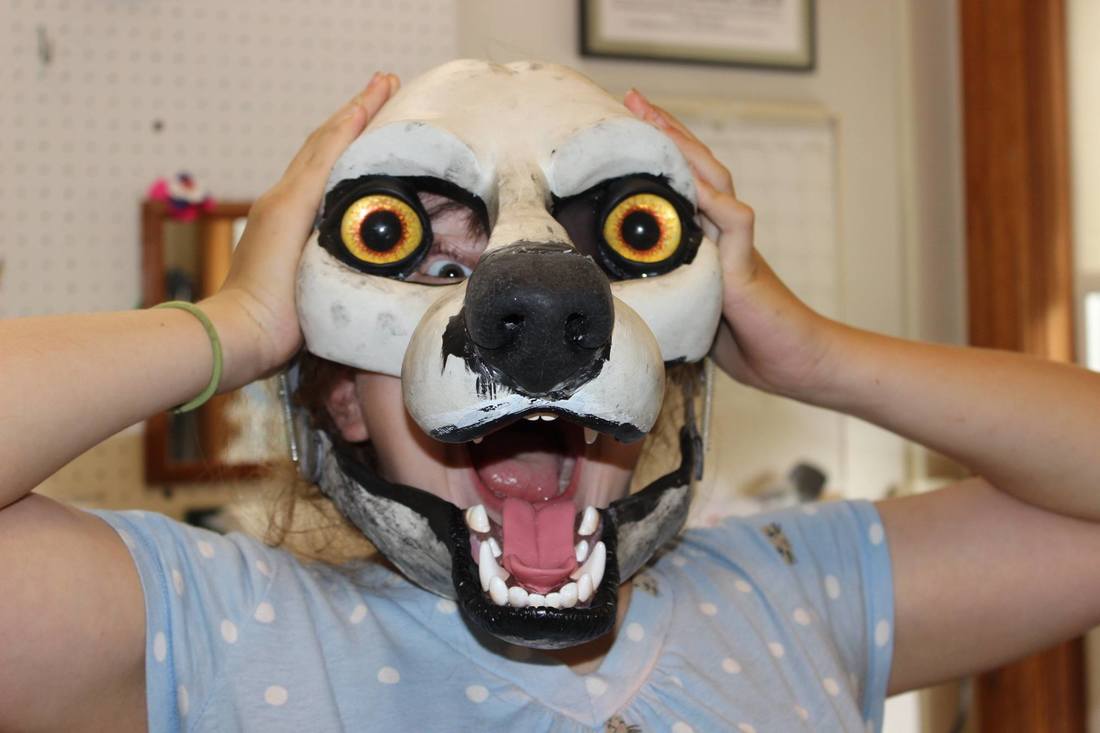 Above, chiffon added to one tear duct but not yet the other, as modelled by my packing peanut loving daughter. Freaky deaky!
Two takeaways for the next resin base sculpt:
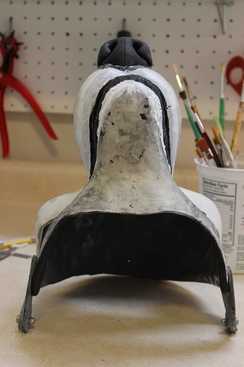
First, make sure the areas in which the eyes will be glued are as flat as possible and in the exact same plane with each other. Any crookedness or unnevenness in these areas will be greatly exaggerated when the resin eyes are in place, and gives the mask a rather wall-eyed, inbred expression. Next base sculpt, I think I'll use metal or rigid plastic discs of the correct size to mark out these areas and leave them there while moldmaking, to make sure those areas don't squish out of shape. I was able to glue the eyes into this base to my satisfaction using bits of resin and hot glue to level them out, but care taken with the next sculpt could definitely make the process a lot easier. Second, sculpt the next head so that it can easily take a nose with a flat back. DVC noses, and I suspect any other noses that are cast separately and glued on to a base later, have flat backs. I suspect they are made in one piece molds, the backs of which are open so that the casting material can be poured in, which then levels out as it sets. When I removed the nose on this base to accommodate the DVC nose, I was left with an awkwardly shaped hole into which to glue it. I re-sculpted the area a bit with epoxy so that the nose would fit (the thick black band behind the nose in the pics is epoxy for the most part) and so all is well that ends well, but again, this is something to take into consideration for future head sculpts. Next, ears!! |
Categories
All
Archives
March 2023
|


 RSS Feed