
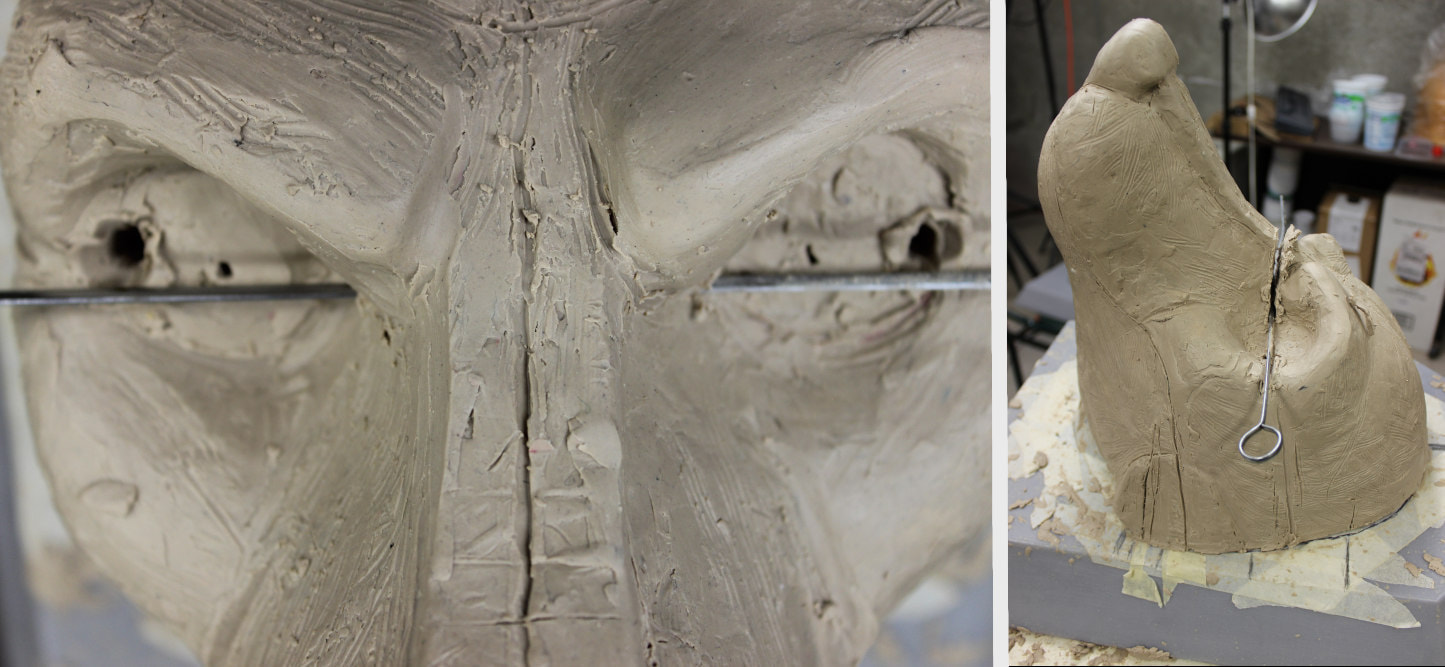
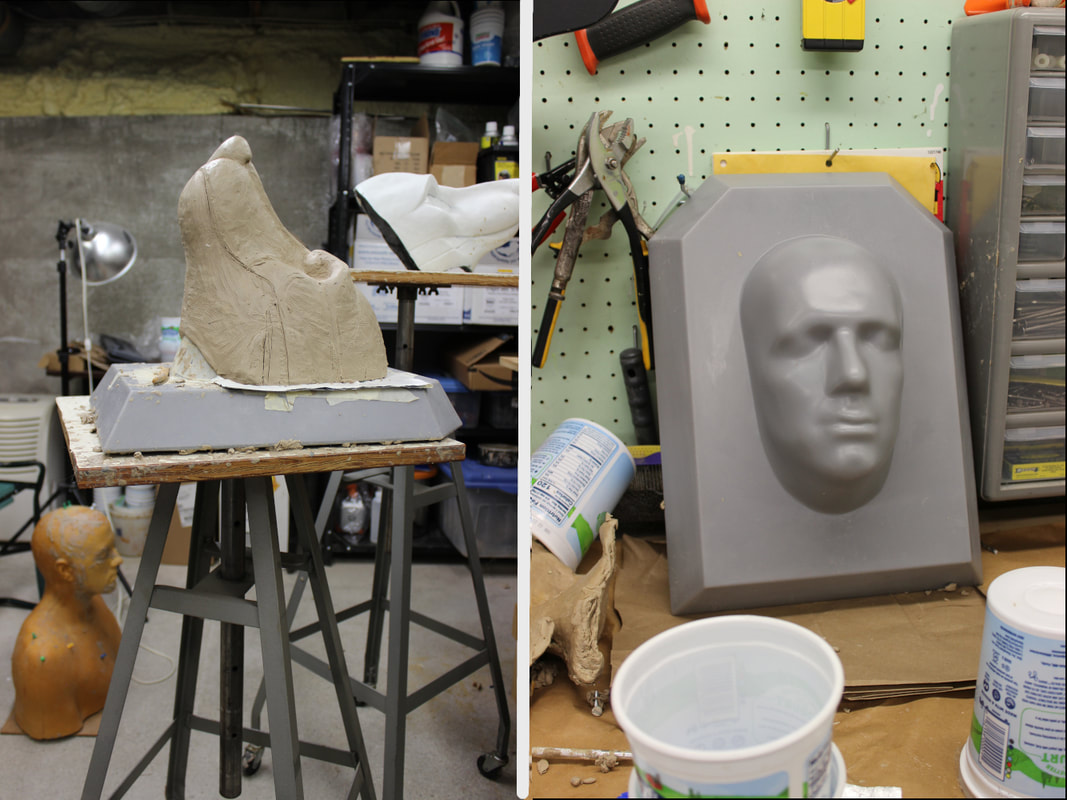
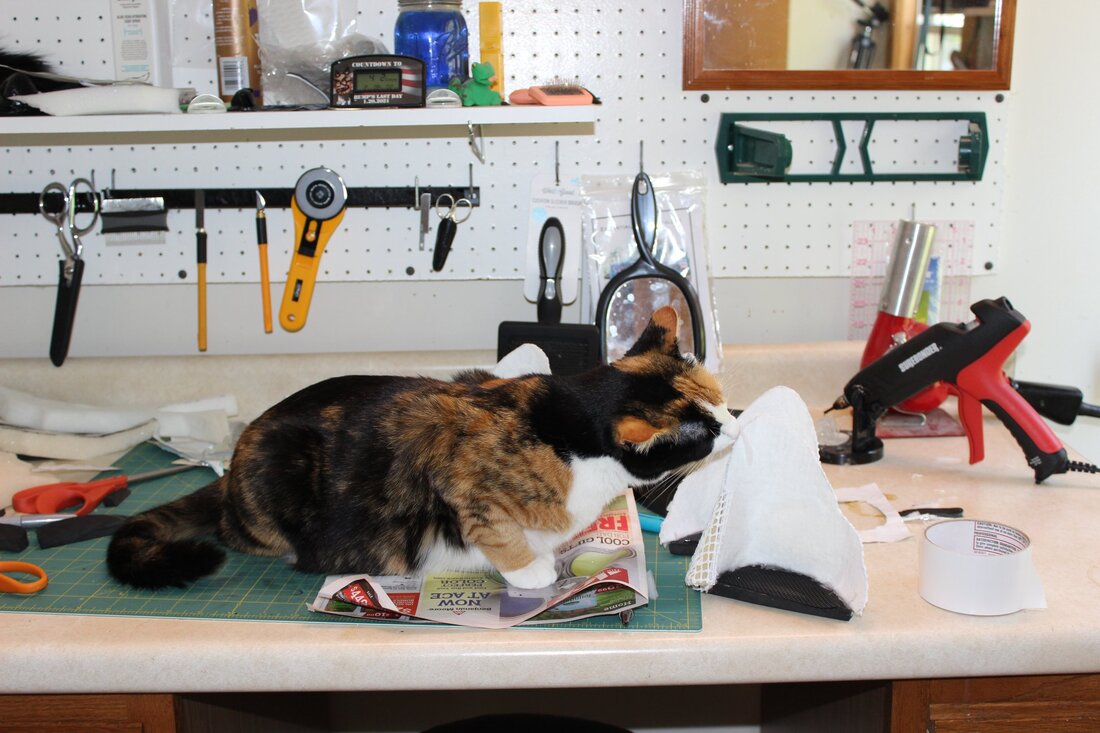
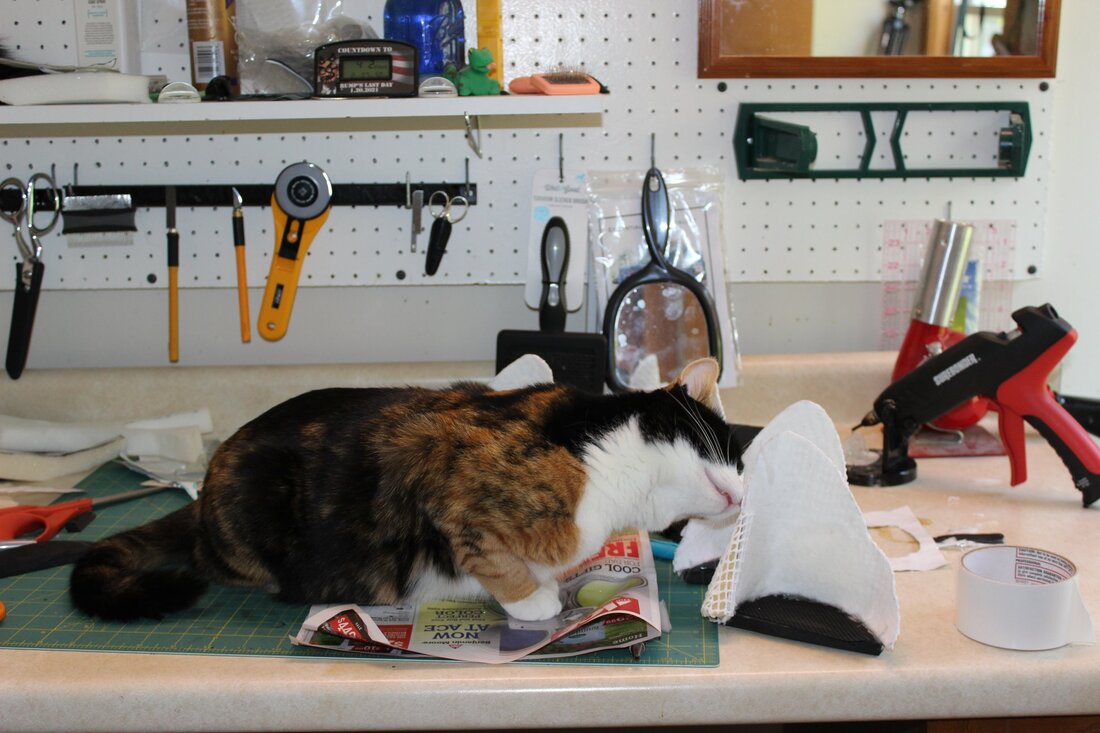
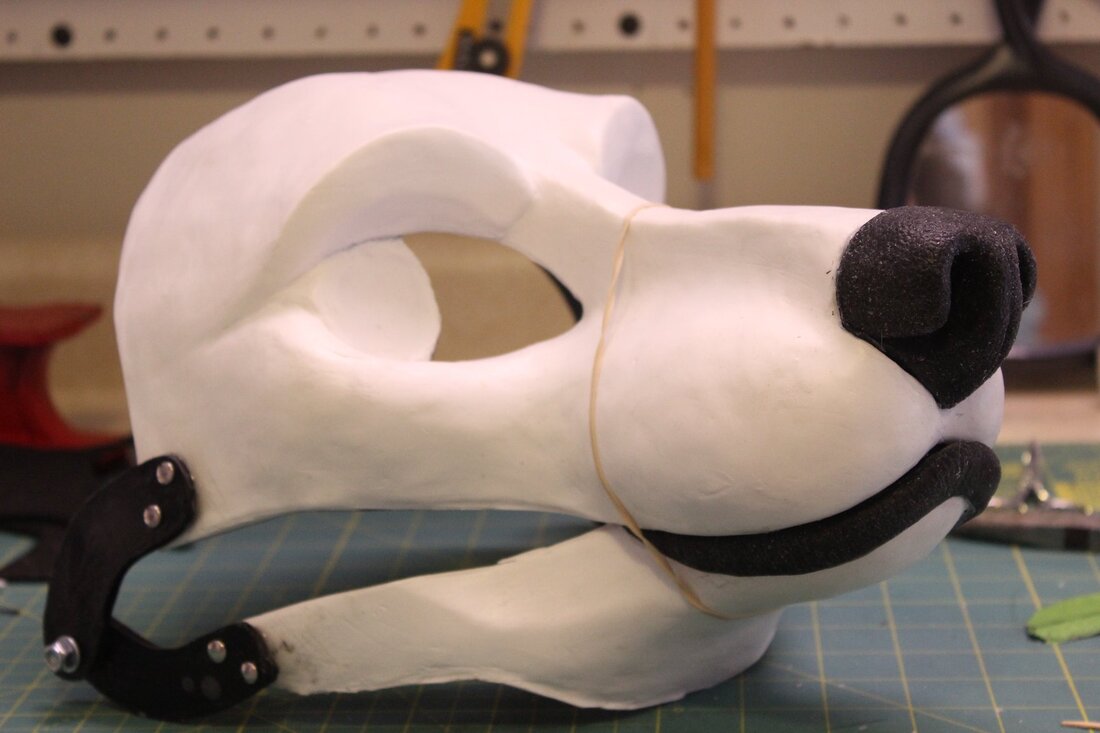
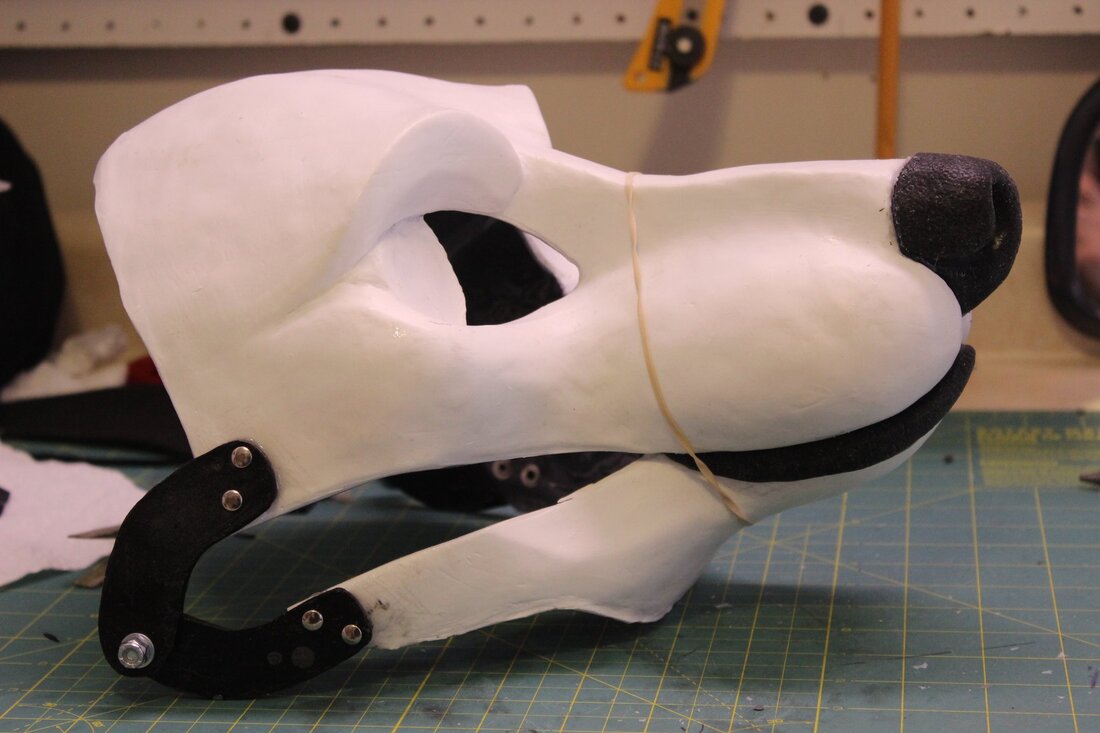
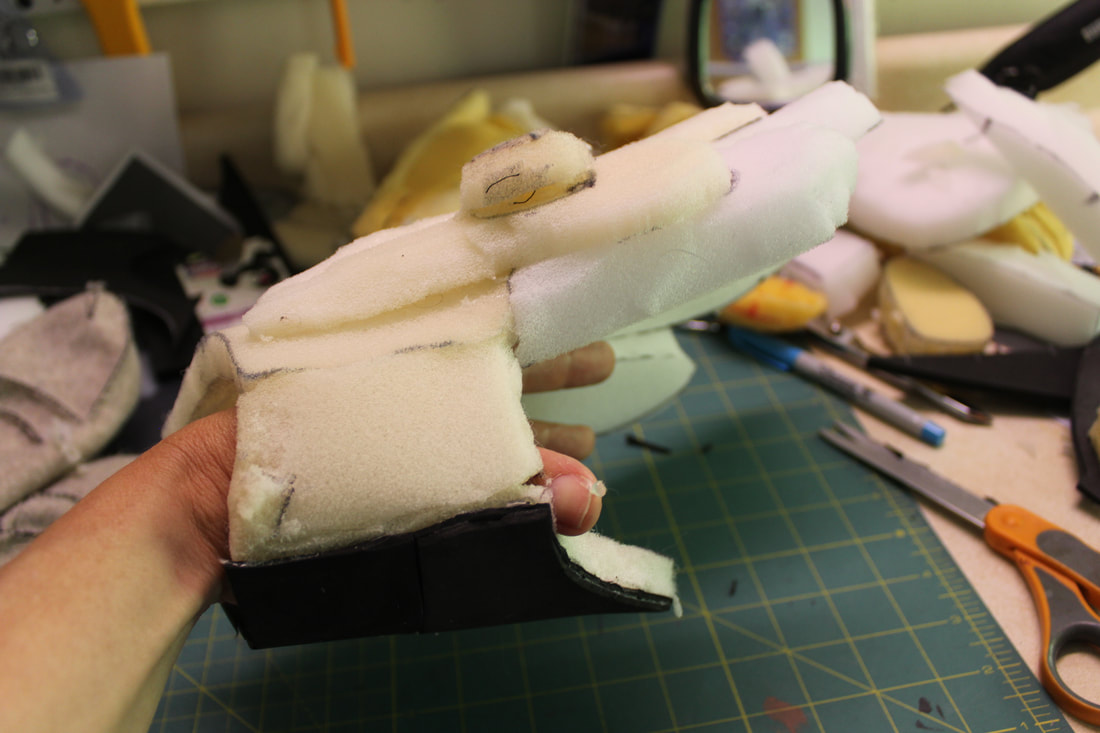
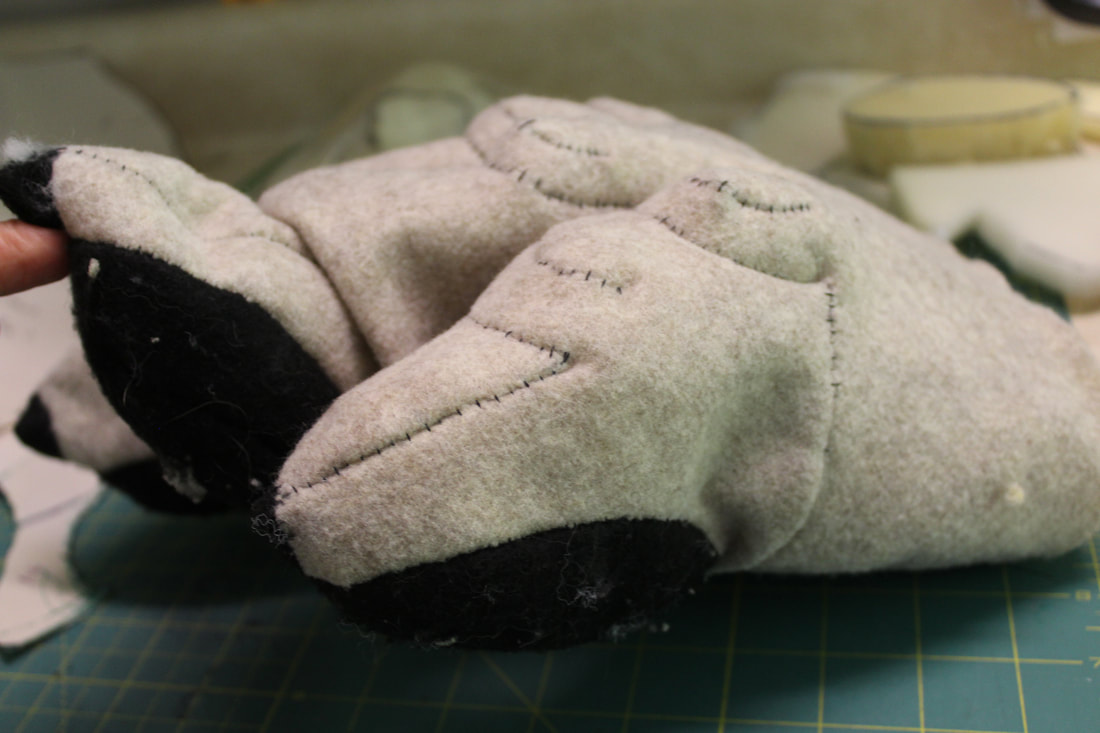
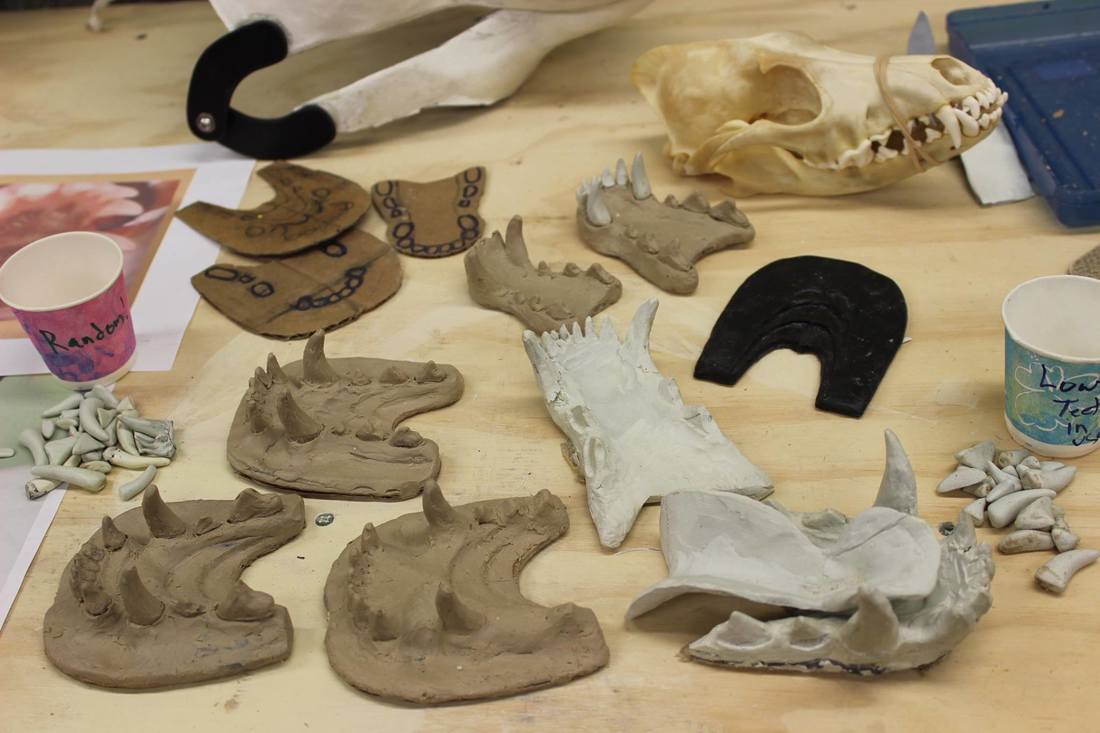
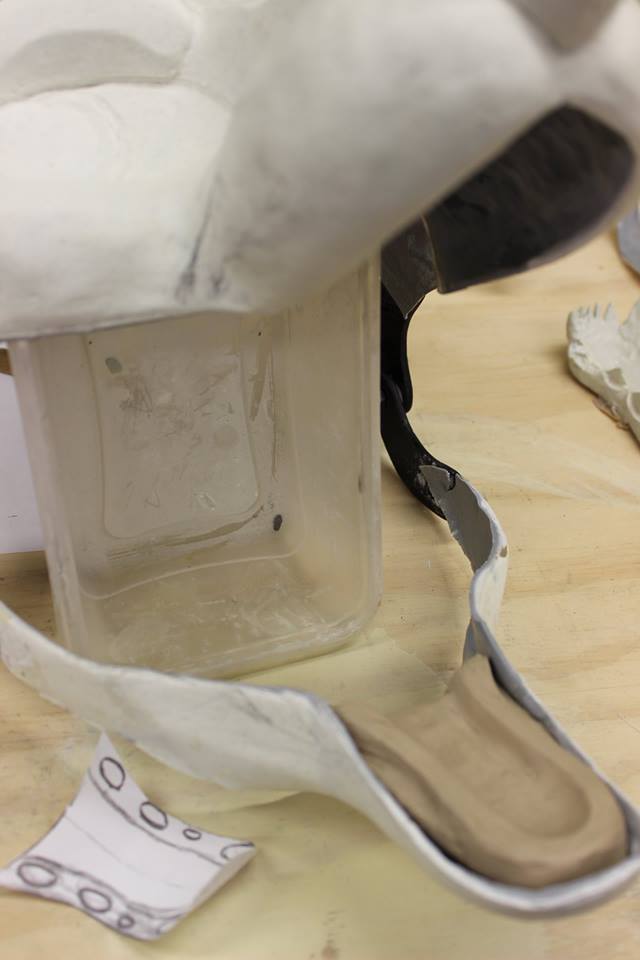
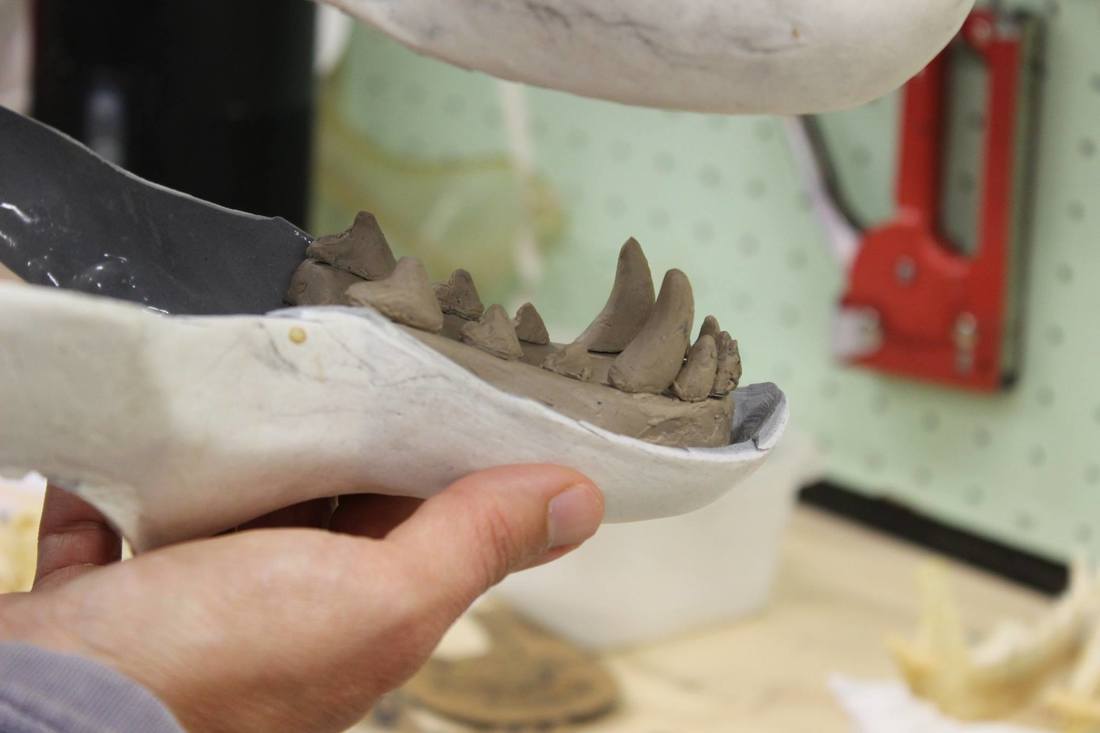
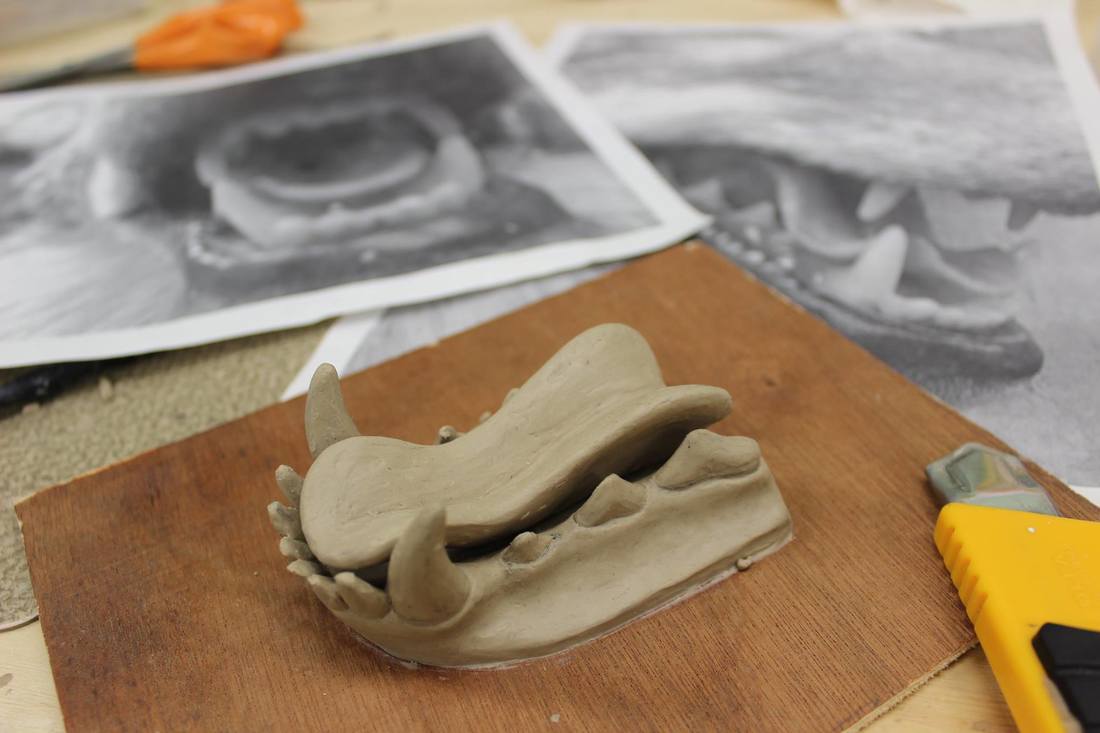
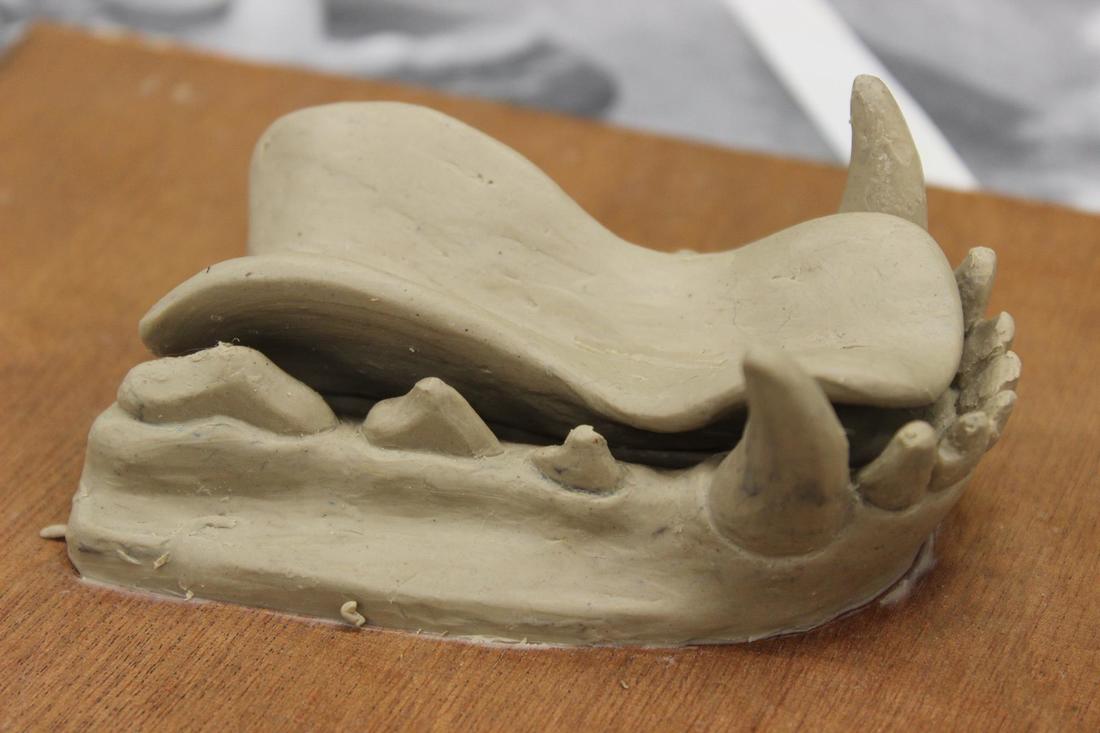
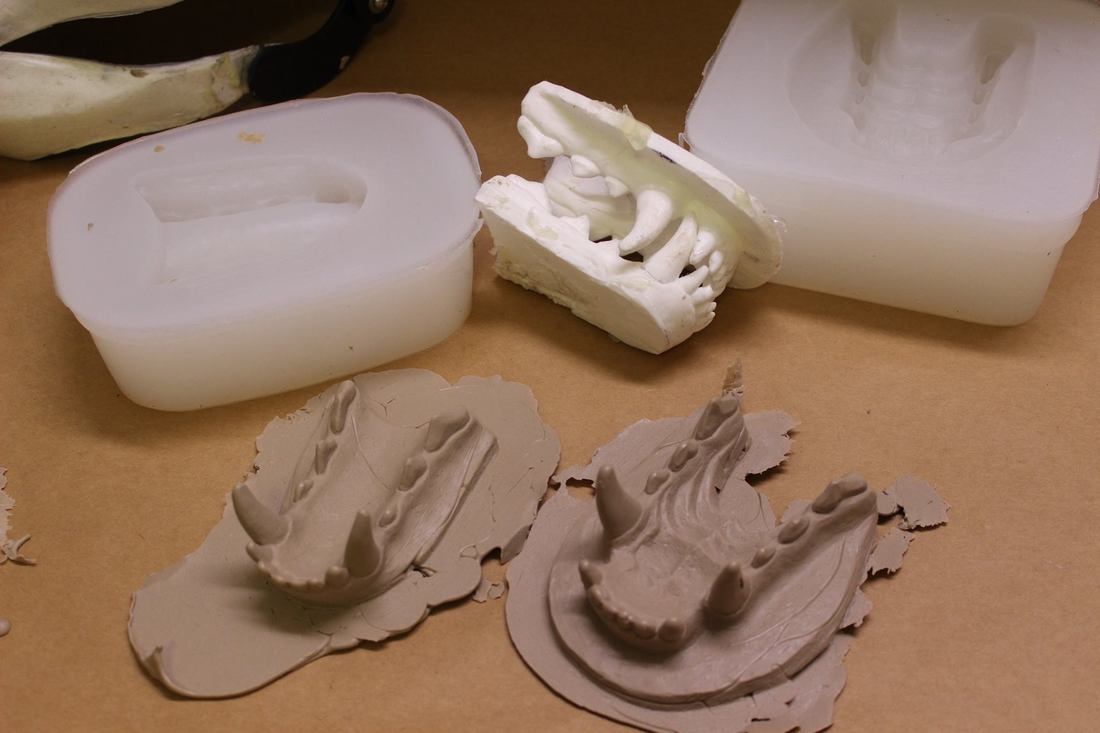
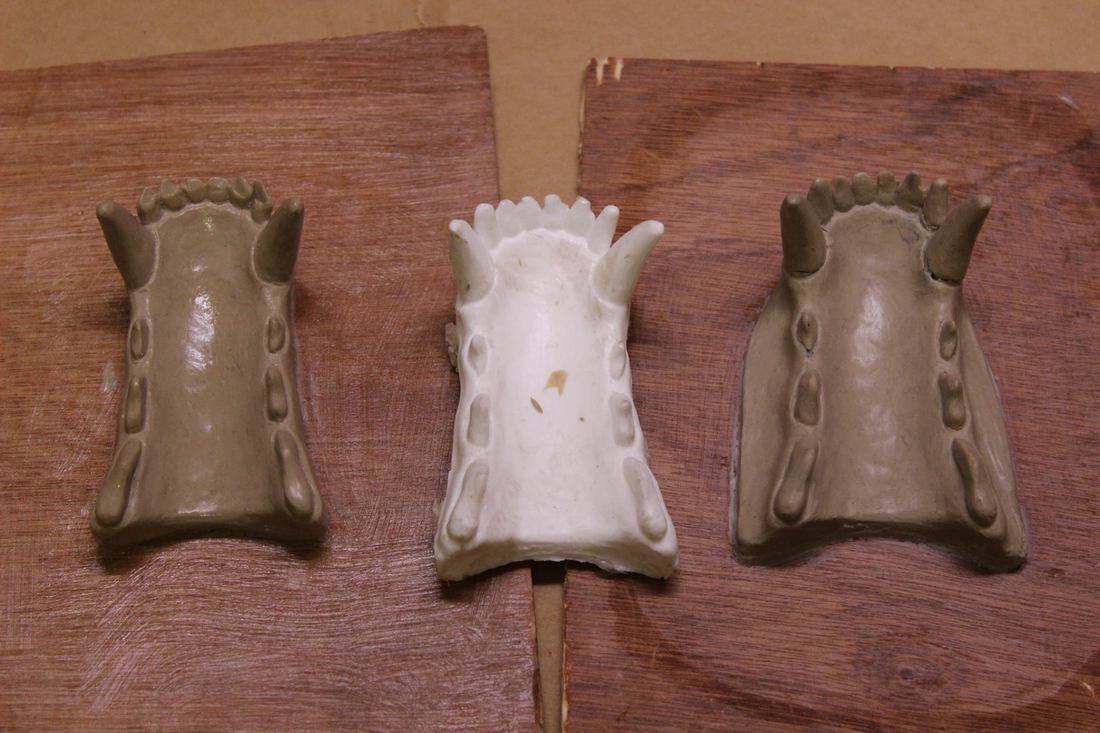
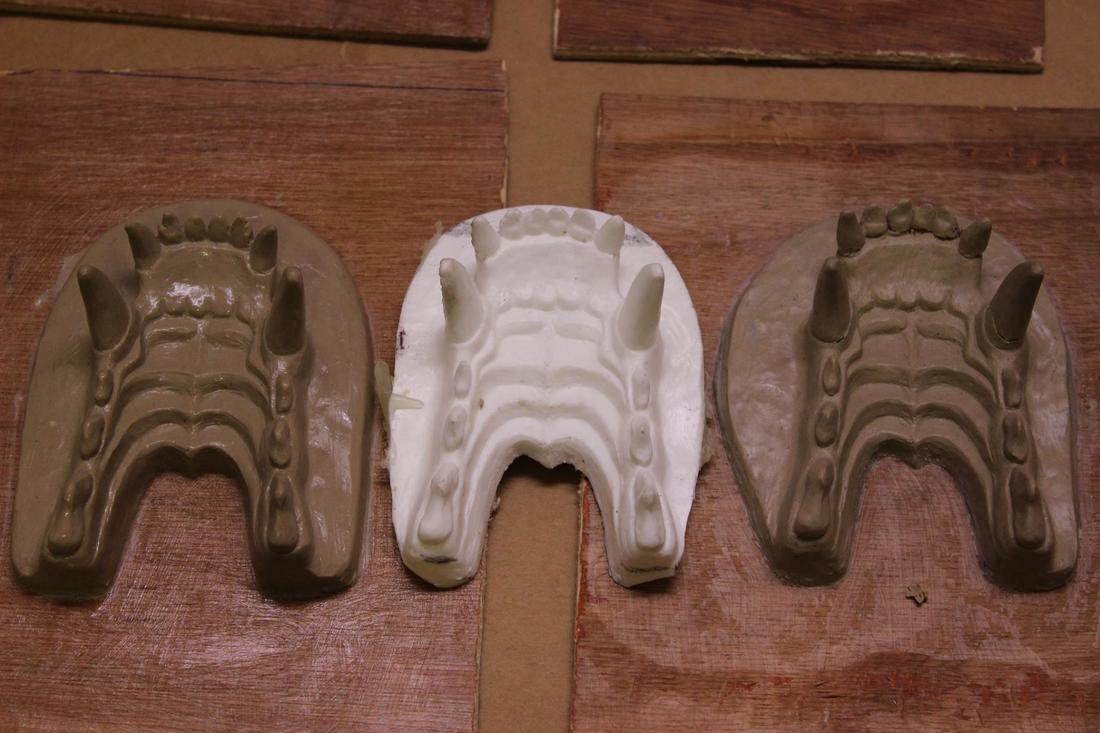
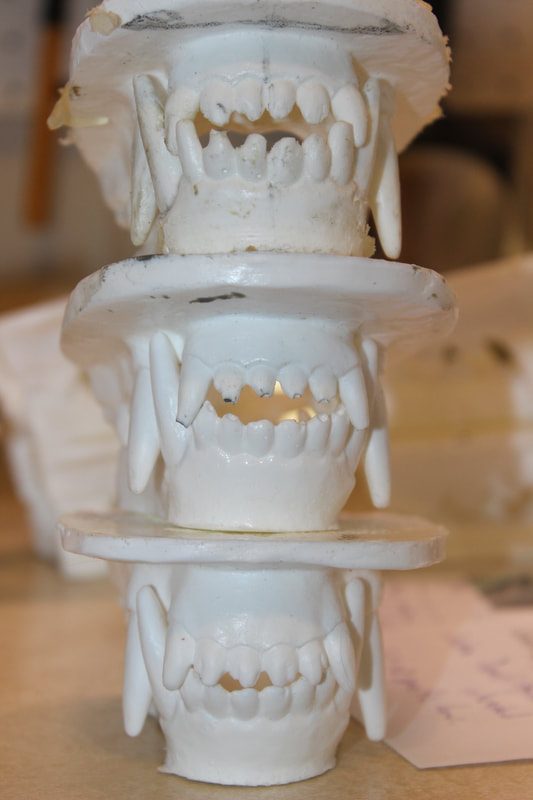
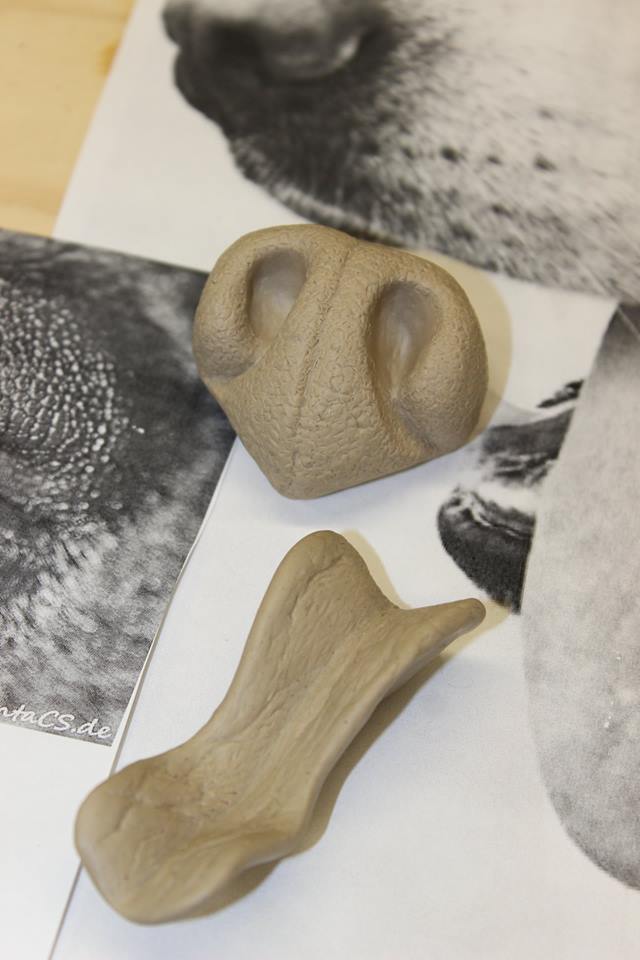
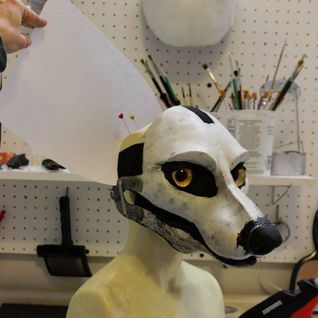
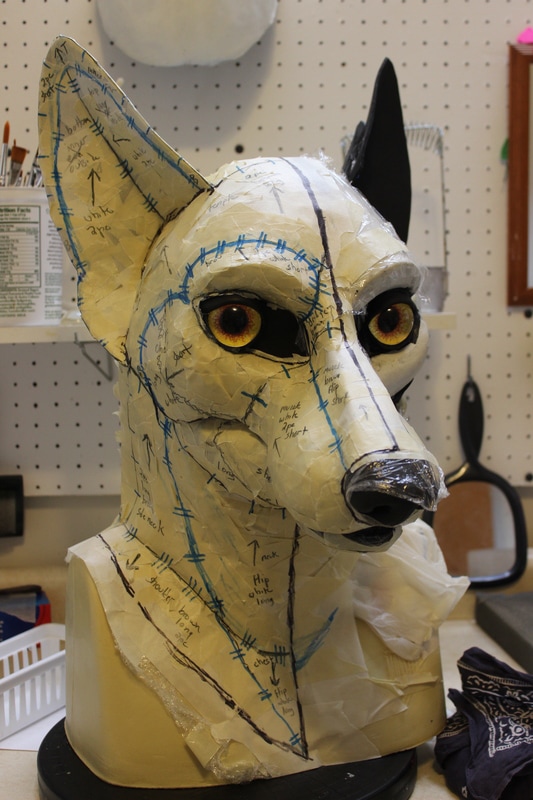
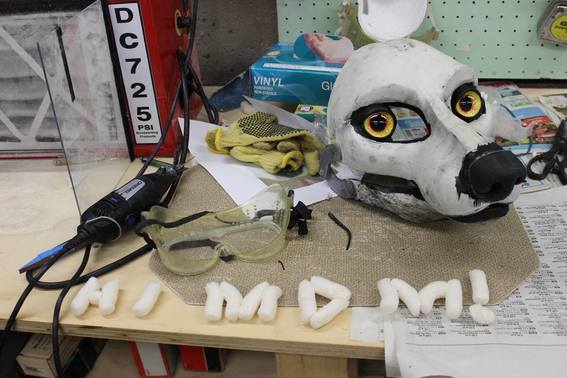
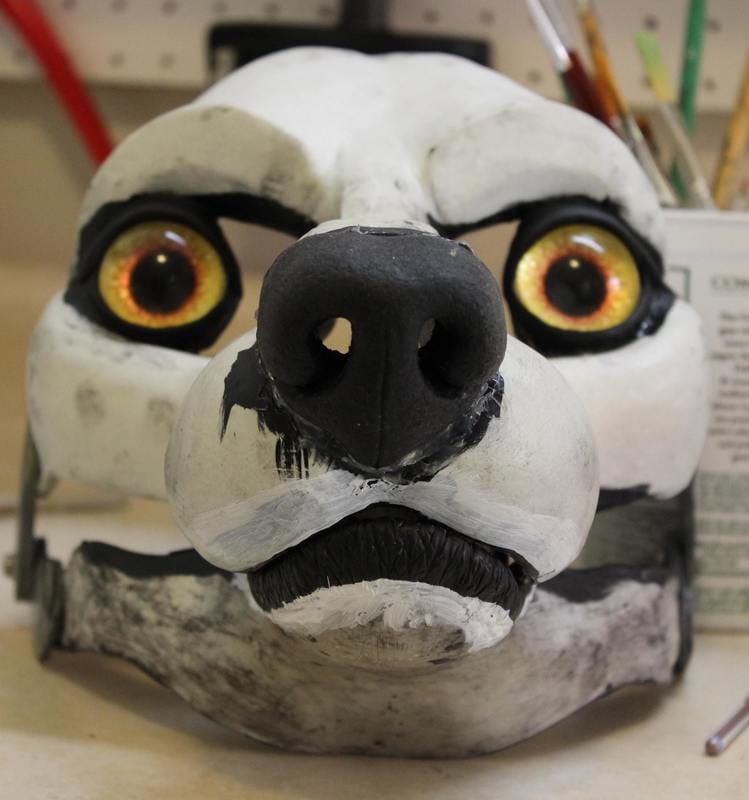
I started making this video in August, thinking I'd use it to review and assess my sculpt before going on vacation. I was imagining plugging the sculpt into my subconscious this way and mulling over it while out in the woods camping, returning to it inspired and reinvigorated. That's not what happened, as you might guess. I started flailing in the middle of this video, sculpting and resculpting the area around the eyes and the top of the nose, but not making any significant improvements. I think this flailing happens when the subconscious realizes something is off but conscious awareness can't yet put it into words and express it clearly as a problem to solve.
I've been flailing with this blog post too, working on it on and off since August. I kept thinking I'd found The Problem with my sculpt and wanted to unveil The Solution here with great fanfare, along with the clever thinking that led to its discovery. But every time I set out to write this post I only found myself with more questions. Soooo.... I present to you here, The State of The Problem at this Moment, and The Steps I have Taken to Solve It So Far. I leave the Grand Conclusion for another post, hopefully one that I will write in the Near Future. Right now I feel like I just need to get something written!
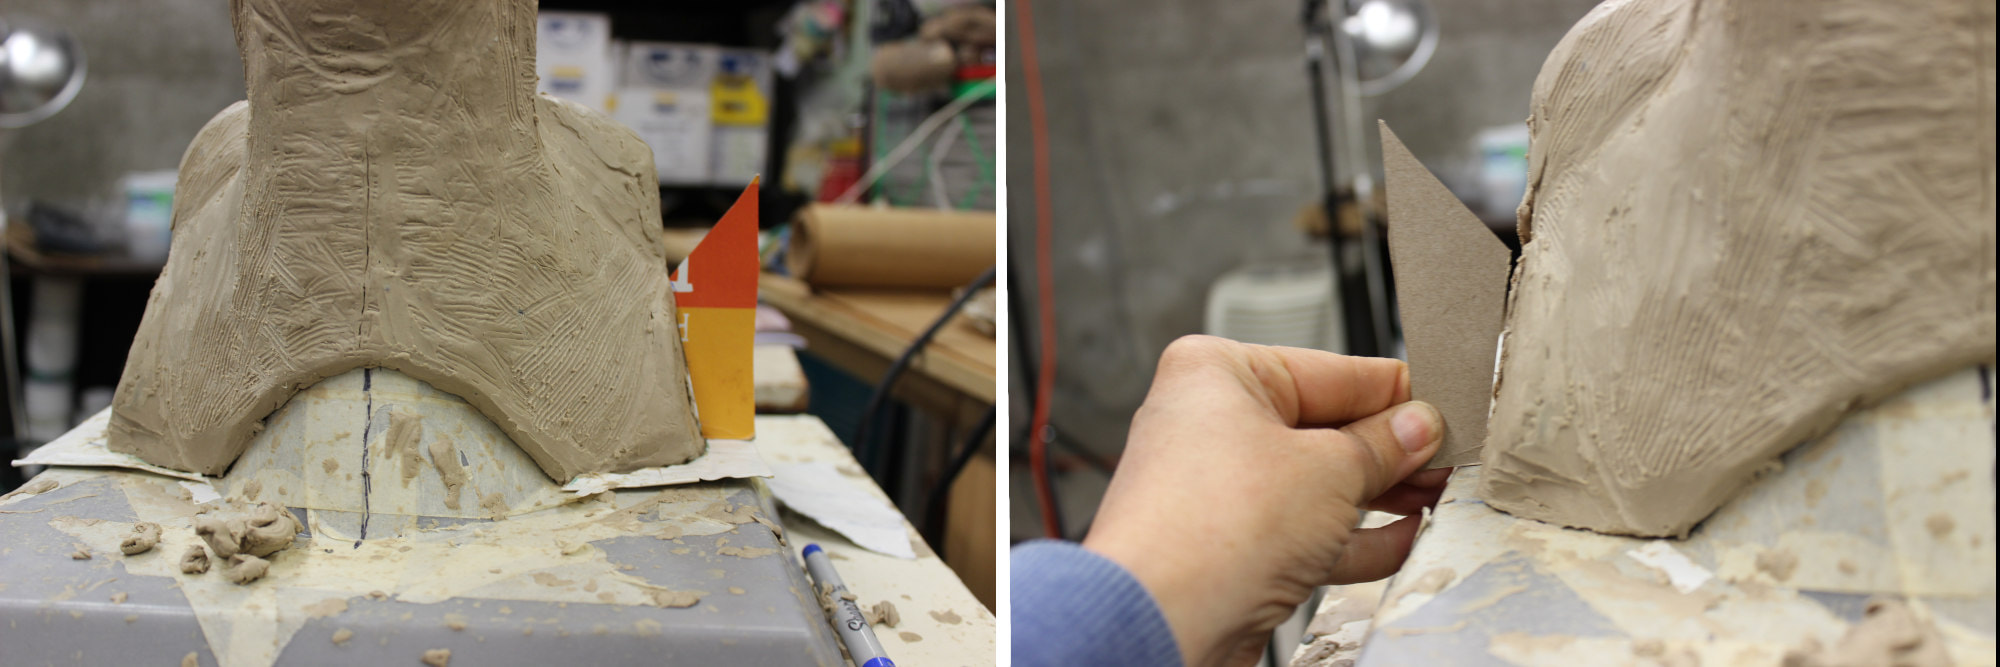
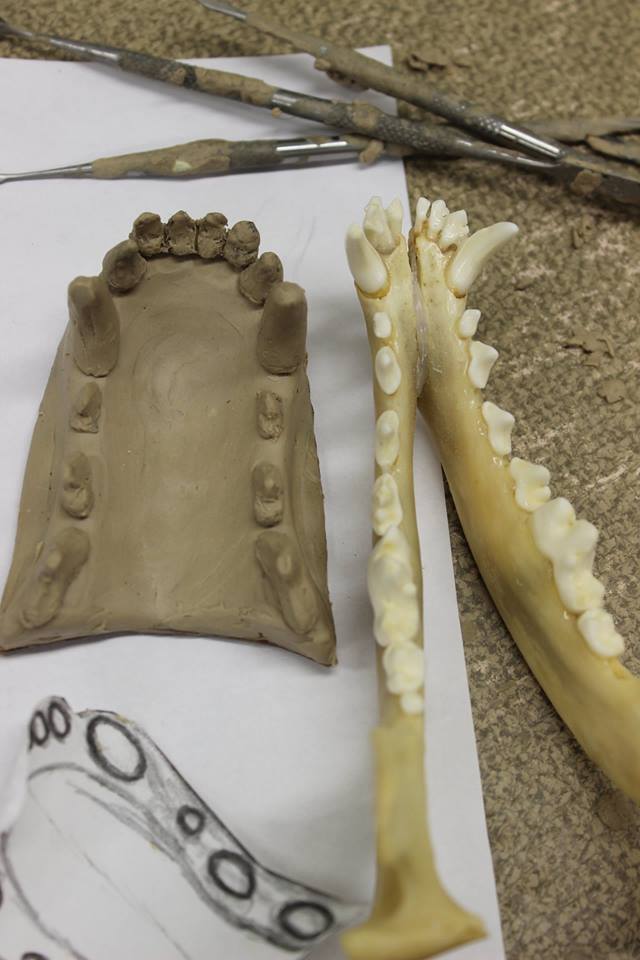
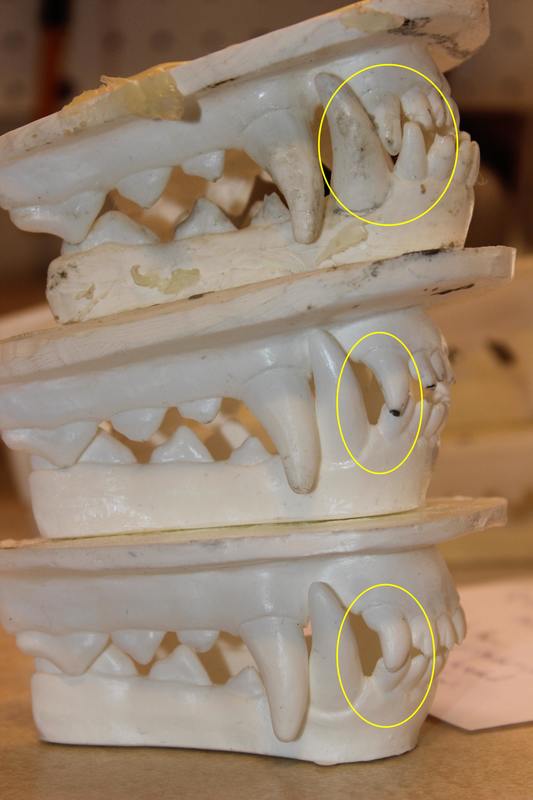
The common wisdom is that a sculpt, simply put, starts by establishing the relationships of the largest, most basic shapes to each other, then progresses to defining the relationships of smaller and smaller shapes within those big ones. The most common mistake a beginning sculptor makes, according to this wisdom, is working on fun little details before correctly establishing these big basic shapes. I wondered if this could be my problem.
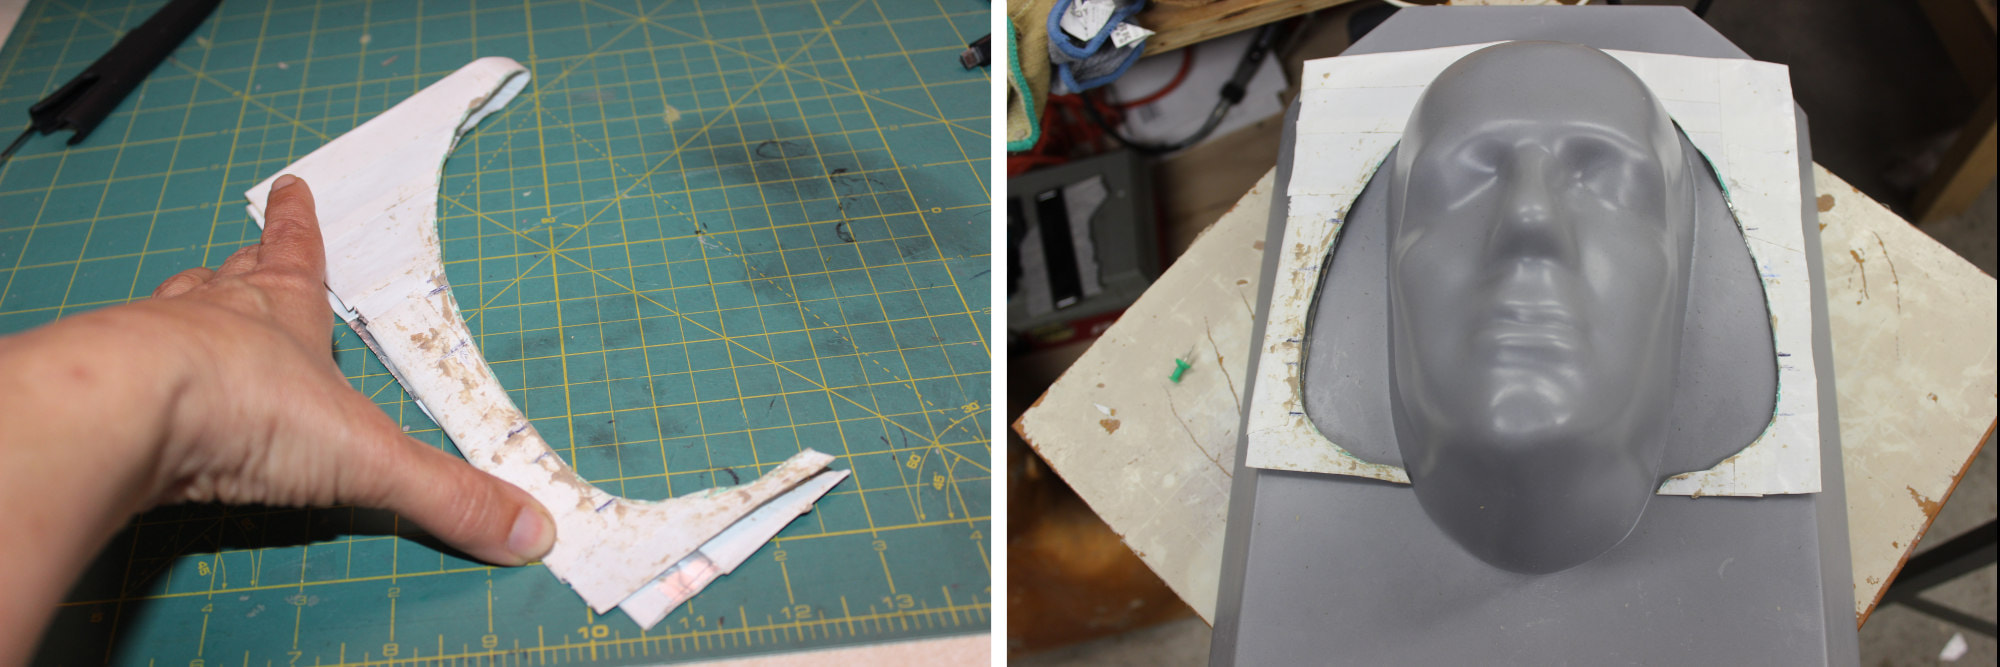
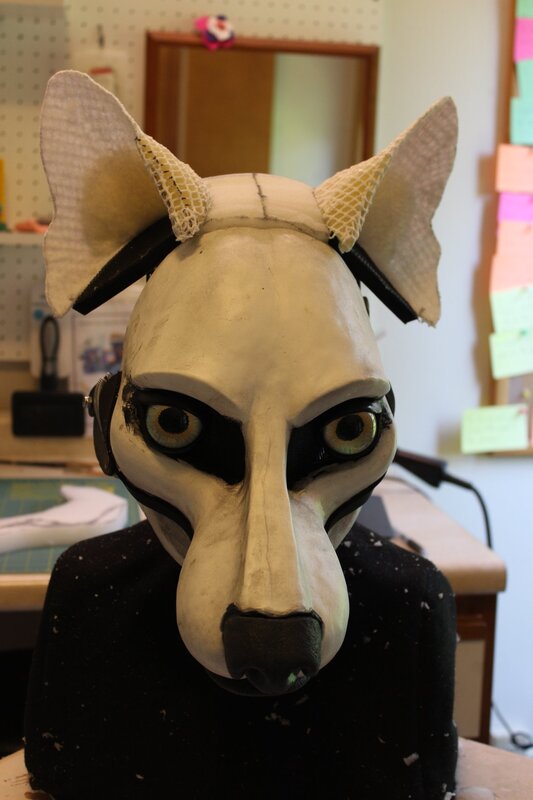
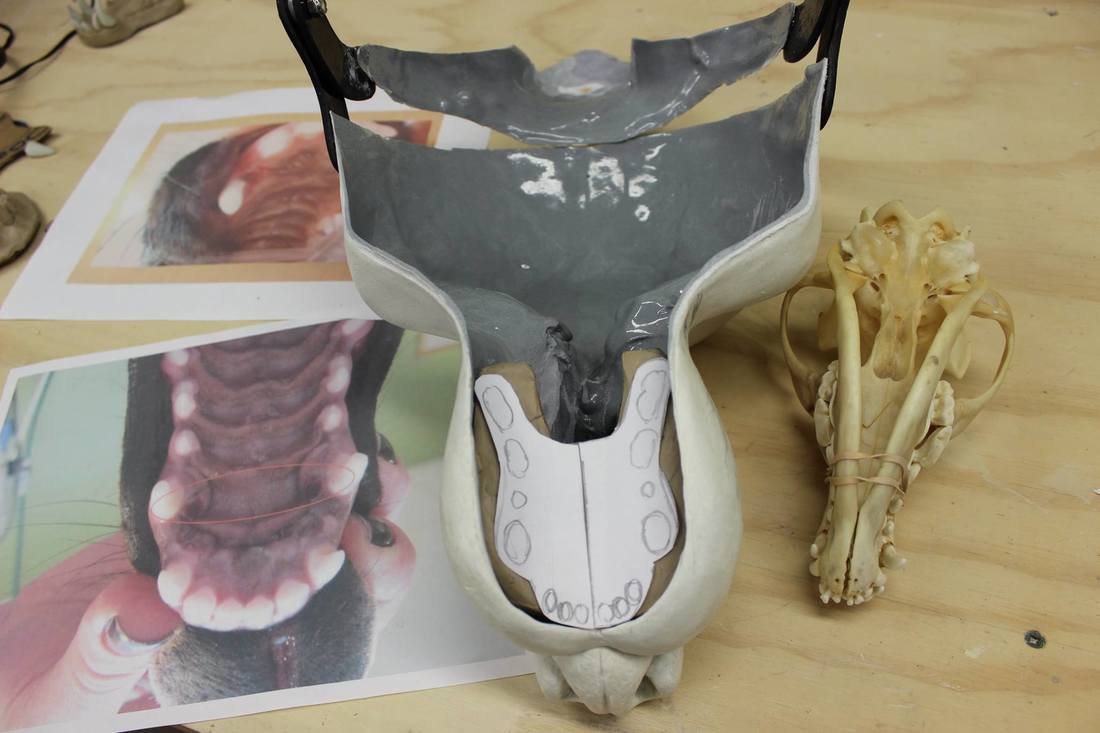
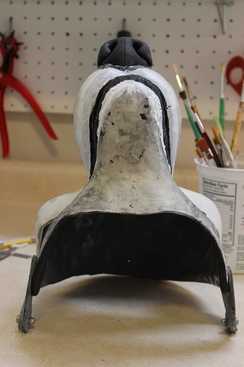
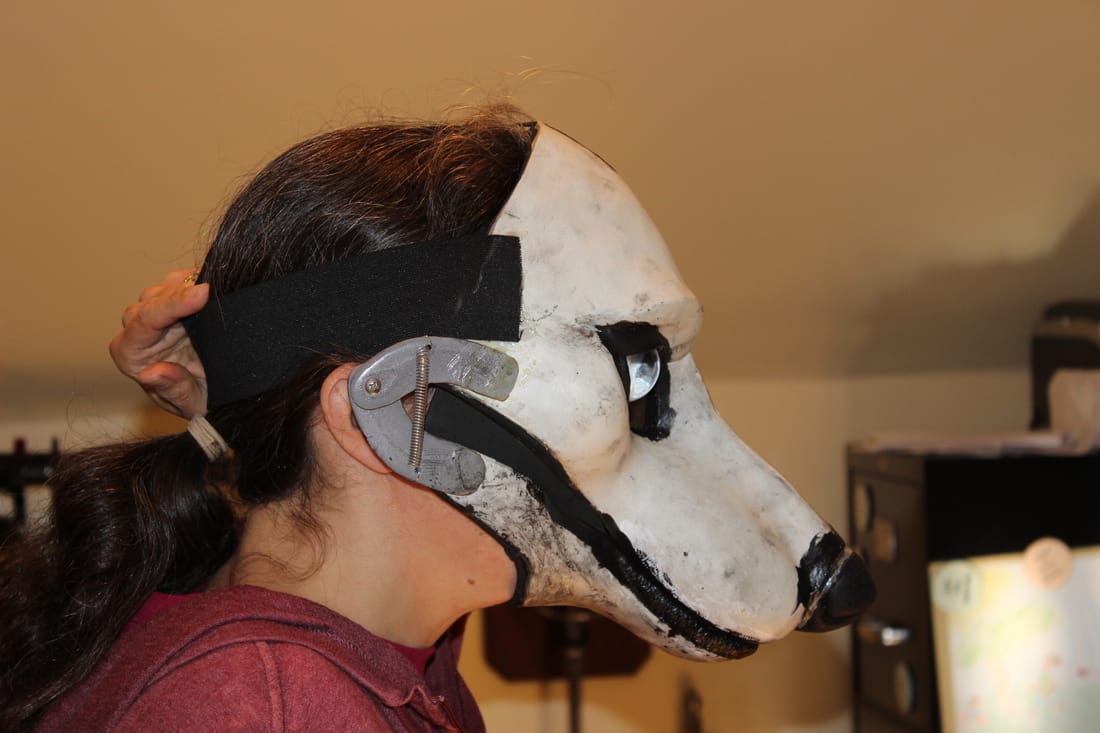
Three dimensional art can be slippery though, as the points of reference that establish where those shapes begin and end can seem to shift in relation to each other, especially as the sculpt is viewed from different angles. So I tried to find reliable, easily reproducible viewpoints from which to establish my points of reference, one being a 90 degree side profile, and others being straight on from the top and straight on to the underside. I might go into the latter two views in another post, but in this one, I'll stick with the 90 degree profile.
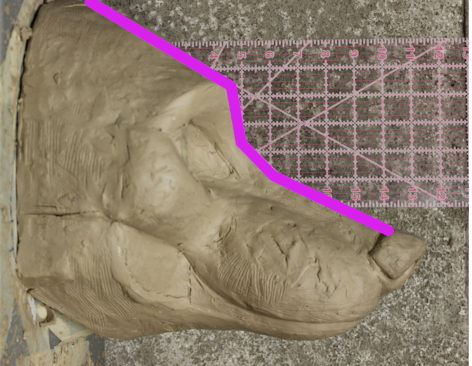
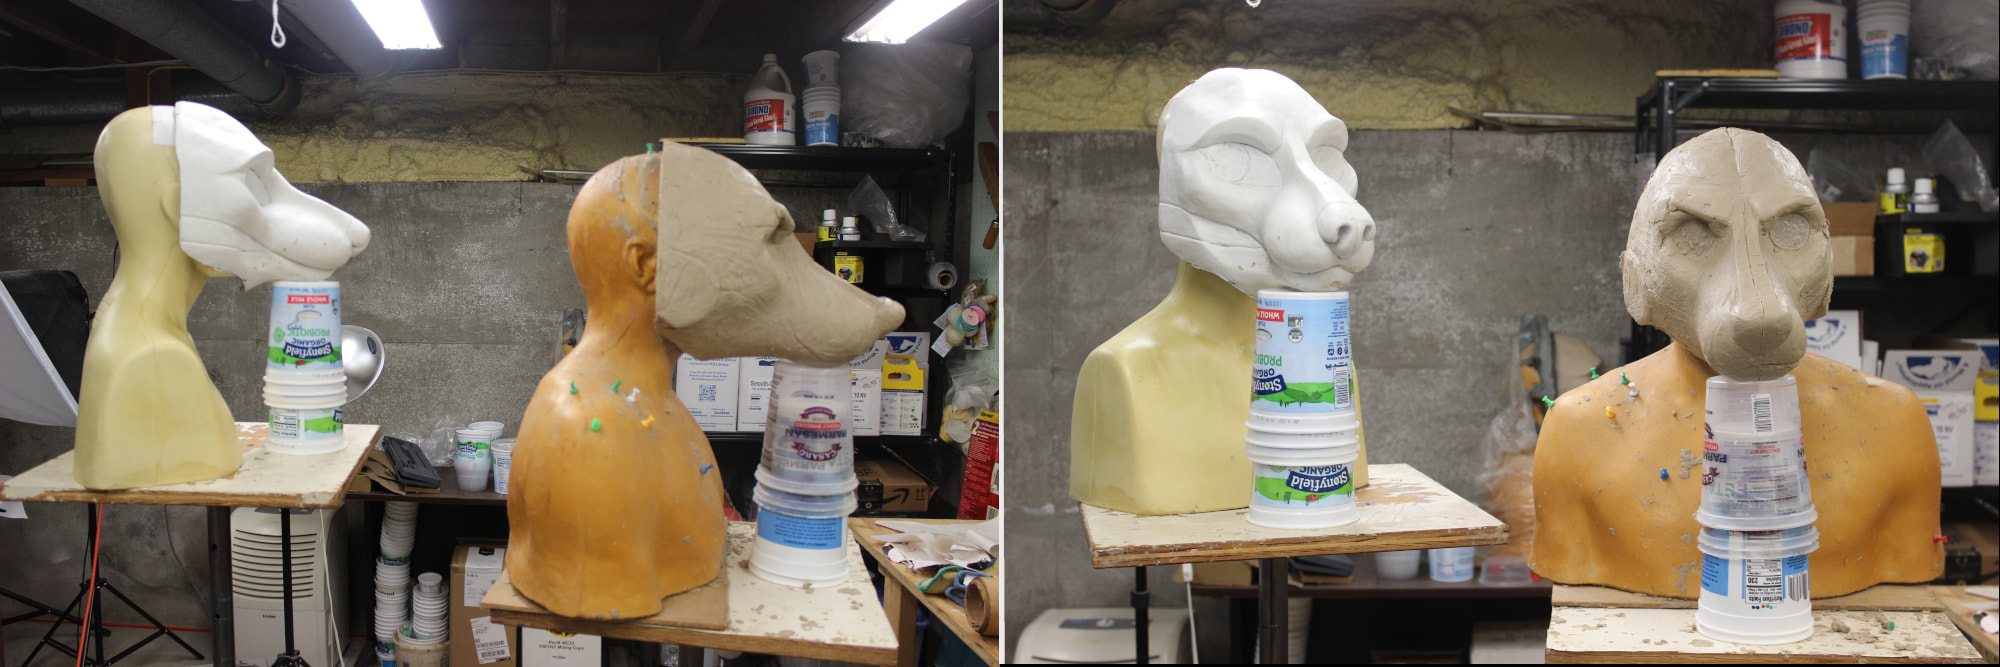
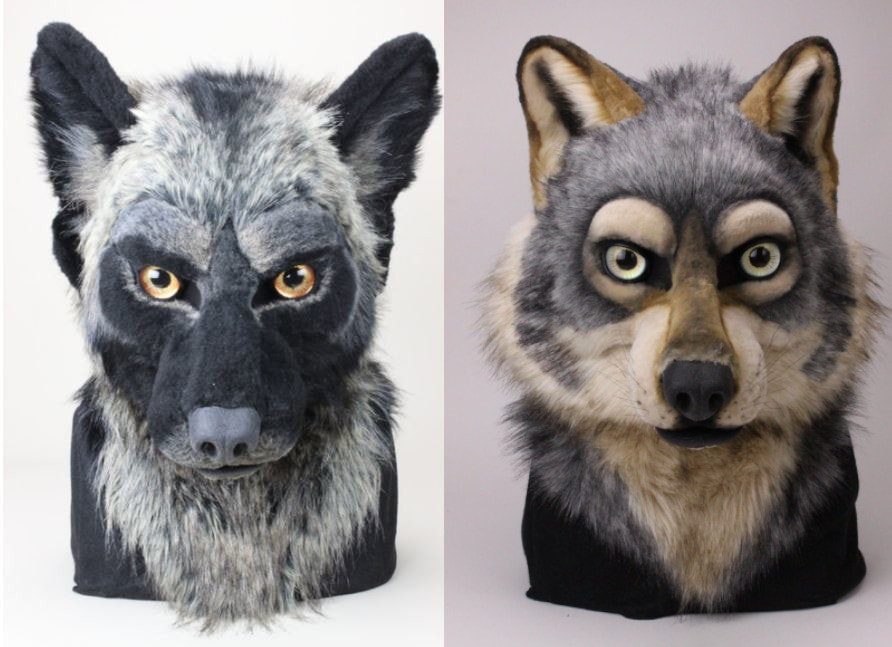
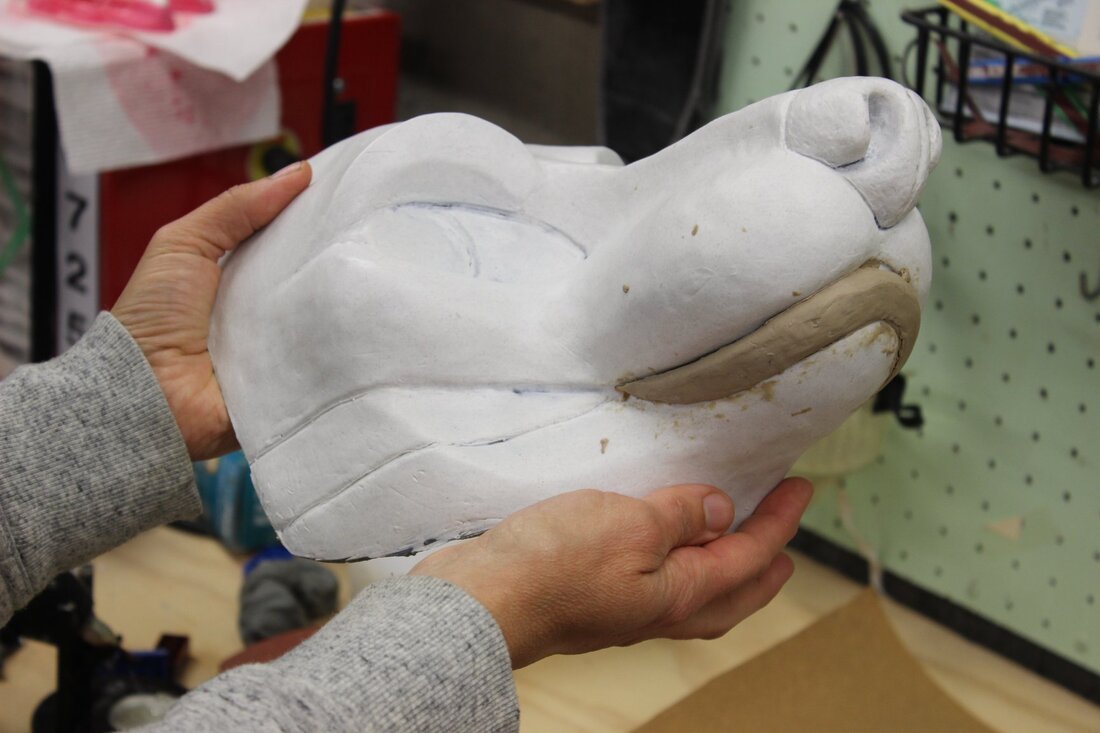
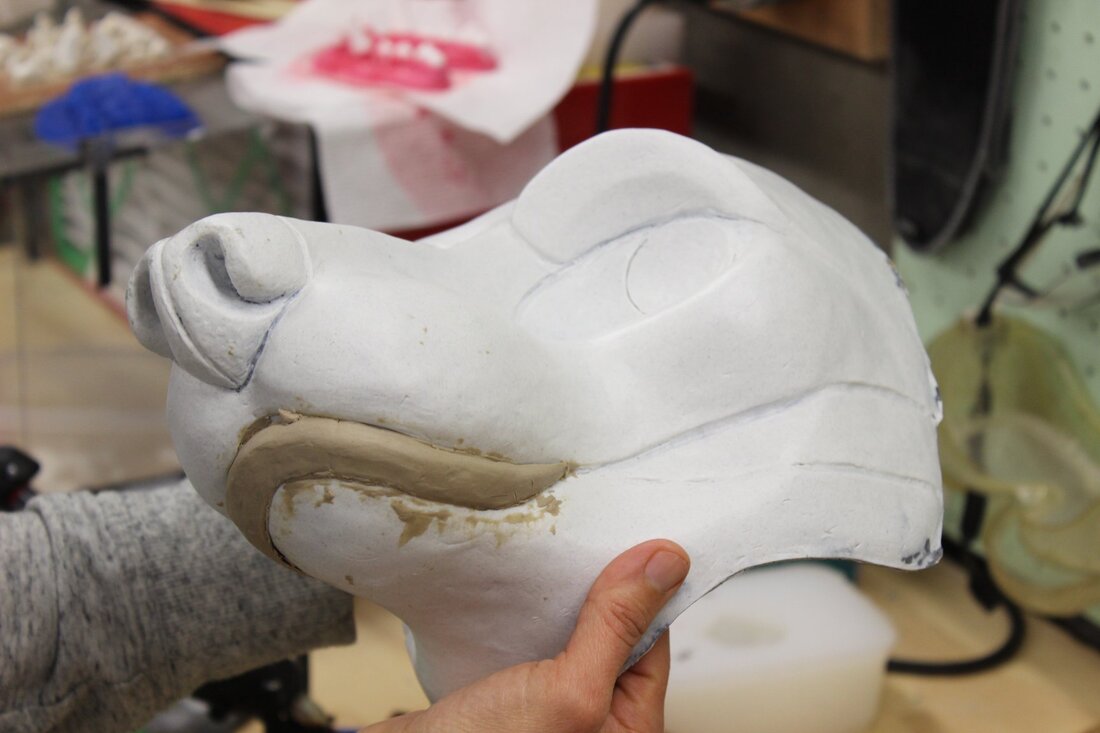
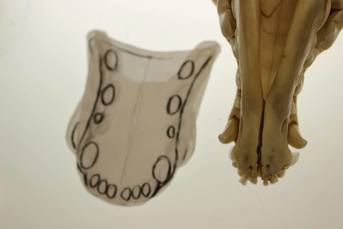
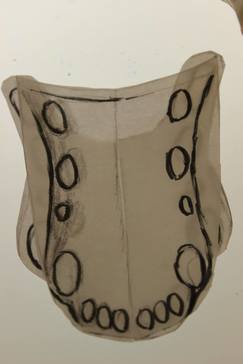
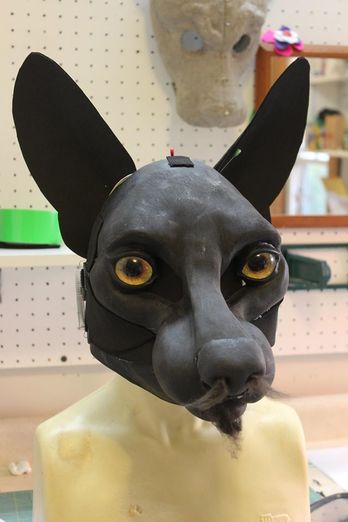
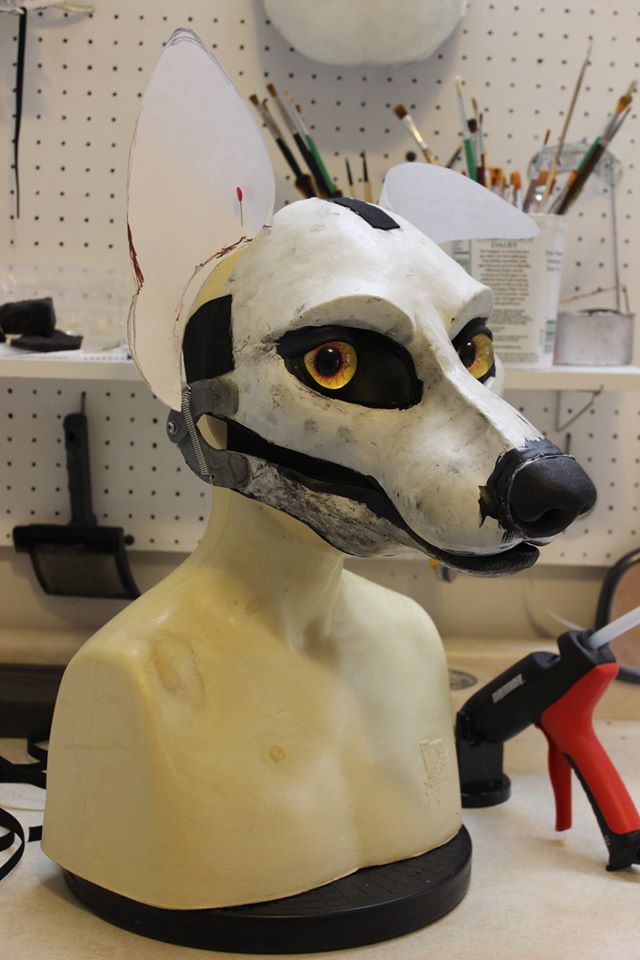
 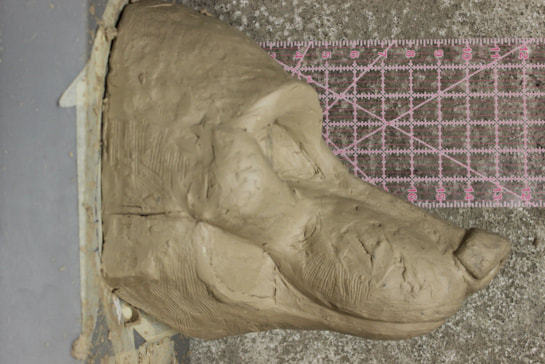 | Here we have 90 degree side profile views of the wolf in my reference pic and the August 20 version of my wolf head base sculpt, the last one pictured in my slideshow. Now how to define those larger shapes, and the reference points where they begin and end? How to see where these shapes might be off, and find what's wrong with my sculpt? |
| These outlines give a basis for comparison for three big shapes in the two heads: the forehead/back of head; the muzzle; and the transitional area between them, which includes the brow ridge and the bridge of the nose. My first impression from these outlines is that the middle section on my sculpt is too long. If I overlap the pictures in GIMP, it appears the muzzle needs to be shortened and the forehead lengthened as well. | 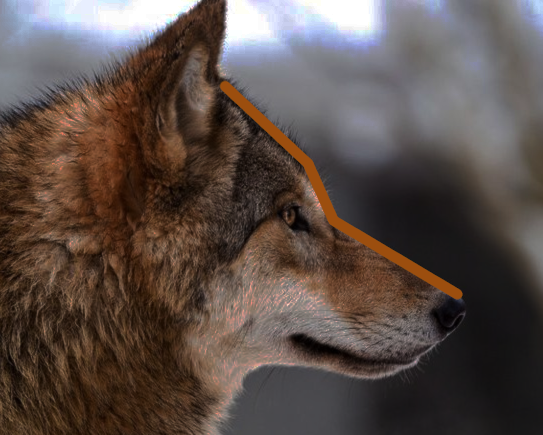 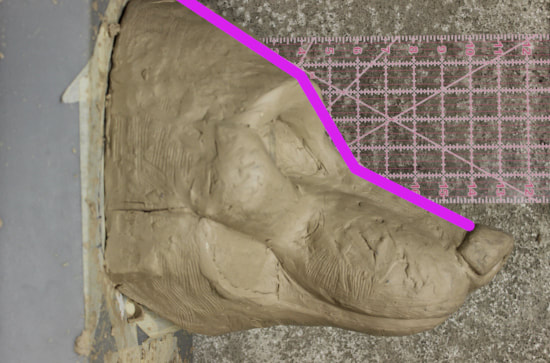 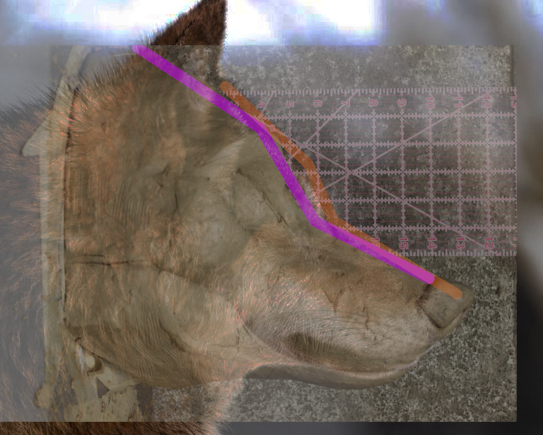 |
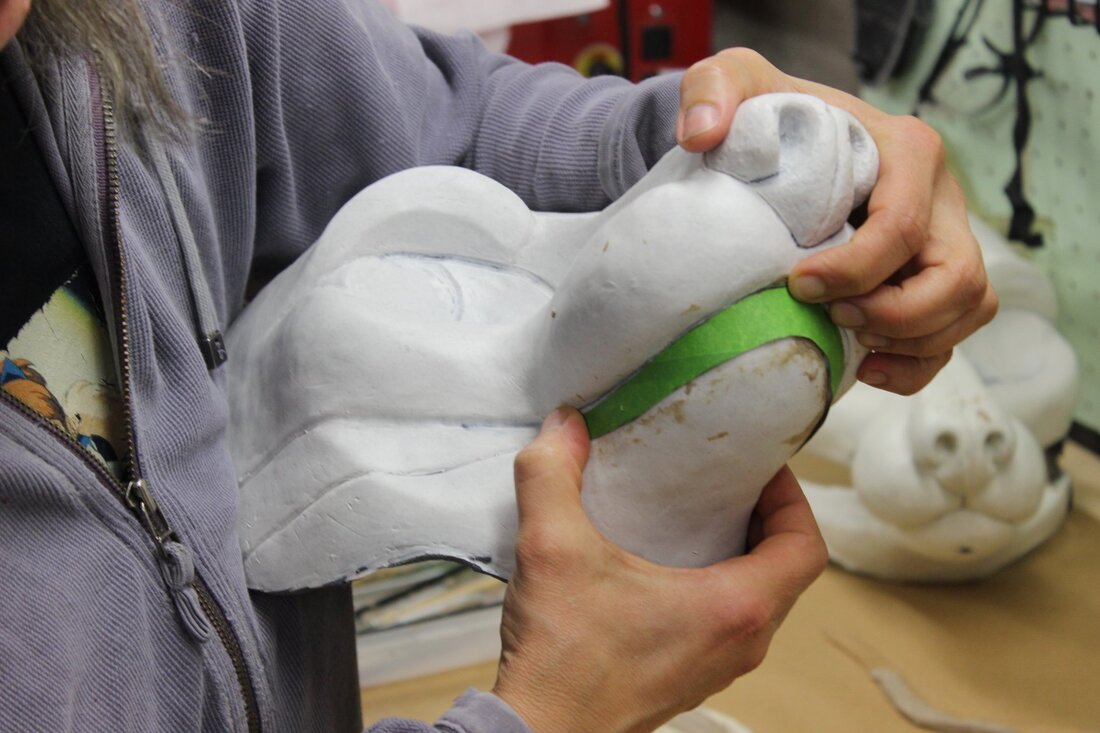
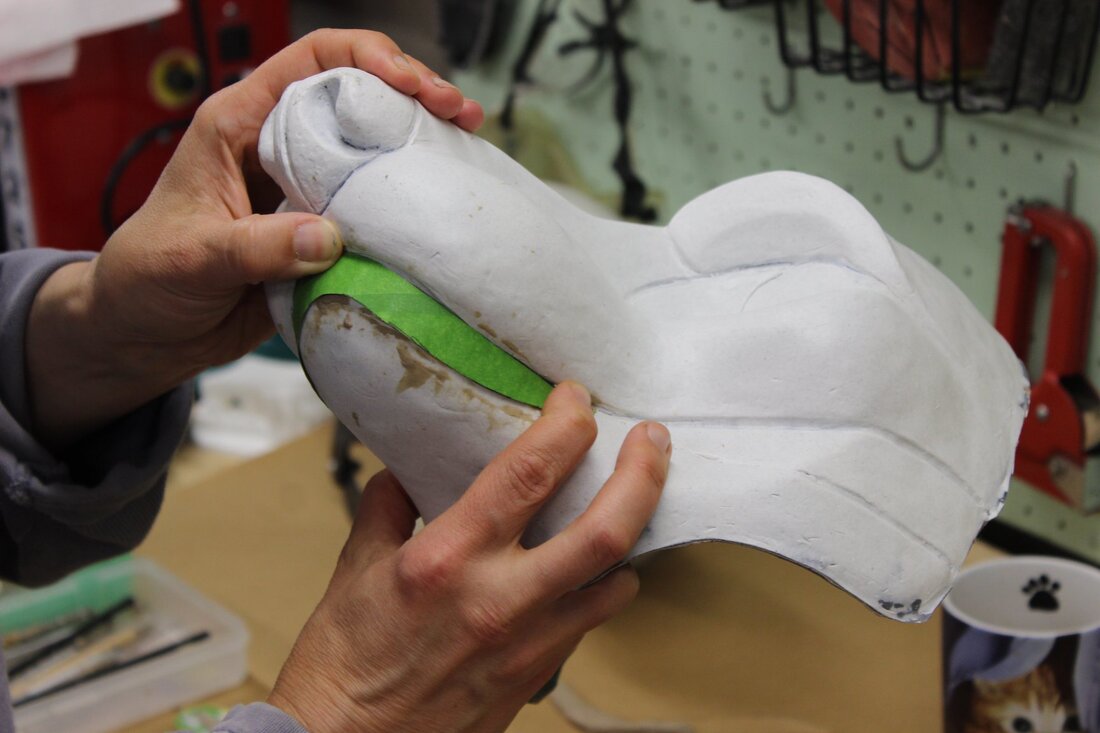
 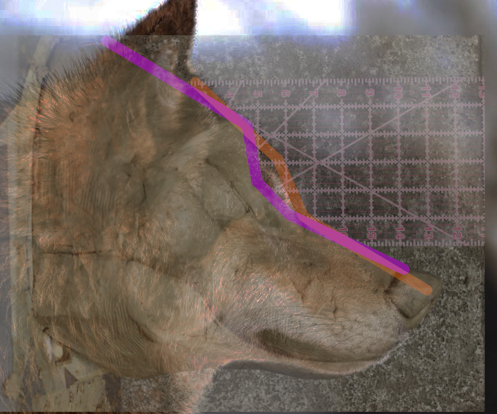 | Here's another way of looking at the profile of my sculpt, this time individually outlining the brow ridge and the bridge of nose, instead of smoothing them out into one line as I had done previously. The difference is subtle, but when these two photos are overlapped in GIMP, it makes the muzzle on my sculpt look even more in need of shortening. |
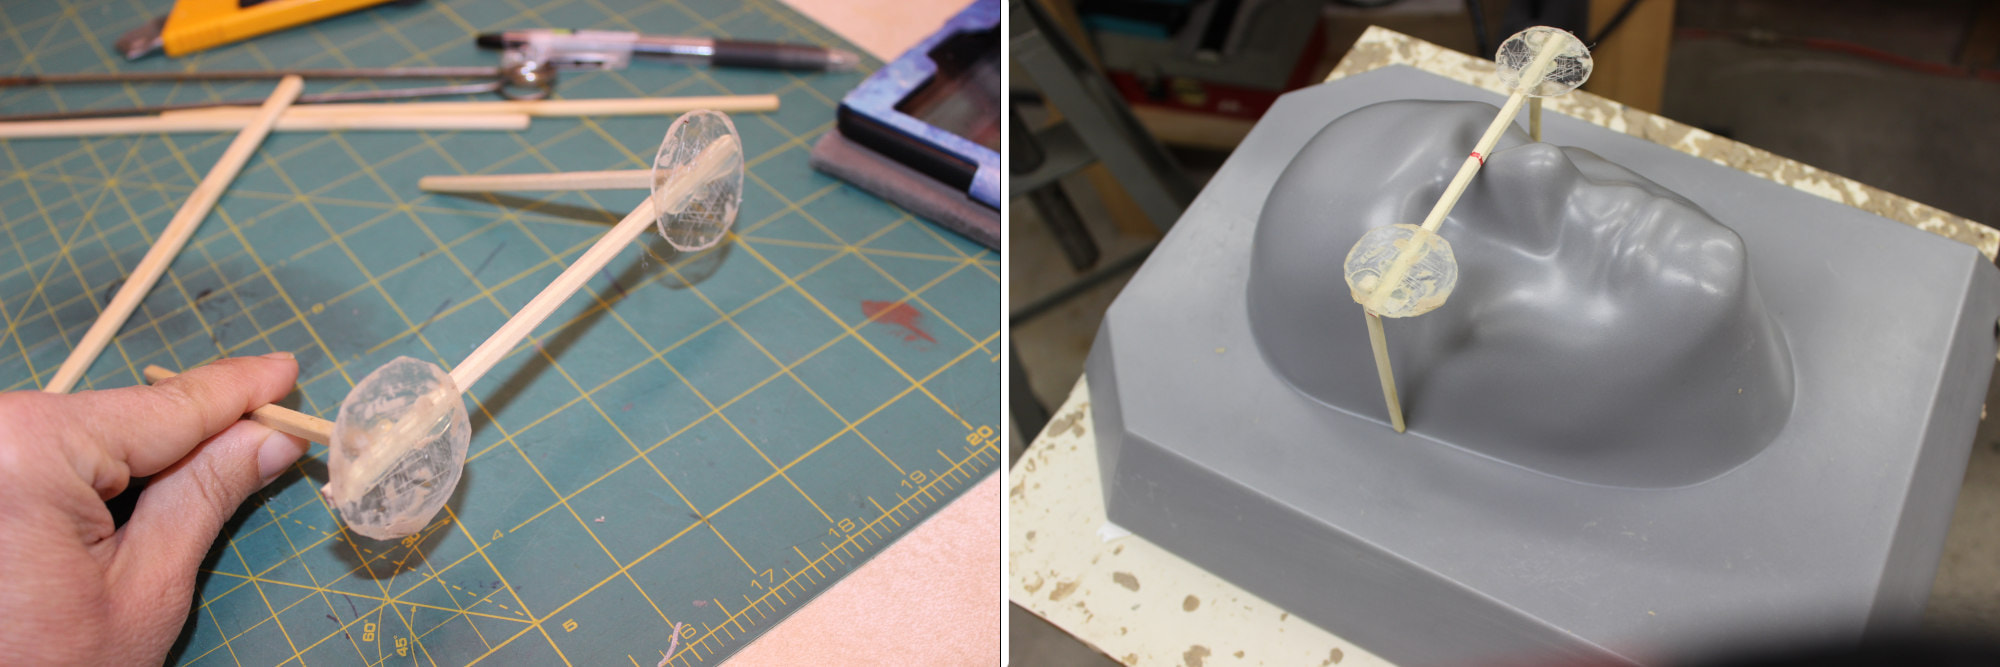
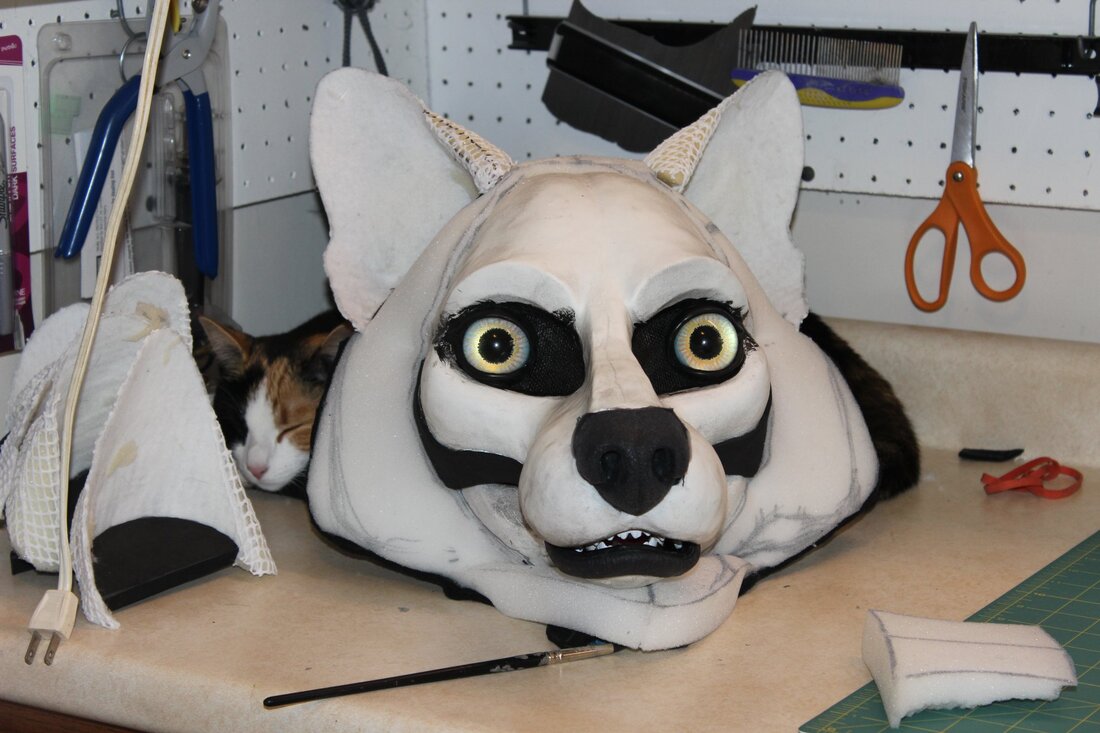
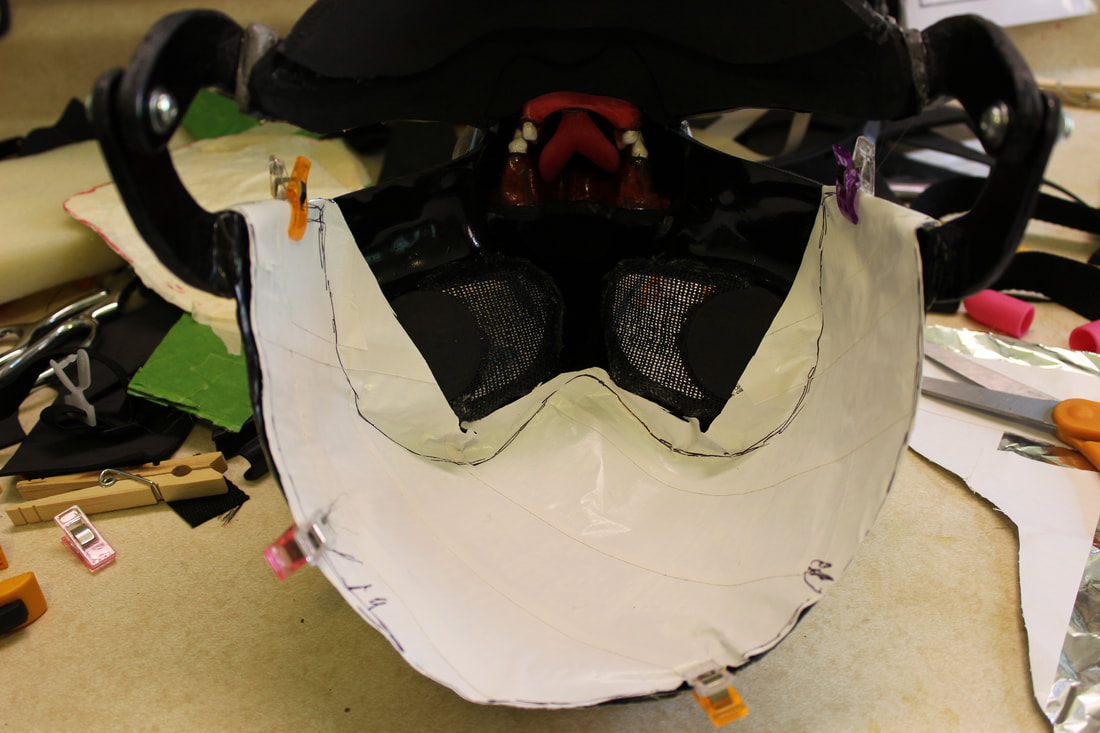
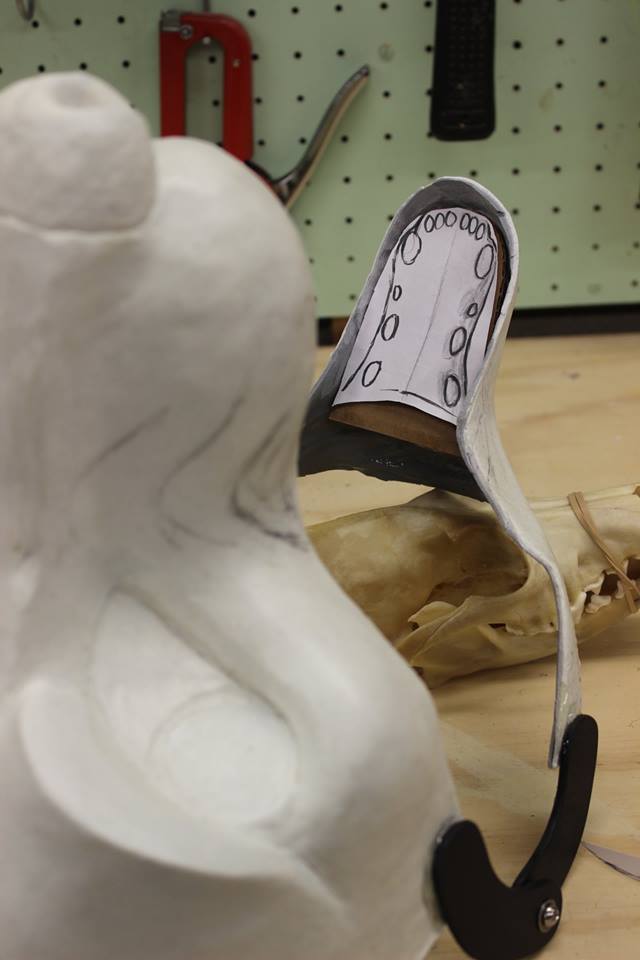
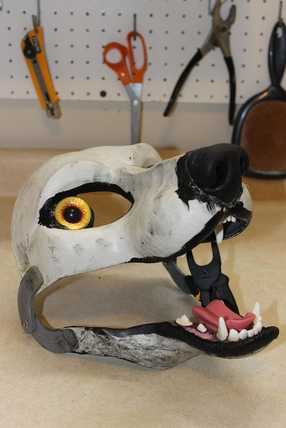
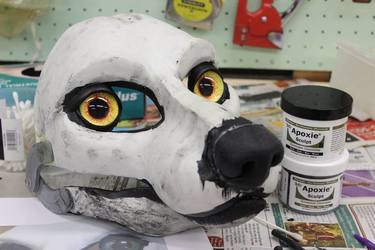
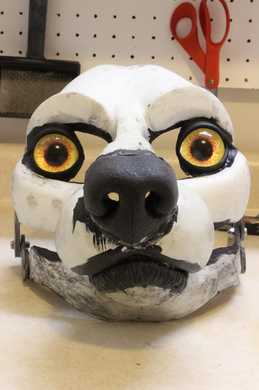
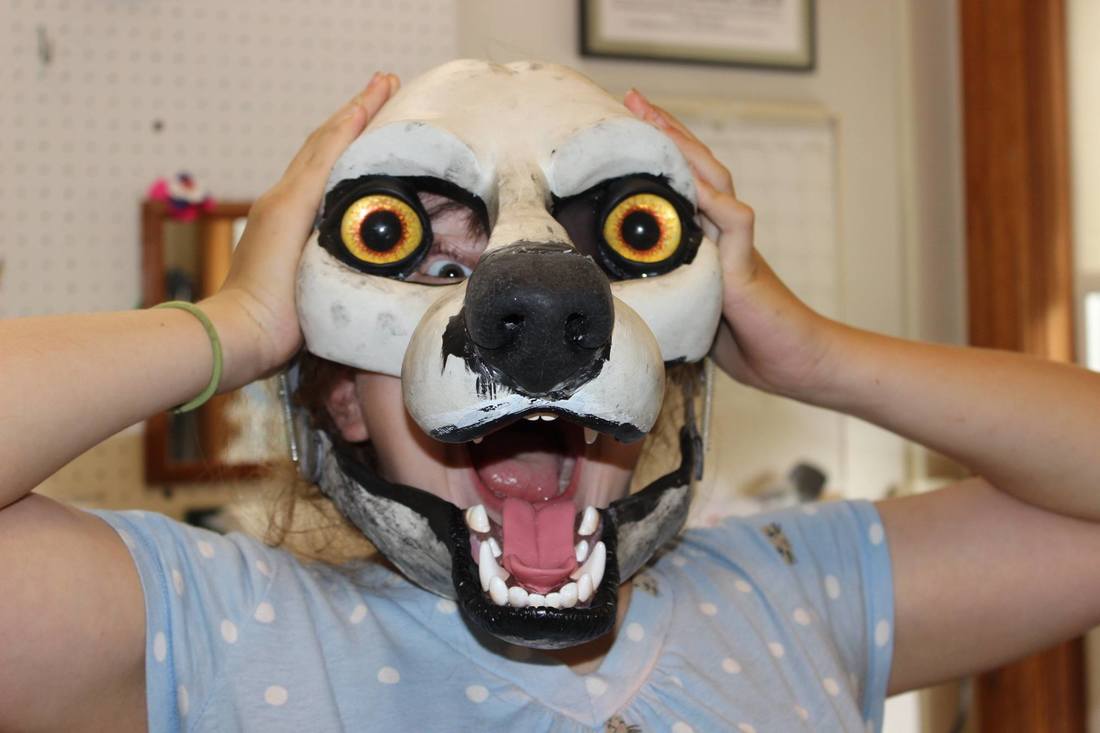
The question that comes to my mind now is, where will the ears- one of the biggest reference points of all- be placed on the base when a head is actually assembled? It's difficult to visualize now, as the ears are not a part of this sculpt and will be added later when the head is actually put together and furred. The placement of the ears could very much effect the apparent length of the forehead. If the ears were to be placed behind the back edge of the base, as they often are in furry head construction, the forehead could look **way** too long, and the muzzle **too short** in comparison, instead of too long the way the pictures above have led me to believe.
Let's take a look...
Let's take a look...

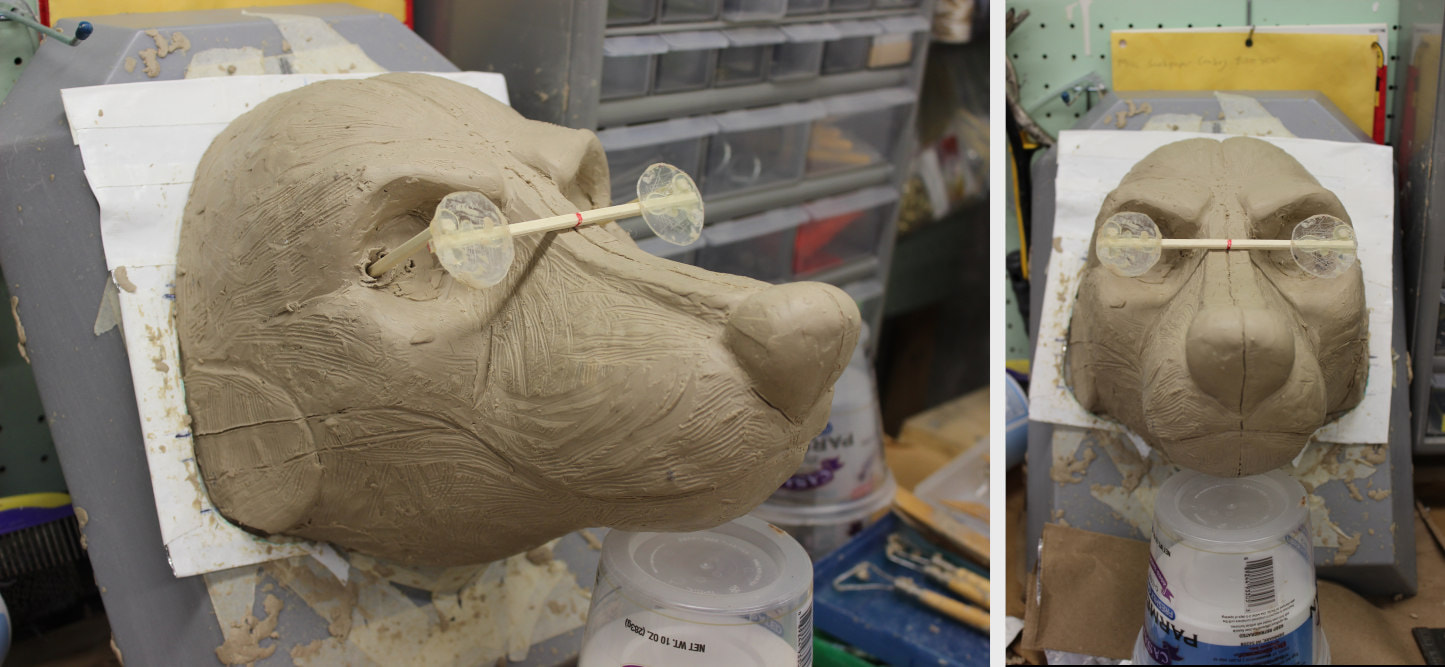
Wow, placing that ear at the back of the head would make that muzzle look short and the forehead **really** long!! Now here's the point at which I second guess myself and wind up running and screaming back to the drawing board!! Away I go!!!
Stay tuned!!
Stay tuned!!


 RSS Feed