
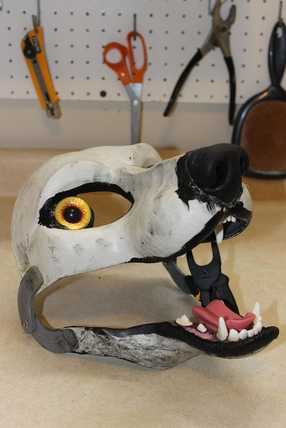
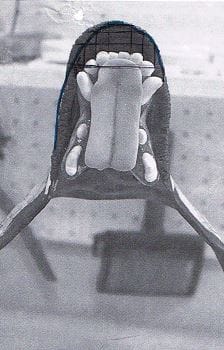
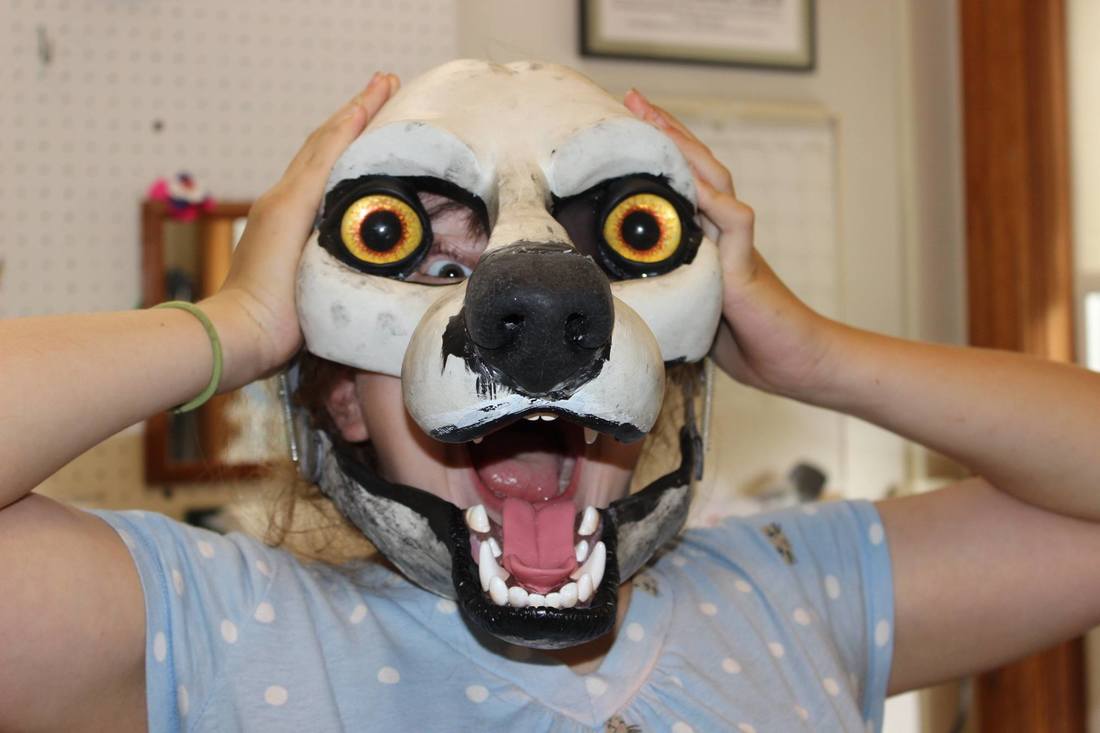
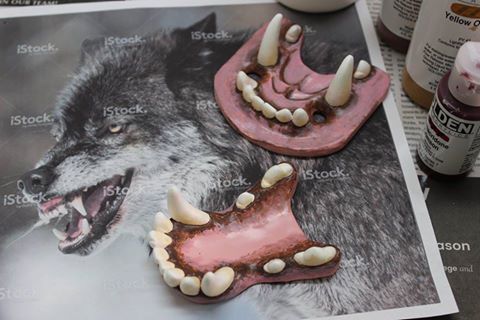
 | My own resin base! My own sculpt, my own mold, my own cast! So excited I can't stand it! One day I'd dearly love to make my own teeth, tongues and noses too, but for this time around at least I'm using DVC parts. (Click here to read more about moldmaking and here for casting the base.) Putting it all together, though, definitely gave me ideas about how I'd sculpt a head differently the next time. Left, eyes, teeth and nose glued into the base. The DVC teeth took a little fiddling to get them to work with my head. I wound up dremelling off part of the front of the upper part of the jawset, so that the teeth wouldn't sit too far back in the head, and dremelling off much of the back of the lower jawset, so the teeth could fit into the head at all. Fortunately the base colored DVC jawsets are solid color all the way through, so this little bit of surgery didn't show as much as it could have. (Needless to say I did this before I painted the teeth!) |
I also wanted the teeth to sit up much higher in the lower jaw than they did in my first head, as they kinda disappeared into lips and fur after I got it assembled. I played a lot with layers of Foamies underneath the teeth to get them exactly where I wanted them, and so far I'm happy with how they look.
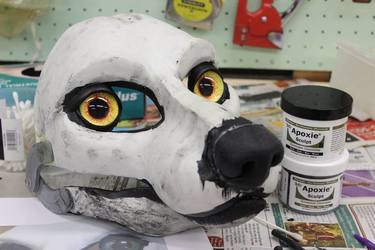 | Left, eyelids added. I love the moment afterwards when the eyes become follow me eyes! It's as if the mask has magically come to life. |
As with the previous head, I've been referring to the DVC tutorials online as I work on this head, and much to my confusion they've started redoing that series- when I did the first mask, the lips were applied last, after the airbrushing, and now they're applied early in the process, along with the eyelids. Maybe they were done last in the first series so that airbrush overspray wouldn't get on them, but that's easy enough to paint over with black paint. In any case it was a pain to apply them with fur already there, and so far I like this way better.
 |  |
I also learned the hard way it's best to cut the cast up right before assembling it. I was so excited to get a good cast I couldn't wait to open the eyes up and hinge the jaw, and then I let the head sit, and sit, and sit.... and the jaw warped, shifting to one side. Now the head has an expression kinda like this: :-/ Nothing that can't be fixed with a Dremel and some epoxy, but still, something I'd rather avoid in the future.
 |  |
Above, working out how to resculpt the jaw to make it look straighter. I often take a photo of an area I'm working on, print it out and draw on it, to help visualize what I should do. In the printout /drawing to the right, I've decided to dremel off the lip outside of the thick blue line. Another point for adding the lip early on- it gave me a way to tweak the jaw I wouldn't have had otherwise.
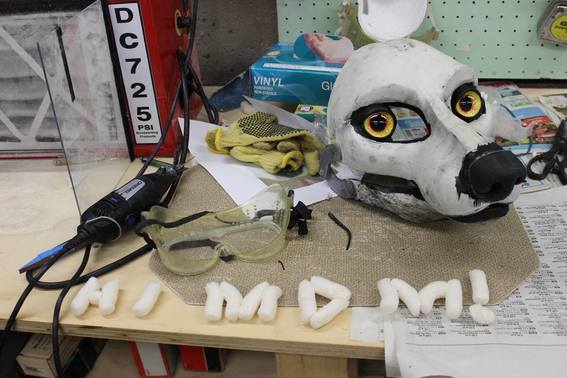
(And... one day I went down into the basement to work, and I found my daughter had gotten into my packing peanuts....)
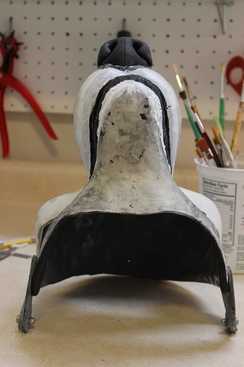 |  |
Above, the lower jaw resculpted and straightened out a bit. I think it looks much better. Neatening up the edge of the lower lip helped a bit too.
Above, chiffon added to one tear duct but not yet the other, as modelled by my packing peanut loving daughter. Freaky deaky!
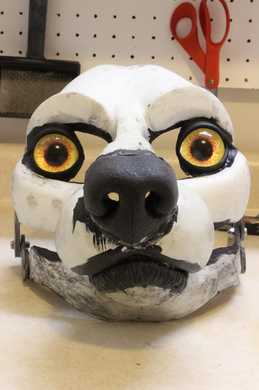
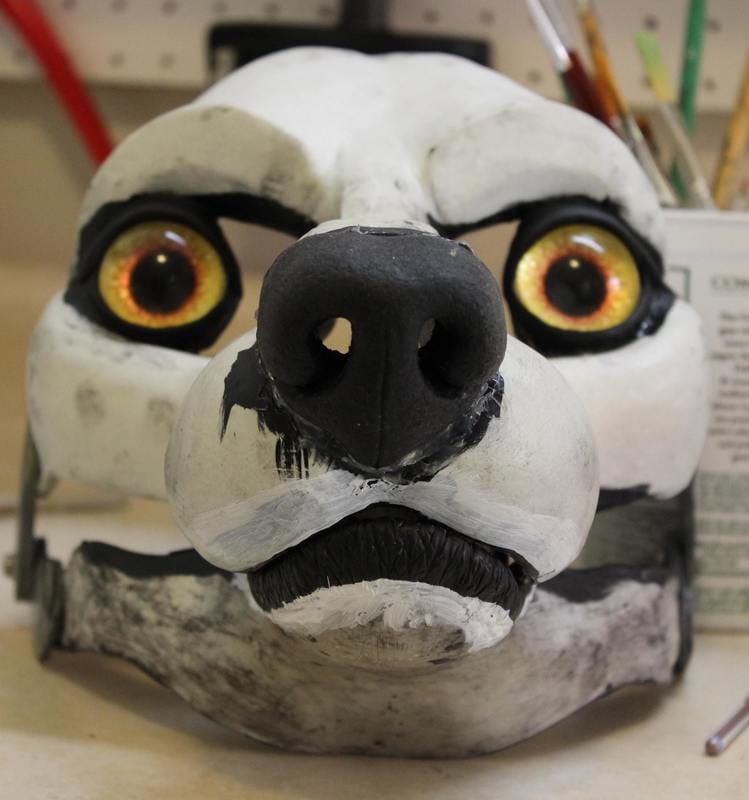
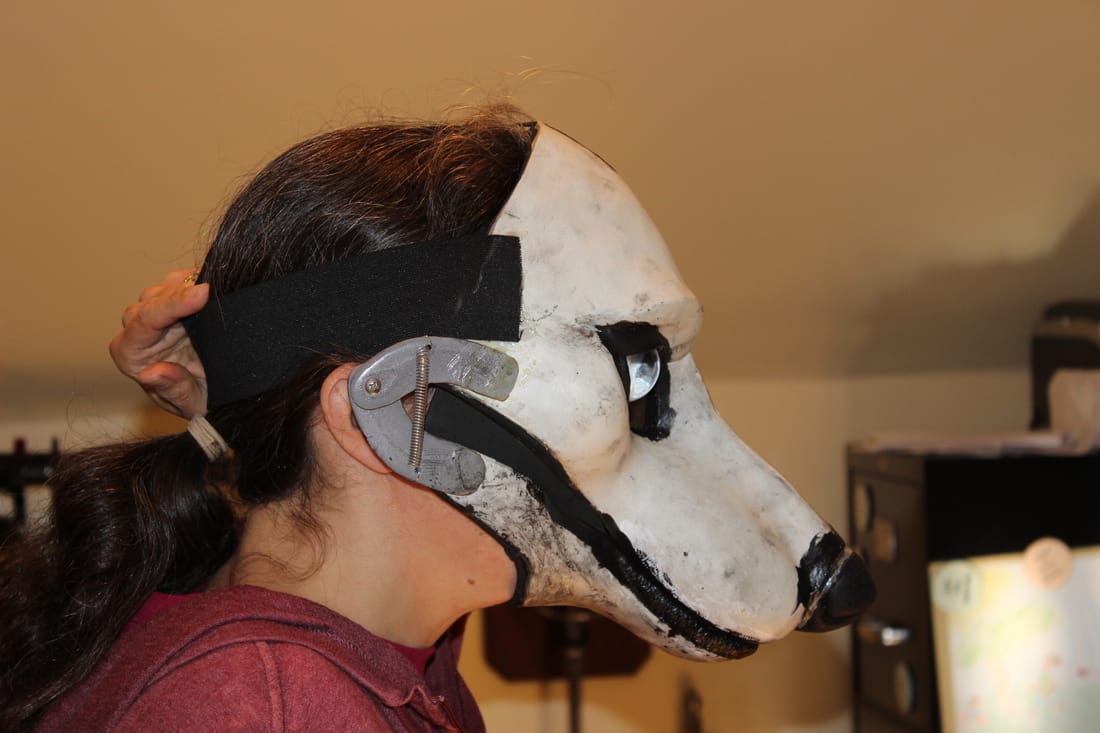 Above, straps and padding added, checking the vision through the tear ducts. I like the rather naturalistic angle of the nose. Right, hubby is DONE with trying the mask on to see how it works, and he is REALLY DONE with getting sh*t about how silly his hair looks after he takes it off!! |  |
Two takeaways for the next resin base sculpt:
First, make sure the areas in which the eyes will be glued are as flat as possible and in the exact same plane with each other. Any crookedness or unnevenness in these areas will be greatly exaggerated when the resin eyes are in place, and gives the mask a rather wall-eyed, inbred expression. Next base sculpt, I think I'll use metal or rigid plastic discs of the correct size to mark out these areas and leave them there while moldmaking, to make sure those areas don't squish out of shape. I was able to glue the eyes into this base to my satisfaction using bits of resin and hot glue to level them out, but care taken with the next sculpt could definitely make the process a lot easier.
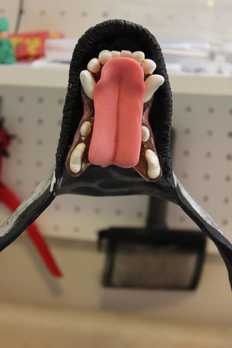
Second, sculpt the next head so that it can easily take a nose with a flat back. DVC noses, and I suspect any other noses that are cast separately and glued on to a base later, have flat backs. I suspect they are made in one piece molds, the backs of which are open so that the casting material can be poured in, which then levels out as it sets. When I removed the nose on this base to accommodate the DVC nose, I was left with an awkwardly shaped hole into which to glue it. I re-sculpted the area a bit with epoxy so that the nose would fit (the thick black band behind the nose in the pics is epoxy for the most part) and so all is well that ends well, but again, this is something to take into consideration for future head sculpts.
Next, ears!!
First, make sure the areas in which the eyes will be glued are as flat as possible and in the exact same plane with each other. Any crookedness or unnevenness in these areas will be greatly exaggerated when the resin eyes are in place, and gives the mask a rather wall-eyed, inbred expression. Next base sculpt, I think I'll use metal or rigid plastic discs of the correct size to mark out these areas and leave them there while moldmaking, to make sure those areas don't squish out of shape. I was able to glue the eyes into this base to my satisfaction using bits of resin and hot glue to level them out, but care taken with the next sculpt could definitely make the process a lot easier.
Second, sculpt the next head so that it can easily take a nose with a flat back. DVC noses, and I suspect any other noses that are cast separately and glued on to a base later, have flat backs. I suspect they are made in one piece molds, the backs of which are open so that the casting material can be poured in, which then levels out as it sets. When I removed the nose on this base to accommodate the DVC nose, I was left with an awkwardly shaped hole into which to glue it. I re-sculpted the area a bit with epoxy so that the nose would fit (the thick black band behind the nose in the pics is epoxy for the most part) and so all is well that ends well, but again, this is something to take into consideration for future head sculpts.
Next, ears!!


 RSS Feed