
I've decided I need to learn moldmaking. I've been having my molds made at Campbell Plaster and Iron in Rutland, VT http://www.cpisculpture.com/ and while I've been very happy with their work, I feel my anxiety around the cost threatens to discourage experimentation, tighten up my sculpting and cause fuss and worry about every little detail of a finished mask. Not to mention that the need to have a durable object to transport back and forth across the state for the process makes it difficult to make originals out of Plasticene, which is so much more flexible and fun to work with than Celluclay, which is what all my originals are now made of.
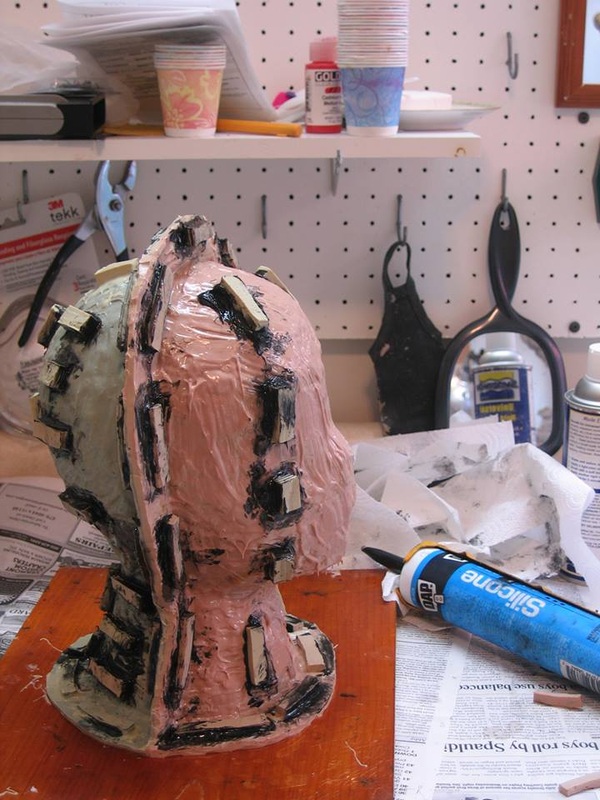
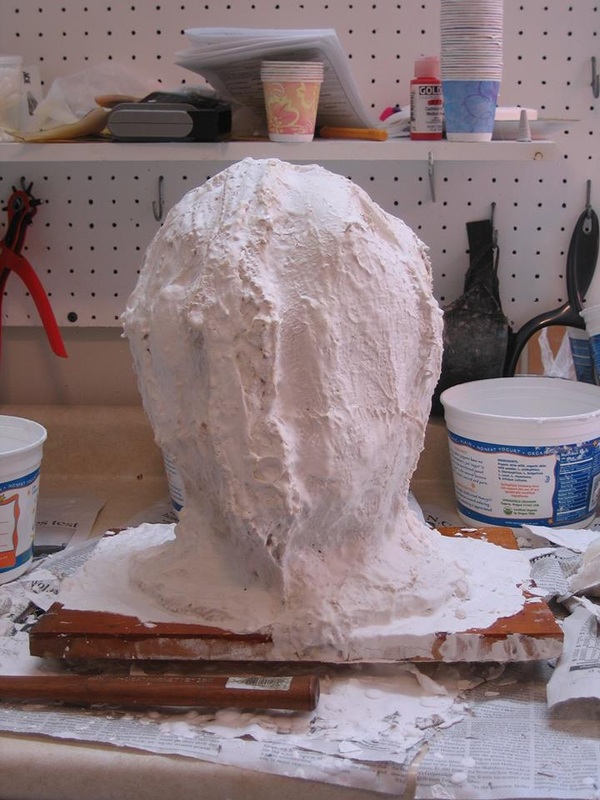
 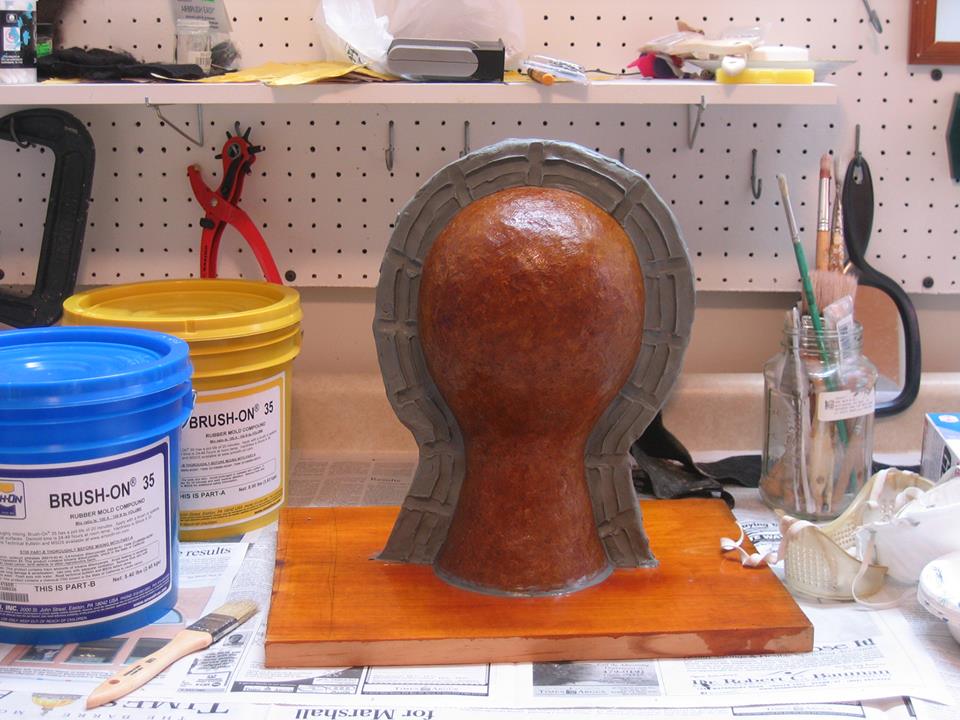 | And here we have the awe inspiring object for our first attempt, a Celluclay head meant to be a stand for my finished masks. I figure I'm not emotionally attached to it, so if I botch it nothing is lost, but if I can pull it off I will hopefully have a mold to make the stands a little bit easier to make. I've sanded the head down to smooth it out, glued it onto a piece of scrap lumber, sealed the whole arrangement with shellac and Johnson's paste wax, and then sprayed the whole thing with a light coat of Smooth On Universal Mold Release. The next order of business is to make the rubber inner mold. It is what gives the cast its detail, and it is also flexible for easy removal from the cast after it has set. In this pic the clay dividing wall has been applied, which will split the rubber mold in half from front to back. A key is also carved in to the dividing wall register the two halves of the mold together, and release applied to it as well. Here we also have a gallon of fresh new mold rubber, Smooth On Brush On 35, which costs a cool hundred bucks and has a shelf life of six months at best after opening. Stress!! Part A looks like meringue gone wrong, and Part B looks like drooling florescent green alien slime. And while this stuff is relatively benign for moldmaking material, Part A is one of those things to which one can easily become allergic (what's that called? A hypersensitizer?) so it's important to wear goggles, gloves and long sleeves while handling it. |
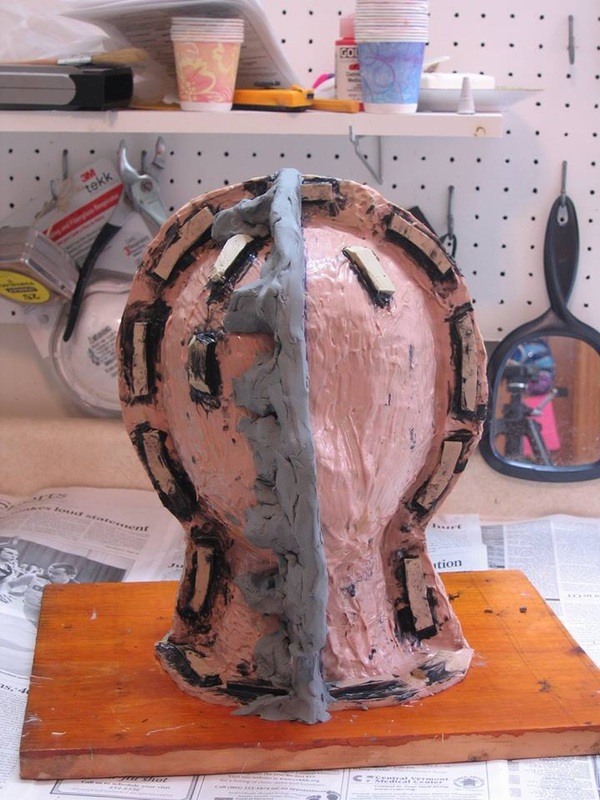
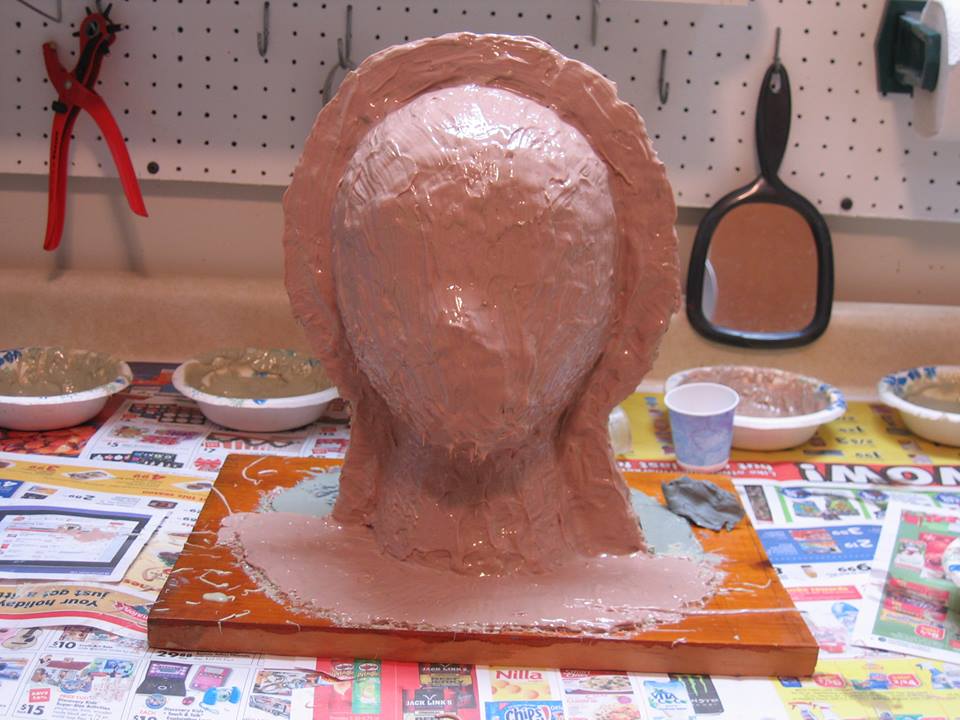  | Here we have the finished rubber on the front part of the head (pink) and the back part (grey.) I watched and rewatched this video http://www.smooth-on.com/video_play.php?video_id=sOyBawt1-Ec&autoplay=1 , read and re read these instructions http://www.smooth-on.com/tb/files/Brush-On_Series.pdf and then I was ready to go. Once the rubber starts going on, the clock starts ticking... after it's mixed, the rubber stays brushable for about twenty minutes, more or less, and then it turns into a solid mass. It's a trick not to mix more than is needed- this stuff is expensive!- or less- don't want to worry about a layer setting up too much while more is mixed. About four to six layers need to be brushed on, each one right when the layer before it has set to the point where it is still tacky. Not runny, or the brush will just pick up and stir around the layer of rubber underneath the new layer, and not dry, or the layers risk delaminating later. I also added a few drops of paint to every other layer of rubber, so that I could tell more easily if I had covered the layer underneath adequately. Which is also why the two sides of the mold are different colors. |
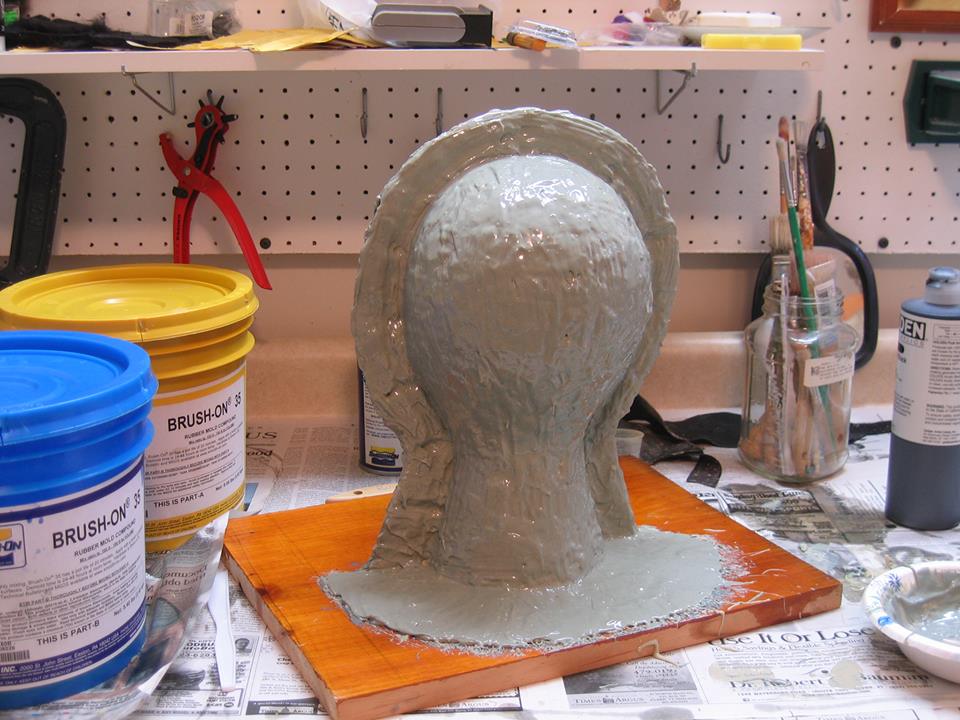
The rubber needs to be used in a warm, dry room so that it will set properly. And wouldn't you know, right in the middle of the project, the furnace decided to go on the blink, when it was something like twenty below zero out. I made frantic phone calls to the repairman, and then to my brother up the street for an emergency loan of an electric space heater until the repairman got here! As you can see, the project was saved.
 |  |
After the rubber inner mold is finished, it's time to make the plaster mother mold. The plaster mother mold is rigid and helps the rubber mold, and the cast setting up inside of it, keep its shape.
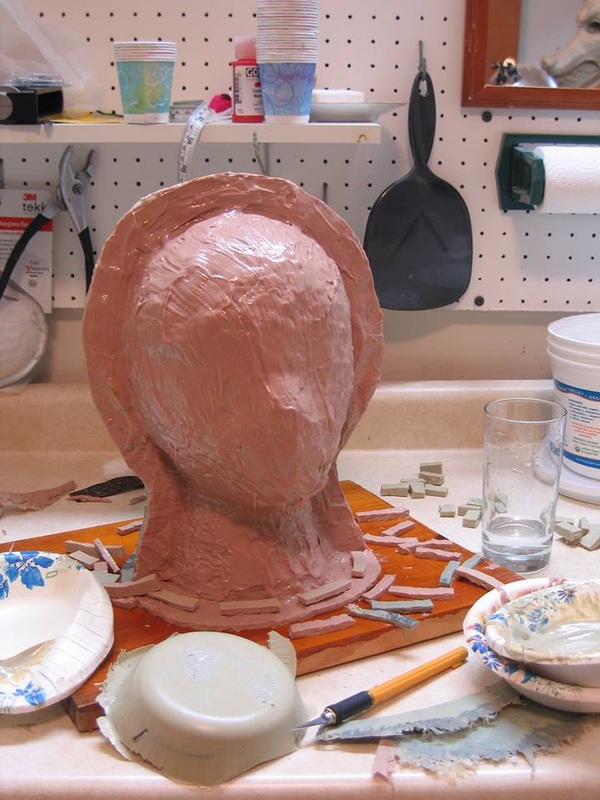
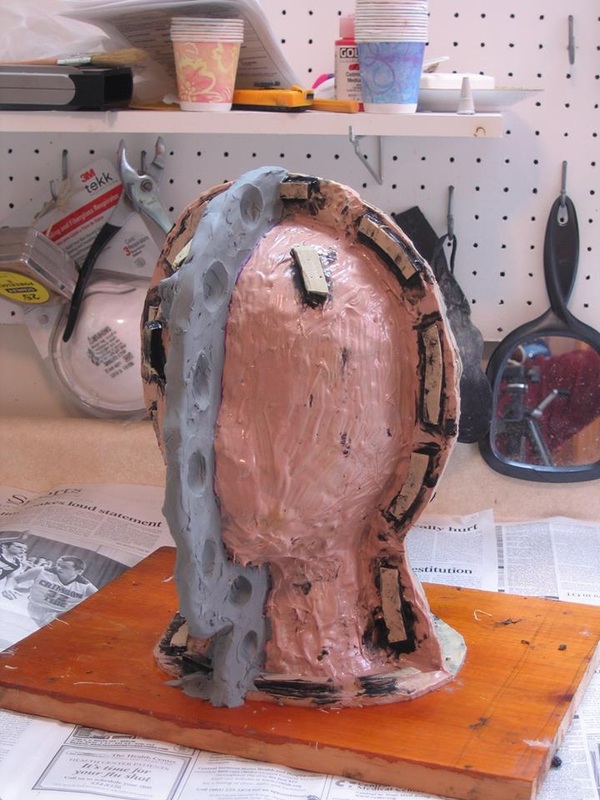
The two pics above show registration keys (ie, the little wormy things) I made out of leftover cured rubber. In the left hand pic they're around the base of the head and in the right hand pic they're glued on with silicone adhesive (aka the black goop), which unfortunately didn't work. Either I got release on the rubber, so that nothing wanted to stick to it, or I used the wrong type of glue, perhaps silicone caulk instead of silicone adhesive. ( Though I swear the tube I bought said adhesive, but you know how sometimes things are labelled in ways that aren't necessarily consistent with their purpose.) Hopefully the shape is simple enough and the use will be gentle enough that the rubber will stay in the plaster anyway when a head is being cast.
The two pics above show registration keys (ie, the little wormy things) I made out of leftover cured rubber. In the left hand pic they're around the base of the head and in the right hand pic they're glued on with silicone adhesive (aka the black goop), which unfortunately didn't work. Either I got release on the rubber, so that nothing wanted to stick to it, or I used the wrong type of glue, perhaps silicone caulk instead of silicone adhesive. ( Though I swear the tube I bought said adhesive, but you know how sometimes things are labelled in ways that aren't necessarily consistent with their purpose.) Hopefully the shape is simple enough and the use will be gentle enough that the rubber will stay in the plaster anyway when a head is being cast.
 |  |
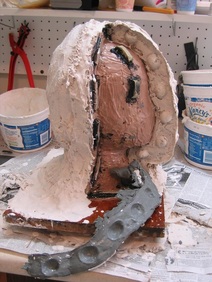
The two pics above show another clay dividing wall, this time to divide the front of the mother mold into left and right sides and prevent it from locking on under the chin when removed. I've made registration marks on the right hand side of the wall and supporting clay gussets to the left, and put copious amounts of Vaseline over the whole thing. The pics also show how the registration keys didn't waste any time in falling off.
I confess that I have never used plaster before, except in Girl Scouts in fourth grade. Glenn from Campbell Plaster and Iron patiently gave me the low down: 1) fill a plastic container 1/2 full of warm water; 2) sift #1 pottery plaster into the water until certifiable islands appear (not just lumps floating on the top, but certifiable islands) and then stir everything together with your hands; 3) keep hands and containers clean, as half set plaster on these things will accelerate the unset plaster too much; 4) cut burlap into 6" x 6" squares, fold in half to make 3" x 6" strips, and dip in plaster; 5) apply two layers of strips over the main part of the mold, and four or more along clamping edges. He said it's best to do each piece of the plaster mother mold all in one go, but if it's necessary to stop in the middle, smooth out the surface of the mold before leaving it so it doesn't get too toothy and wet the partially finished mold down before starting again.
I confess that I have never used plaster before, except in Girl Scouts in fourth grade. Glenn from Campbell Plaster and Iron patiently gave me the low down: 1) fill a plastic container 1/2 full of warm water; 2) sift #1 pottery plaster into the water until certifiable islands appear (not just lumps floating on the top, but certifiable islands) and then stir everything together with your hands; 3) keep hands and containers clean, as half set plaster on these things will accelerate the unset plaster too much; 4) cut burlap into 6" x 6" squares, fold in half to make 3" x 6" strips, and dip in plaster; 5) apply two layers of strips over the main part of the mold, and four or more along clamping edges. He said it's best to do each piece of the plaster mother mold all in one go, but if it's necessary to stop in the middle, smooth out the surface of the mold before leaving it so it doesn't get too toothy and wet the partially finished mold down before starting again.
 | Once the plaster has started to cool down, the clay dividing wall can be removed, as shown here. Vaseline is applied to the exposed new plaster and the last part of the mother mold applied. Good thing I had dutifully saved so many of my Nancy's Organic Yogurt containers as Nancy had instructed on the label. The plaster sets too fast to wash buckets in between batches, so it was very helpful just to have loads of clean buckets on hand. |
 | Here the last part of the mother mold has been applied and allowed to set. Now it's time to play hide and seek with the dividing line. I worked on gently finding the line (often betrayed by a little bit of Vaseline oozing out) and prying the pieces apart with craft knife, screwdriver, and tack hammer. I felt like I was an archaeologist on an archaeological dig. |
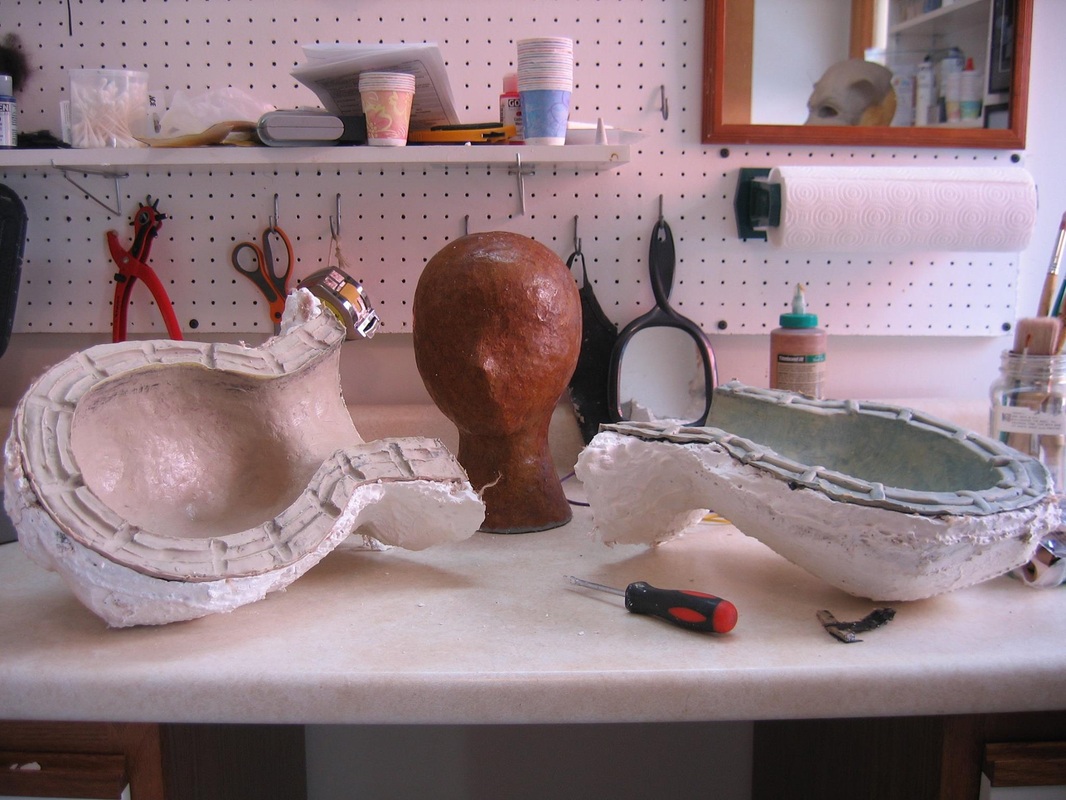
And finally, TA DAAAAA!!! It's done!!! Not perfect, room for improvement, but definitely usable. YAY!!!
 RSS Feed