
Some of the biggest improvements I hoped to make from my last head to this one involved sewing. Specifically, I wanted to see just how well I could get the fur to fit the resin head, and I knew that last time most of what got in the way were my noob sewing skills. Too much bulk, in the way of excessive seam allowances, between the fur and the resin base. My control of the sewing machine was not precise, my seams tended to wander a bit, so the seam allowances could not be trimmed as closely as they otherwise might be. It did not help that my seam allowances were cut unevenly out of the fabric to begin with. Watching Monoyasha in her tutorials whip the pieces out of the fabric with an art knife made me think *I* could whip the pieces out of the fabric with an art knife- um, no. My sewing teacher tactfully pointed out it would help a lot to cut the seam allowances evenly and carefully next time. I also invested in a shiny new pair of Gingher fabric scissors, and cut the fabric by carefully sliding the tips along under the pile while cutting, to avoid abruptly shearing off the ends of the fur. This made cutting a great deal more precise.
Another thing that helped a lot this time around- practice and experimentation. On scrap fur, before the good fur. Kinda obvious, but.... I pretty much sewed up an entire mask out of scrap fur before I moved on to the fur I actually wanted to use.
Another thing that helped a lot this time around- practice and experimentation. On scrap fur, before the good fur. Kinda obvious, but.... I pretty much sewed up an entire mask out of scrap fur before I moved on to the fur I actually wanted to use.
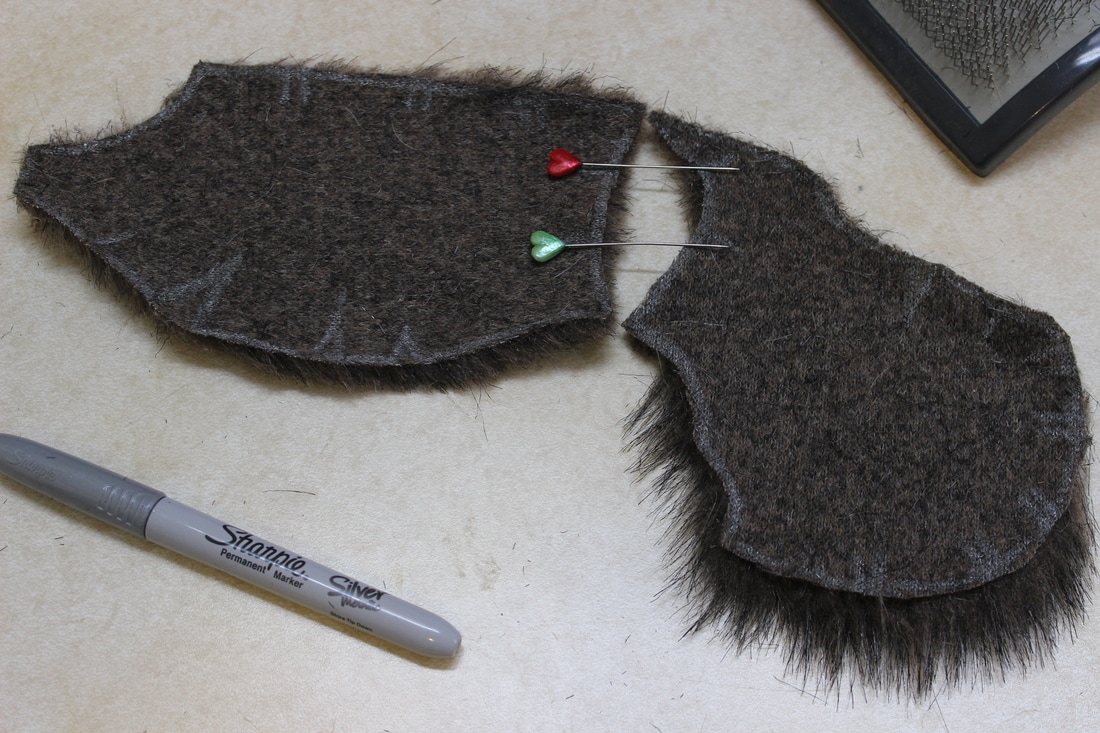 | 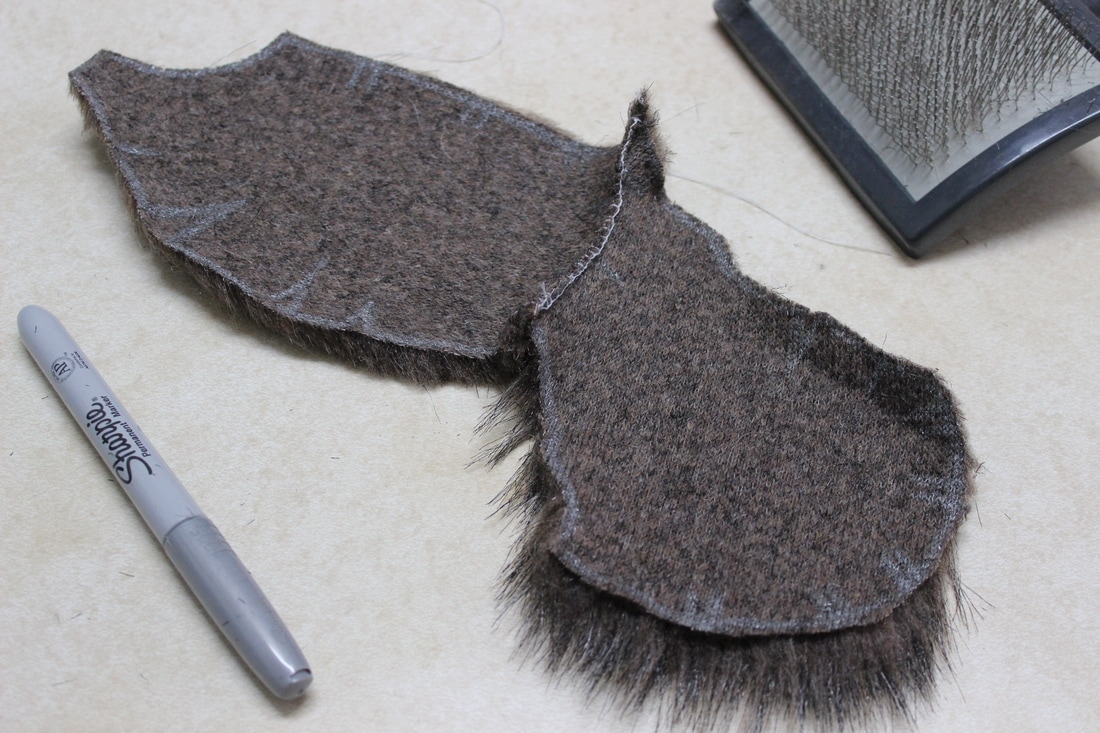 |
Above, the muzzle and the cheek pieces, cut out of scrap fur. Left, the pins are laid across the hash marks that show where these pieces join together. That's a pretty intense curve! I tried several times to sew it with the sewing machine but just could not get a seam anywhere near as precise as I wanted it to be. Which, resulted in a seam allowance I could not trim closely, which in turn resulted in unwanted bulk between the fur and the base. Above right, the solution to this problem... hand stitching! Specifically, the blanket stitch. Precise control, just about no seam allowance to speak of. You can see just how sharply the two pieces curve when where they join together.
 |  |
Above, half of the face sewn together out of scrap fur. The piece in left hand photo is machine sewn, the one in the right hand photo is hand sewn with the blanket stitch. You can see how much more bulk there is in the machine sewn piece, especially at the juncture between the muzzle and the cheek and the inside corner of the eye. For someone at my skill level with a sewing machine it's just about impossible to get that corner's three seams to come together precisely.
Of course, it takes a zillion times longer to sew by hand, but, that's what audiobooks and NPR podcasts are for.
Of course, it takes a zillion times longer to sew by hand, but, that's what audiobooks and NPR podcasts are for.
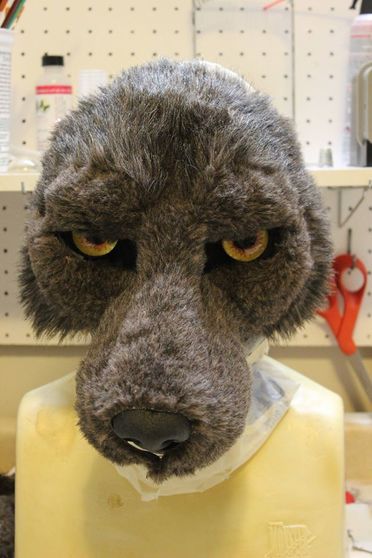
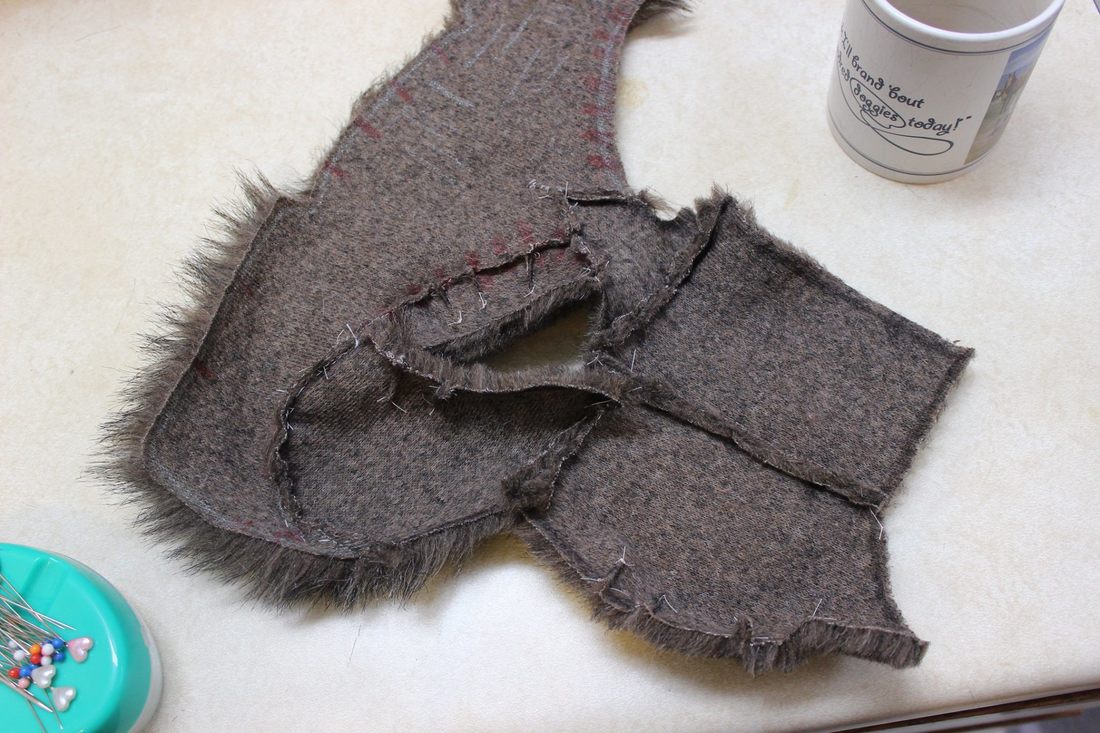
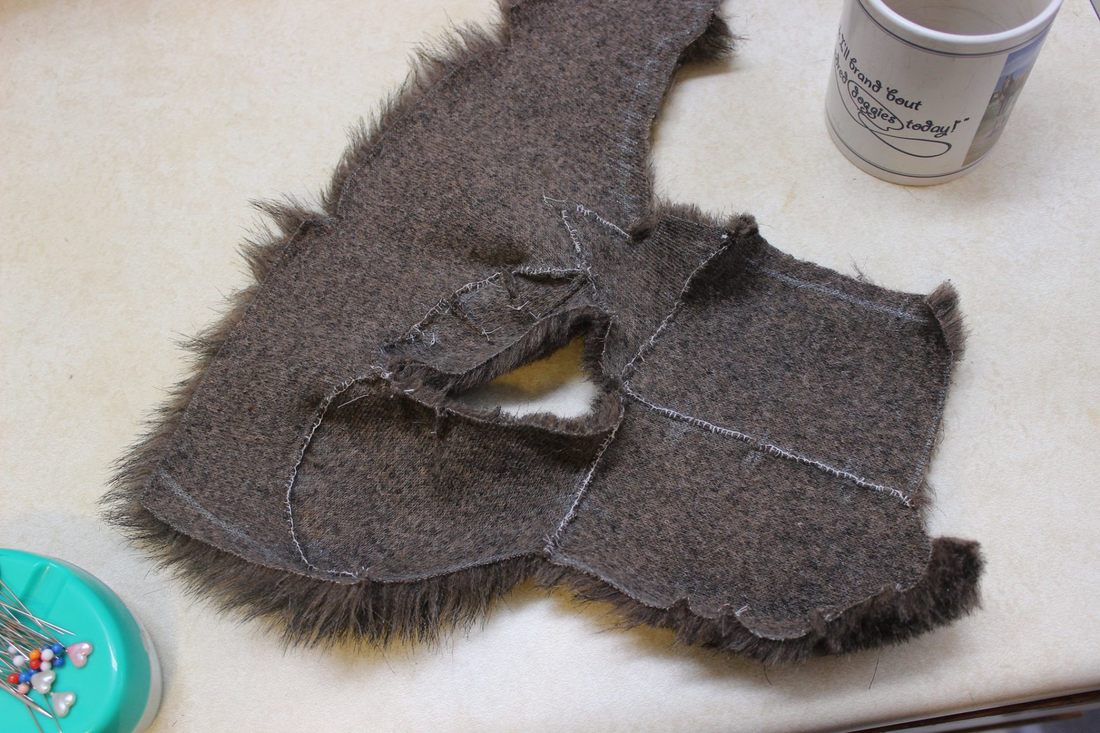
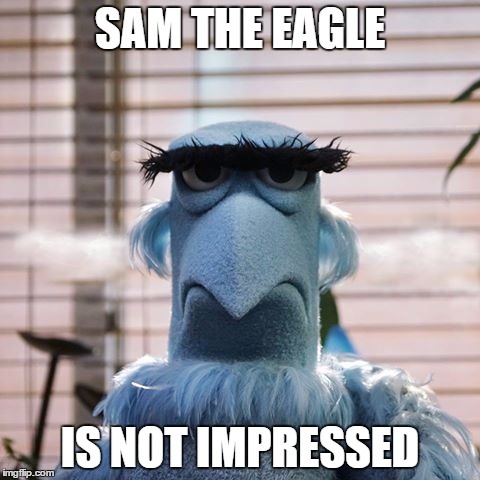
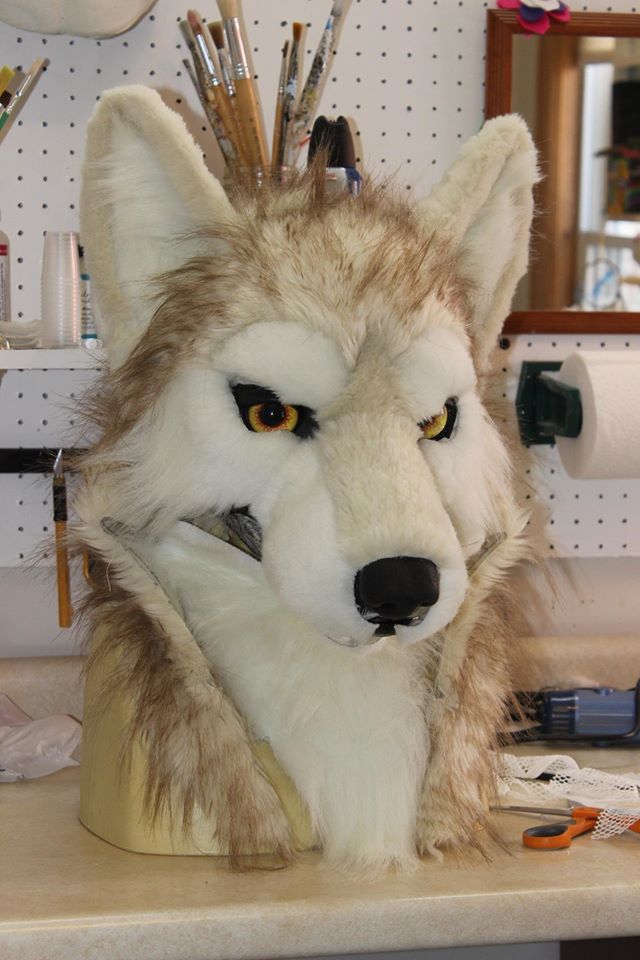
Above, scrap fur sewn by hand into the face of the mask. I'm happy with how well it's fitting. Though I also can't help but think of this:
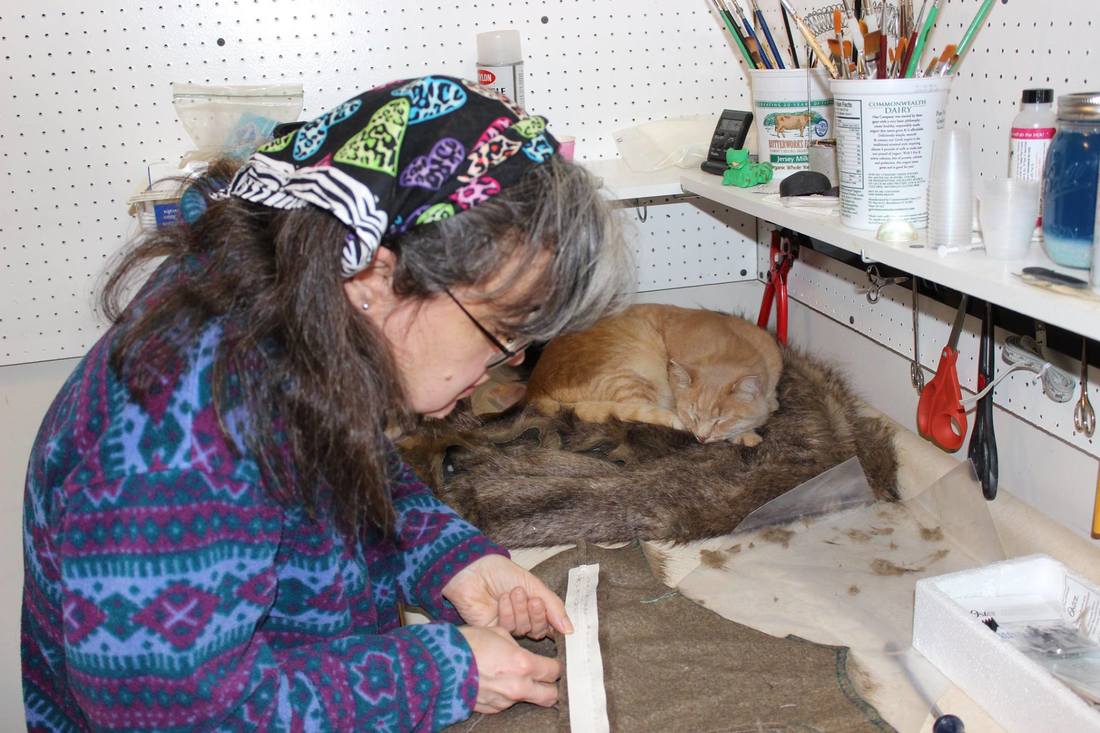
Next, hoods. I wasn't sure if I liked the way Max's hood looked or not. The Velcro closure over the zipper made the hood relatively easy to get on and off, but it added a noticeable ridge down the back. My sewing teacher suggested I try to find a softer Velcro with a better drape next time, something I haven't done yet. However I did find a bunch of zipper tutorials online and made not one, not two, but three hoods trying them out. Ultimately I used the method described in my good ol' Reader's Digest Complete Guide to Sewing. Above, laying out a zipper on a seam that's been temporarily basted closed, while Ezzy delights in this fantastic new cat bed that miraculously materialized on my work bench.
Whoops, tangent alert! I must properly introduce my readers.. meet Sans Souci Studios' Feline Assistance and Cat Hair Distribution Department, aka Ezzy. He is a very helpful cat.
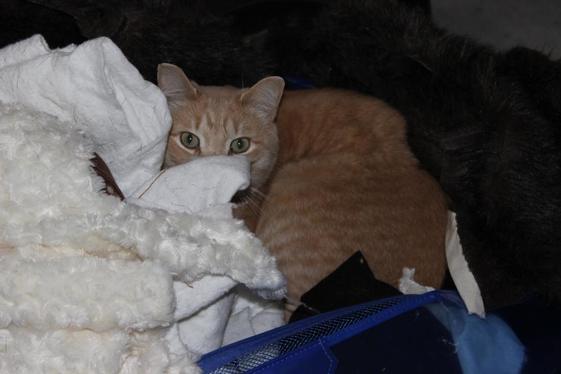
Ezzy loves it when I break out the faux fur totes.
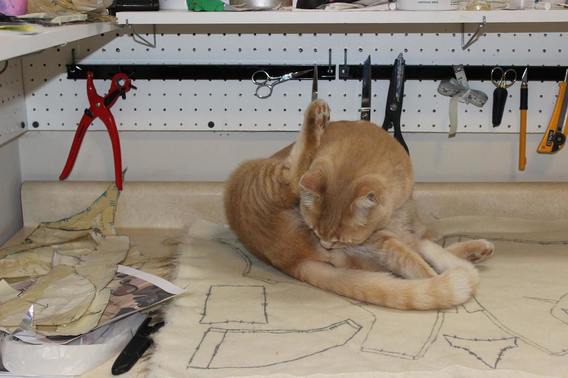
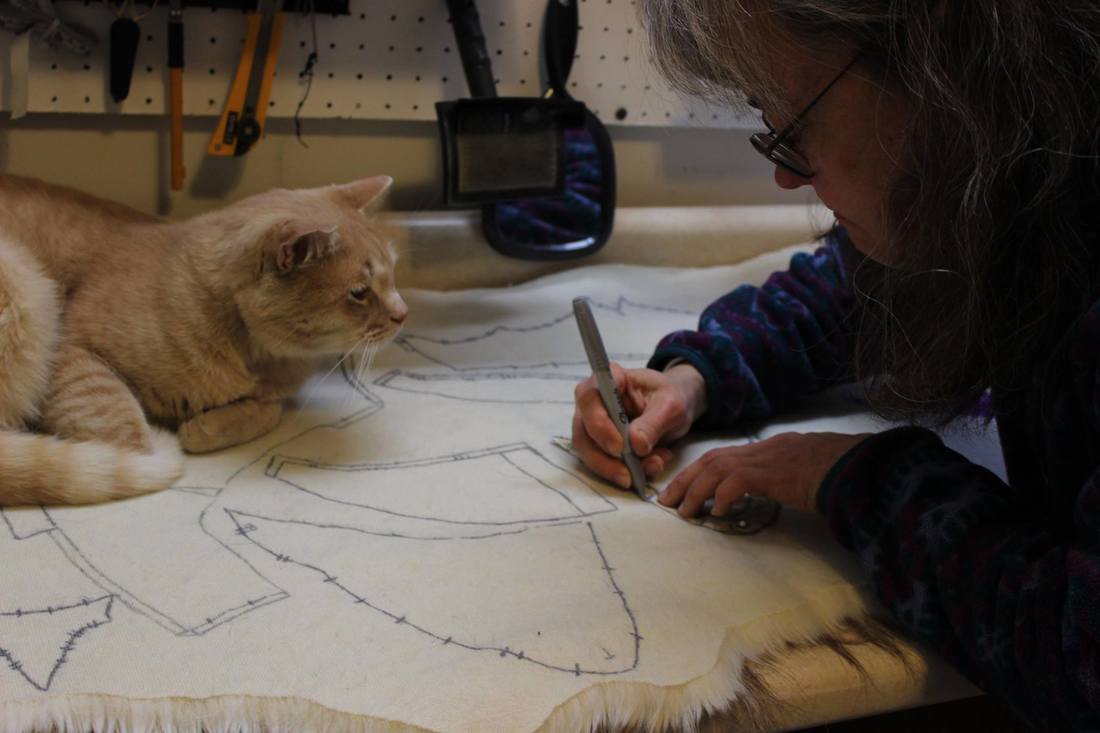
He also loves to help with laying out the pattern. Above, you can see just how helpful he's being.
 | 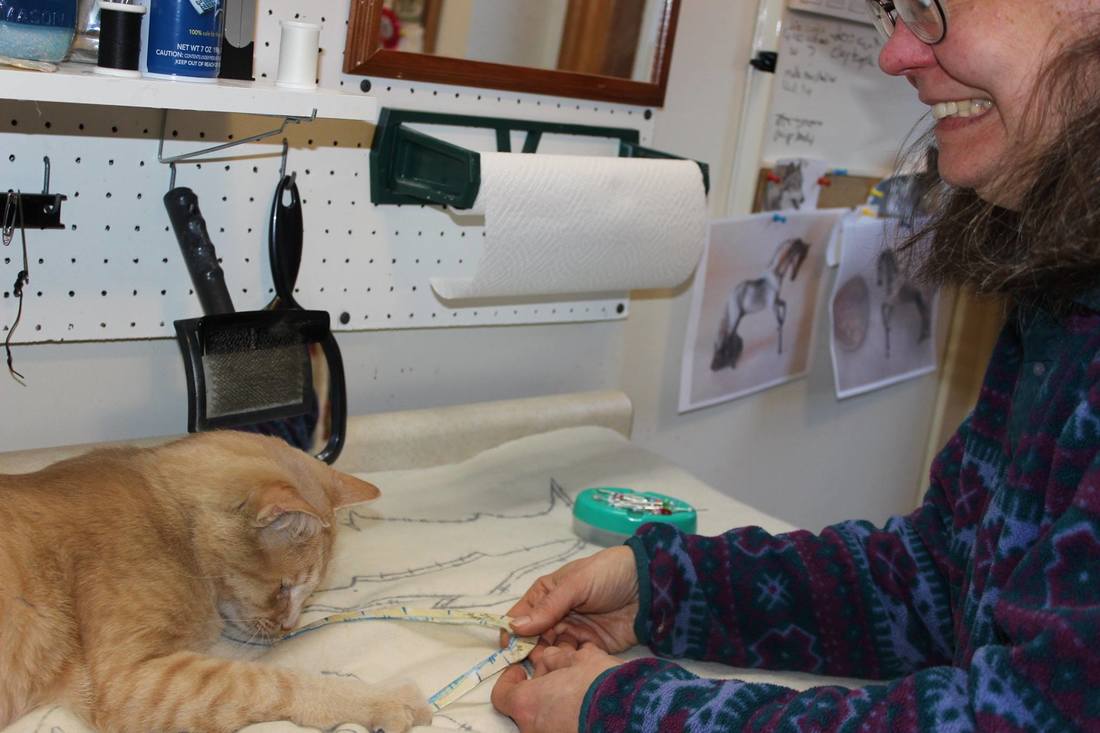 |
Above, after carefully considering the matter, Ezzy decides that that pattern piece should be ALL HIS!!
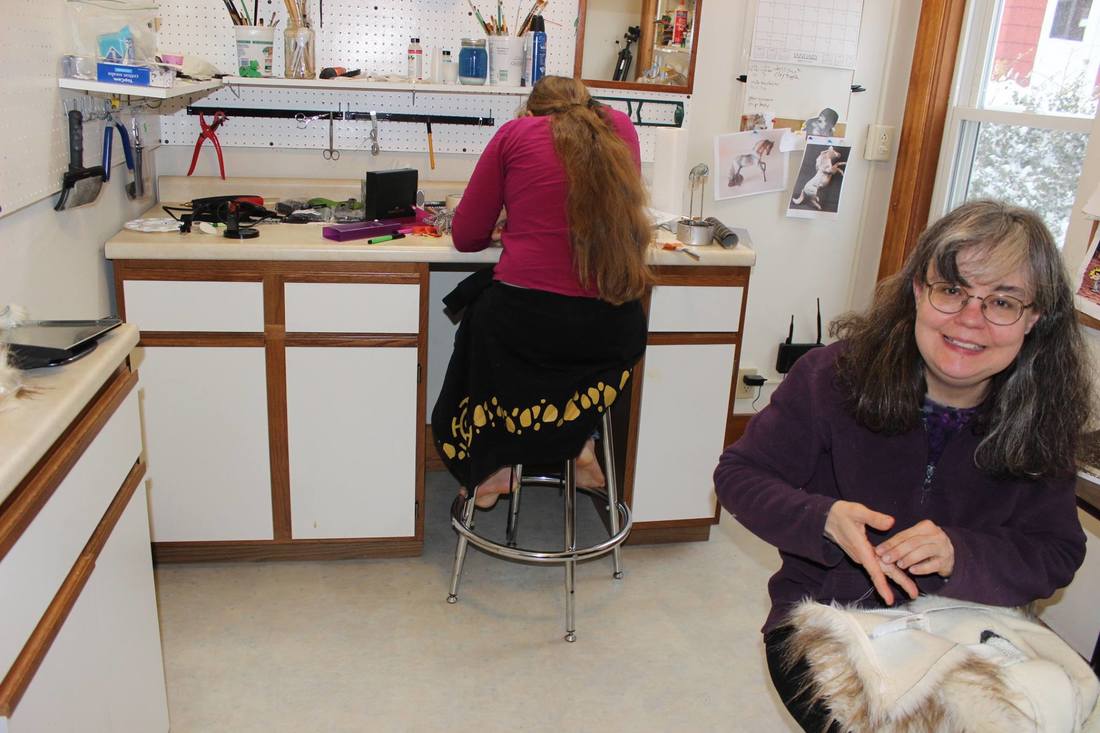 | 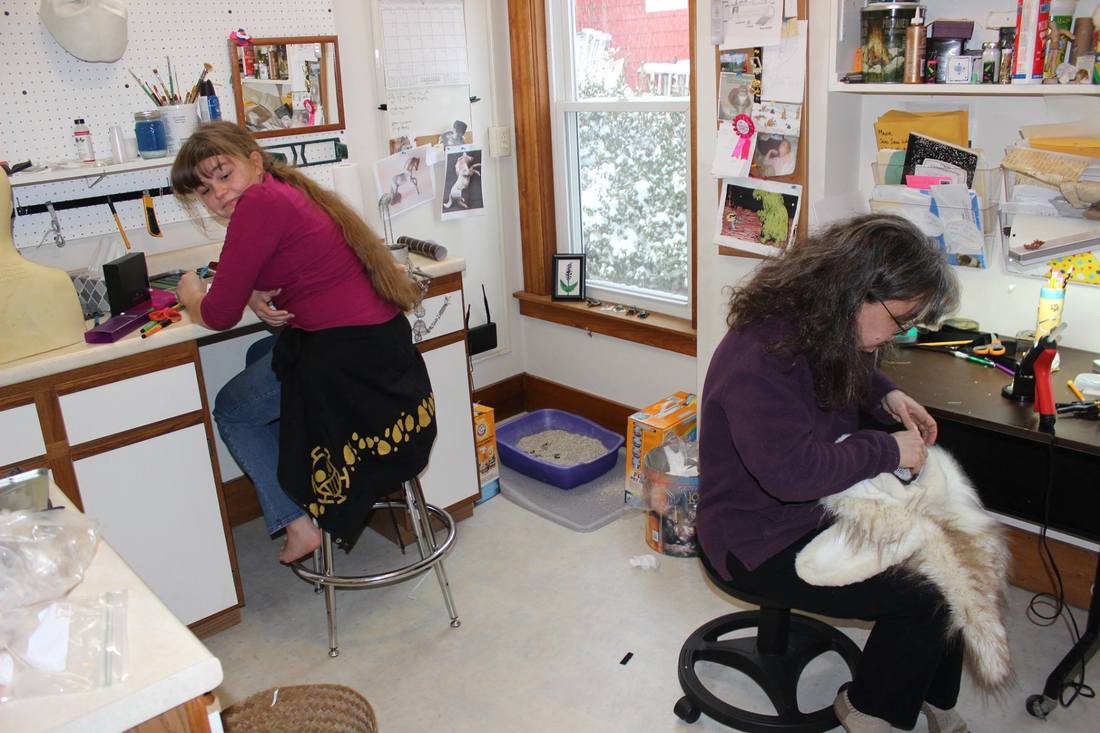 |
OK, now that we've gotten that out of our system, back to sewing. (That's my daughter Isabelle smirking at me.)
 |  |
Almost done! Above left, big pieces sewn together and pinned on; right, sewing all done and laid over the base. I wound up hand sewing the face, the ears, and pretty much anything else that would be supported by glue on the base. I machine sewed anything where there would be more stress, such as the zipper and the hood. I used the back stitch with upholstery thread on parts that required strength but were difficult to get at with the sewing machine, such as the area between the ears where the back of the head and the hood join. It was a good thing I did as much practice sewing on scrap fur as I did, as using different methods like this required adjustment to the pattern and the seam allowances on each piece depending on how I planned to sew it. (Ie, the blanket stitch doesn't require a seam allowance.) It was good to have thought this through before cutting into the good fur!
A difficult thing for me to do as an artist is figure out when I'm being overly perfectionistic and when I really do need to put in more effort. I think in the case of sewing, putting in the extra effort really pays off.
A difficult thing for me to do as an artist is figure out when I'm being overly perfectionistic and when I really do need to put in more effort. I think in the case of sewing, putting in the extra effort really pays off.
 RSS Feed