
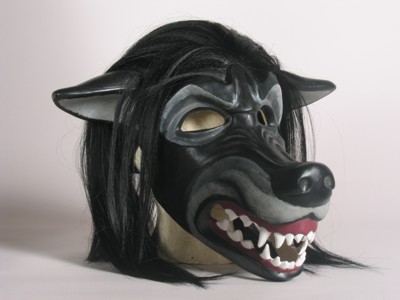
While I was getting this cutie ready for eBay, it occured to me I could snap some pictures and give a demonstration of my current method for hairing a mask. (This mask is available at auction on eBay until March 15, cheap because it's a materials test and too heavy to wear.)
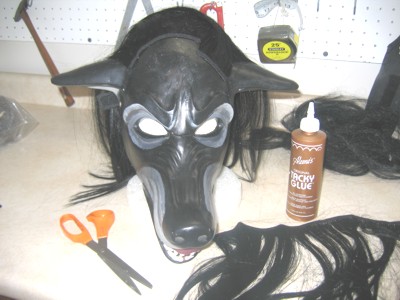
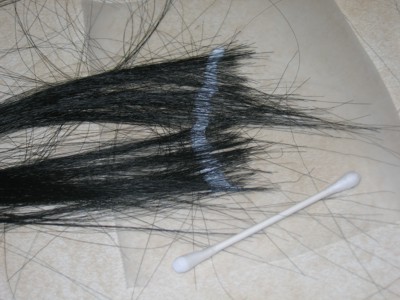
Equipment and materials needed: Wefted and perhaps bulk Kanekalon hair in choice of colors; glue (I use a tacky white craft glue, others I've spoken to prefer hot glue); cotton swabs; wax paper; sharp scissors, a pencil, and a small container of water.
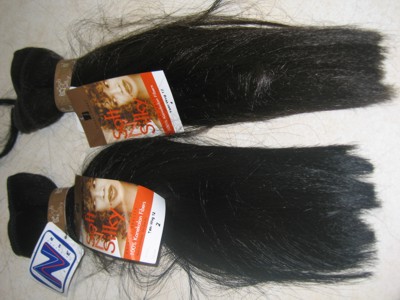

More on hair. I can imagine people out there scratching their heads and going, "wefted??" Essentially that means the hair is sewn onto long strips, which makes it much, much easier to apply. I've purchased just about all of my hair from African-American beauty supply shops, where it is sold as 'hair extensions'. I use the bulk hair for areas where I don't want the weft to show, ie, at and near hairlines, although I also use hair that has been cut from the weft on another mask during a bang trim or such. So far I have only found this hair to be available wholesale, so a wholesaler's number is needed to purchase it. However it is possible to buy repackaged (?) bulk hair for a somewhat greater cost from www.monstermakers.com.
So essentially I divide areas to hair into three parts: the back of the mask, where I can use the wefted hair; an area roughly 2 or 3 inches away from the hairline where I will glue loose hair; and any actual hairline itself, for which I will construct a little 'hairpiece'.
So essentially I divide areas to hair into three parts: the back of the mask, where I can use the wefted hair; an area roughly 2 or 3 inches away from the hairline where I will glue loose hair; and any actual hairline itself, for which I will construct a little 'hairpiece'.

Here we see the mask looking something like a tonsured monk, with about half the wefted hair applied. Applying wefted hair is easy peasy. First I cut the weft to appropriate lengths. Then starting at the back of the mask and working forward, I apply a bead of glue to the weft and apply it in rows approximately 1 - 1 1/2 inches apart. Sometimes I'll need the hold the ends of the weft down for a few minutes until the glue starts to set, or worse comes to worst I'll reglue the ends down after the rest of it has dried.
In this picture I have applied all the wefted hair and am now gluing on loose hair. To hide the weft, which is convenient but rather ugly, I switch from the wefted hair to the loose hair about three inches or so from the hairline. I apply a bead of glue to the mask, and then I pick up small (about 1 inch wide) and thin handfuls of hair, trim the edge square with a sharp pair of scissors, and lay it down into the glue. Then I press it down using a damp cotton swab. When the swab starts getting too gluey and the hair starts sticking to it instead of to the mask, I throw it away and get another. It helps to have a small container of water and a big pile of swabs nearby before starting this task.
I am more likely to err on the side of making the handfuls of hair too thick instead of too thin. Too thick, and most of the hair will not stick in the glue, it will just come loose and make a mess. It is almost impossible to err on the side of making the handfuls too thin.
I make the rows closer together with the loose hair than I do with the wefted hair, about 1/2" apart. The loose hair has to be applied more thinly, so the rows need to be placed more closely together to cover adequately.
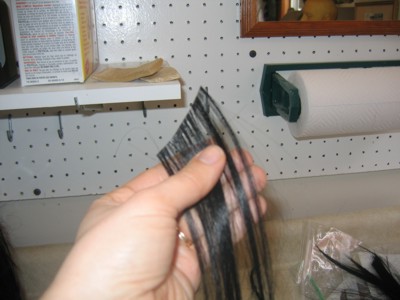
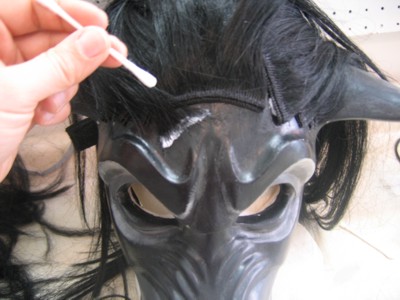
Above are a series of pics showing the creation of a hairline. I usually do this part first, before I do anything else with the hair on a mask, so that the pieces have time to dry and will be ready by the time I need them.
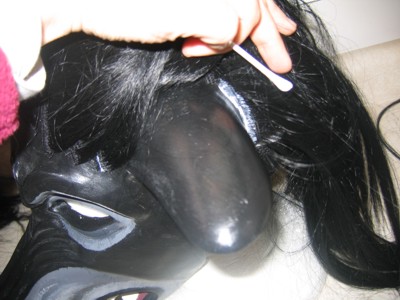
(First pic.) I trace the hairline with a pencil on a piece of wax paper, lay down a line of glue, and then press loose hair into the glue using a damp cotton swab. Again, if the swab starts to get too sticky, and the hair wants to stick to it instead of the glue, I throw it out and start with another. I let this dry until the glue is clear (usually overnight) and then (second pic) trim along the pencil line. After this I (third pic) very carefully peel the finished hairpiece from the wax paper, and (fourth pic) glue it in place.
(First pic.) I trace the hairline with a pencil on a piece of wax paper, lay down a line of glue, and then press loose hair into the glue using a damp cotton swab. Again, if the swab starts to get too sticky, and the hair wants to stick to it instead of the glue, I throw it out and start with another. I let this dry until the glue is clear (usually overnight) and then (second pic) trim along the pencil line. After this I (third pic) very carefully peel the finished hairpiece from the wax paper, and (fourth pic) glue it in place.
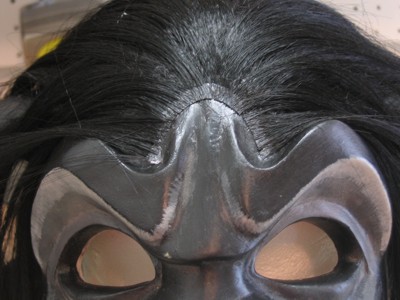
Above is a pic of the nearly finished hairline in the front of the mask as well.
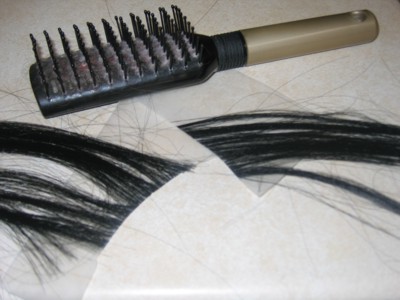
After the glue has dried overnight, I comb out the loose hair (there is always a lot of loose hair, don't worry too much about any shedding at this point) and then trim and style if I so desire. I put any big hanks of trimmed hair in a ziplock baggie to save for future hairing projects, and then to tone down any shininess, I color over the dried glue on the hairline with acrylic paint or a matching Sharpie.
There it is! Any questions, please feel free to drop me a note at [email protected]!
 RSS Feed