
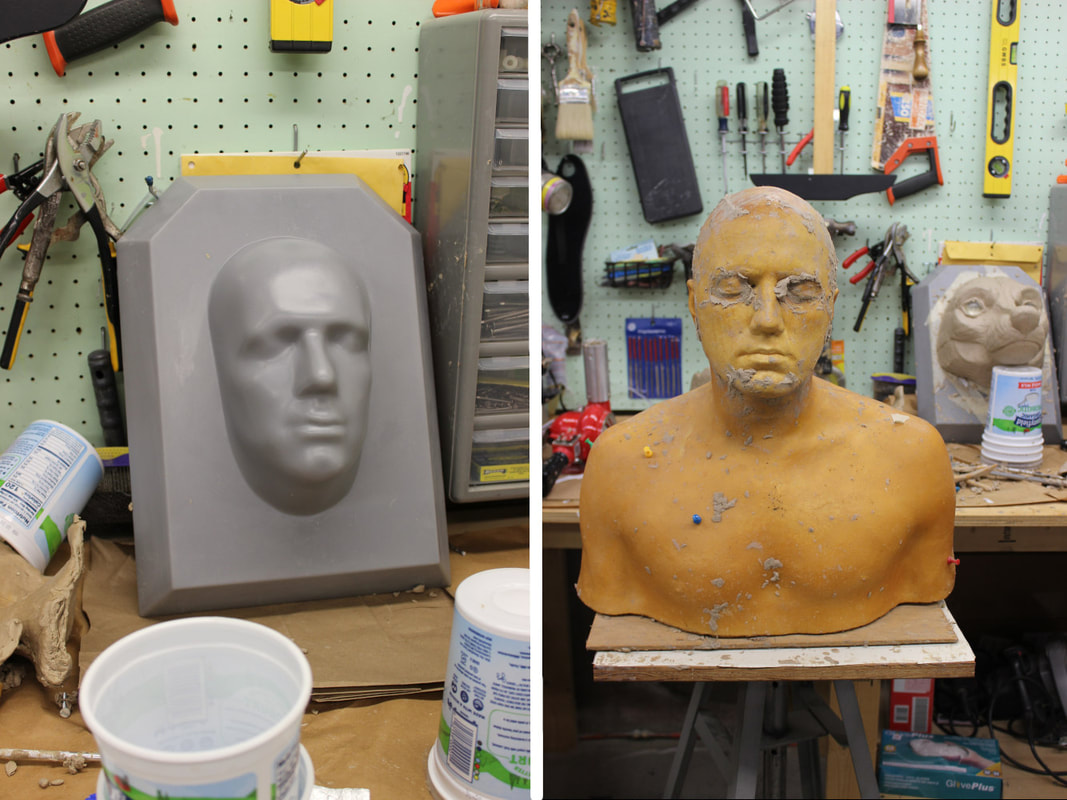
Here we have Sans Souci Studios' armatures and Best Boys, Arnold Full Armature and Arnold "Han Solo" Half Armature. (Seriously, his name is Arnold. That's the name of the person from whom this was live-cast.) Other than being a handy place to put clay while sculpting, Arnold provides valuable points of reference. Especially Half Arnold. While building a sculpt on Full Arnold is a good way of seeing what a sculpt will look like in motion on a real wearer, Half Arnold provides a perfectly flat plane from which to build a system of reference points and angles. Invaluable, as otherwise reference points have a maddening way of seeming to shift on a 3D sculpture.
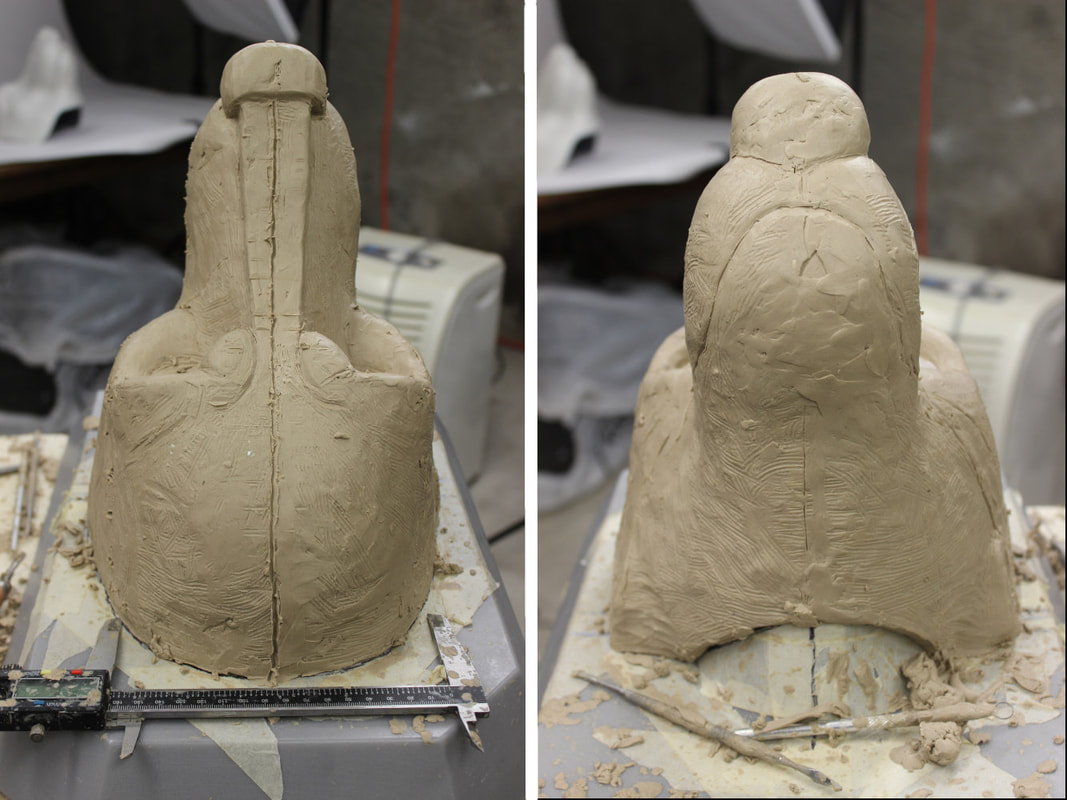
Above, finding the center of the sculpt, and making sure it's at a 90 degree angle to the armature back. I measure to find the center of the armature, mark the line on both the top and bottom of the head, and trace the center line around the sculpt, as shown above. At any point where the sculpt doesn't meet the armature back (here, at the throat) I mark the center on masking tape and then extend a line up the tape onto the sculpt. I use various measuring tools to keep the line as perpendicular as possible to the armature back, but there's always a certain amount of eyeballing and guesswork involved.
Above, creating a "template" of sorts for the back of the sculpt, to help ensure its symmetry. First, I lay down that good old patterning material, duck tape over aluminum foil, on the armature base under the sculpt in progress. Then I trace on the tape along the edge of the sculpt, mark and fold it at the halfway mark, and trim so that the two sides of the template are symmetrical. Then I lay the template back down on the armature and clay up the back edge of the mask along it. There's still a certain amount of eyeballing and guesswork involved, as the template can shift and stretch, and little bits of clay on the armature can put it out of whack. But still, it makes a pretty good guide.
Now I have a sculpt with a symmetrical back and a centered and perpendicular nose. Getting the sides of the sculpt to match is a lot trickier. Each side can cave in, bow out, or do some evil combination of those things in its own special way. The back template can help address this by placing "landmarks" on the sides, to make specific areas on the sides easier to compare. For example, I can mark where the cut out is for the lower jaw on one side of the template, then fold the template, mark the same spot for the jaw cutout on the other side, then transfer the mark into the clay.
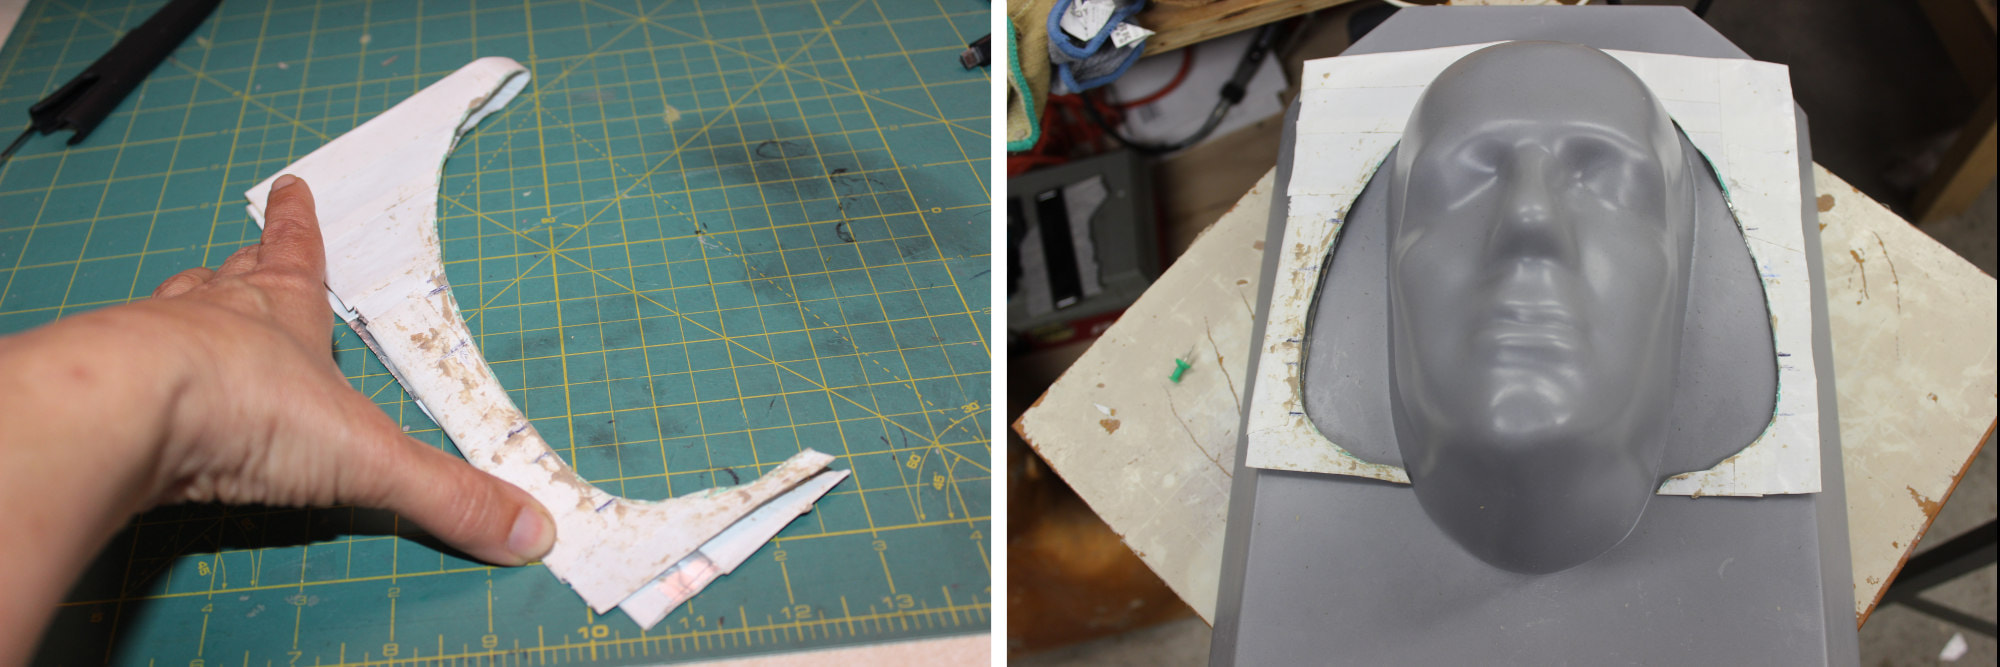
Once I've placed the landmarks I can make a gizmo to compare the angles at specific points of each side of the head. Here, I have cut out a little piece from a cereal box, preserving one original corner so that I have a handy 90 degree angle for reference. Then I carefully cut a thin slot into the sculpt, press one edge of the box in, and trace along the side of the sculpt to get the angle of that specific spot, making sure one side of the 90 degree angle is flat on the armature back. I trim along the line I've traced and then compare the angle of my gizmo to the angle of the sculpt on the other side, again being careful to line up one side of my 90 degree angle with the armature back. Then I adjust the sculpt as needed. I don't have too long to play with the gizmo though, as being made out of thin cardboard the edges start squishing down and losing their shape fairly quickly.
Once I've placed the landmarks I can make a gizmo to compare the angles at specific points of each side of the head. Here, I have cut out a little piece from a cereal box, preserving one original corner so that I have a handy 90 degree angle for reference. Then I carefully cut a thin slot into the sculpt, press one edge of the box in, and trace along the side of the sculpt to get the angle of that specific spot, making sure one side of the 90 degree angle is flat on the armature back. I trim along the line I've traced and then compare the angle of my gizmo to the angle of the sculpt on the other side, again being careful to line up one side of my 90 degree angle with the armature back. Then I adjust the sculpt as needed. I don't have too long to play with the gizmo though, as being made out of thin cardboard the edges start squishing down and losing their shape fairly quickly.
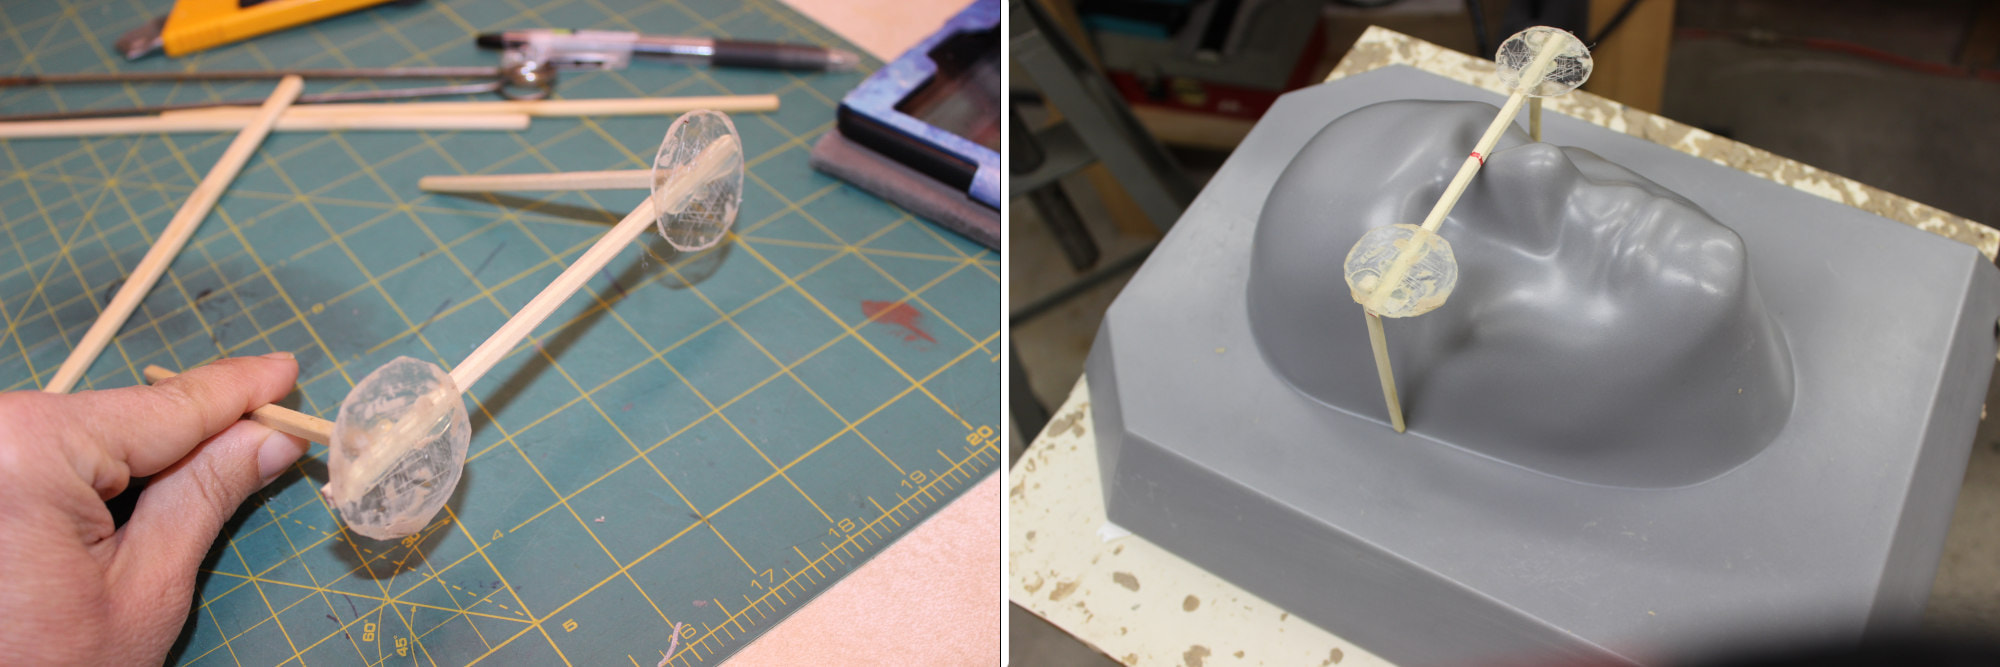
And here we have my Glorious Goggles, my Reference Point Piece de Resistance. The goggles will help ensure that the eyes will be equidistant from the center line of the head, lie along a line that is at right angles to the center line of the head, and are both set back the same distance into the head. They will also help ensure that the eye bed I sculpt on my head will be parallel to the back of the mask and not tipped forward or back. Plus, if I'm fairly certain that my eye placement is accurate and even, I can use the eyes themselves as further reference points for sculpting the head.
How I made the Glorious Goggles. I've traced the backs of correctly sized eye cabochons onto a piece of thin craft plastic and cut the circles out. I've measured the distance between the eyes on my original resin head, cut down a disposable chopstick I got from Chinese takeout to that length, and carefully hot glued the plastic circles on the ends, lining up the outside edges of the circles with the ends of the chopstick. Then I marked the center of my contraption with a Sharpie. Next, I measured the distance from the armature back to a point a little bit in front of its eyes and cut two more pieces of chopstick to that length, thus making the "arms" of my goggles. I hot glued them on as well, taking care to hold the arms at more or less at a right angle to the front of the goggles until the glue cools.
How I made the Glorious Goggles. I've traced the backs of correctly sized eye cabochons onto a piece of thin craft plastic and cut the circles out. I've measured the distance between the eyes on my original resin head, cut down a disposable chopstick I got from Chinese takeout to that length, and carefully hot glued the plastic circles on the ends, lining up the outside edges of the circles with the ends of the chopstick. Then I marked the center of my contraption with a Sharpie. Next, I measured the distance from the armature back to a point a little bit in front of its eyes and cut two more pieces of chopstick to that length, thus making the "arms" of my goggles. I hot glued them on as well, taking care to hold the arms at more or less at a right angle to the front of the goggles until the glue cools.
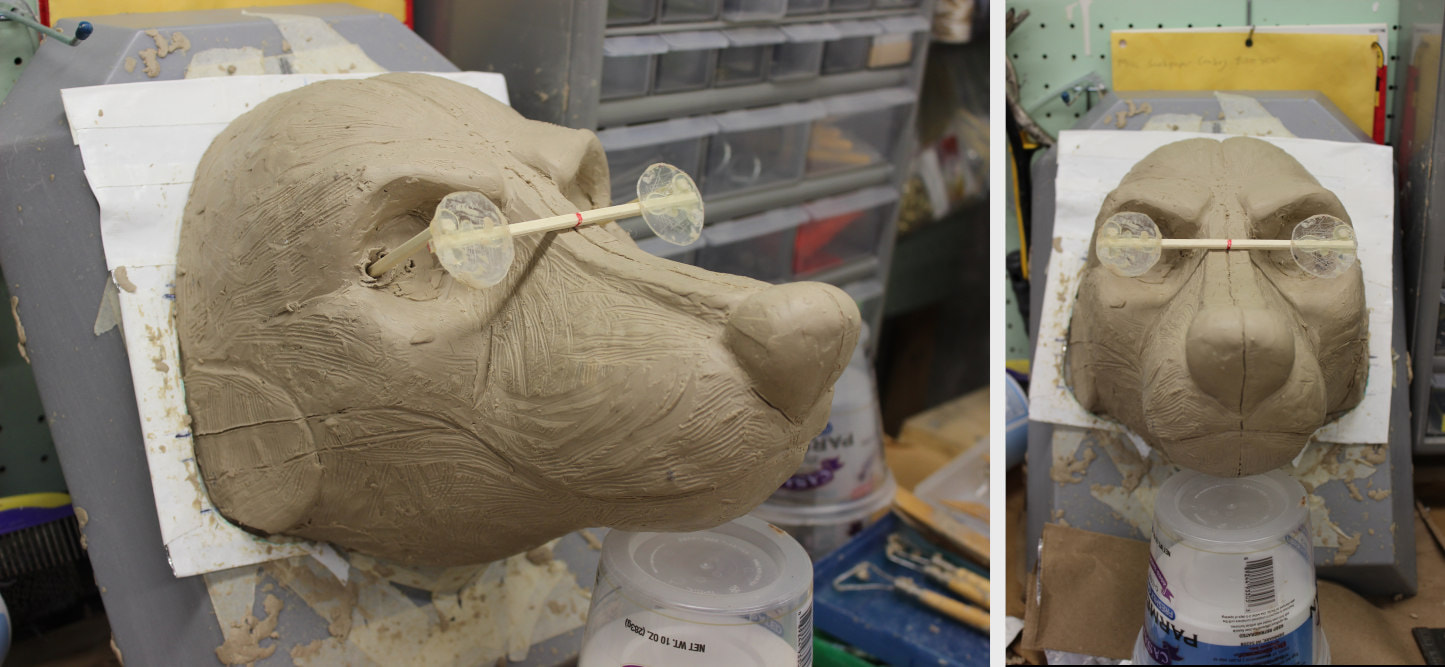
Above, beginning to set the glasses into the sculpt. I've started carving out holes into which to insert the arms of the glasses. These holes need to be pretty roomy so they don't force the arms out of their proper alignment.
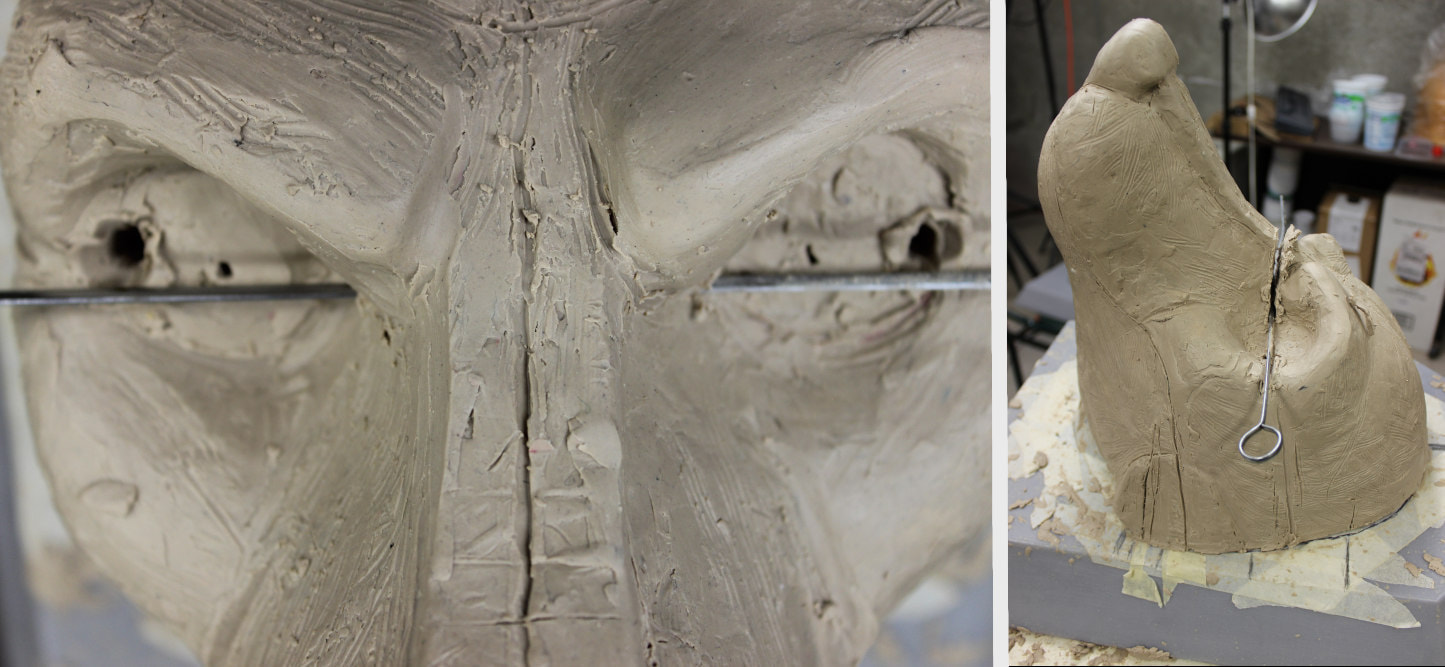
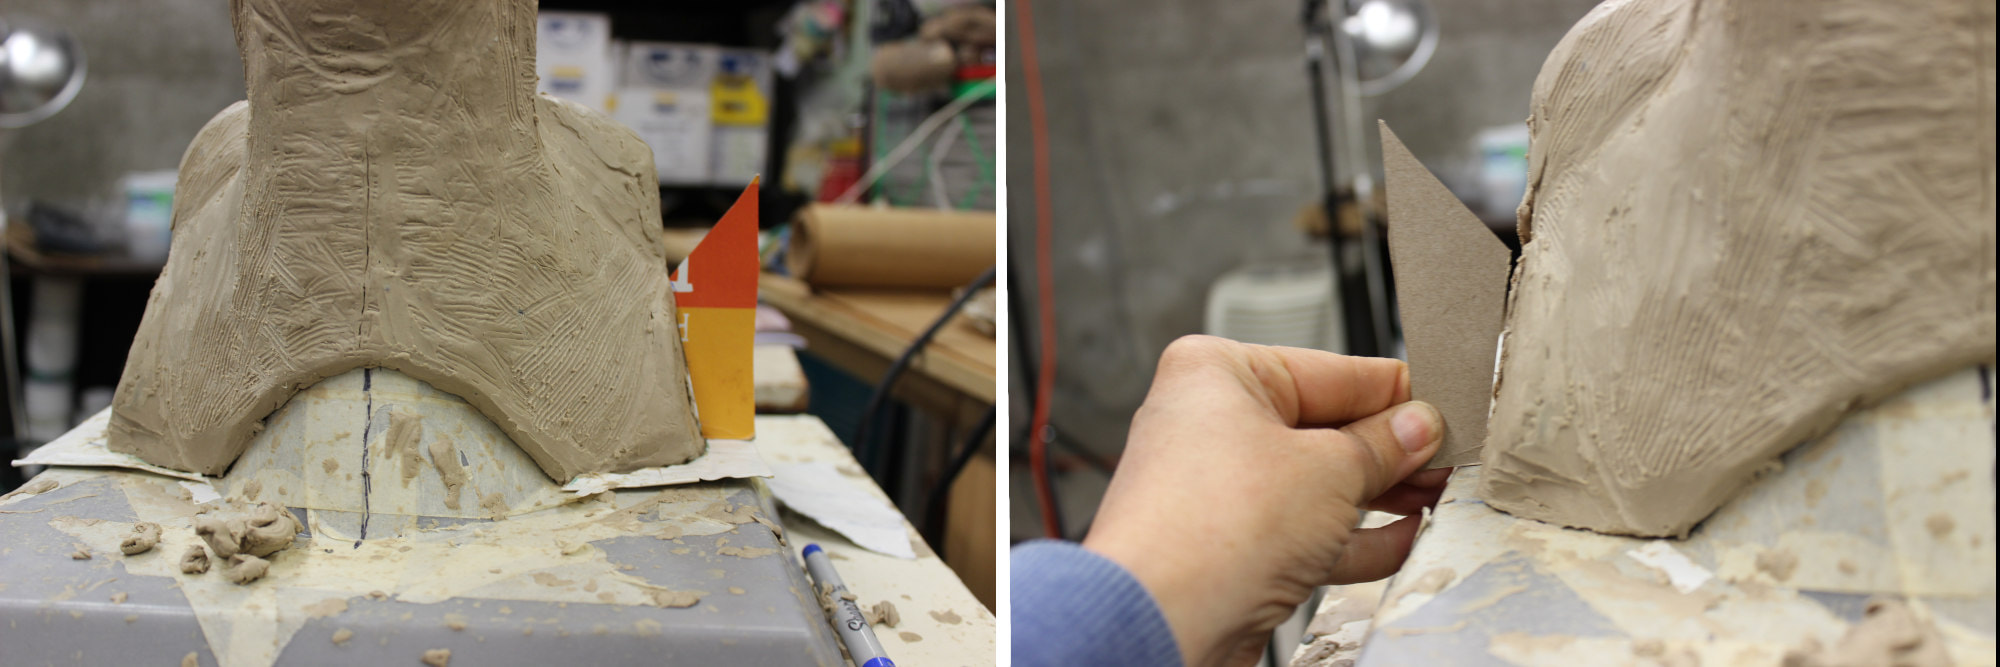
Adding a slot to the sculpt, into which I'll set the bridge of the glasses. I insert a skewer through the bridge of the sculpt's nose at the inside corner of each eye, keeping the skewer as perpendicular to the center line as I can. Then I cut a slot into the sculpt by pulling up on the skewer and removing clay along its path as needed with clay tools.
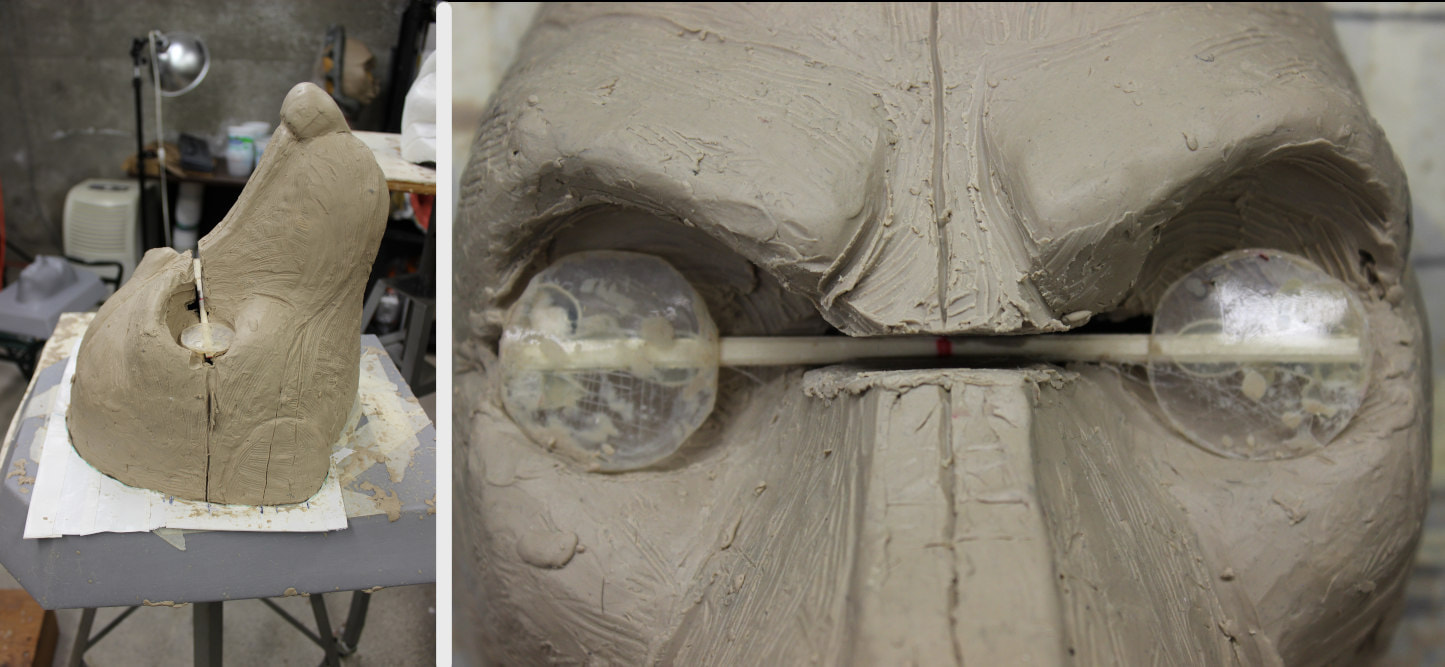
Above, the glasses have been added. Now just to fill the clay back in around them. It's already easy to see adjustments I need to make to the cheeks and brows, with the right hand brow being raised higher and there being more material on the outside edge of the right eye.
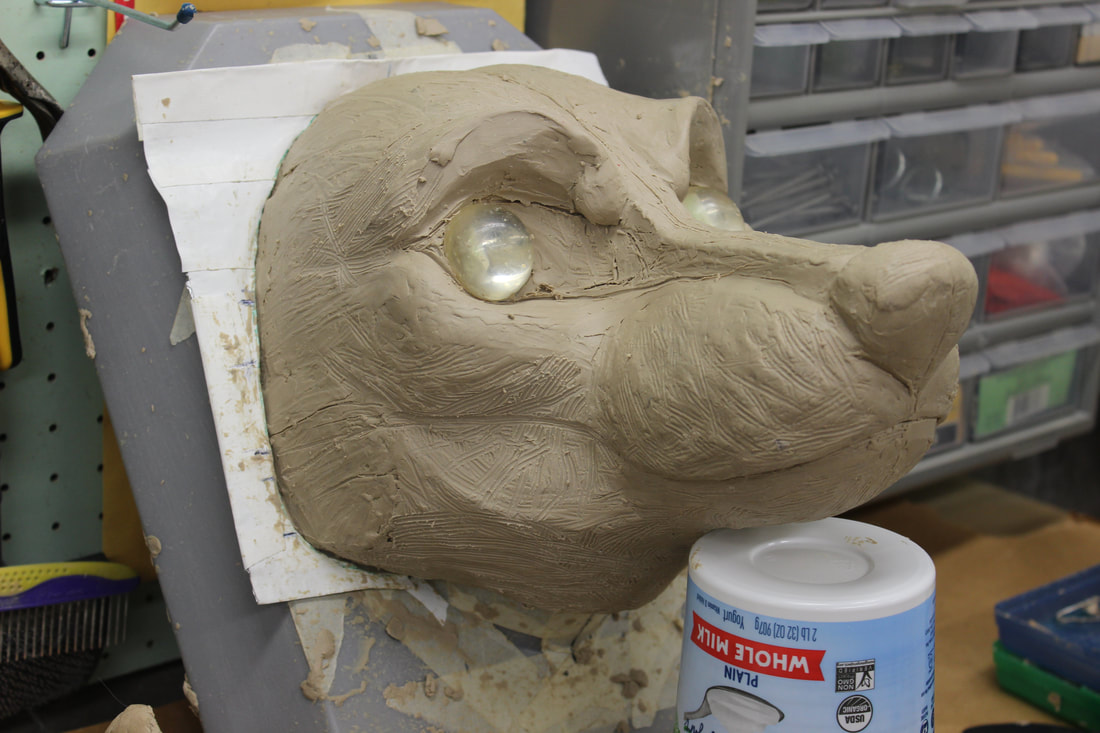
And, here we have the goggles completely clayed over, with a pair of acrylic eye cabochons resting on top of them, and a more developed sculpt in general. I'm happy to have this pretty solid point of reference in the sculpt, though it also makes me think how sculpting software makes symmetry so effortless!
 RSS Feed