
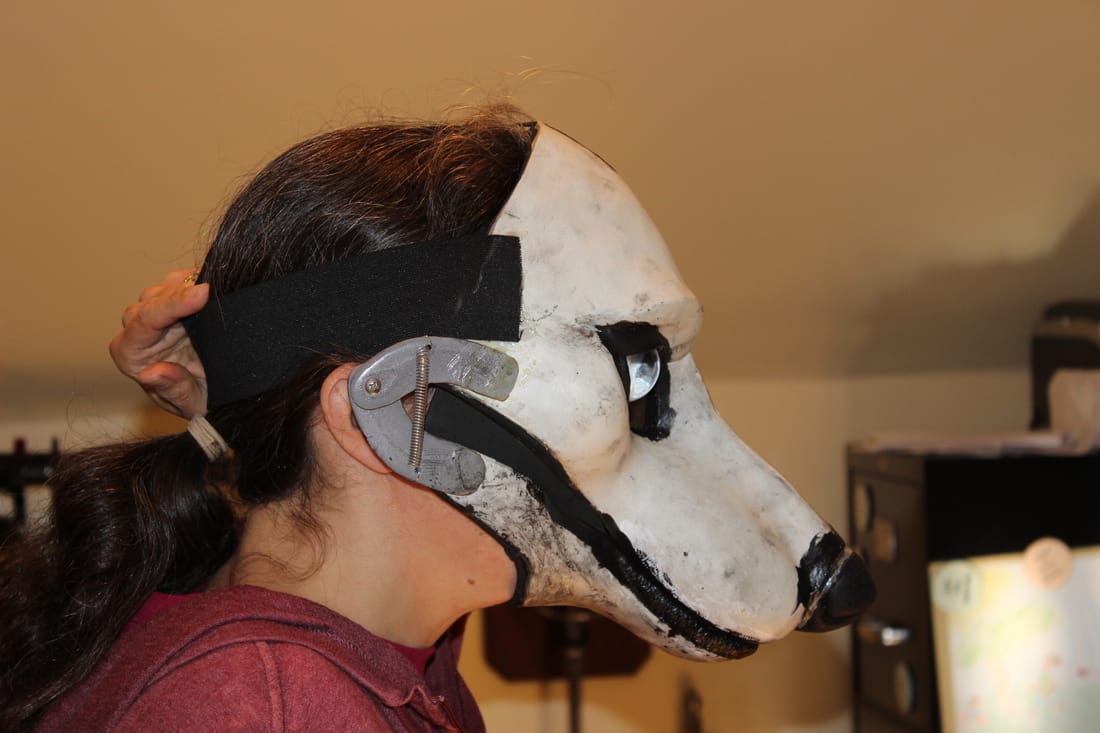
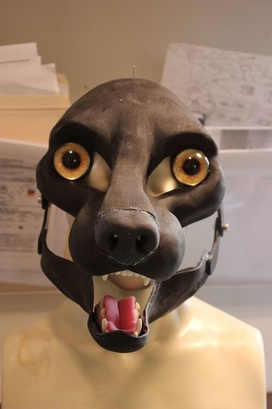
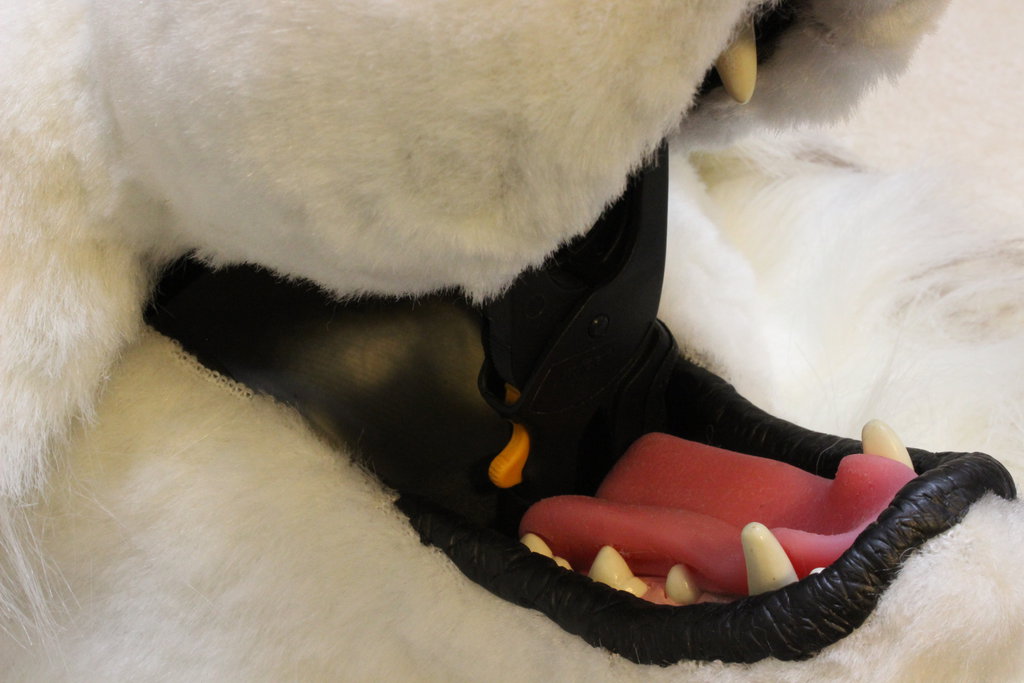
Moving jaw test for Maxine the Mask. Thank you to the long suffering hubby for his patience!!! I'm pretty happy with it.
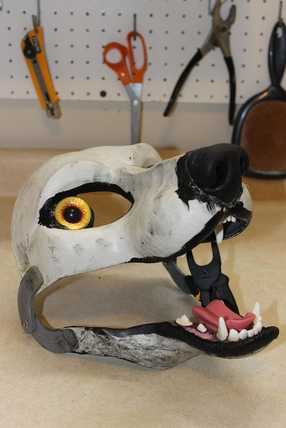
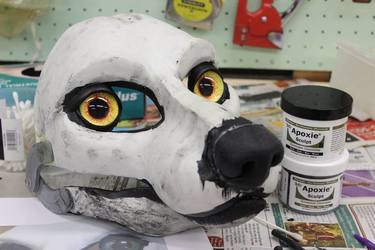
I also wanted the teeth to sit up much higher in the lower jaw than they did in my first head, as they kinda disappeared into lips and fur after I got it assembled. I played a lot with layers of Foamies underneath the teeth to get them exactly where I wanted them, and so far I'm happy with how they look.
As with the previous head, I've been referring to the DVC tutorials online as I work on this head, and much to my confusion they've started redoing that series- when I did the first mask, the lips were applied last, after the airbrushing, and now they're applied early in the process, along with the eyelids. Maybe they were done last in the first series so that airbrush overspray wouldn't get on them, but that's easy enough to paint over with black paint. In any case it was a pain to apply them with fur already there, and so far I like this way better.
I also learned the hard way it's best to cut the cast up right before assembling it. I was so excited to get a good cast I couldn't wait to open the eyes up and hinge the jaw, and then I let the head sit, and sit, and sit.... and the jaw warped, shifting to one side. Now the head has an expression kinda like this: :-/ Nothing that can't be fixed with a Dremel and some epoxy, but still, something I'd rather avoid in the future.
Above, working out how to resculpt the jaw to make it look straighter. I often take a photo of an area I'm working on, print it out and draw on it, to help visualize what I should do. In the printout /drawing to the right, I've decided to dremel off the lip outside of the thick blue line. Another point for adding the lip early on- it gave me a way to tweak the jaw I wouldn't have had otherwise. 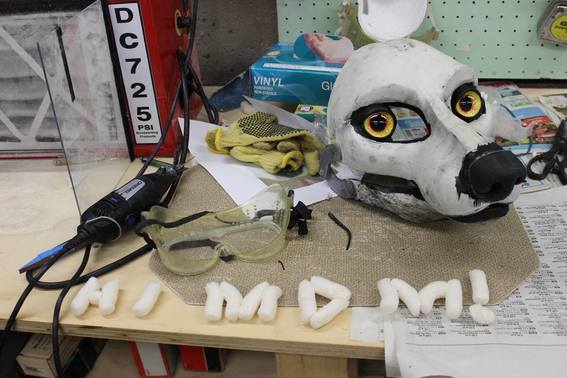 (And... one day I went down into the basement to work, and I found my daughter had gotten into my packing peanuts....)
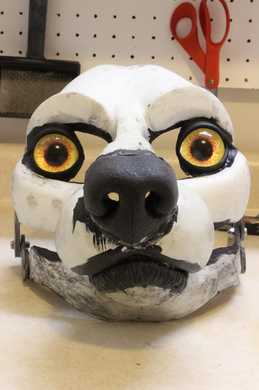
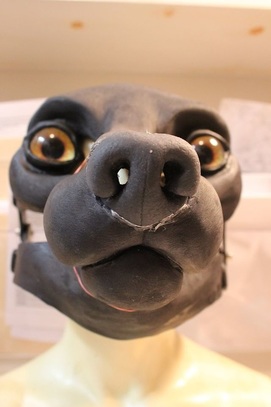
Above, the lower jaw resculpted and straightened out a bit. I think it looks much better. Neatening up the edge of the lower lip helped a bit too. 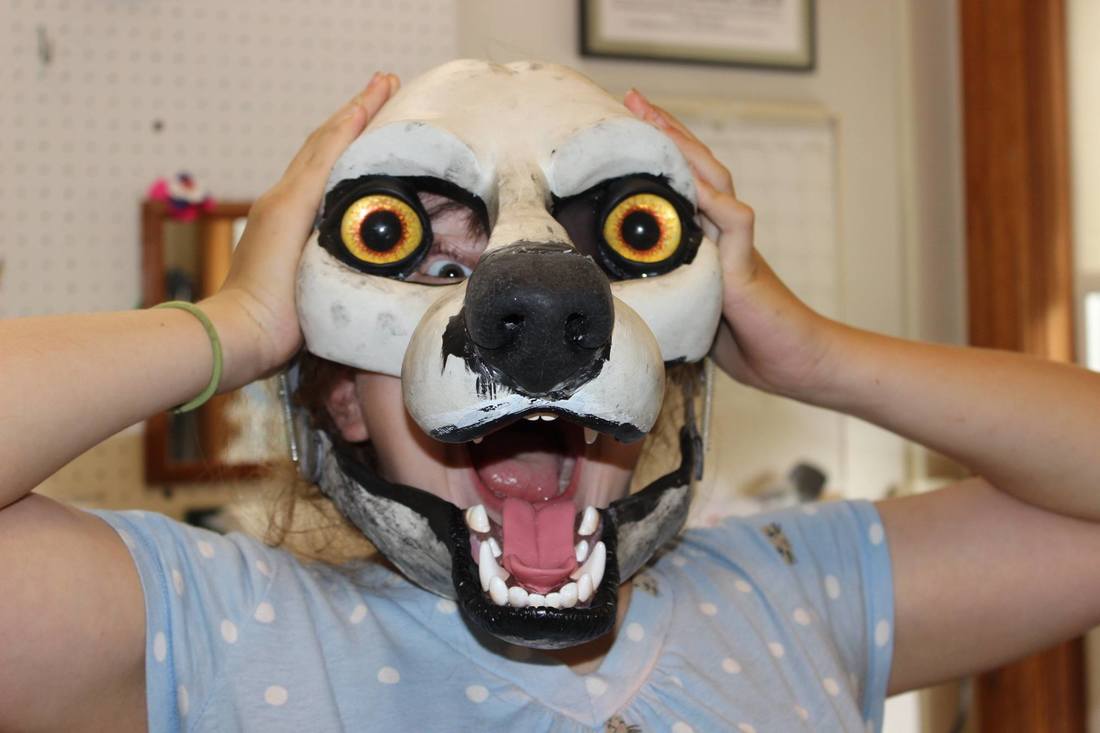 Above, chiffon added to one tear duct but not yet the other, as modelled by my packing peanut loving daughter. Freaky deaky!
Two takeaways for the next resin base sculpt:
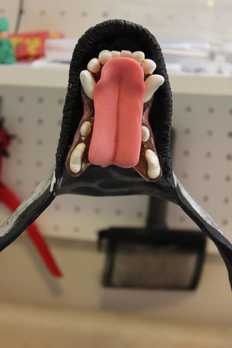
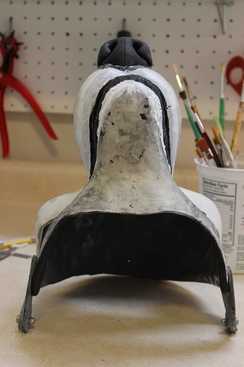
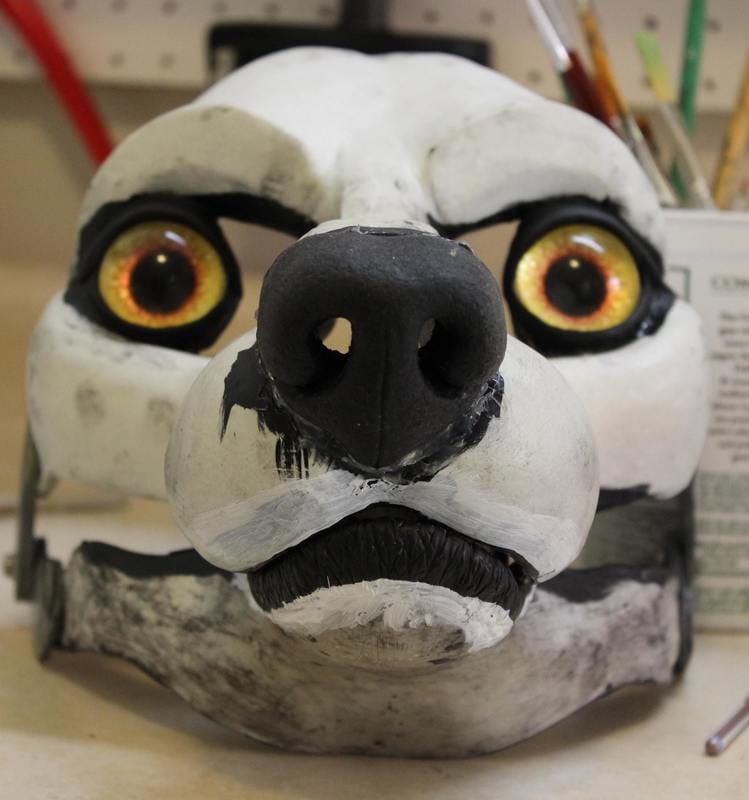
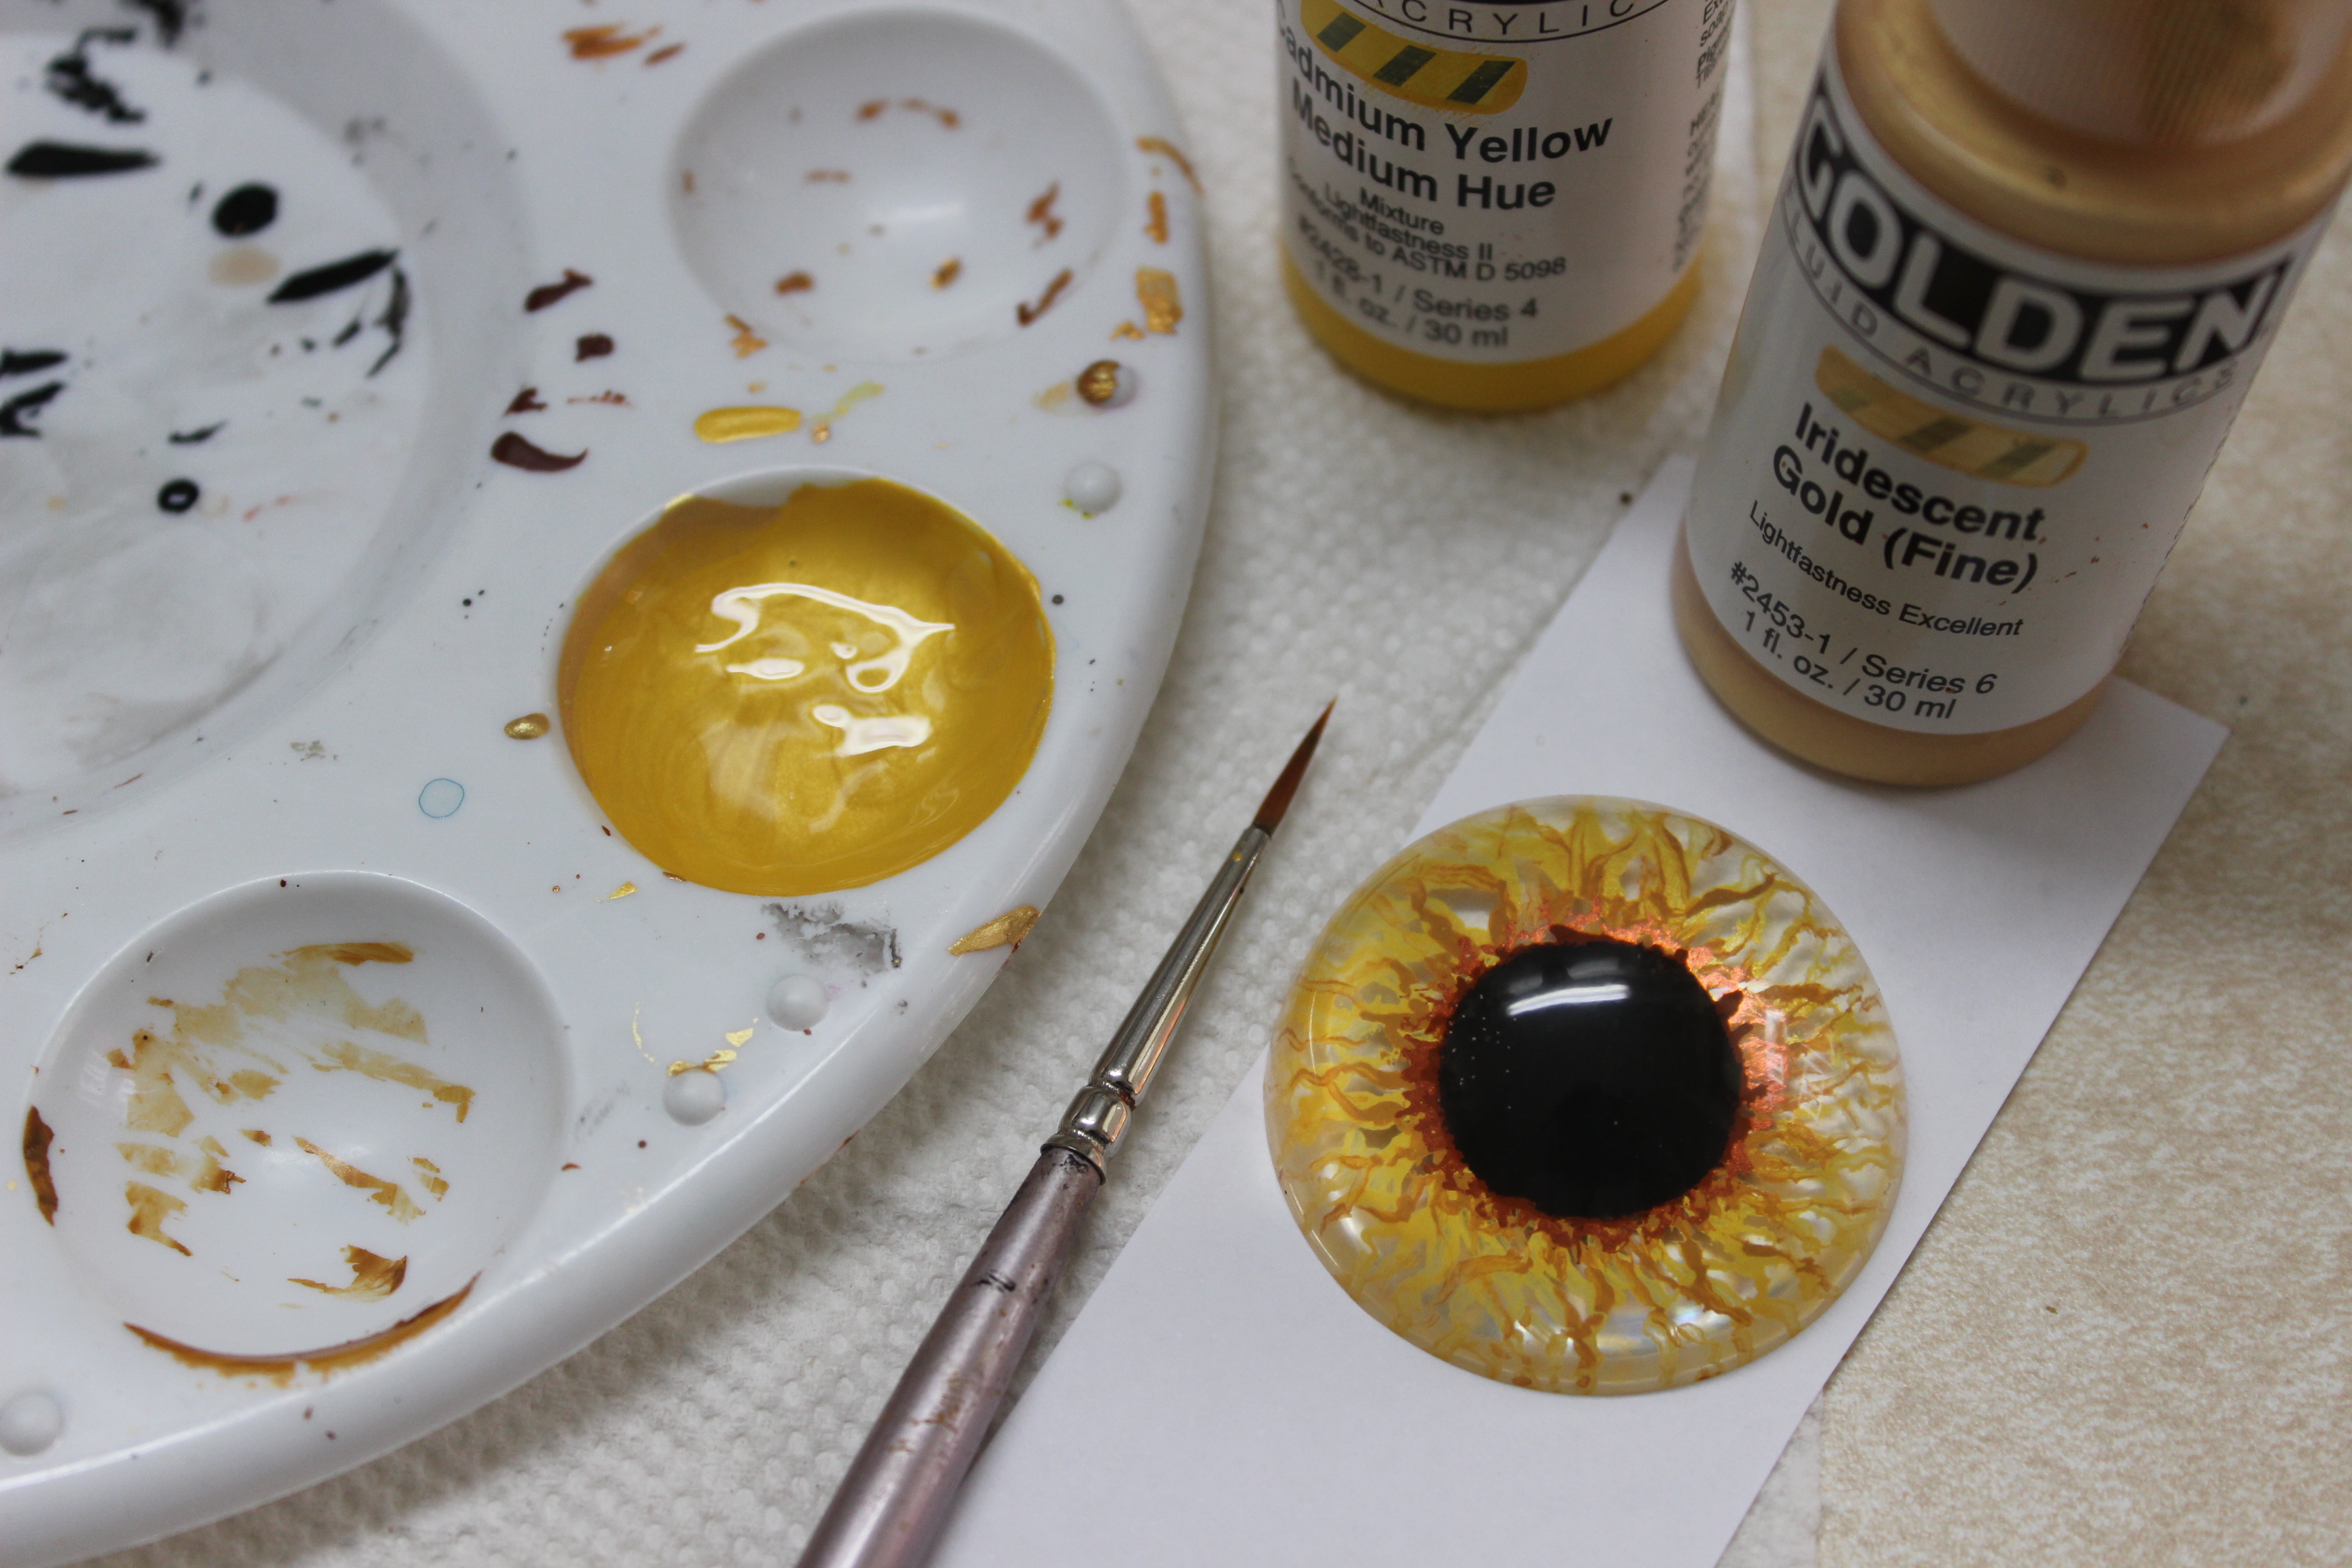
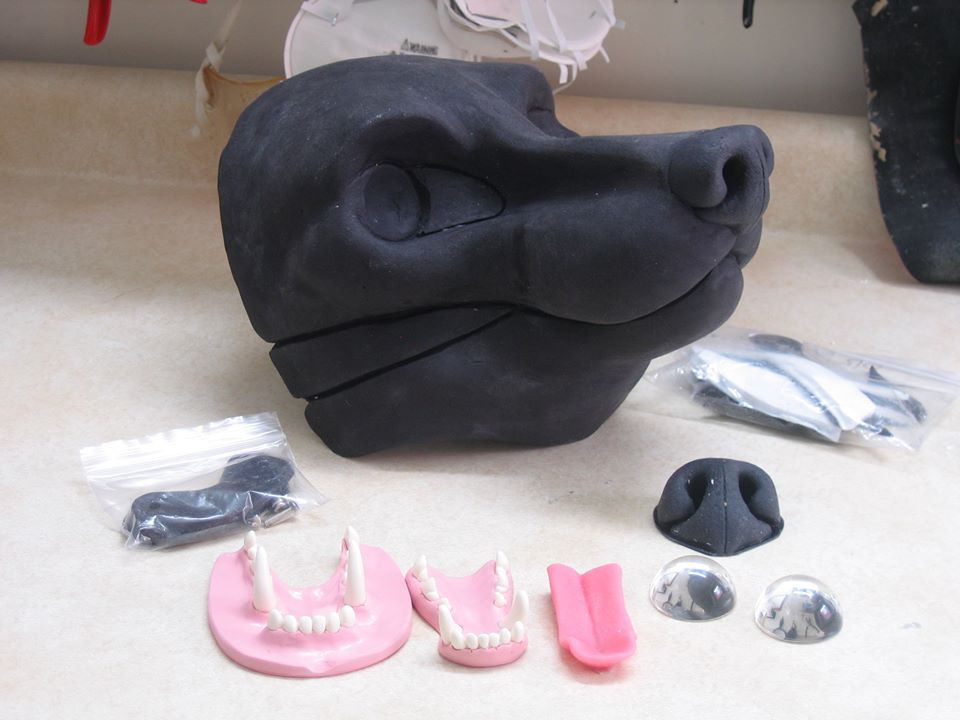
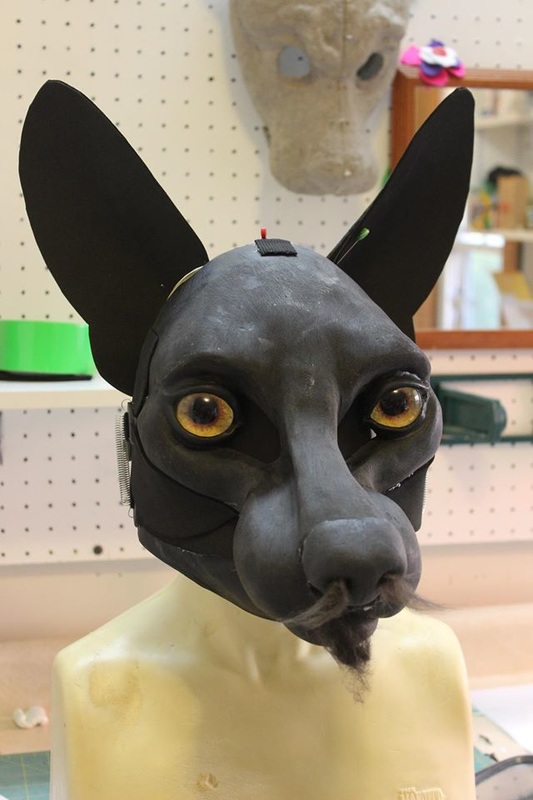
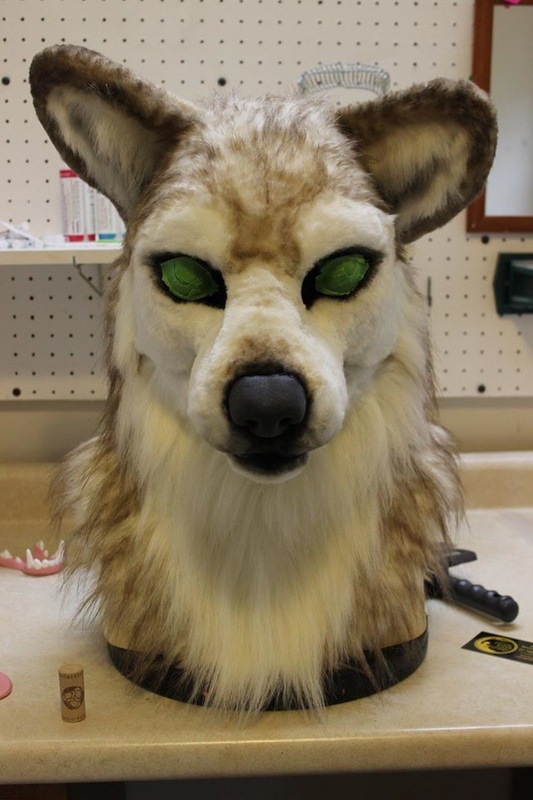
First, make sure the areas in which the eyes will be glued are as flat as possible and in the exact same plane with each other. Any crookedness or unnevenness in these areas will be greatly exaggerated when the resin eyes are in place, and gives the mask a rather wall-eyed, inbred expression. Next base sculpt, I think I'll use metal or rigid plastic discs of the correct size to mark out these areas and leave them there while moldmaking, to make sure those areas don't squish out of shape. I was able to glue the eyes into this base to my satisfaction using bits of resin and hot glue to level them out, but care taken with the next sculpt could definitely make the process a lot easier. Second, sculpt the next head so that it can easily take a nose with a flat back. DVC noses, and I suspect any other noses that are cast separately and glued on to a base later, have flat backs. I suspect they are made in one piece molds, the backs of which are open so that the casting material can be poured in, which then levels out as it sets. When I removed the nose on this base to accommodate the DVC nose, I was left with an awkwardly shaped hole into which to glue it. I re-sculpted the area a bit with epoxy so that the nose would fit (the thick black band behind the nose in the pics is epoxy for the most part) and so all is well that ends well, but again, this is something to take into consideration for future head sculpts. Next, ears!! For my last head, I was in so much noobie awe of my resin jawset from DVC that I was afraid to alter it in any way, shape or form. By the time I was ready to make this head, I had seen how cool jawsets could look when painted, and especially since I love to play with color, I wanted to give it a whirl. Here is the tutorial I used to paint my teeth.
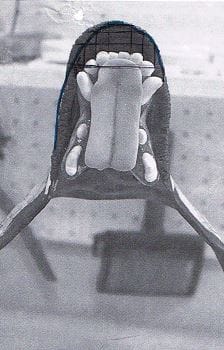
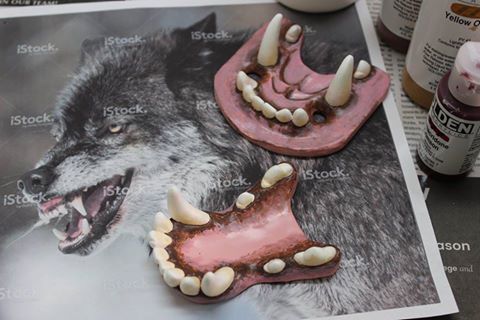  Above, top, the painted jawset before gloss acrylic sealer was applied, and bottom, after. (Oooo, shiny!!)
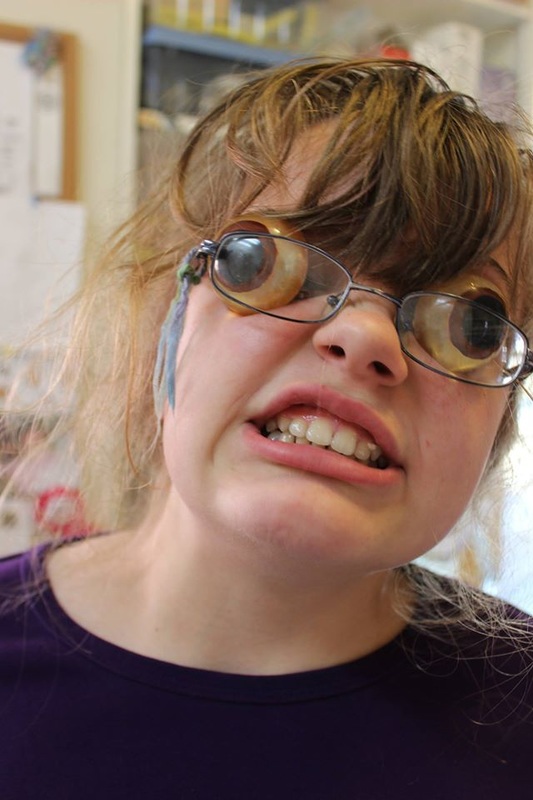
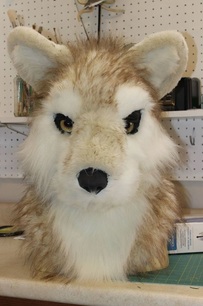
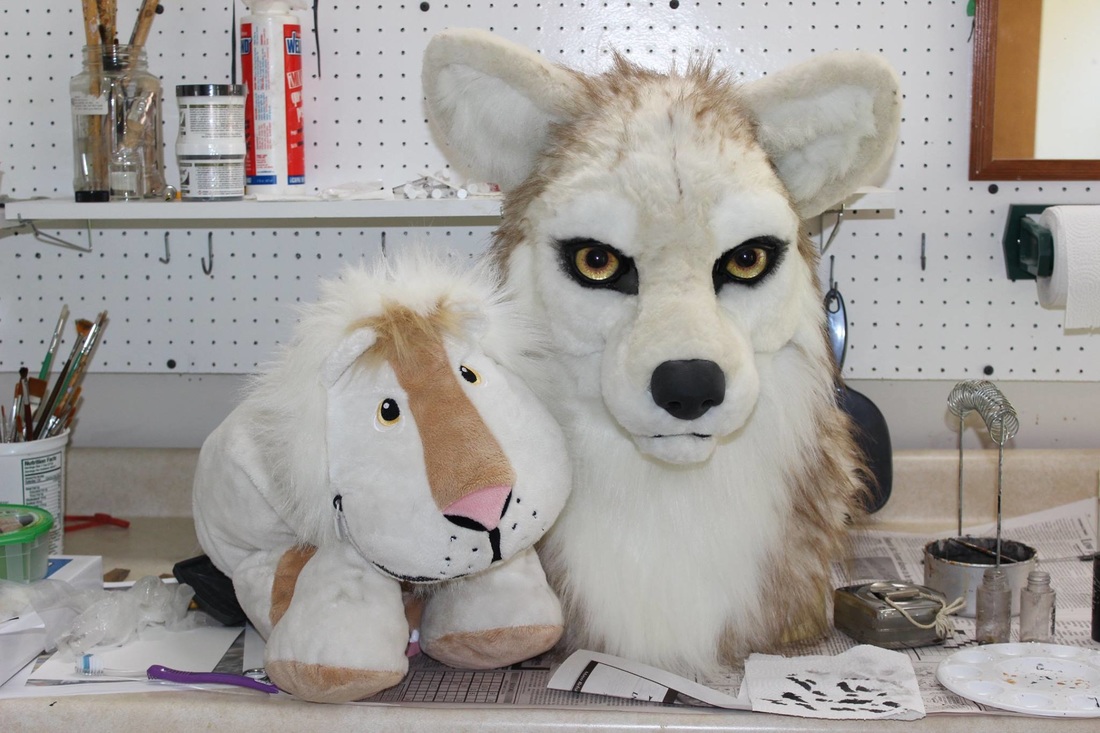
Public Service Announcement- when spraying sealer, make sure the little arrow on the trigger thingy is pointing TOWARDS the object you're spraying! In what might have been my biggest "D'OH!" moment ever I sprayed myself in the face with the sealer, coating my $400 progressive glasses with a fine and very tough mist. My noble husband rode to the rescue and spent a half an hour in the basement gently cleaning the lenses with mineral spirits, and amazingly enough, was able to salvage them. Thank goodness I was wearing the glasses and didn't spray myself directly in the eyes!!!  Above, the finished eyes for "Max", my first fursuit head, along with the reference picture I used. I wanted the eyes for my next head to be pretty much the same color,though I wanted to use strictly acrylic paint this time. I had also used watercolor pencils in Max's eyes to sketch in some details, but found the results to be unpredictable and a little difficult to control.
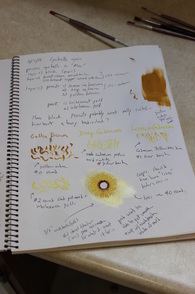
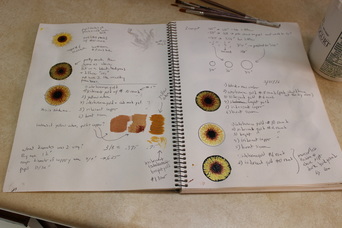
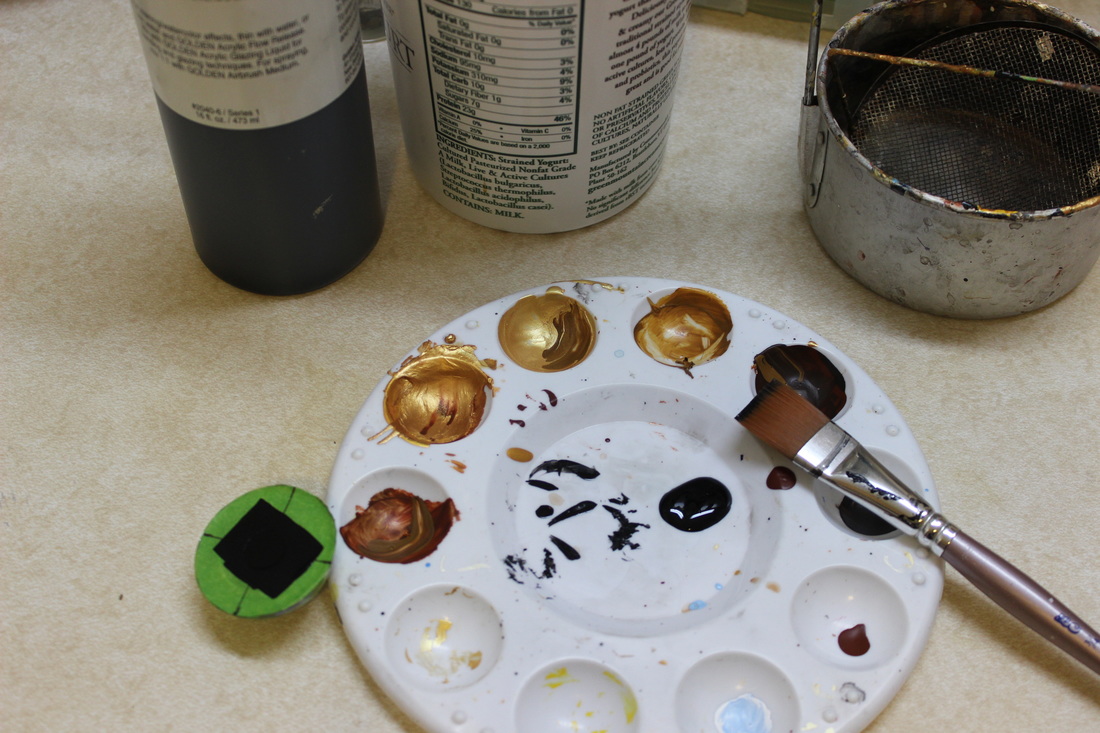
It would help if I could remember what colors I had used the first time around! So I got myself a multimedia sketchbook and this time took notes on my experiments. (It's worth noting that the steps in painting eyes on paper is in reverse order to painting eyes on clear resin- on paper you paint the dark background first and work your way up to the ring of color around the pupil; on resin, you'd start with the ring of color and work to the dark background.)
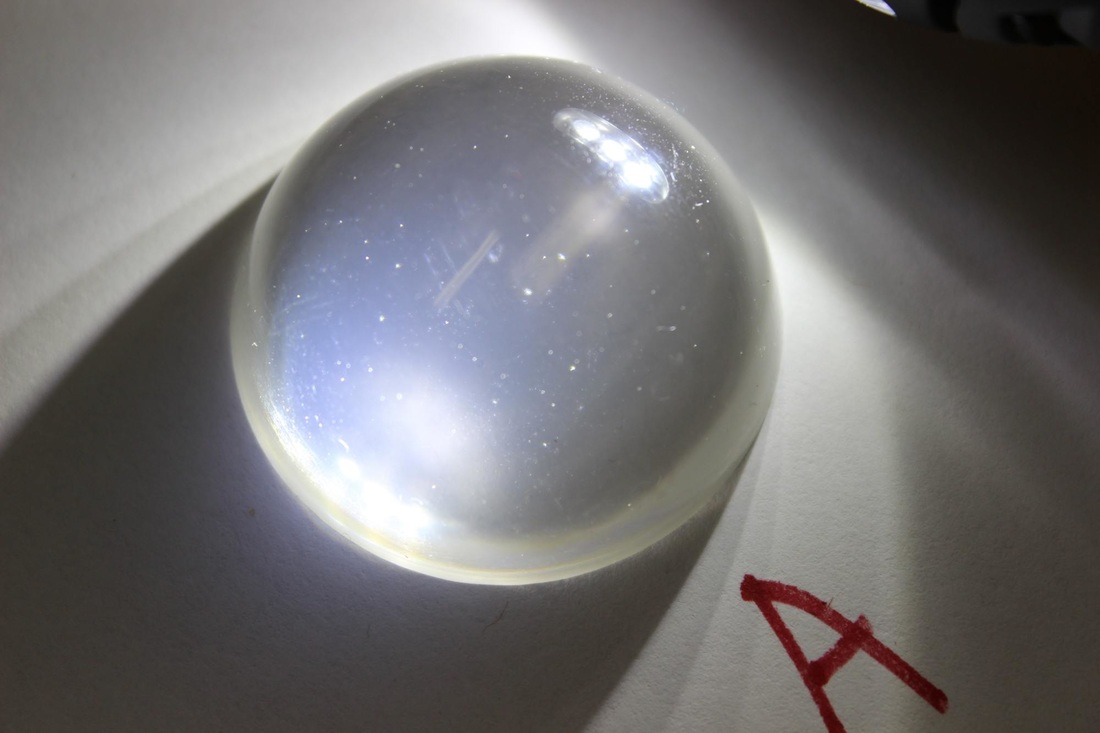
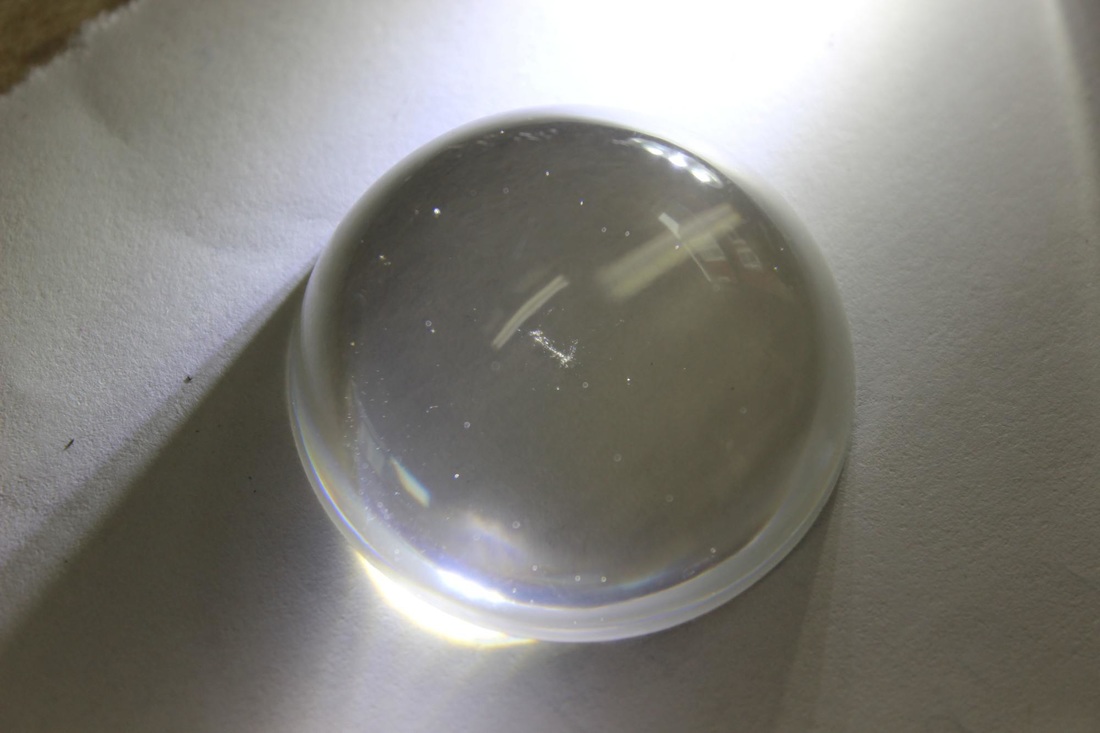
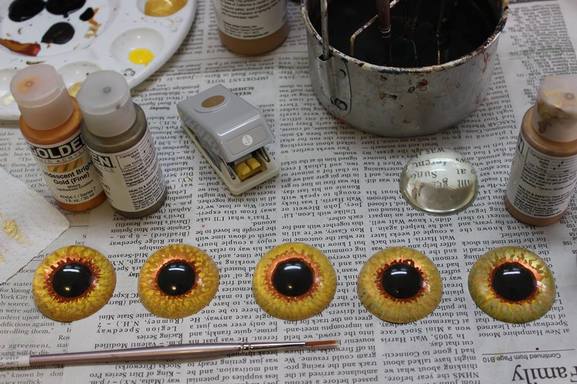 One downside of having piles of reject resin eyes, however, is that the OCD has free reign and its sufferer feels compelled to paint piles and piles and piles of experimental eyes until one comes out Just Right! The above eyes pretty much have all the same color scheme, but have slightly different styles of brush work. 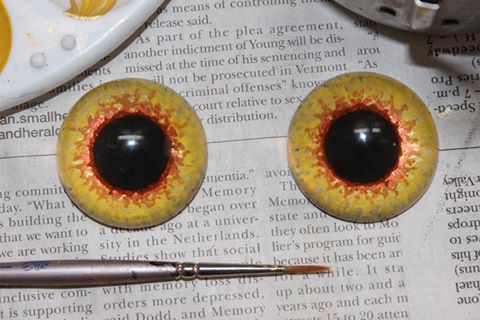 And finally, the eyes I'm going to use on my next head, painted on sparkly clear bubble free resin eye blanks from Dreamvision Creations. I am pleased with how they came out and can't wait to install them!
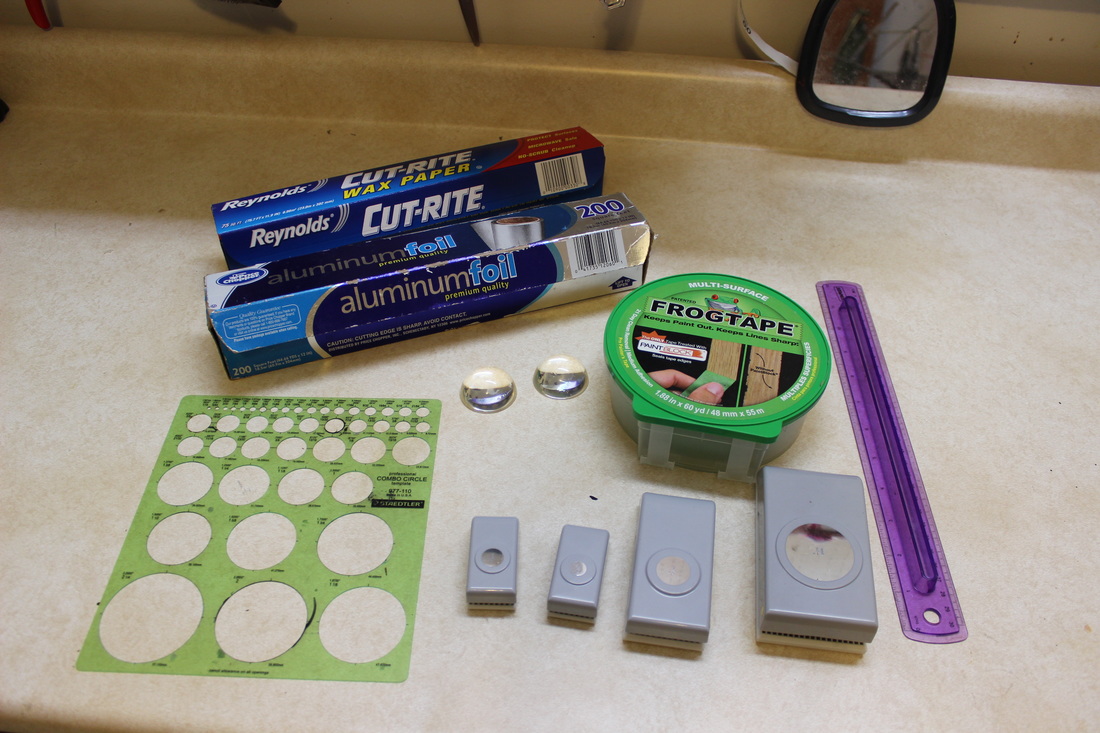
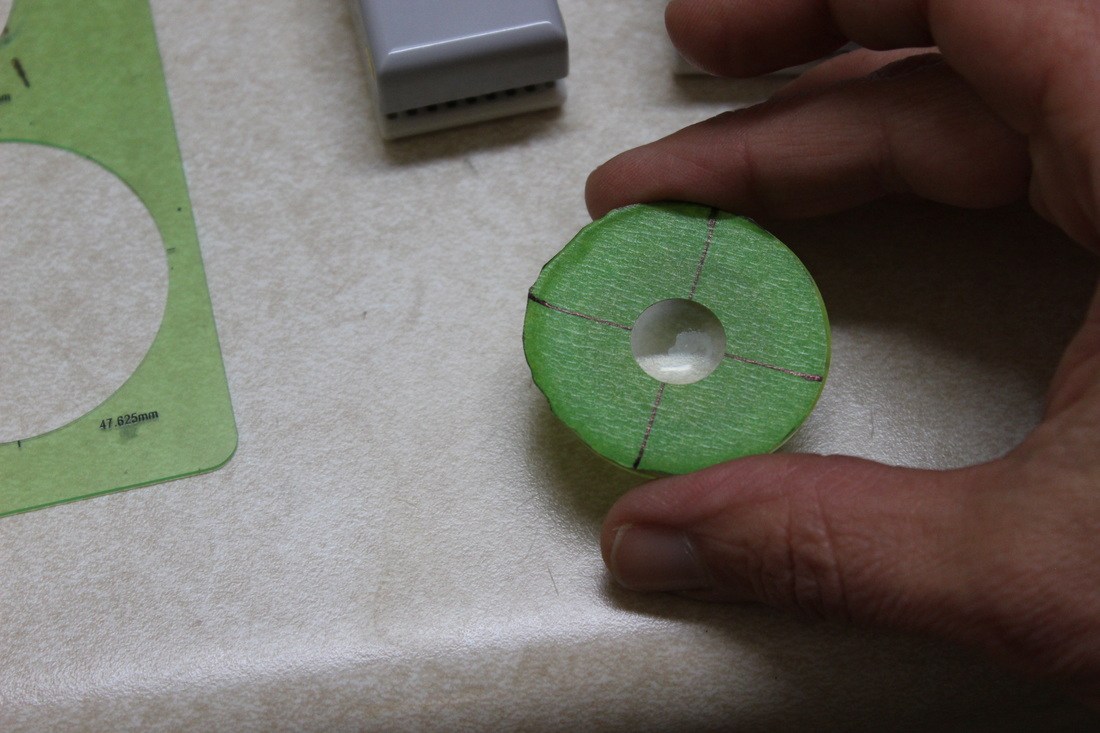
The first order of business, however, was to decide on a diameter for the pupil. Anything in the center of the resin eye blank is greatly magnified, so it's good to try out a bunch of different sized pupils to see what looks best, knowing that the actual circle used will be smaller than how it will appear. The Circle Thingy came in handy for this- I put it down over a piece of black construction paper and simply moved the blank over each opening, until I found a size I liked.
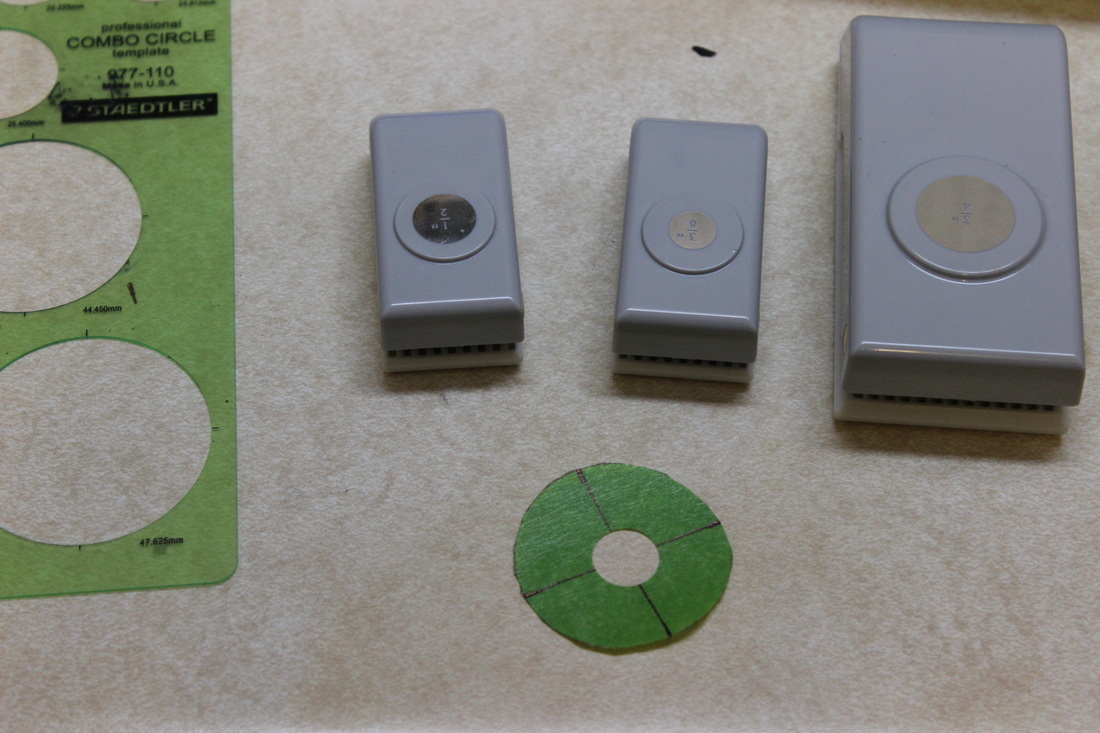
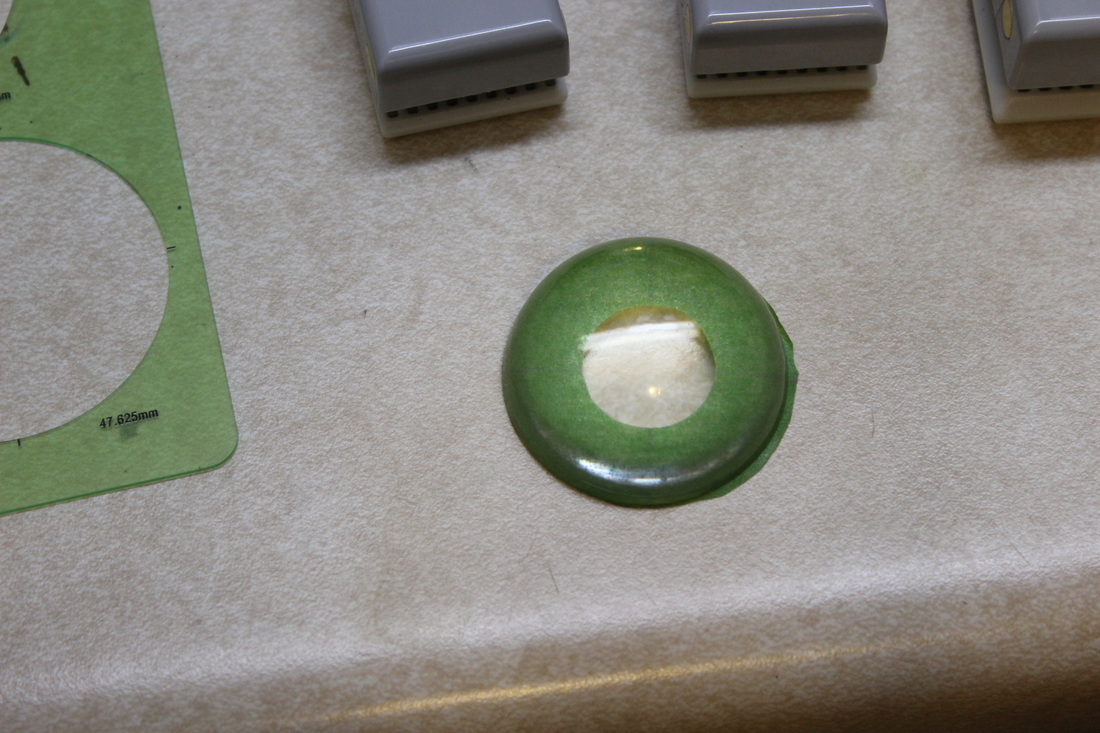
I then cut out the circle and folded down one little edge so that I could get it centered in the hole punch, since it won't fit otherwise. I use the target to try to get the hole as close to the middle of the circle as possible. Then I peel the wax paper off the back of my new stencil and carefully position it over the back of the eye before pressing it down firmly. Even though the hole punch has been carefully positioned over the "X", and the stencil may be smack dab in the middle of the eye, the placement of the stencil may still need fiddling- again, any little error is magnified hugely by the center of the eye.
**note** it's best to use the new stencil ASAP after it's made, specifically, it's best to remove the tape promptly from the wax paper, as the longer the tape sits on the paper the more firmly it gets stuck.
When the paint is dry I remove the stencil. I **do not** use a hair dryer to speed drying as I sometimes do, as I've found it can cause a skin to form between the stencil and the eye, which can make the paint on the eye peel off when I remove the stencil. I scrape off any little spots that managed to get up under the tape anyway with my fingernail. In case of a total disaster, it's possible to wash the paint off the eye and start over again, though it's best to do this sooner rather than later- the paint is easiest to get off before it has fully cured, usually within 24 hours. And, the finished pupil! 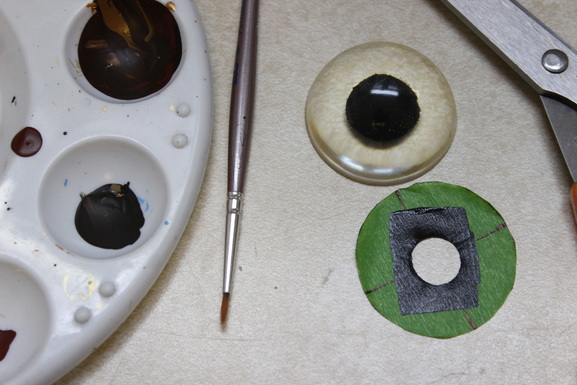 UPDATE 11/15/16: I want to share some good tips I got from Furaffinity, Livejournal and Facebook after I posted this article there. Some suggestions: Try using a paint marker, with a metal washer for a template; use spraypaint or an airbrush to get a better edge with the stencil; use frisket film for the stencil. I had tried to use frisket film previously but the punches can't handle it. However I might try putting the frisket film directly on the eye, drawing the circle on the film and cutting away the hole from there with an exacto knife.
So I decided I was done experimenting with new ways of painting eyes and was ready to buckle down and concentrate on getting some good bubble free castings to paint. In theory it looked simple: make sure Part A is comfortably warm to the touch, microwaving if necessary; gently mixing the proper amounts of Part A and Part B together; letting them rest a preordained time in their mixing cup, then scooping off the bubbles which should have obediently risen to the top; pouring the mix gently down one side of the mold to minimize new bubbles; and then checking the casting once or twice during the first twenty minutes of setting to pop any more bubbles that dutifully would come to the surface. First mistake: not getting part A warm enough, so that the mix would be too thick for any bubbles formed while stirring to rise up and pop. If Part A was too cold, bubbles were also more likely to form while stirring in the first place. Second mistake: getting part A too warm. The mix would be beautifully bubble free in the mixing cup, but new bubbles would form no matter how gently I poured down one side of the mold and then the mix would set too fast to allow these bubbles to rise up to the top and pop. Third mistake: mixing the part A and part B as little as possible, so that there would be no bubbles but there would also be unmixed spots in the casting. These would not cure but would remain soft and sticky no matter what.
At first the owner of Little Windows was a huge help and spent much time by phone and email helping me work out my problems. Her first suggestion was to let the mix stand in the cup as long as necessary for the bubbles to rise to the top before pouring into the mold. This, unfortunately, never happened. Her next suggestion was to adjust the microwave in increments of seconds to see what time worked best for getting the right temperature, but unfortunately my ancient microwave does not have this capability. Her next suggestion was to wipe down my mold with rubbing alcohol or acetone so that bubbles would not stick to its surface and rise more easily after the resin was poured. Unfortunately I found the only thing this did was introduce yet another opportunity to get lint in the mold. She felt bad that I had used up an entire kit without getting a single bubble free casting and sent me a new replacement kit free of charge. Then, she stopped returning my calls and emails.
However...I had piles and piles of bubbly castings, so I decided to keep the ones that had cured properly and use them later to try out new eye painting ideas. I put them all in a plastic baggie and set them on a shelf... and a month later, they had all yellowed. So that, ladies and gentlemen, was the end of that. I briefly considered making eyes out of other kinds of resin, but rumor has it that Easy Cast, another commonly used resin, is hit or miss in the curing department and also yellows over time, and Smooth On's Crystal Clear- what Dreamvision Creations uses for its eyes- is somewhat toxic and as such is not suitable for a home studio. (Plus, when I asked about it, they told me they also use a vacuum chamber to make sure the castings come out bubble free!) When I called Smooth On's excellent tech department to ask what clear casting resin would be suitable to use in a home environment, they recommended Epoxacast 690, with the caveat that the two parts were fussy to mix and I would need a scale that could measure down to 1/100 of a gram. If I do go back to trying to cast my own eyes, this will be the material I start with. However I decided I had spent enough time chasing this rabbit down the hole and I needed to get back to what I was most interested in in the first place: making masks. I write my tale of woe here so that either a) you my dear reader can either learn from my mistakes and perhaps achieve a bubble free casting where I could not or b) save yourself a lot of time, money and aggravation and proceed directly to Etsy to buy a pair of blank bubble free resin eyes to paint for yourself. Which is what I ultimately wound up doing. 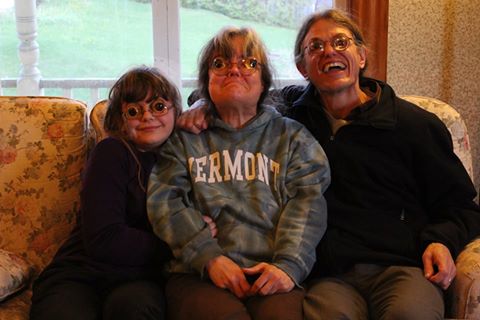 Looks like I've neglected my blog for.... two years?? I've been busy though, mostly with my first attempt to build my first fursuit-style mask. Especially since I knew neither how to sew nor airbrush before I started out, it was quite the undertaking. Here are the chronicles of my adventures.
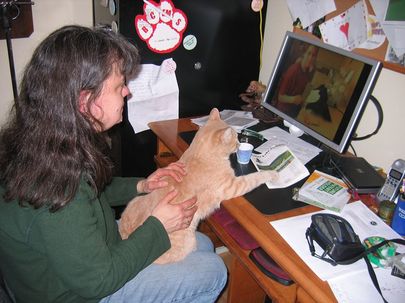
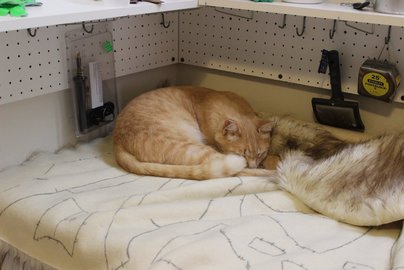
Above left, my freshly ordered mask parts from Dreamvision Creations on Etsy. I didn't want to make any of my own parts this time around, to try to limit the number of variables should something go wrong. Above right, Ezzy and I watching the Dreamvision Creation tutorials online. Ezzy wanted to make sure I didn't miss any important details, he is a very helpful cat.
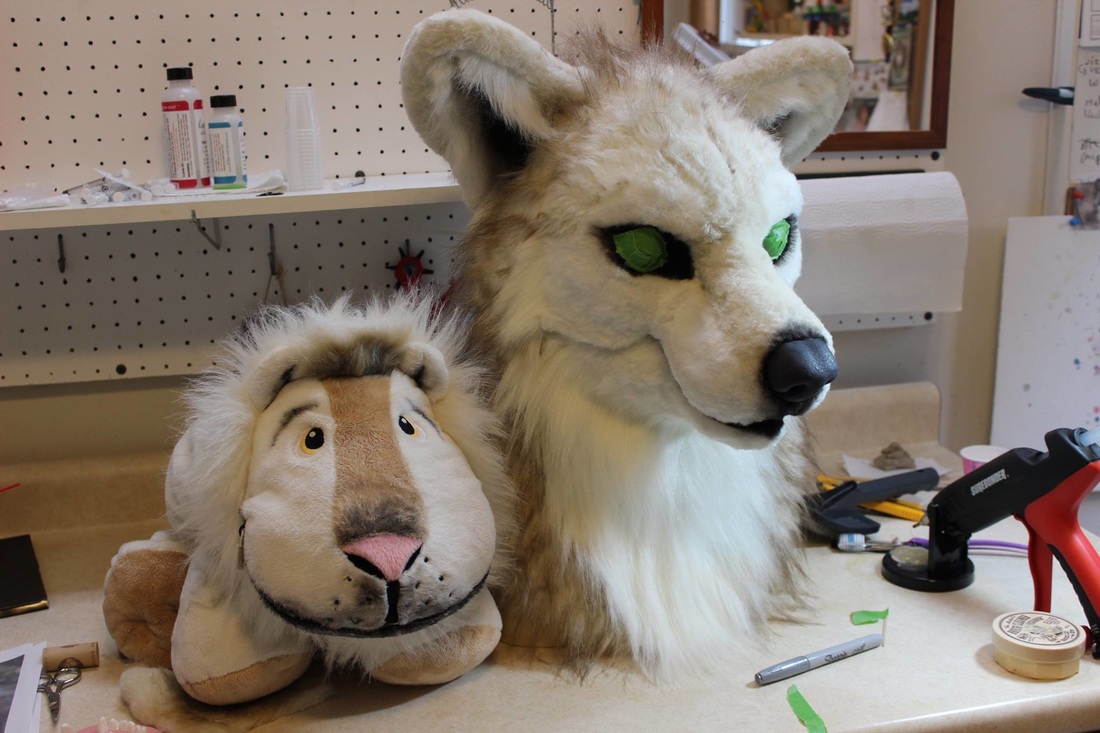
Above left, a dude who seriously needs to lay off the coffee. Hinges have been added and all the various parts glued into the mask base. Above right, eyelids added. It's so cool how the eyes seem to follow afterwards!
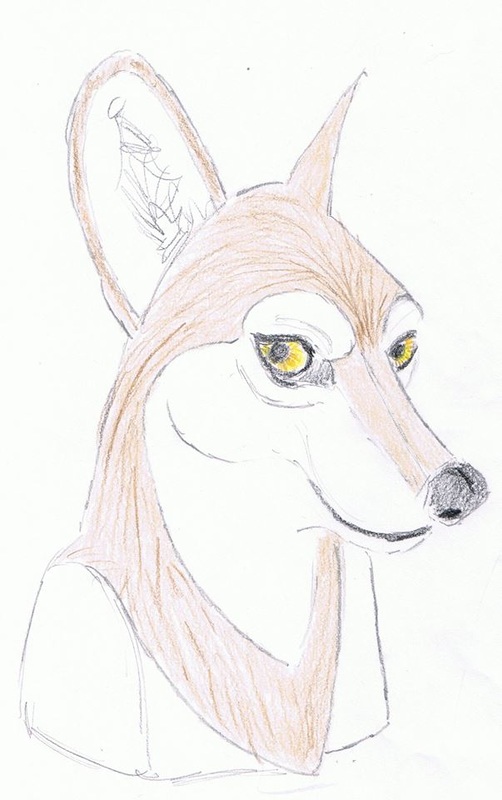
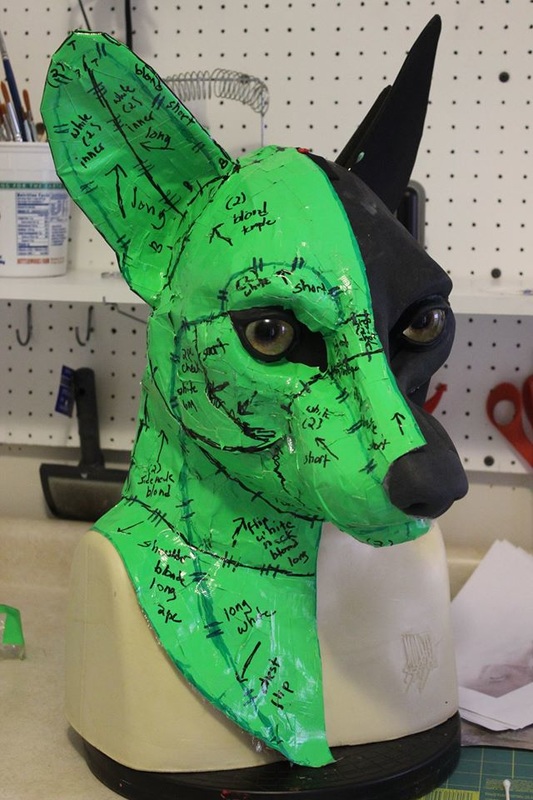
Above left, a sketch of my idea for the color and pattern of the mask; above right, the actual duck tape patternwork for the fur. My daughter called the mask at this stage "Green Anubis". I thought I was so smart to use wet erase markers to draw the patternwork, and maybe it made fiddling with the pattern a little easier, but predictably some important reference marks got wiped off. Six of one, half dozen of the other...
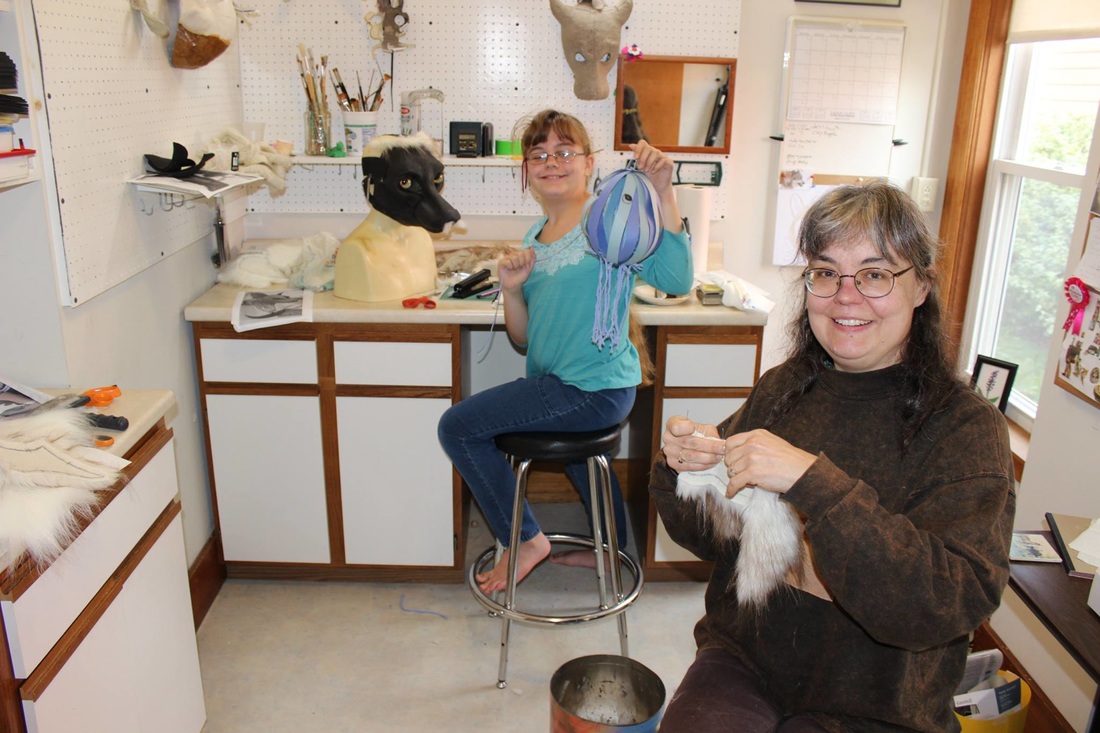
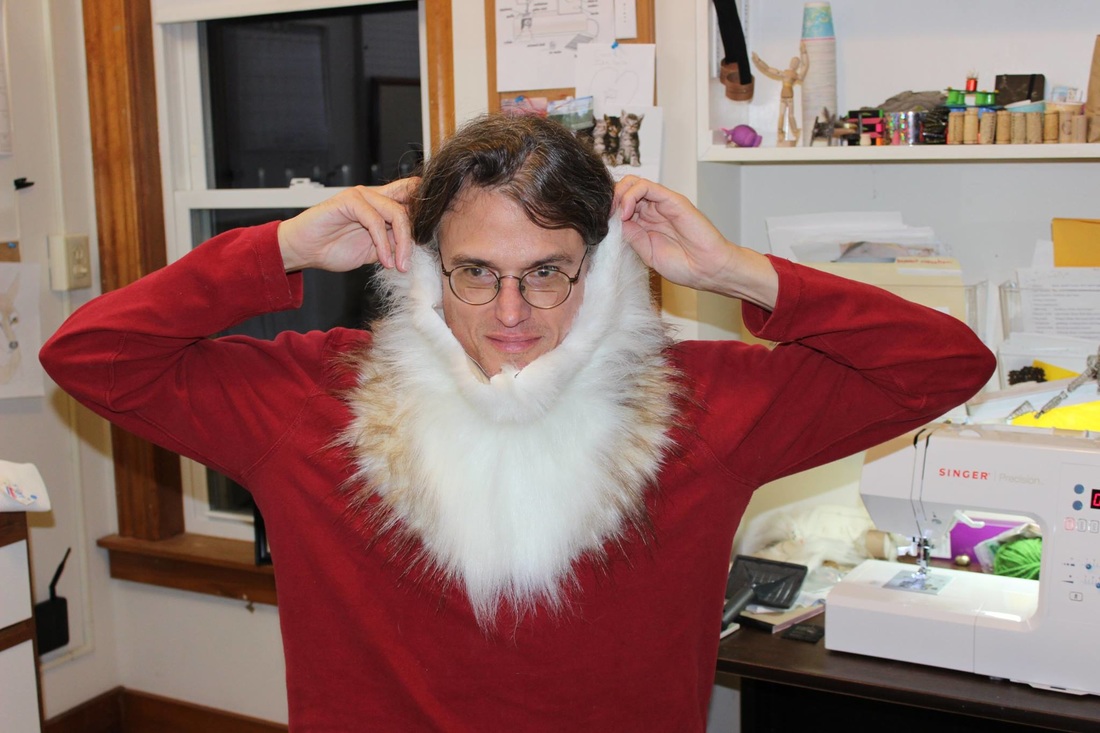
Sewing sewing and more sewing. Top row left, I bravely start pinning pieces together while Isabelle works on a chibi Cthulhu. Top row right, hubby models the front half of the hood. Middle picture, I have finished sewing the face together while Isabelle makes faces too. Bottom row, one ear and the back of the hood sewn on. I later ripped the ear apart and re-glued it, as I didn't like the way the bottom edge was so much thicker than the top edge. Bottom row right, the back of the hood showing the Velcro cover over the zipper, and seams that need picking out.
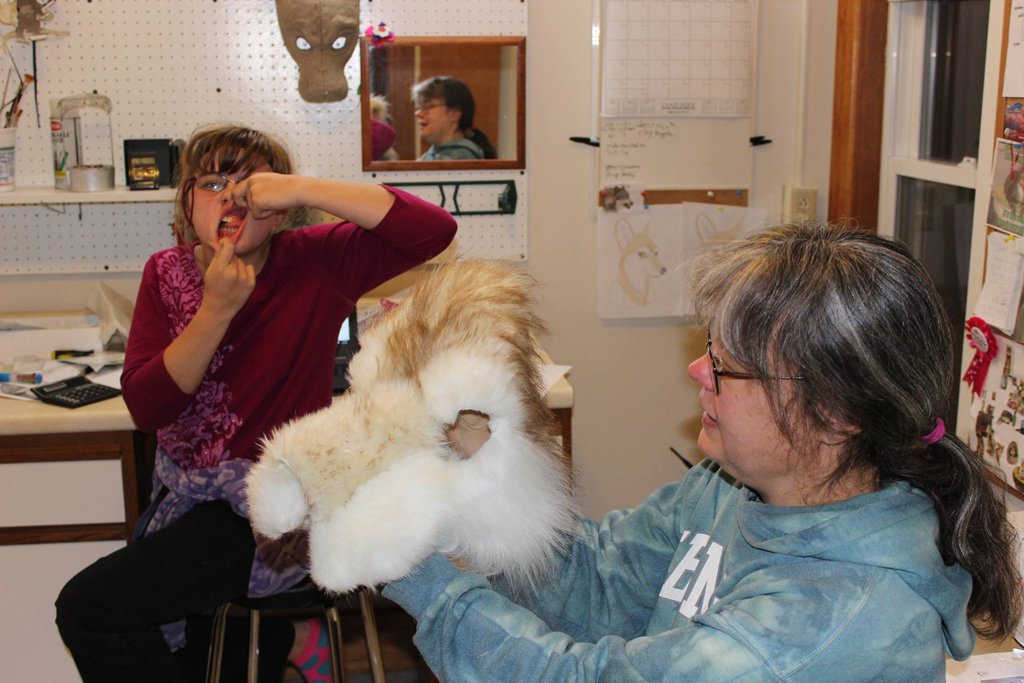
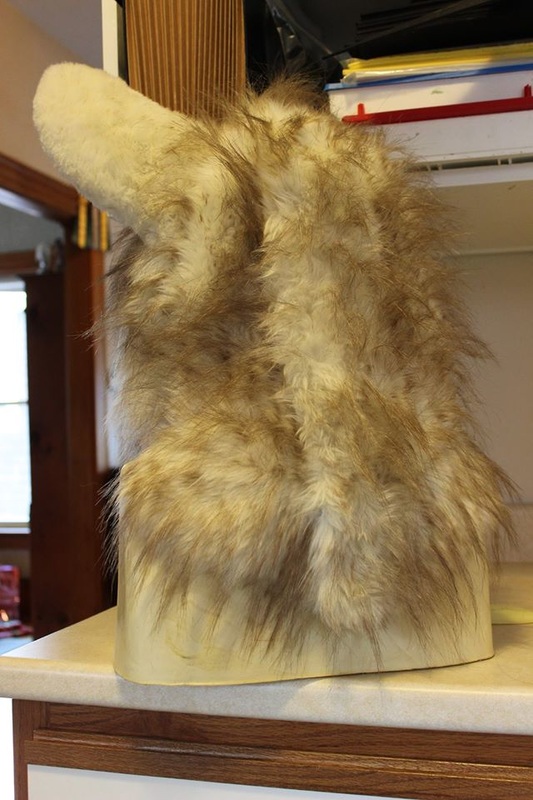
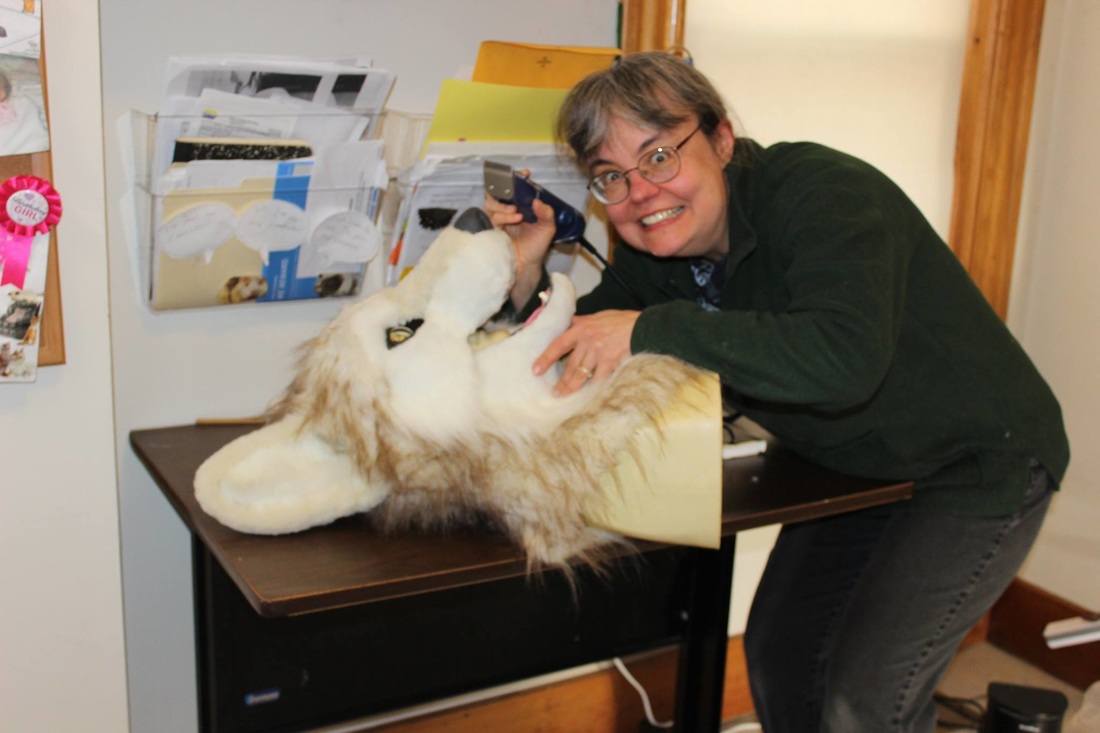 CRAZY LADY WITH CLIPPERS!!! Shaving down and adding some shape to the mask. This part was almost as harrowing as gluing down the fur. It's very easy to make bald spots with the clippers by accident!!
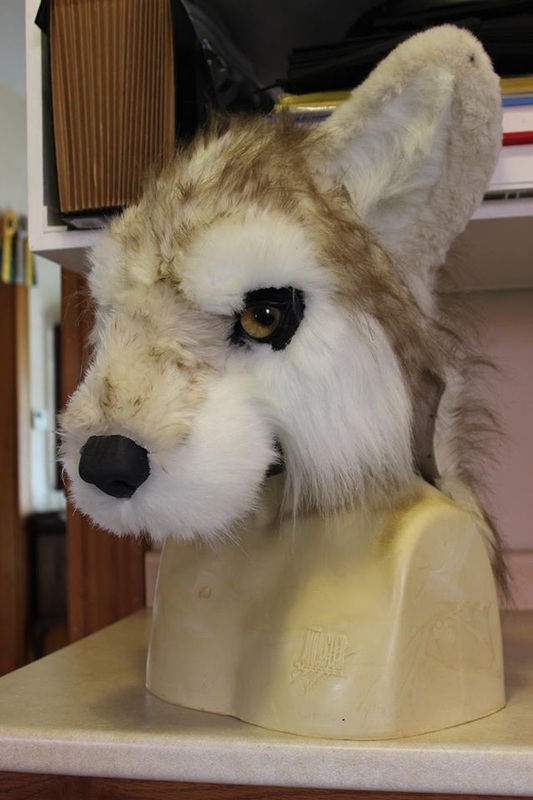
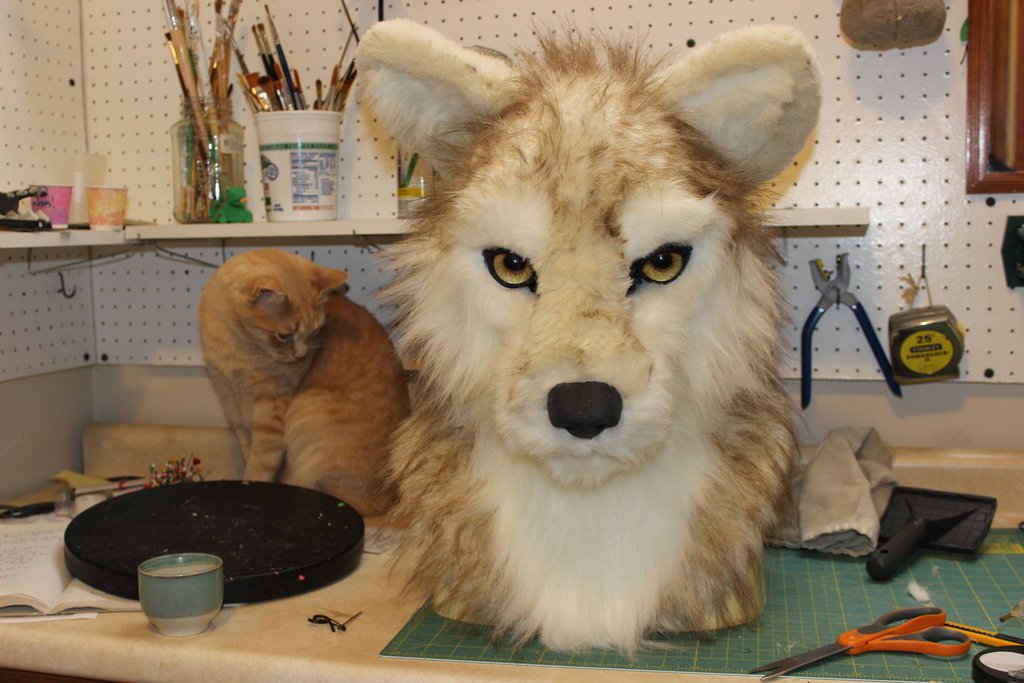
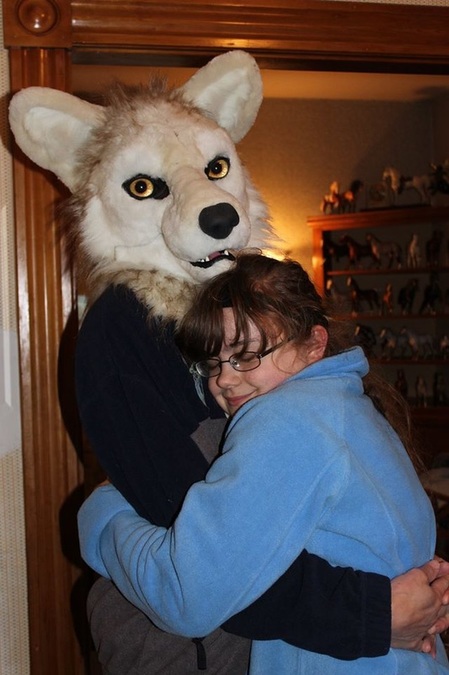 The mask, fully assembled and modelled by my ever patient husband Brian, loved up by daughter Isabelle. Time to get some paint on this puppy!
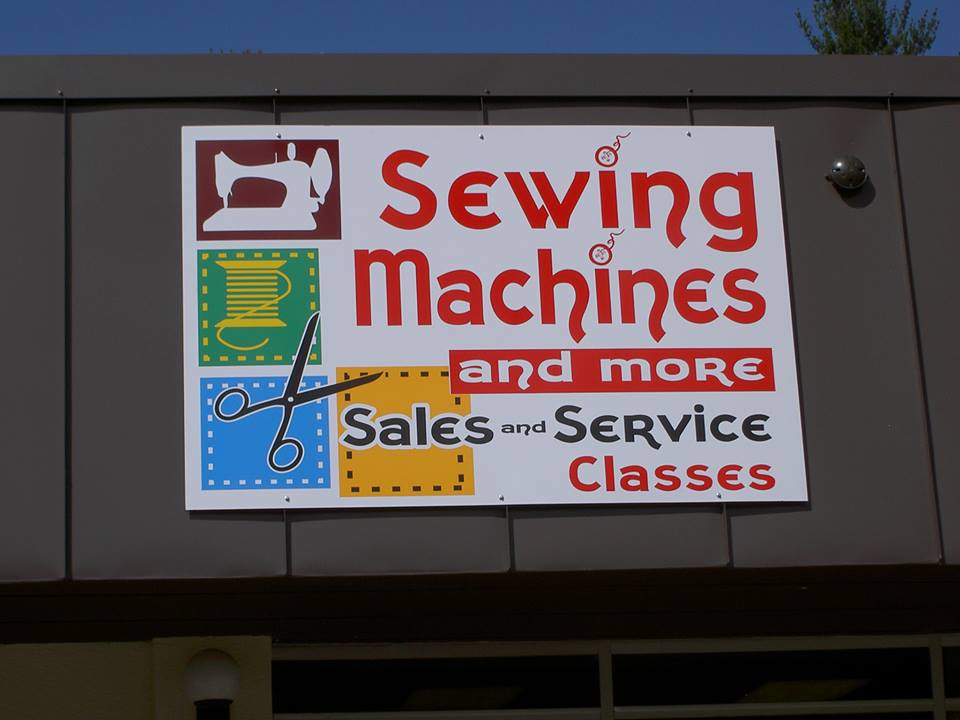
However, I could airbrush about as well as I could sew (which is to say, not at all) so I decided again some classes were in order. I took a one day, six hour 1:1 intensive with Sean Avram which helped enormously. He told me that airbrushing was largely troubleshooting, and for the next six hours we would see how many ways the airbrush could be clogged and unclogged again.
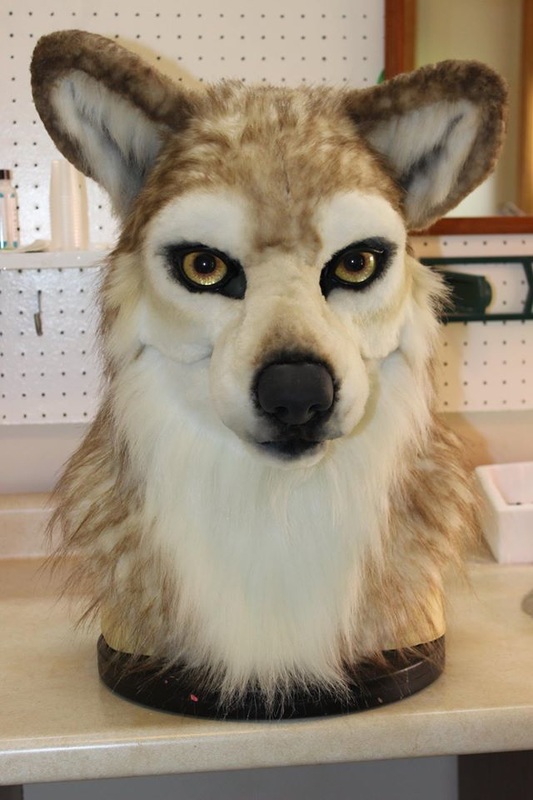
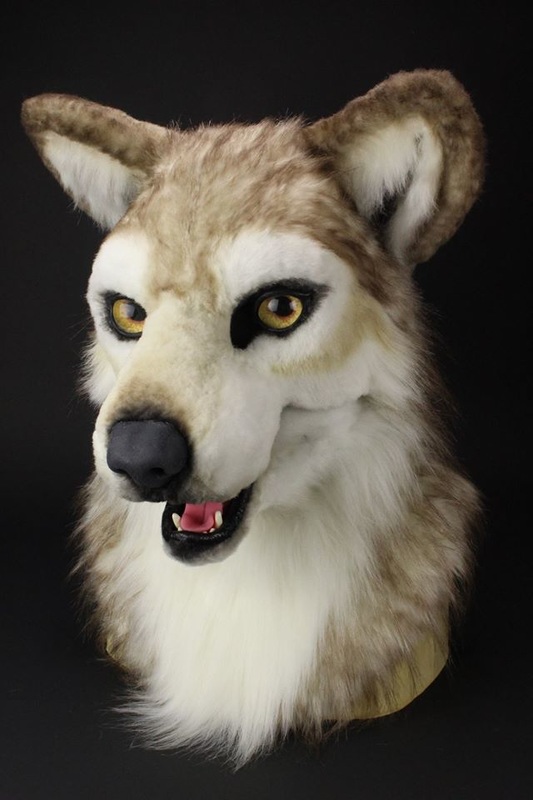 And finally... TA DAAAAAA!!!! All done. Looking forward to making the next one!!
I feel like a traitor. After all these years of casting in paper mache, I am seriously considering switching to resin.
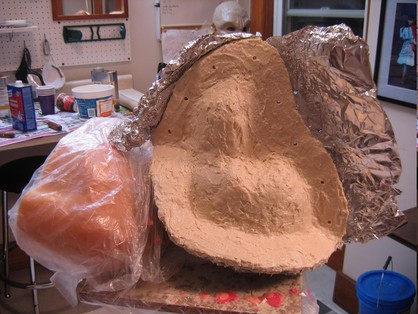
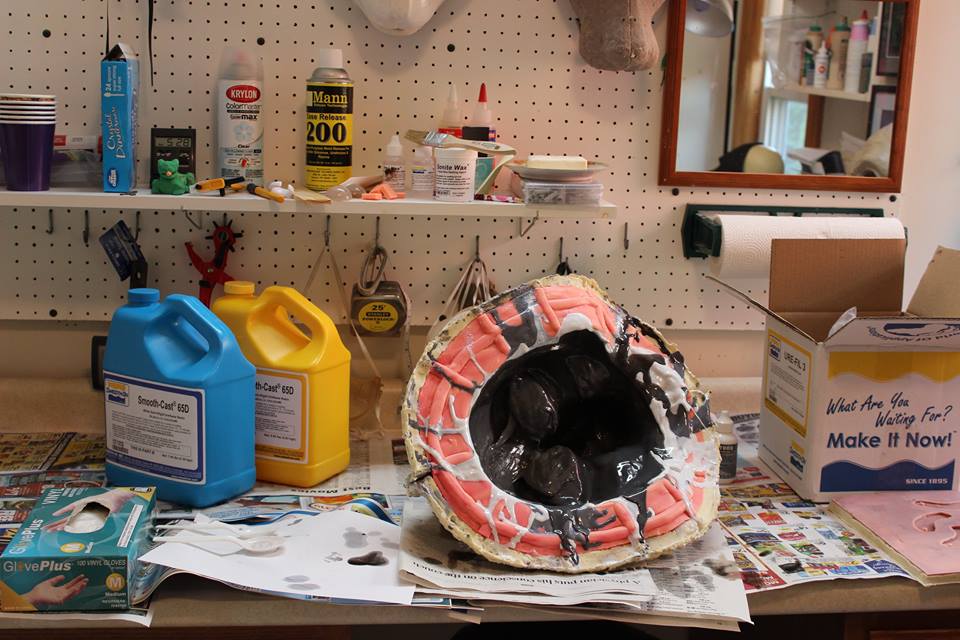
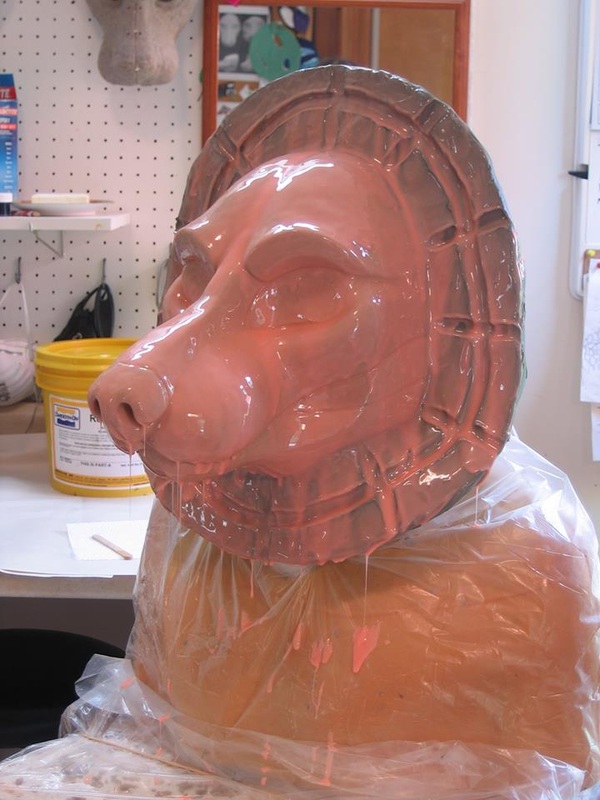
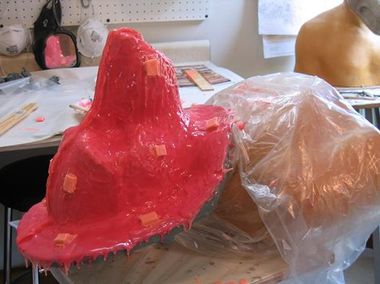
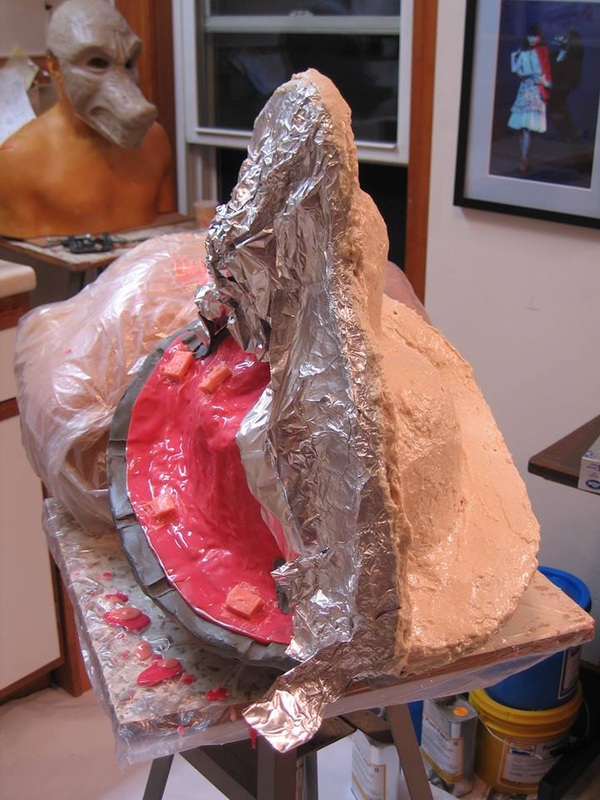
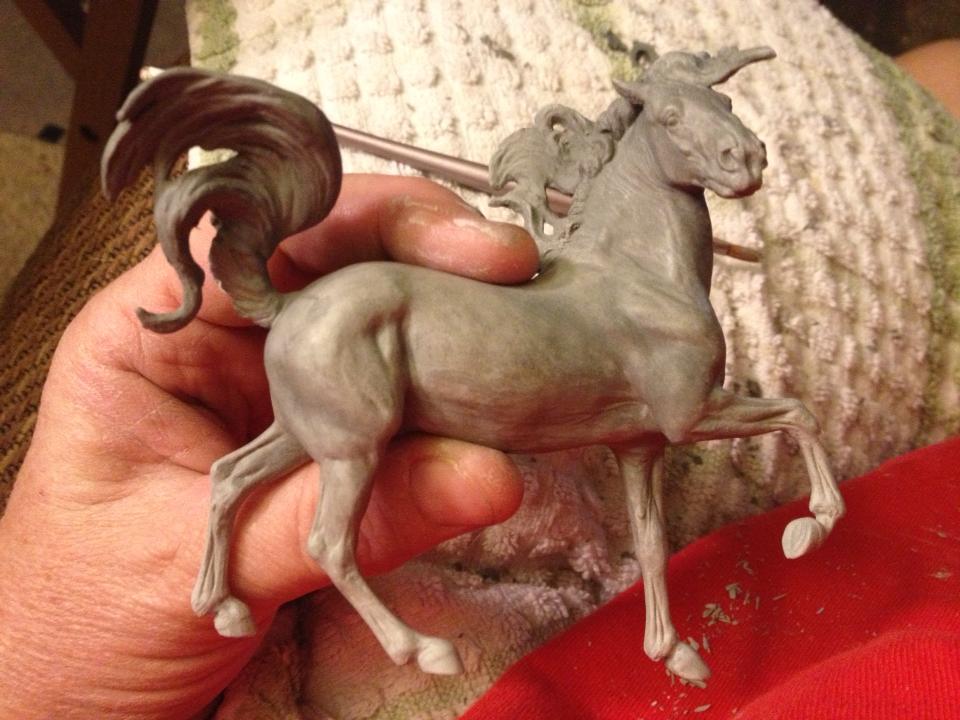
I confess, I have no love of paper mache as a thing in and of itself, although I have come to appreciate its many qualities- strength, light weight, safety, low cost, and a long and interesting history. When I started out maskmaking I investigated many material possibilities but found none could match the qualities of paper mache.(Check out my earlier blog for the gory details.) The downside of paper mache, however, is how long it takes to cast anything with it- up to a week for one of my larger masks. That's a lot of time not spent sculpting or painting. Either a lot of things have changed or I've been living under a rock for the past eight years, but when I discovered fursuiting (and just how far ahead of me the furries were materials wise) I learned of a new material, Smooth-Cast 65D, that could be slushed into molds to make masks. Instead of taking a week, I could cast a mask in.... fifteen minutes. Above are pics of my first couple of attempts, using the silicone mold I made in my last post. Some finer points I learned during my experiments: The temperature makes a *huge* difference in how fast the material sets up. My first couple of attempts were done on a sunny porch on an 80+ degree day, and the material set up way too fast, as in I was happily slushing along, turning the mold this way and that, and the resin just set instantly in a huge gloppy wave in the middle of the mask's forehead or someplace equally inconvenient. The instructions say to cast at about 75 degrees F, and they mean it. It's OK to use a plastic spoon to help distribute the material around the mold for the first few minutes after it is poured in, but the spoon should be set aside once the material sets up enough to start to stick to it. Otherwise the curing resin may grab onto the spoon more tightly than to previous layers of resin, which can cause the new layer to delaminate. It really makes a difference to measure out Part A and Part B in two cups and then to use a third cup to mix them together. Otherwise, the mix ratio can be thrown off by material left behind on the inside of the cup that was poured from and/or extra material inside the cup that was mixed in, and result in an improperly cured cast, one which is very sticky and gooey with uncured leftover material. I found this out the hard way on my second cast. I was able to salvage it somewhat after a call to the Smooth-On tech department and much cleaning and scrubbing with rubbing alcohol, but it would still be something I would not want to sell. I have to say, I'm struck by how *similar* the resin and the paper mache masks look like each other (at least from the outside) when they are finished- same color, same weight, same feel. They even warp the same way if they're not cast thick enough. I'm looking forward to learning what other experiments will bring. 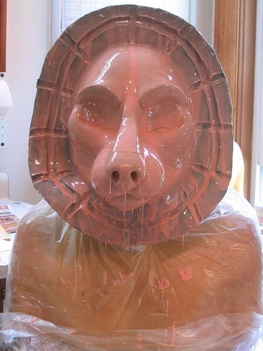 And... on to a Mold That Matters. To the left and below is a sculpt that will ultimately be a base for a fursuit style head, with the first coat of rubber thinly brushed on. (The "halo" around its head is part of the mold, not part of the sculpt.) This mold is made of silicone rubber, not urethane rubber as was my last mold. I want to cast resin into this mold, and urethane resin and urethane rubber, I've been told, do not Play Nice together. Among other things, a Runaway Exothermic Reaction may occur, which generates a lot of heat and results in the mold and the cast being irretrievably fused together. Not good. More specifically, this mold is made of *platinum* cure silicone rubber, not *tin* cure silicone rubber. The former is much more expensive than the latter, but supposedly molds made with it will last a lot longer as well.
When I called to double check on this, the support person said that no, it was just to make the instructions easier to follow. If anything, I really could have applied more keys than I did.
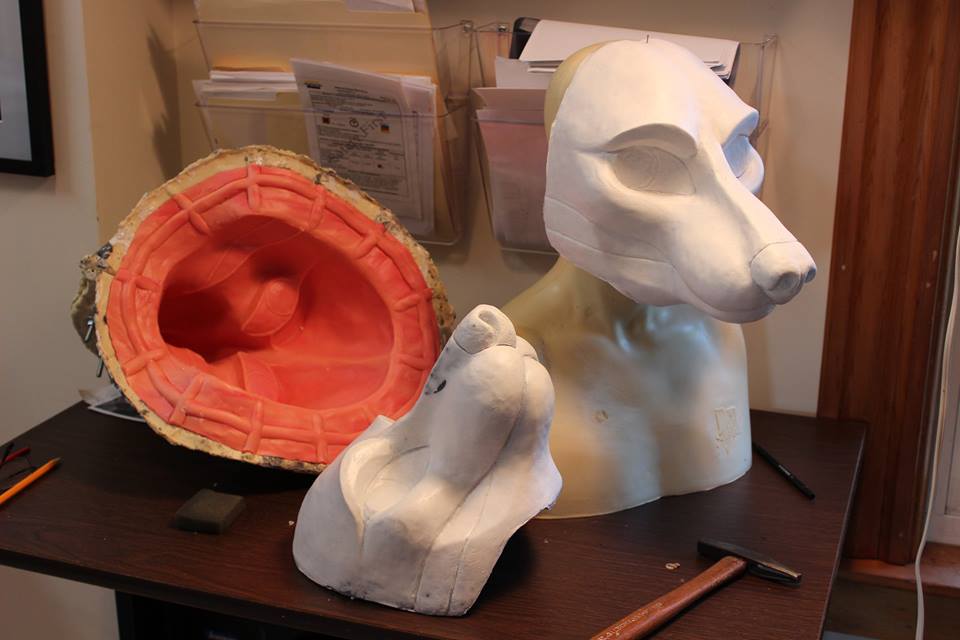
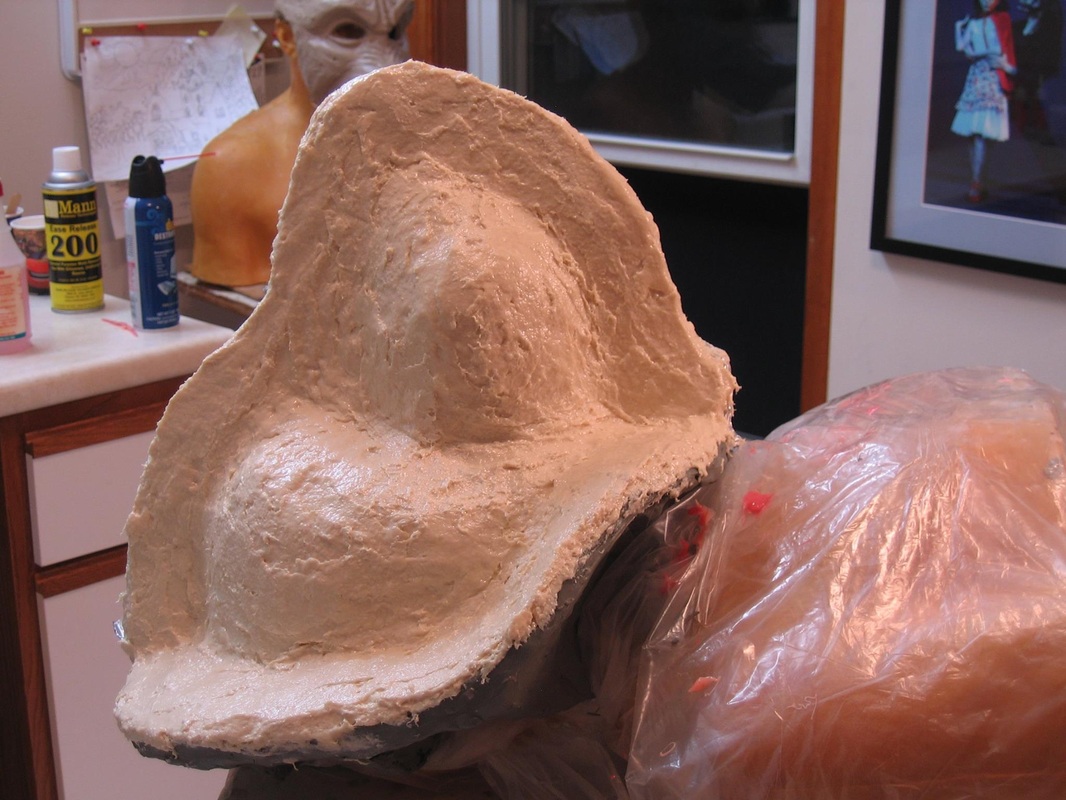
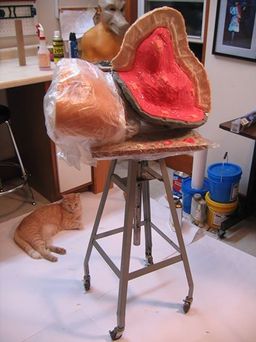
 Houston, we have liftoff!!! 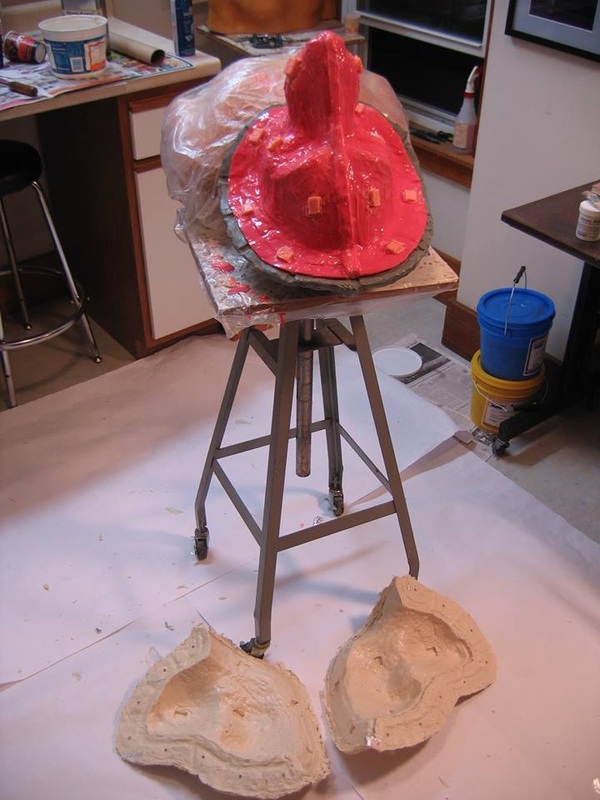 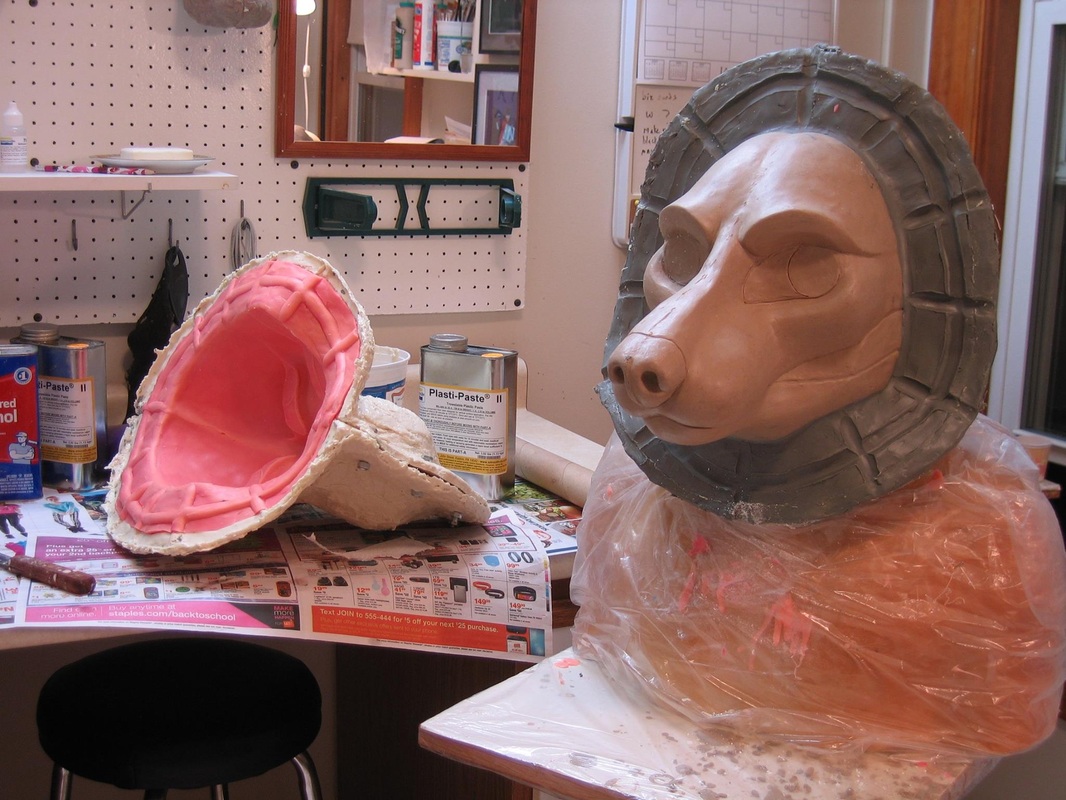 There is definitely room for improvement for next time. The "halo" could be about half the width it was, in order to save on both weight and cost of material. (I made it that wide because the video said to!) The Plasti Paste shell could be more uniform in thickness. Most importantly, the cut seam down the center of the sculpt's face is not really needed, the sculpt is fairly simple, the rubber is flexible enough it will just peel off like a glove, and it's nice not to have to worry about seam lines. But for right now, I am very excited to have a functional mold!
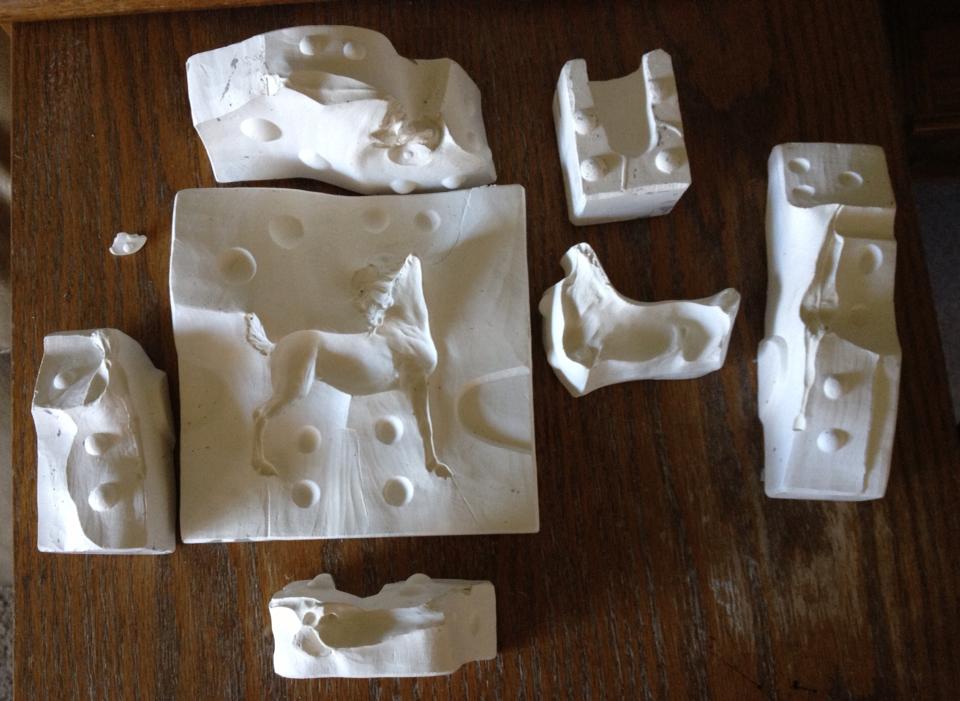
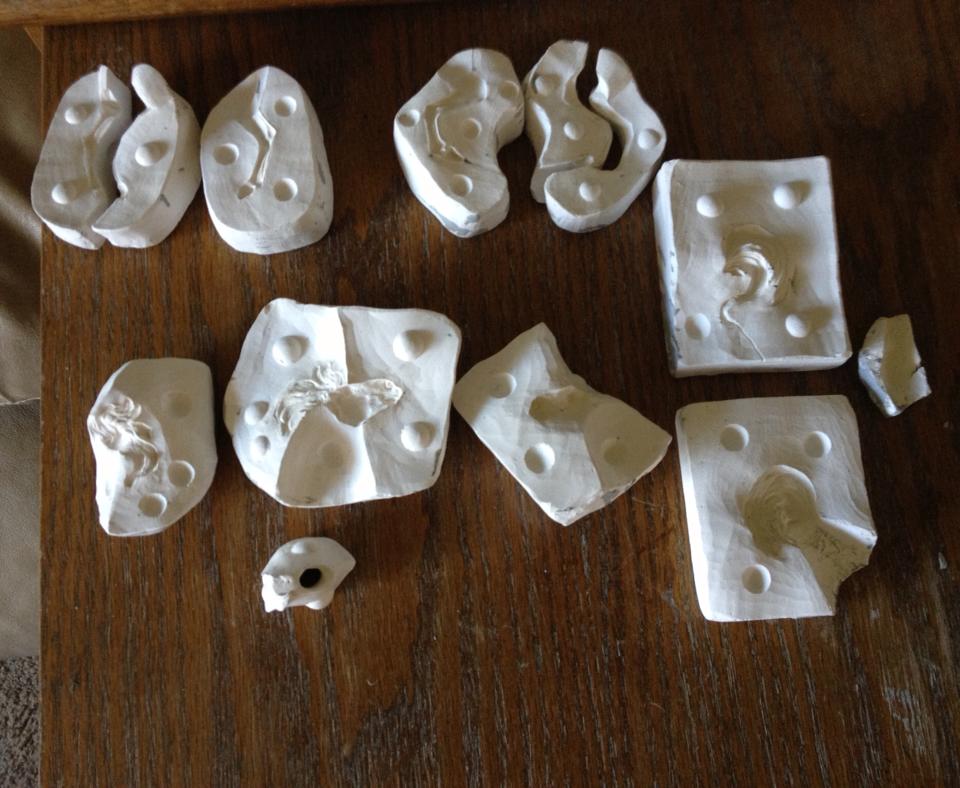
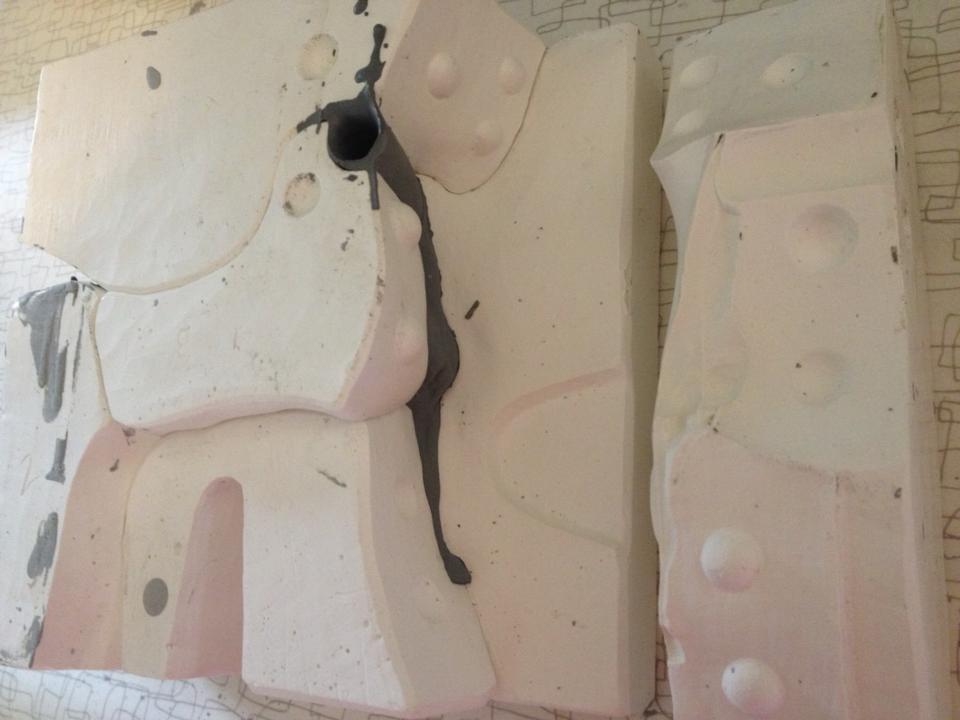
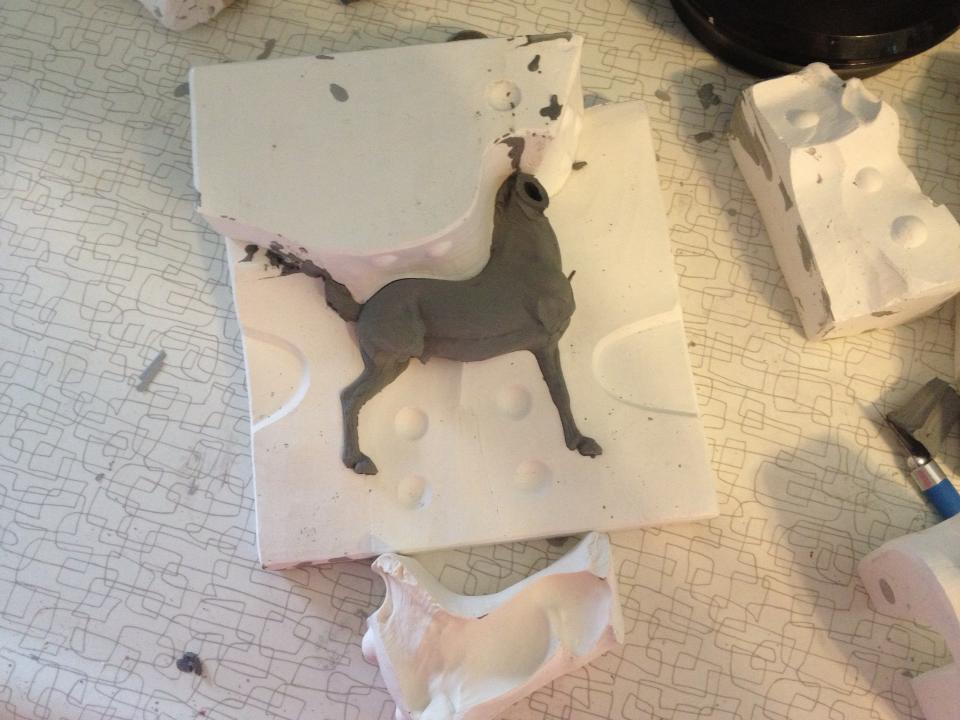
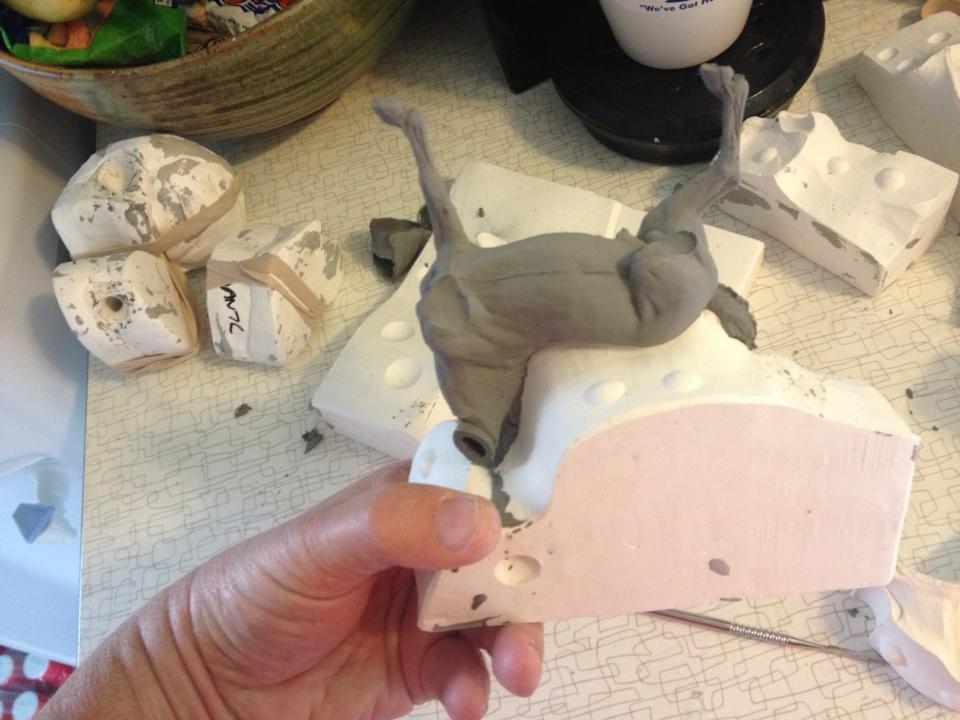
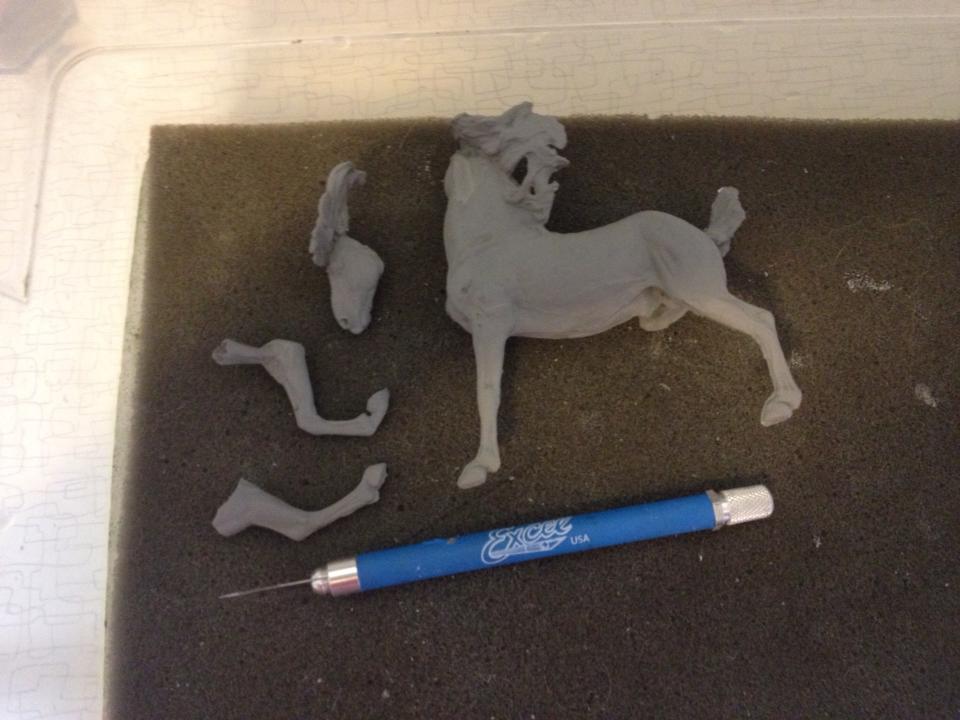
Shortly after I posted my blog regarding my first adventure in moldmaking http://www.sanssoucistudios.com/blog/adventures-in-moldmaking, to Facebook, the moldmaker extraordinaire Joanie Berkwitz responded that she had a few suggestions to help me out in my next attempts, which I have posted below. One of her plaster molds is also pictured below.... it has no fewer than **twenty one** pieces!! I would bet money that Joanie is one of the most gifted ceramicists in the US right now, and I am very fortunate to be able to own some of her equine figurines.
|
Categories
All
Archives
March 2023
|


 RSS Feed