
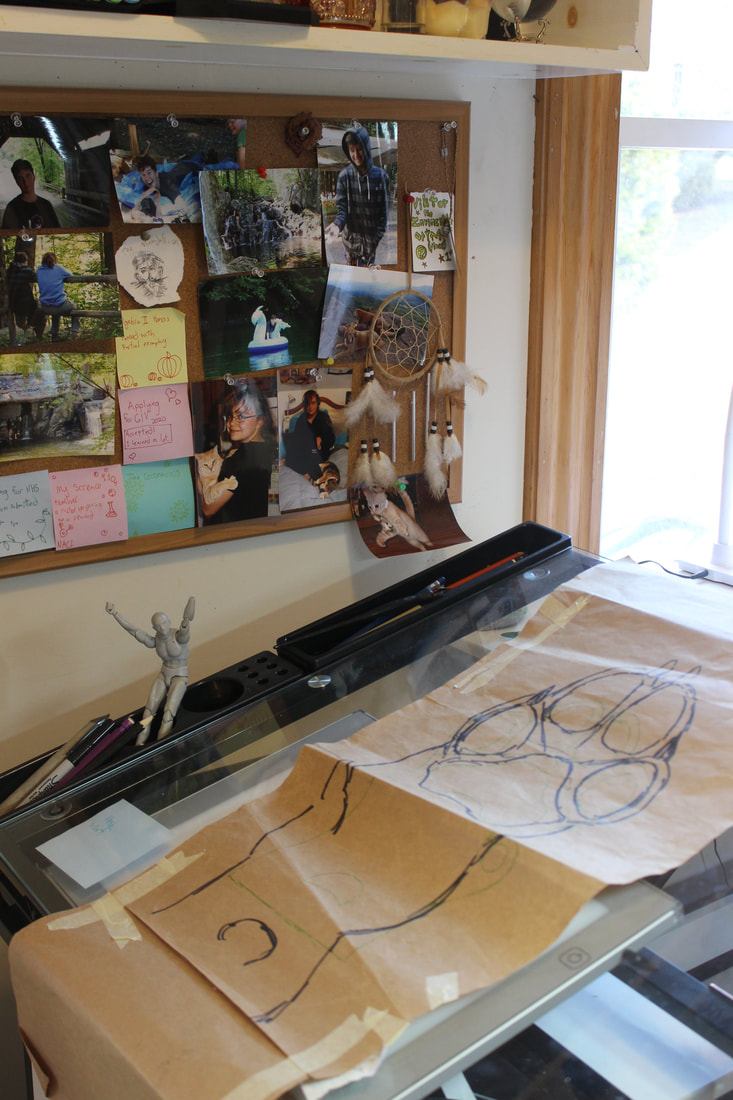
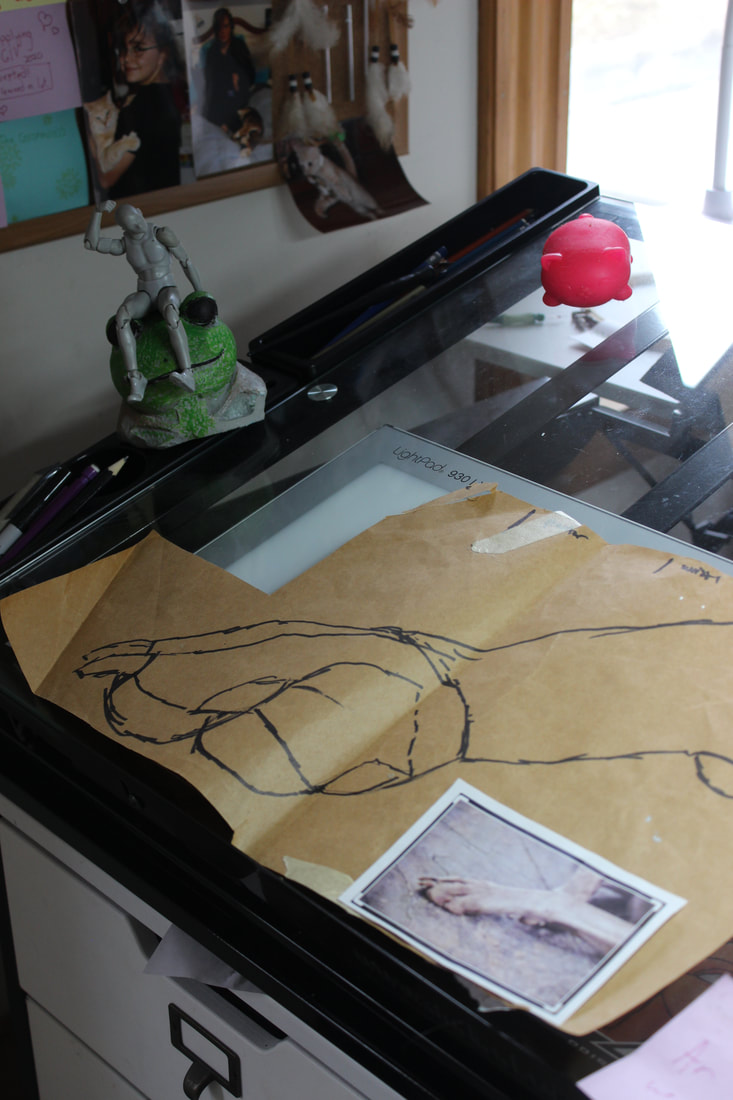
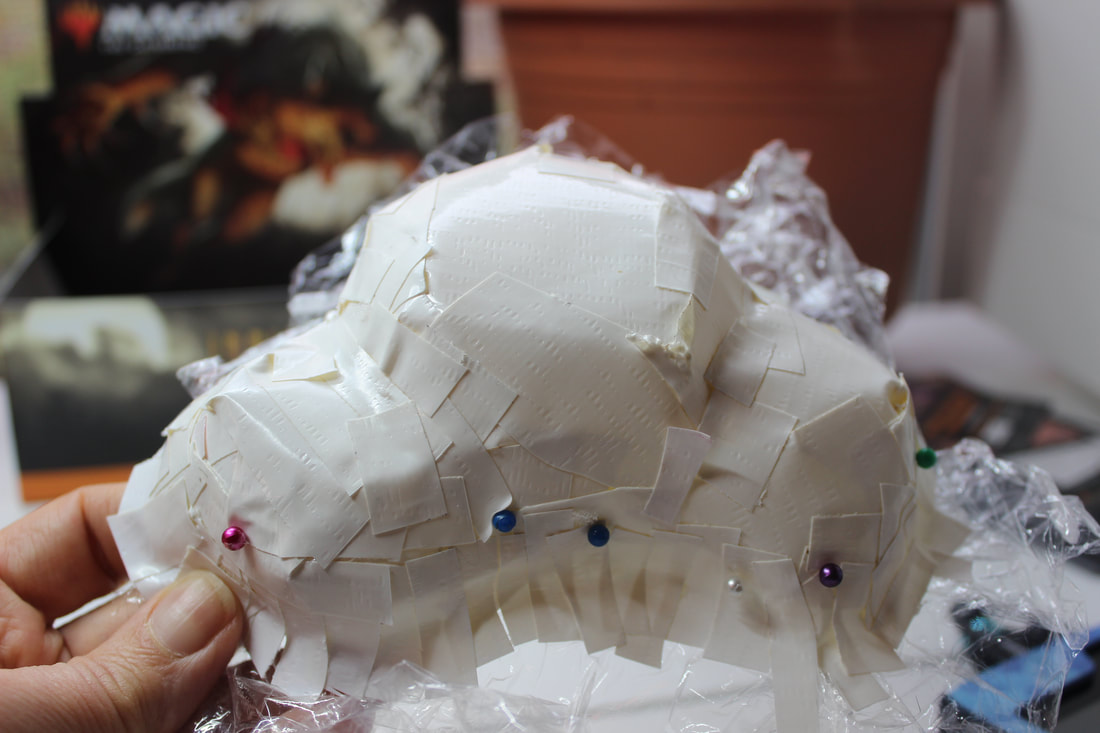
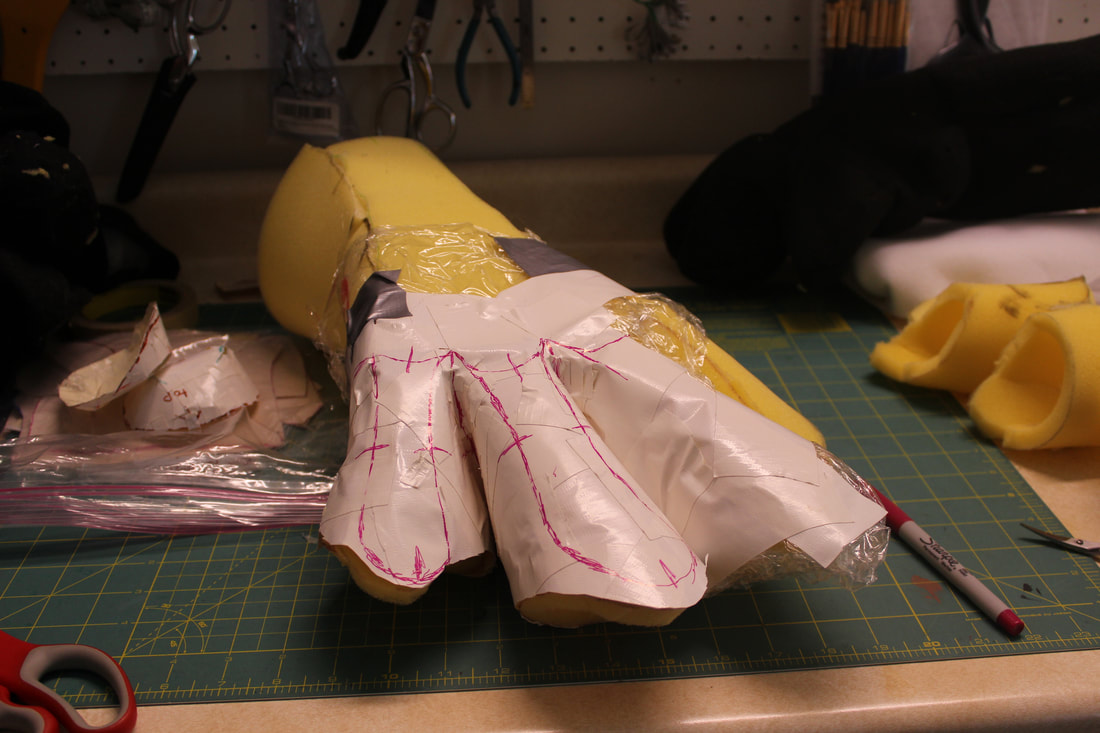
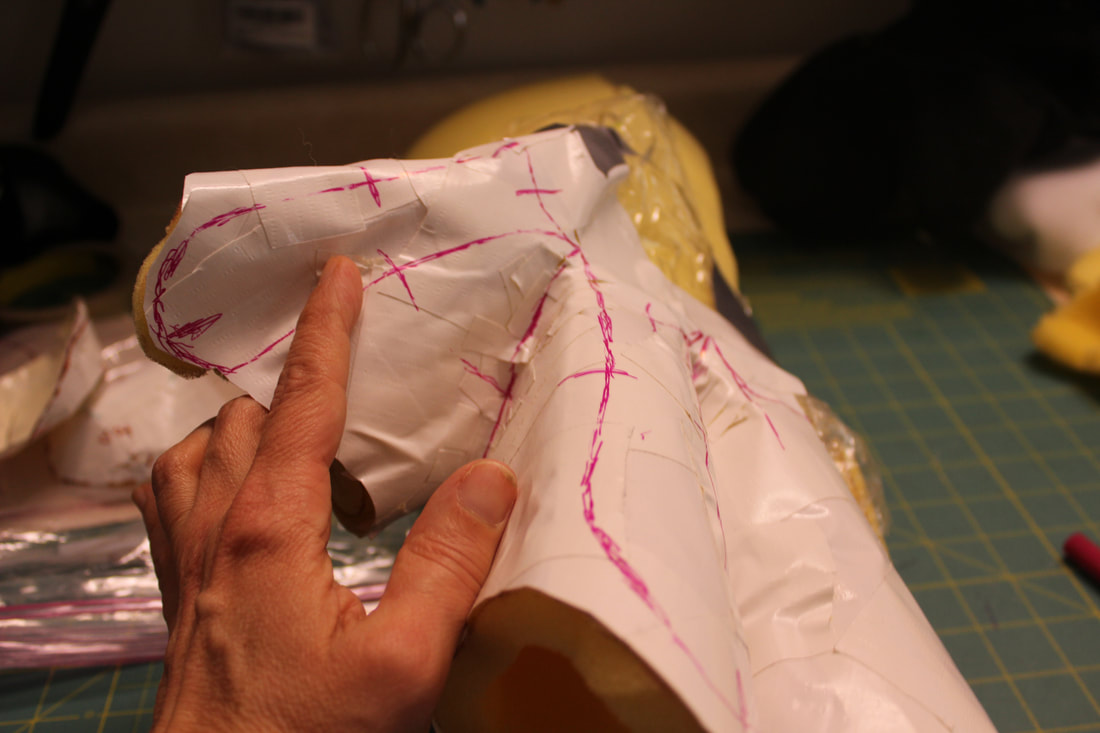
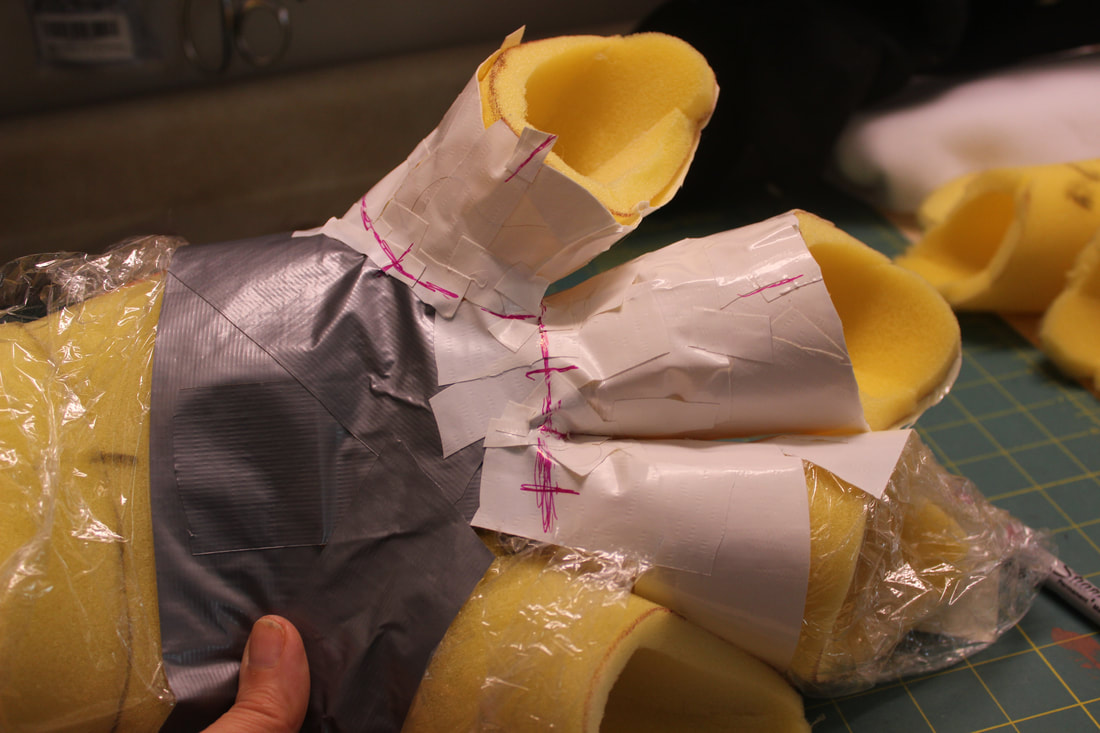
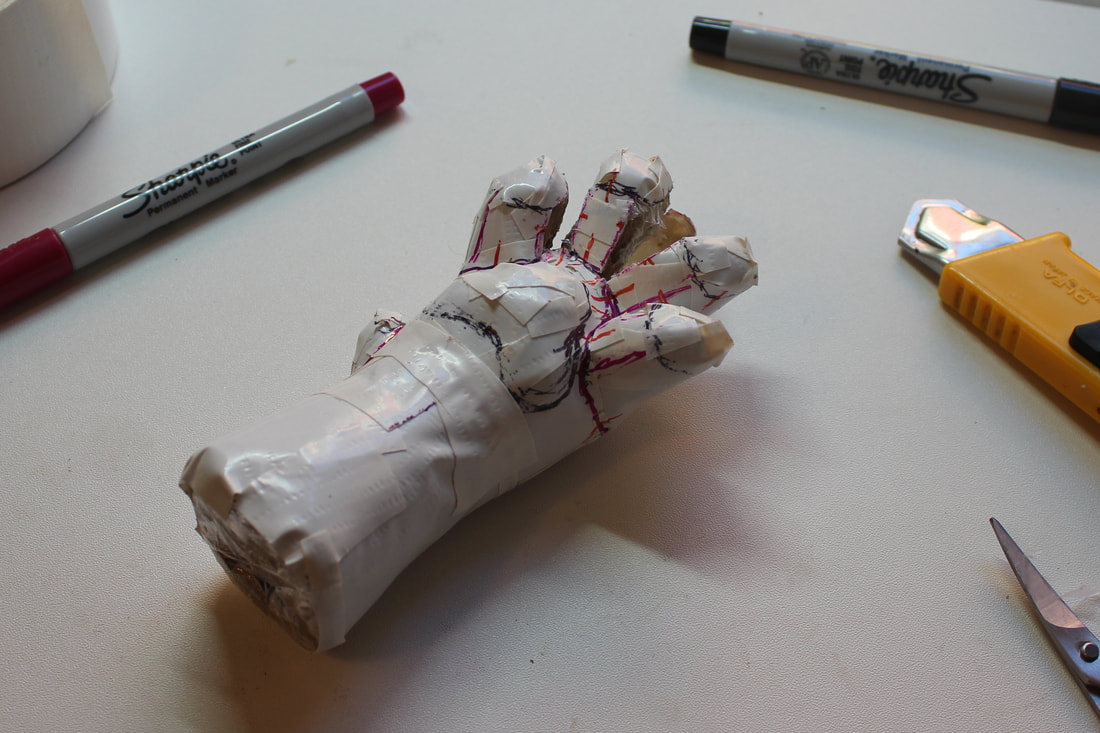
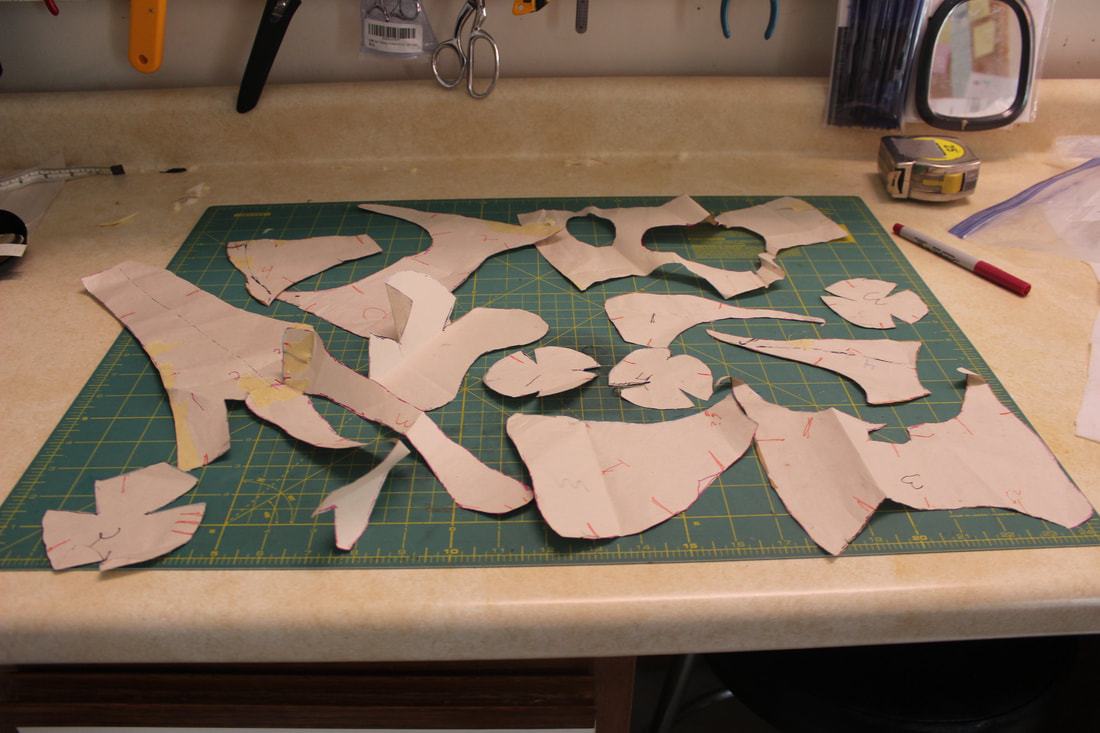
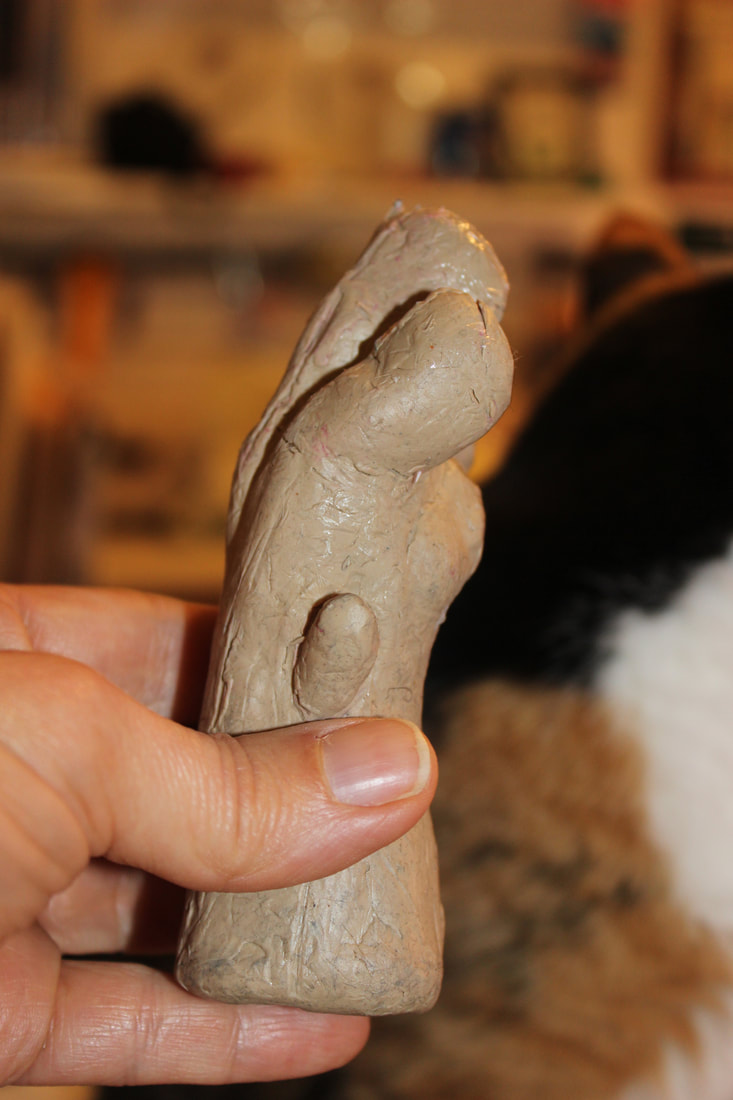
It's been a while since I checked in about my paw project! My last update was in March, when I finished building my most recent Foam Foot from which to make a pattern. Since then I've sewn up Prototypes #4 (with pink beans) and #5 (with red beans) and hopefully have made some progress. As I've mentioned before, I have fantasies of selling this pattern as a download, and maybe actual finished handpaws too. I have been told that the furry world could use another good feral handpaw pattern and that there's probably untapped market demand there.
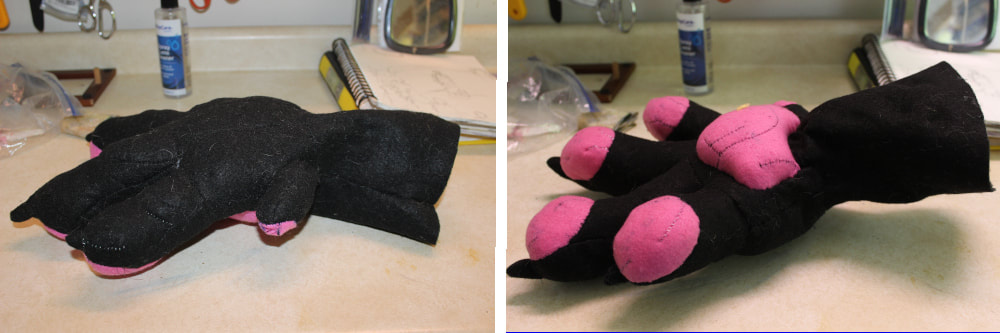
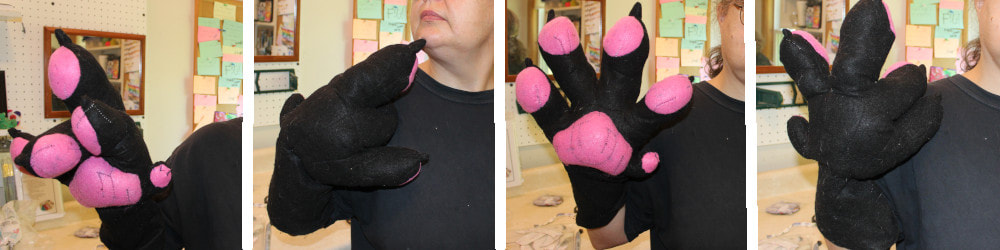
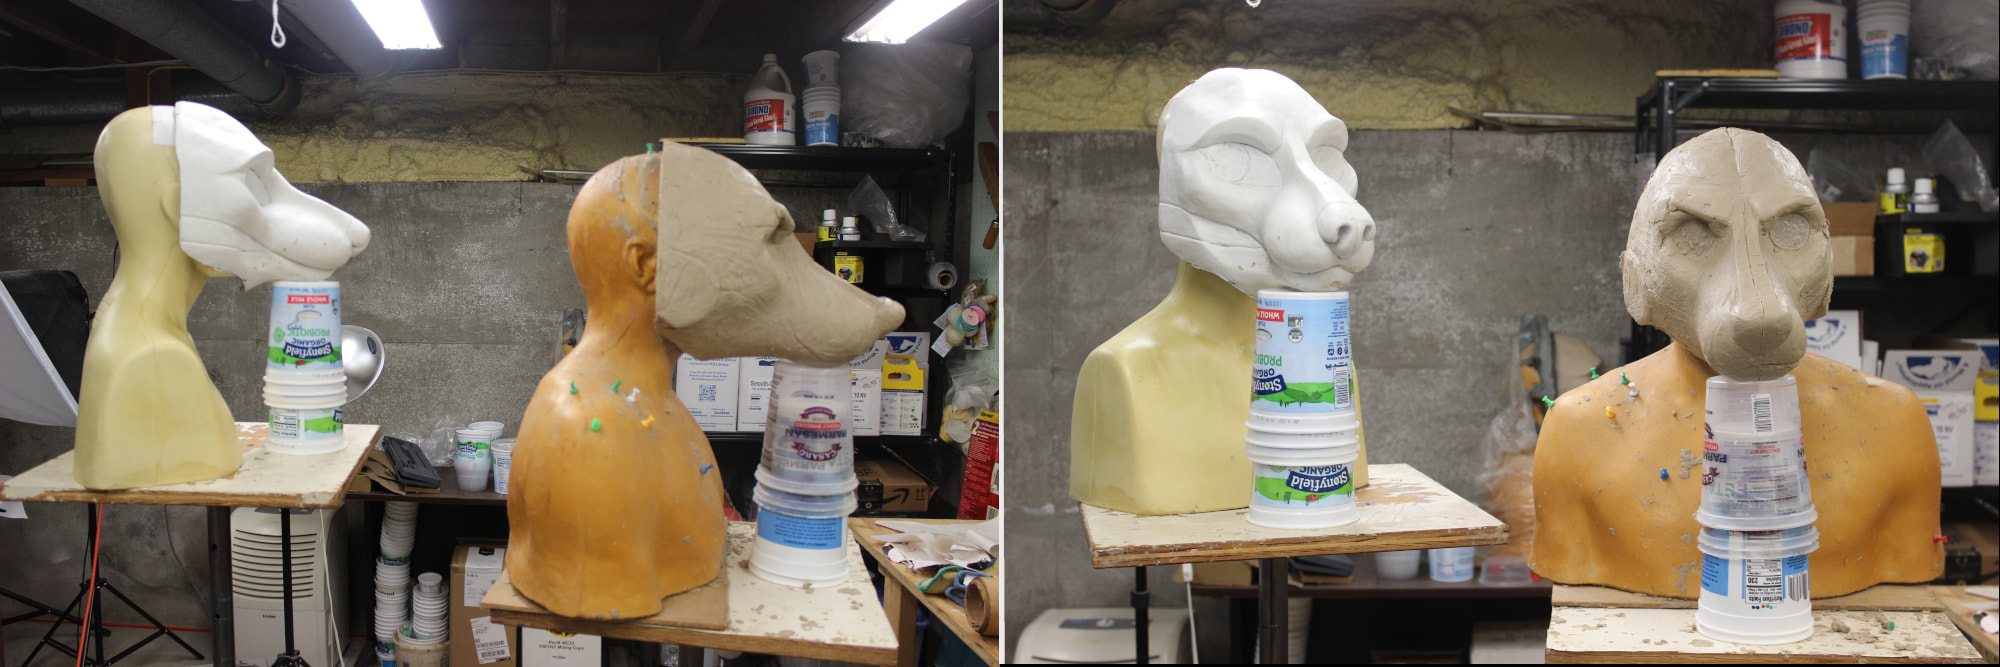
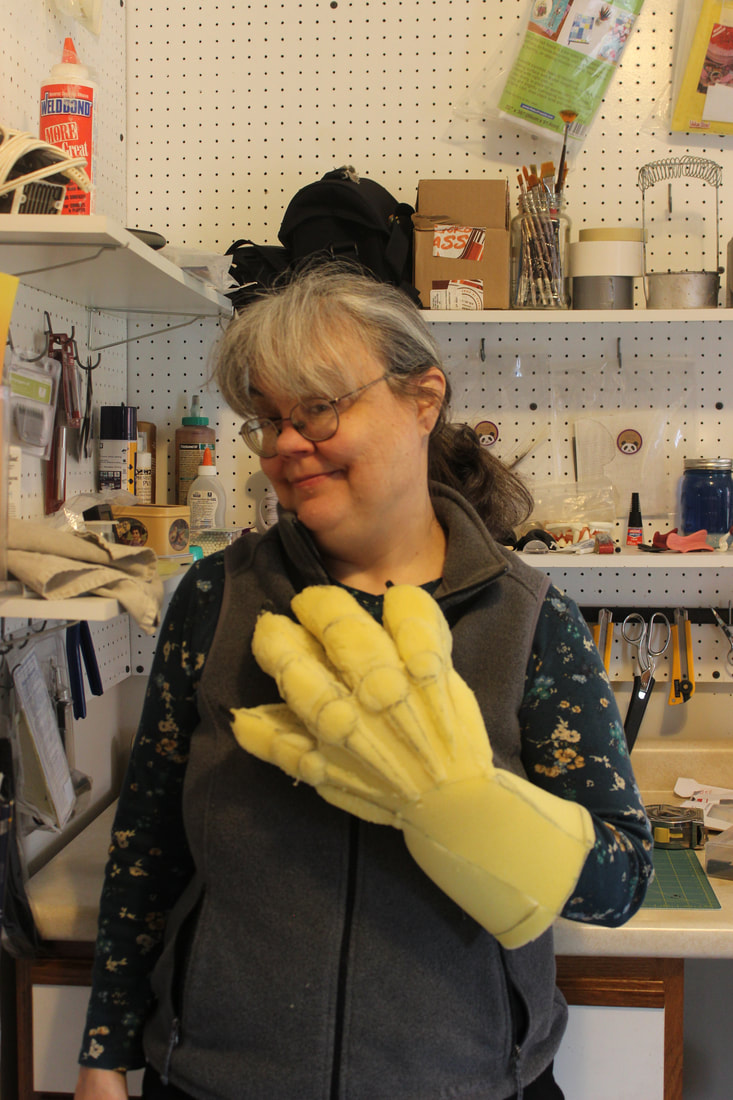
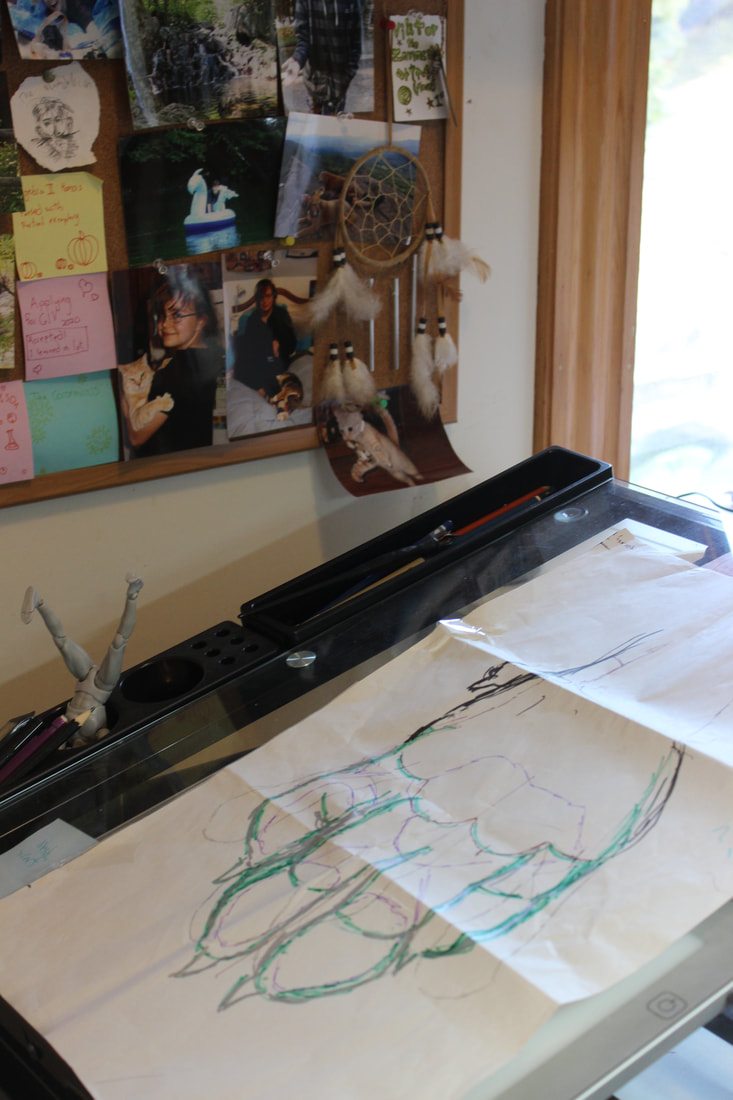
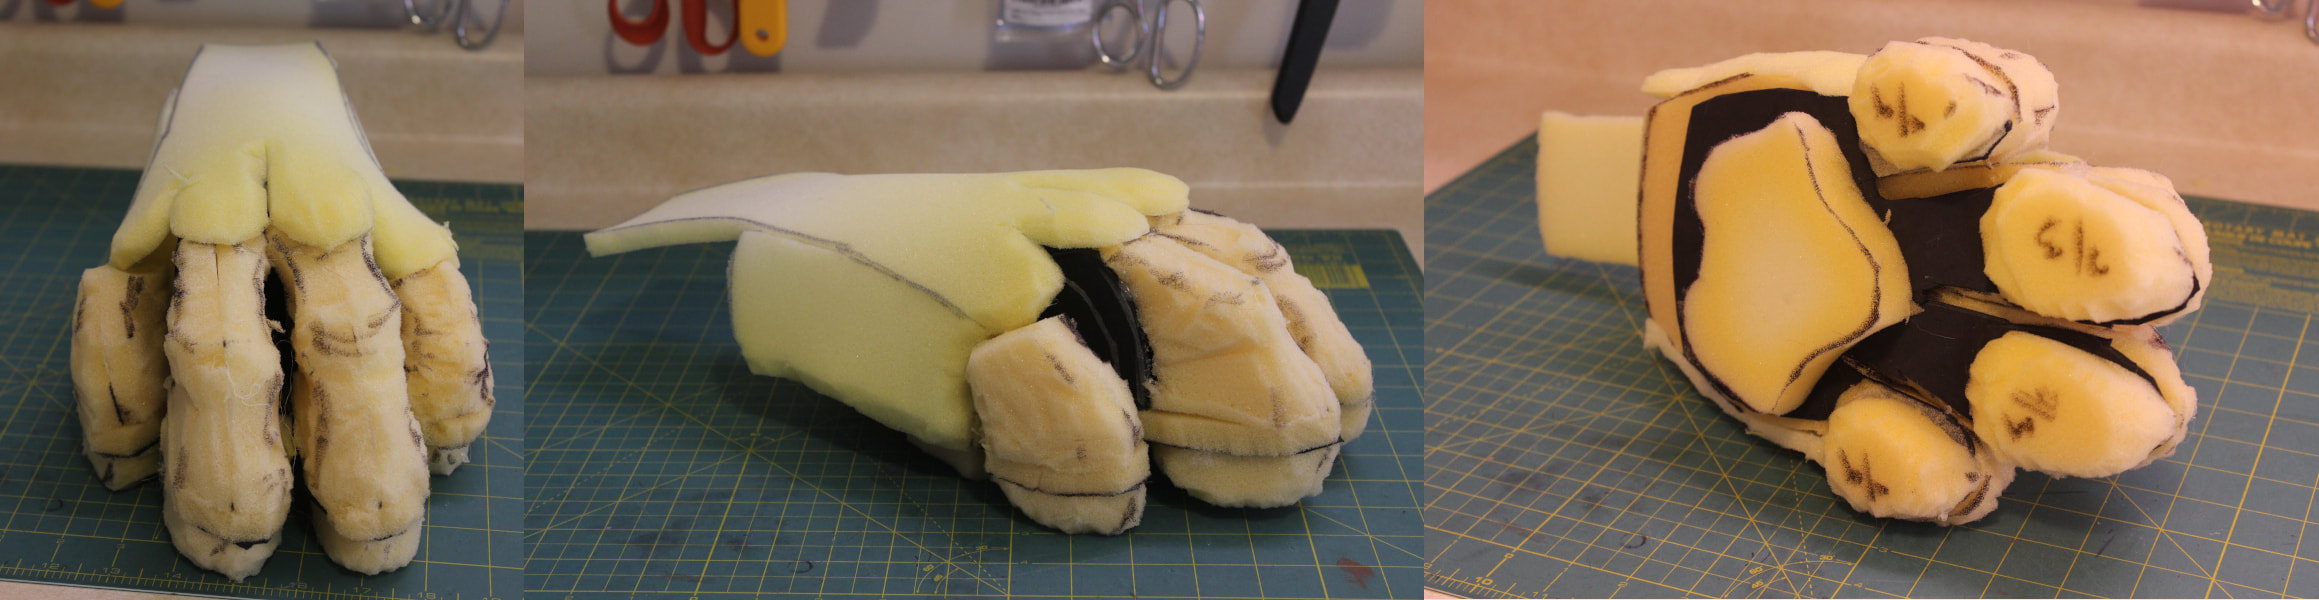
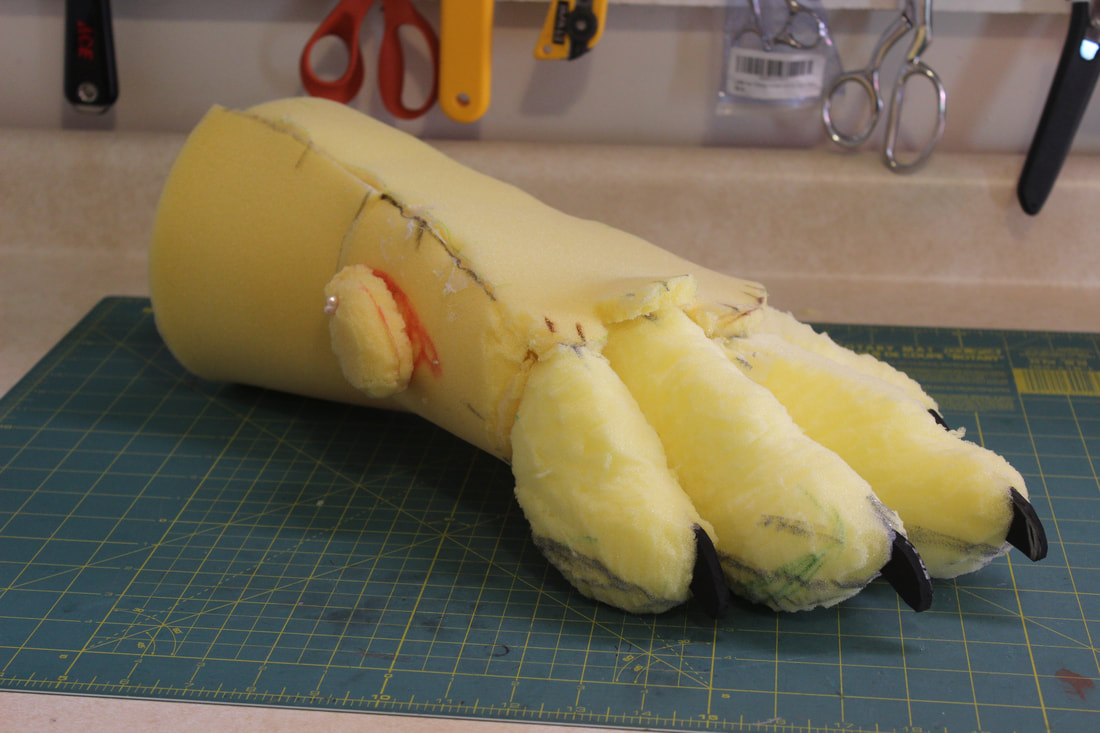
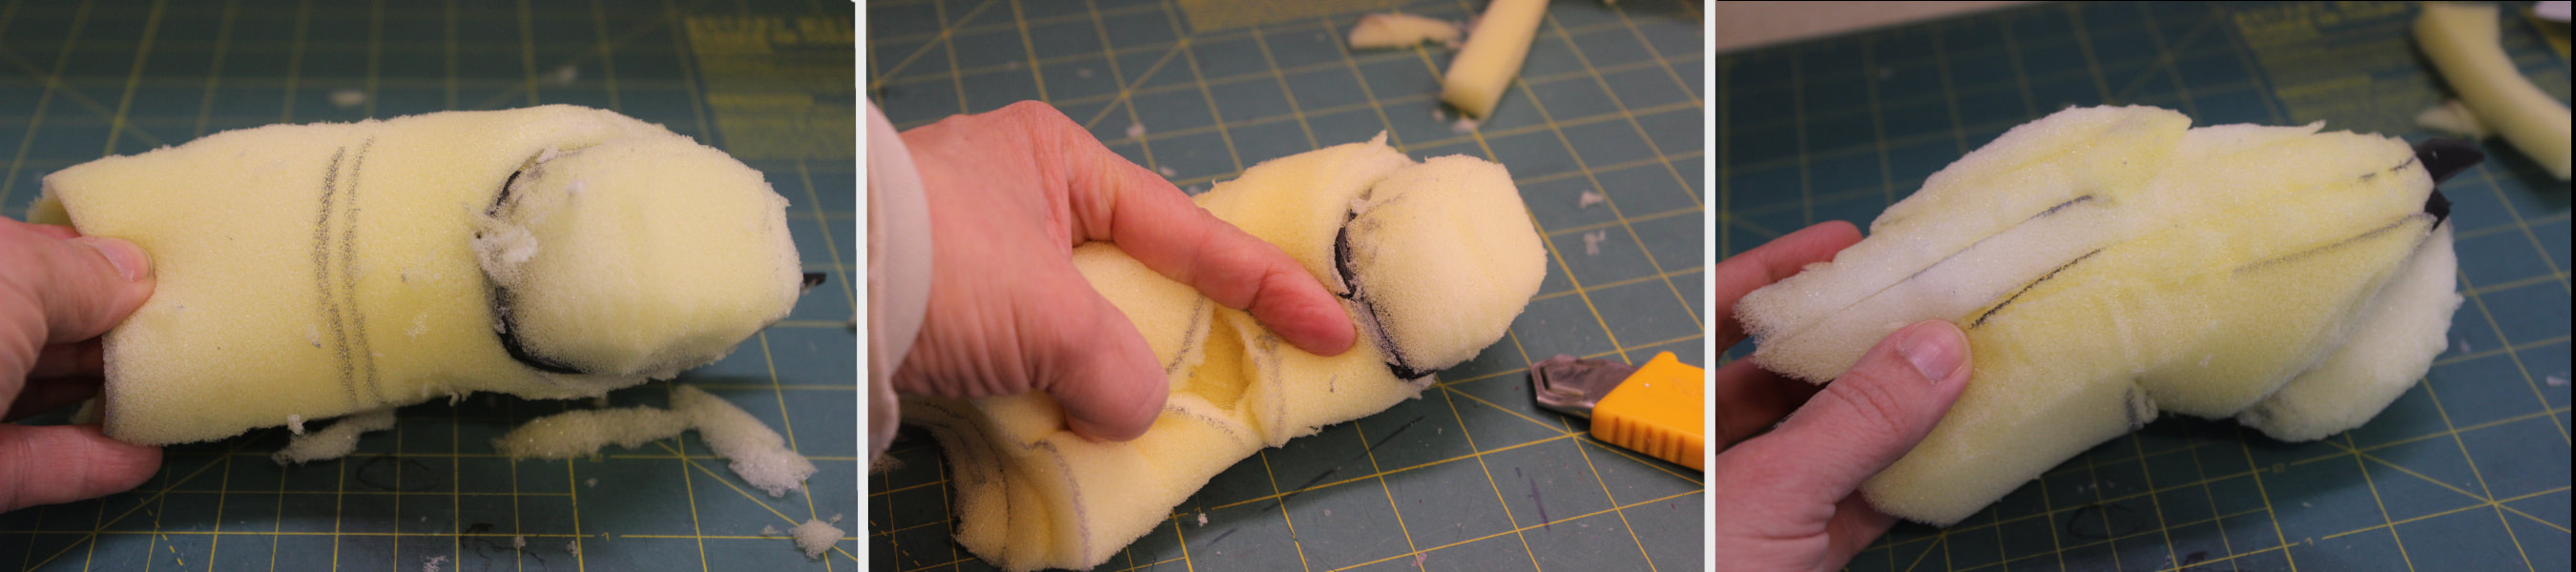
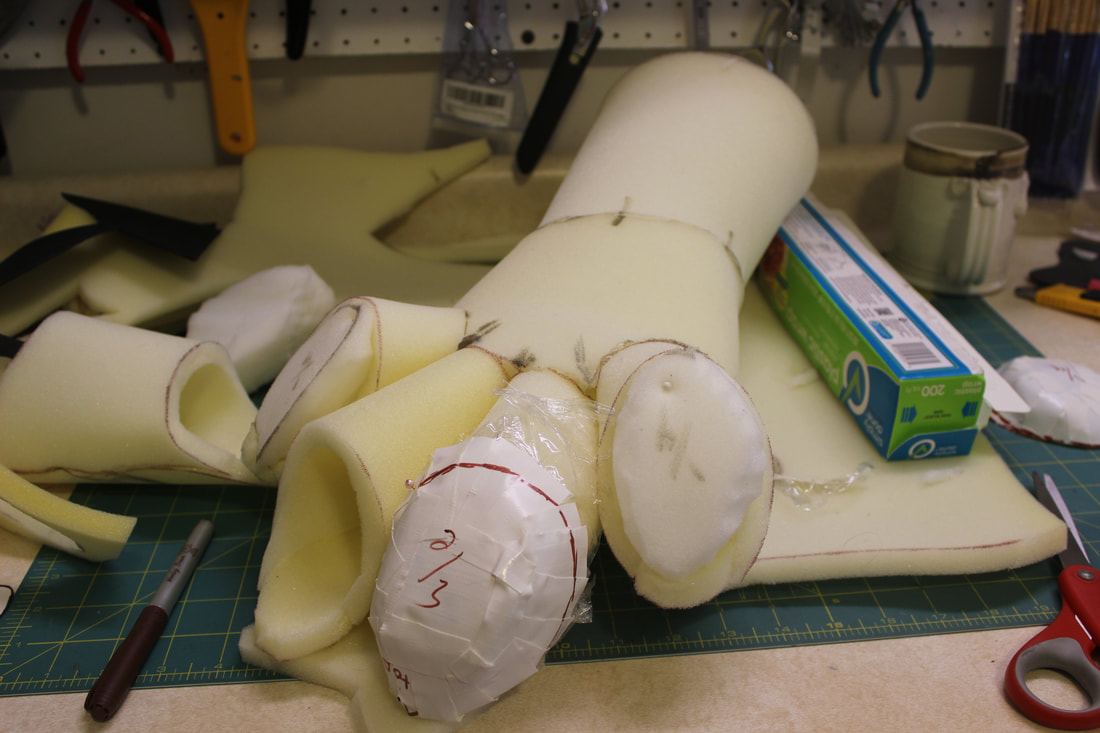
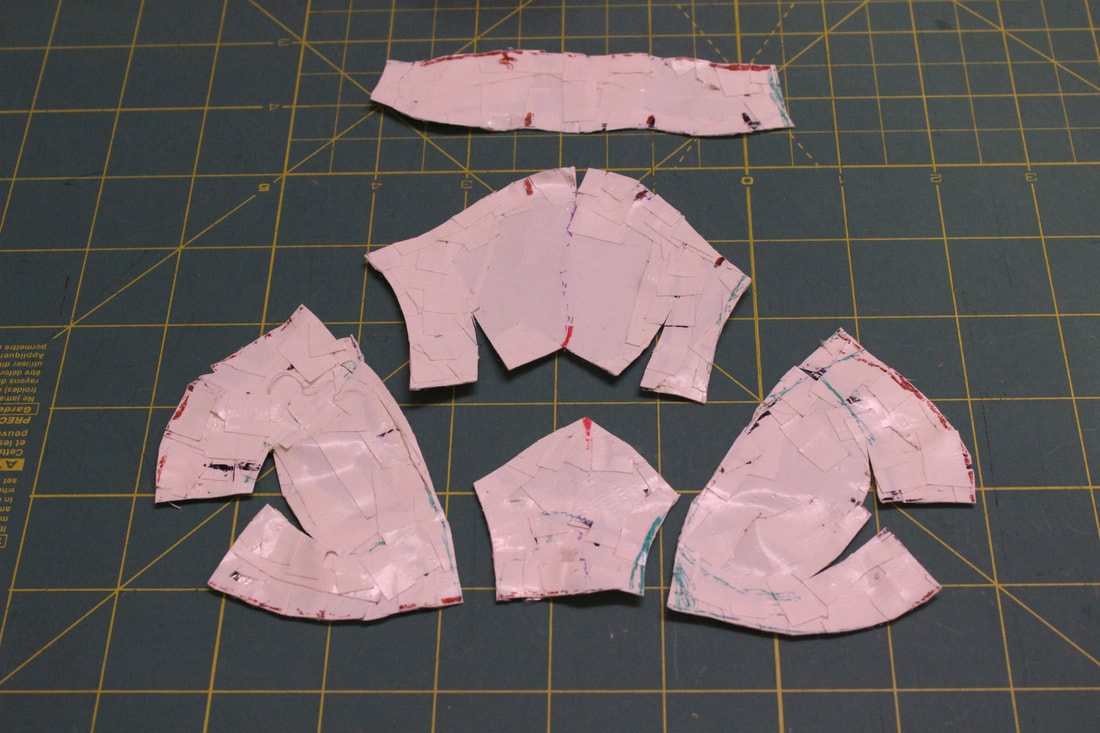
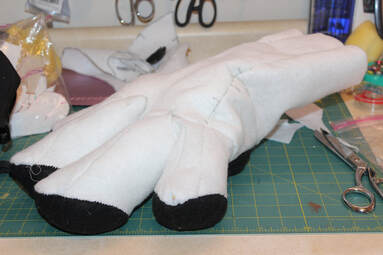
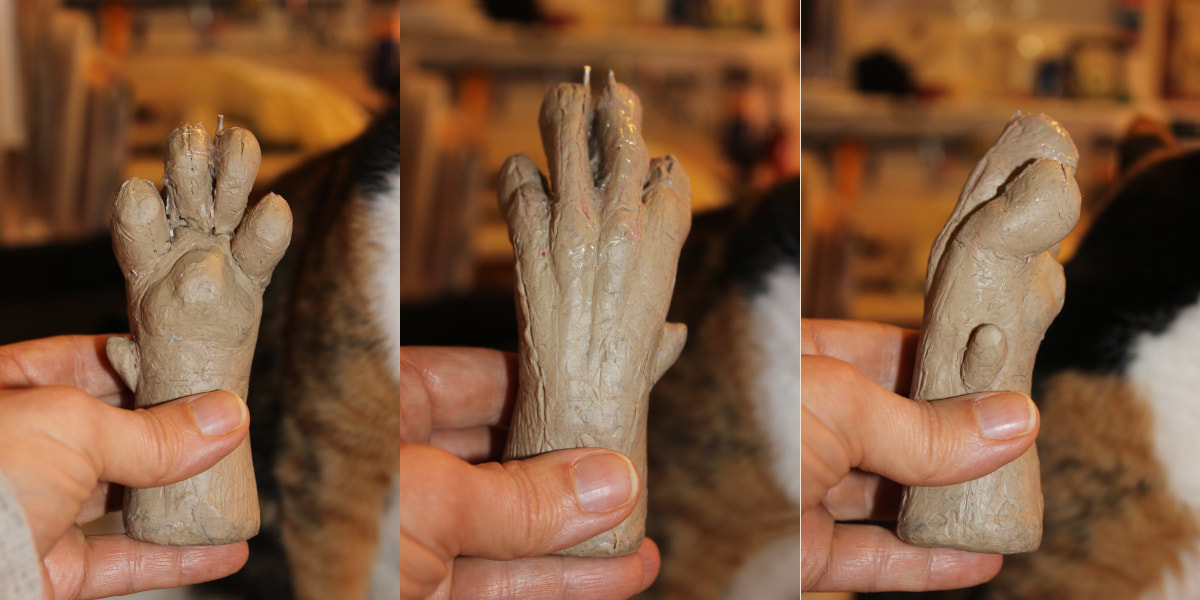
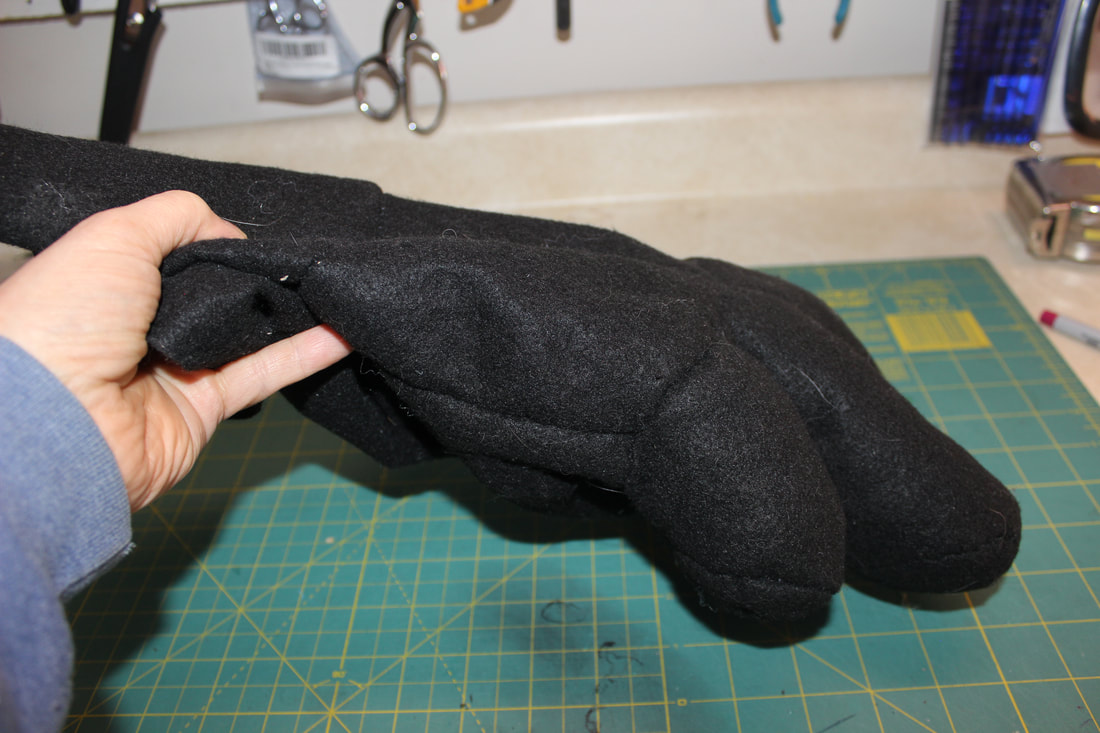
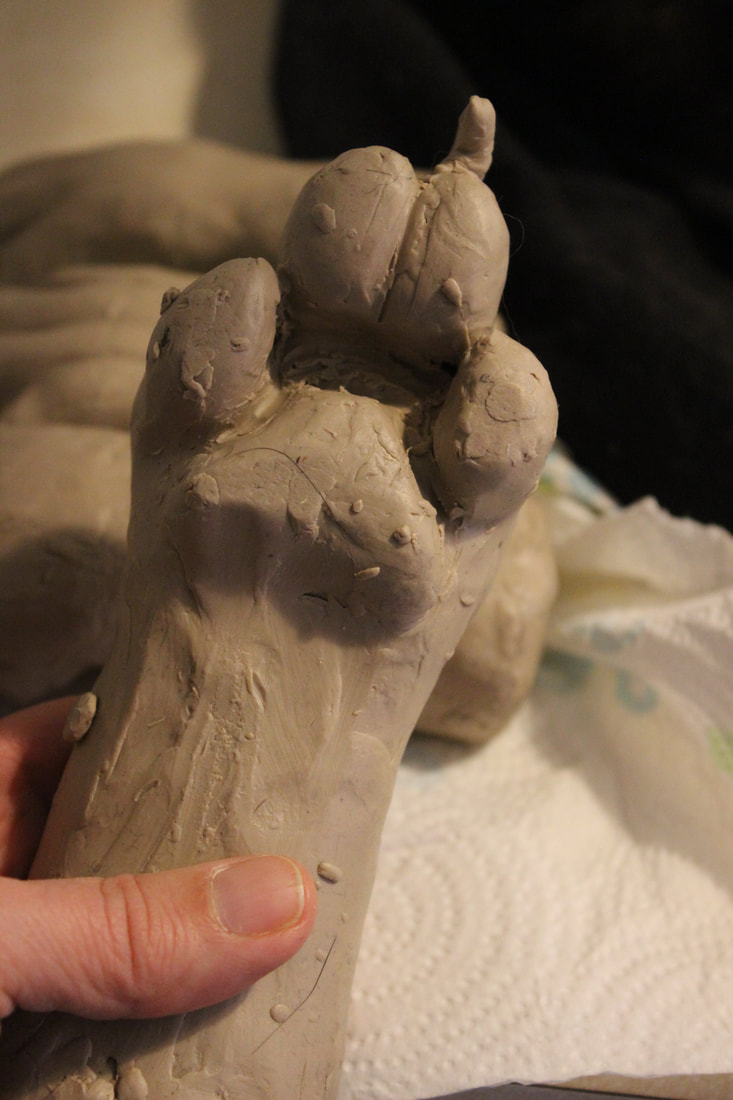
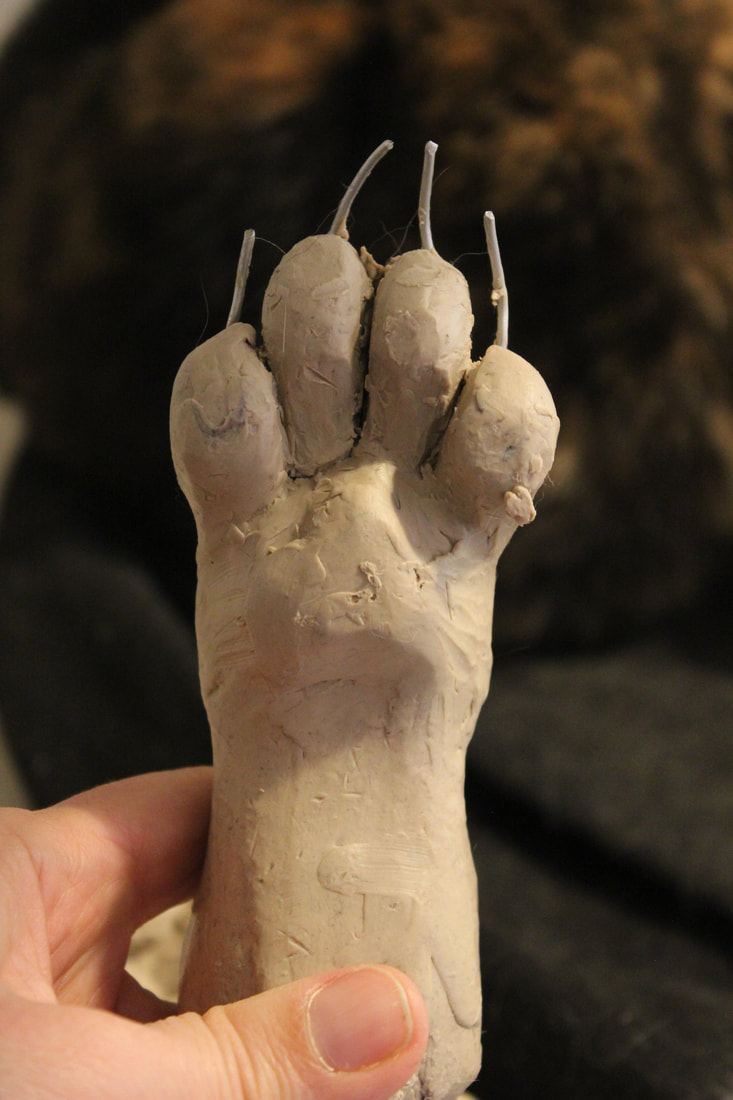
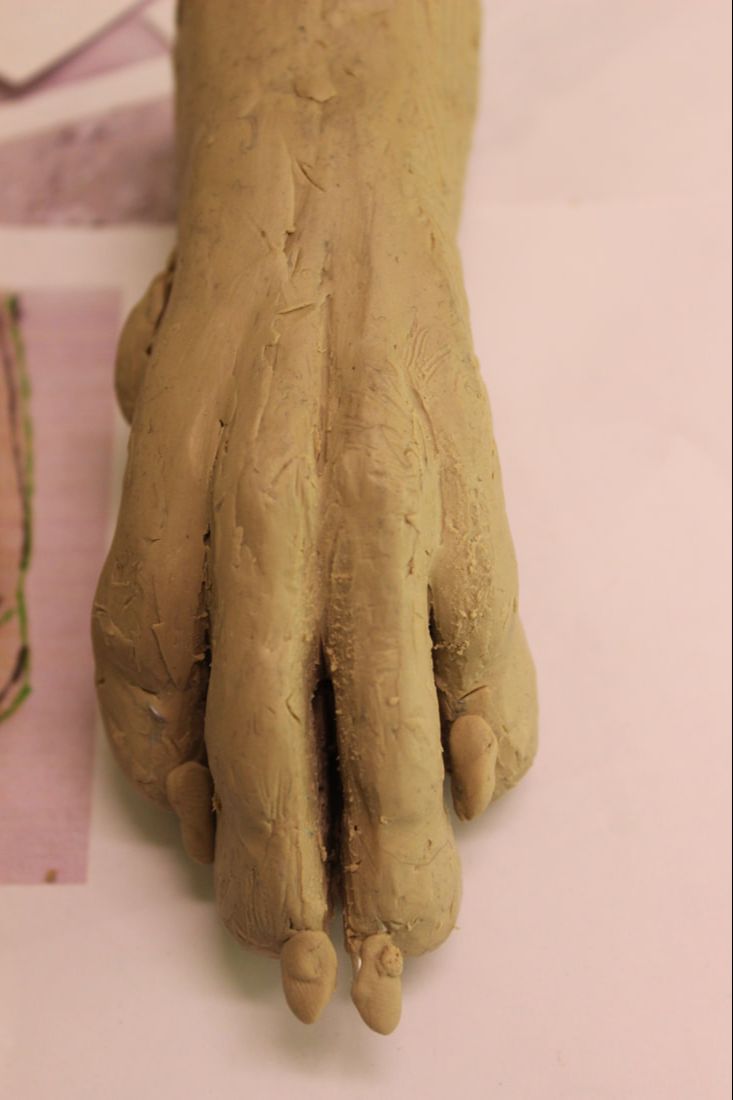
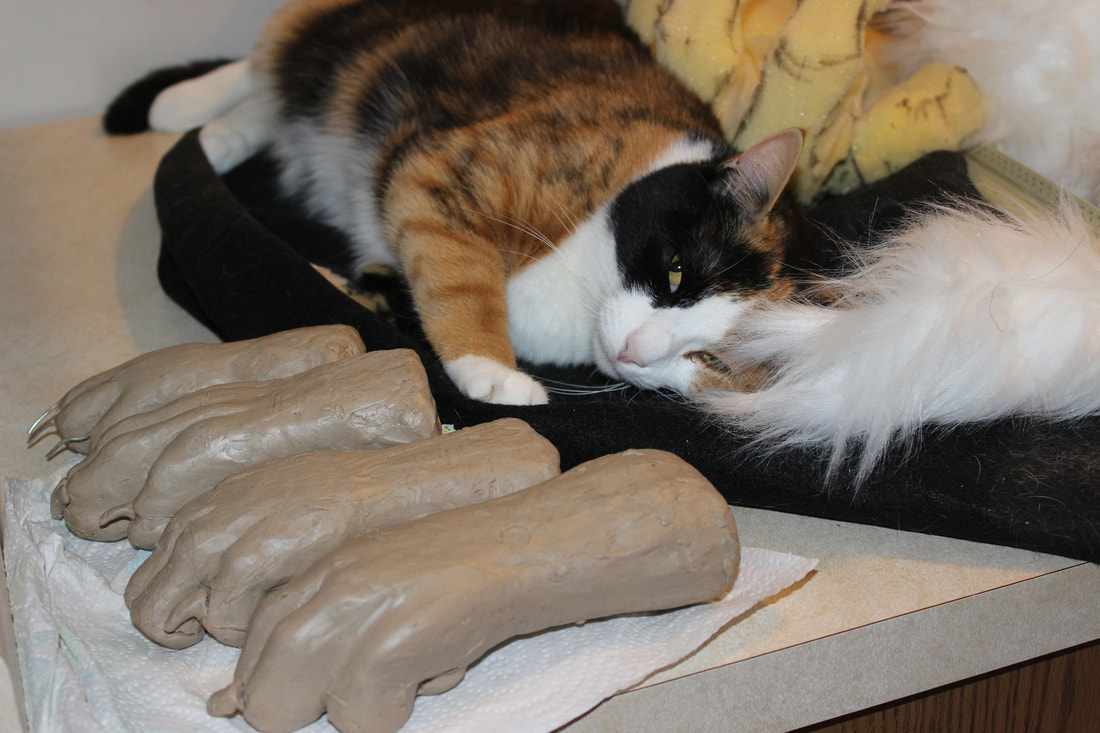
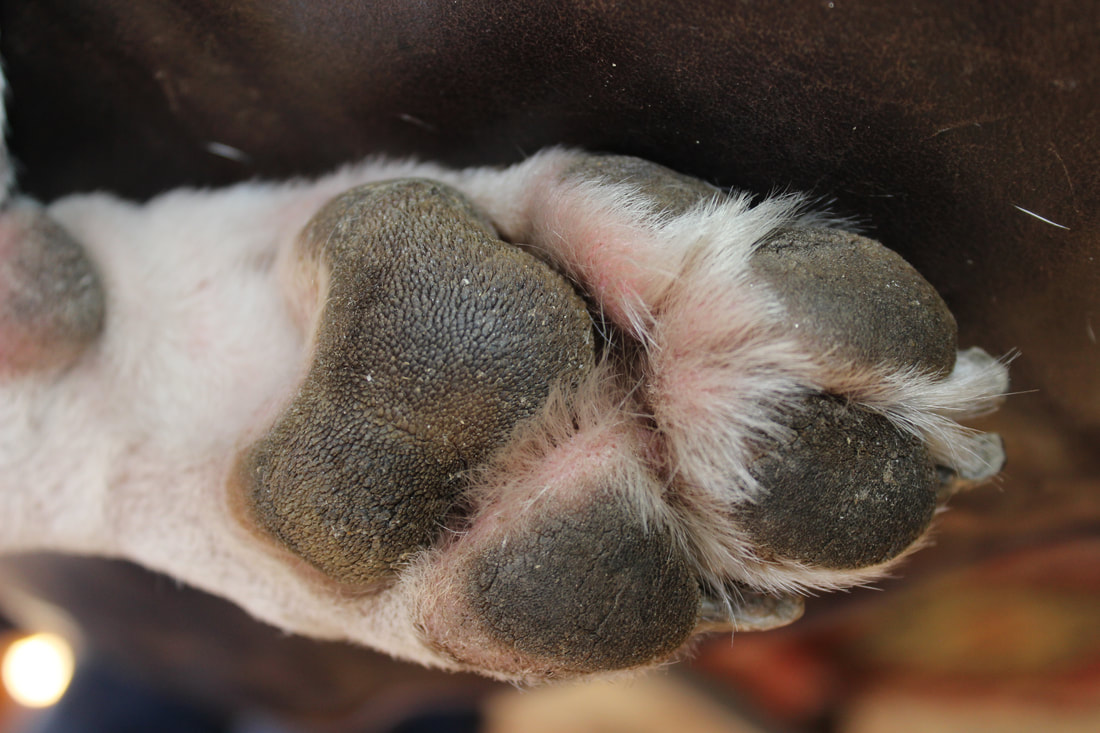
Above, Prototype #4 (I think?? I'm losing count.) My big problem here is the overly long toes and overly short palm/back of hand, most visible in the second picture from the right. Looks more like a lizard hand than anything canine.
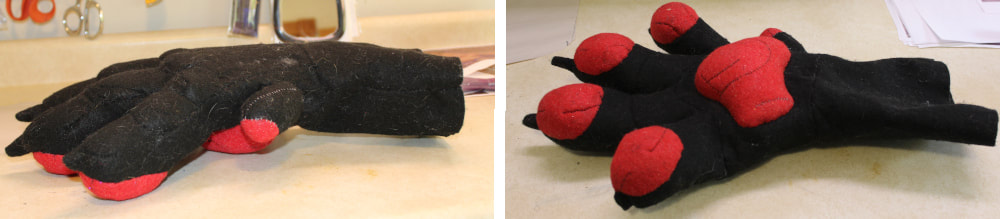

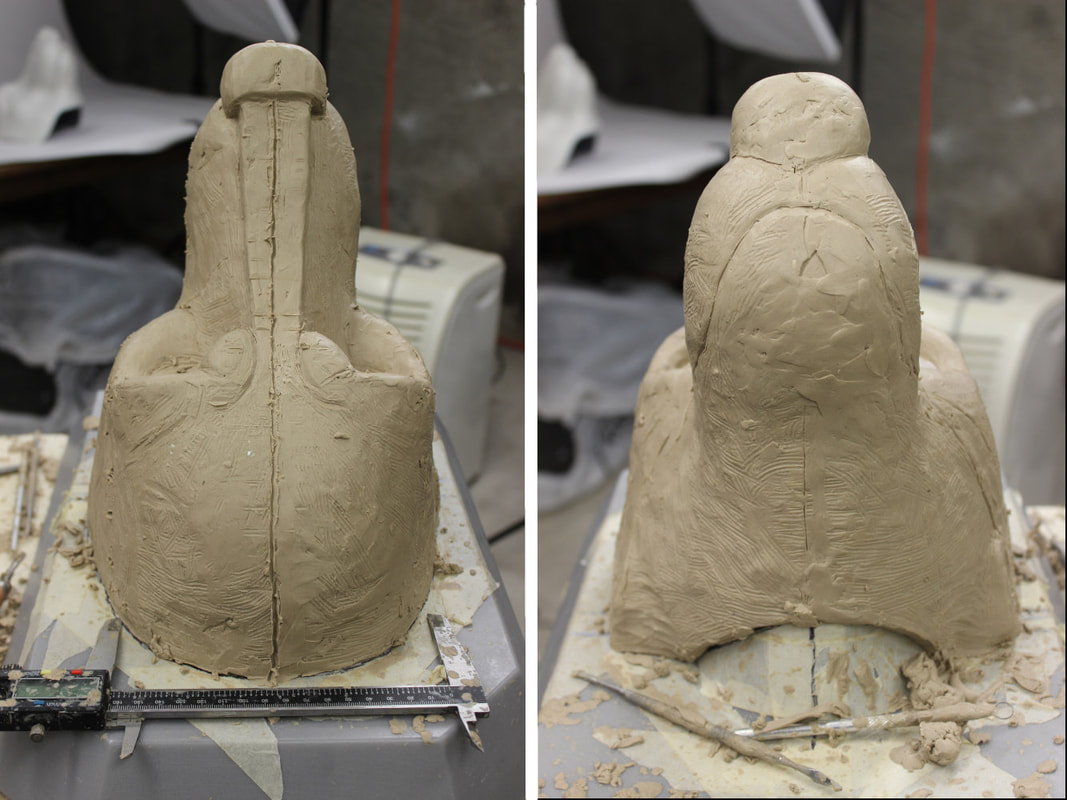
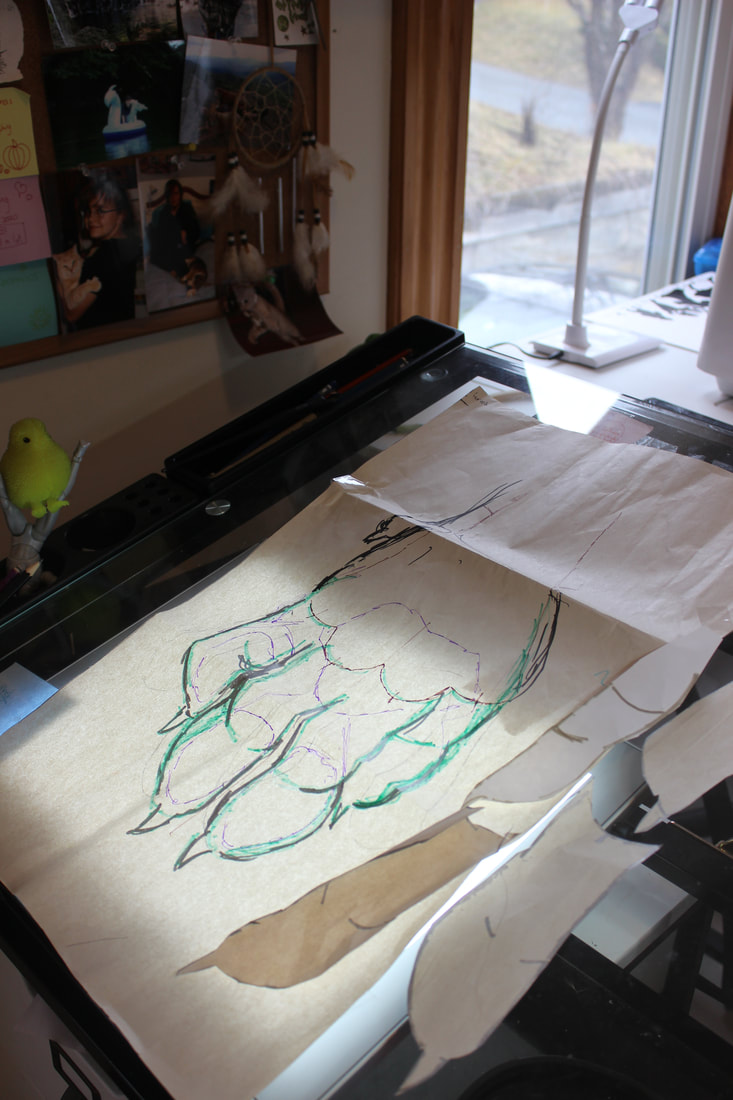
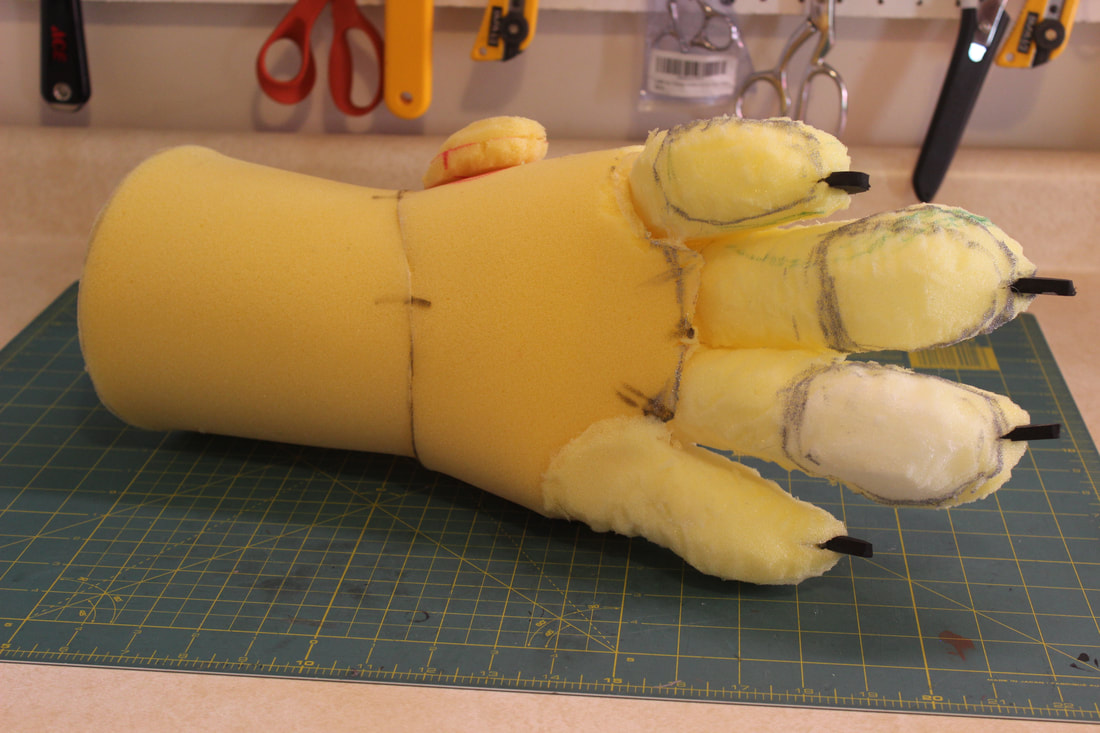
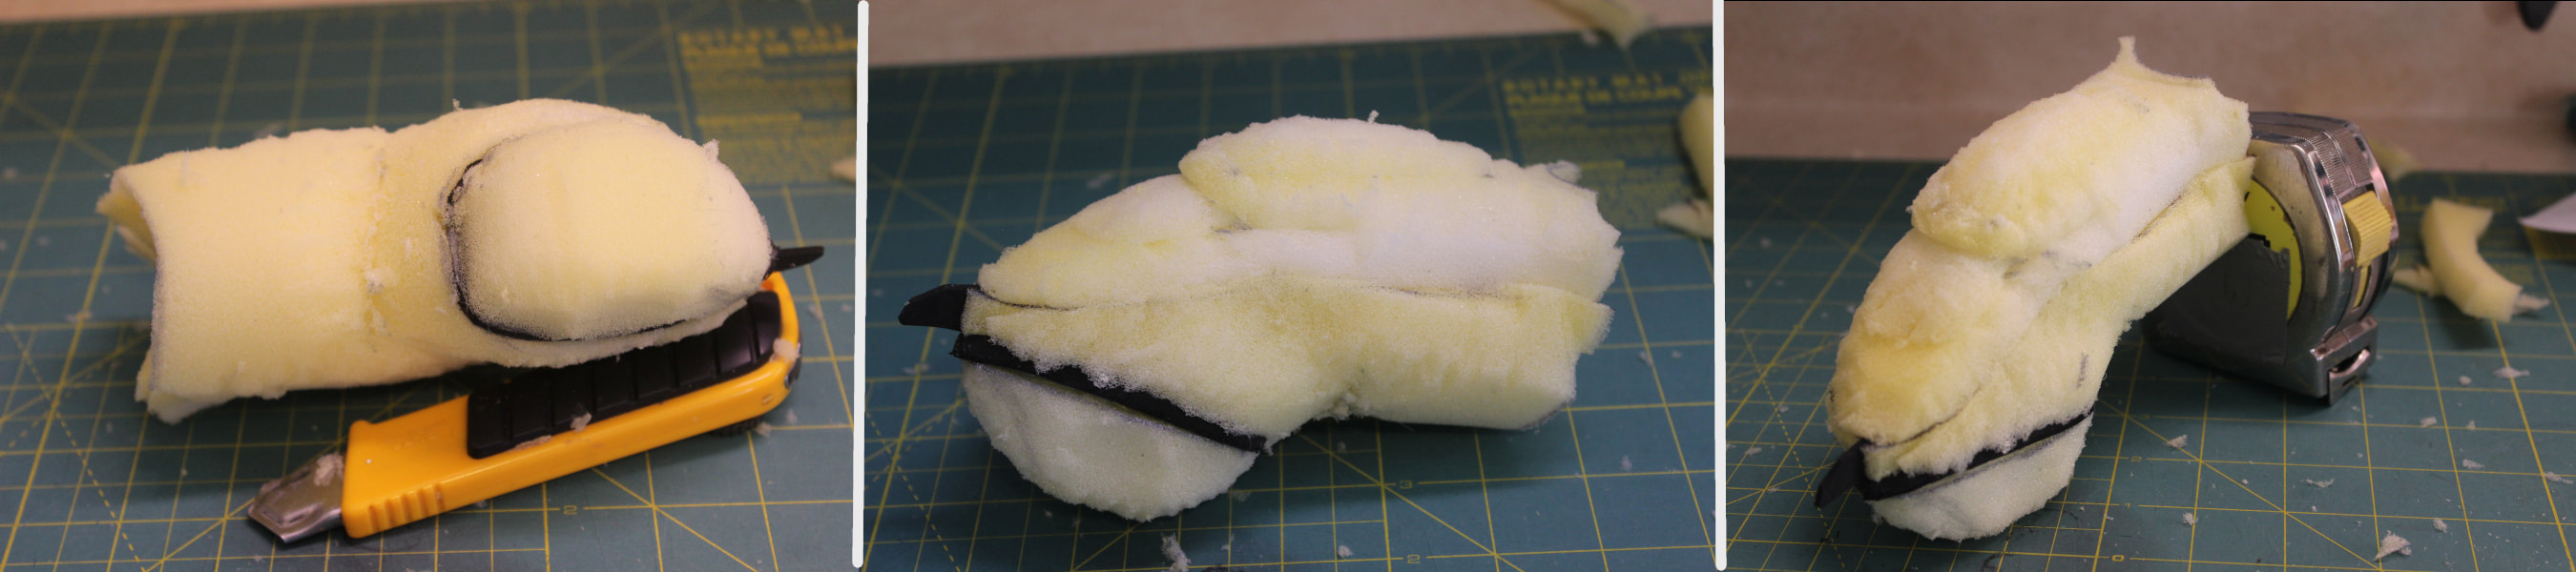
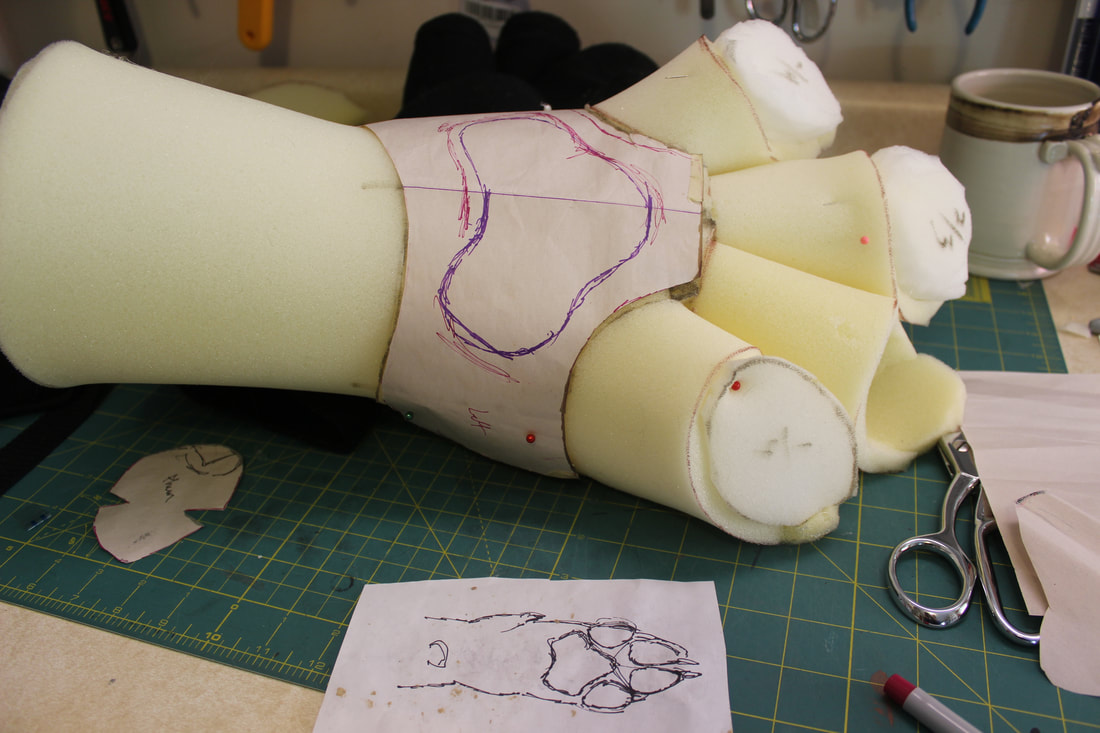
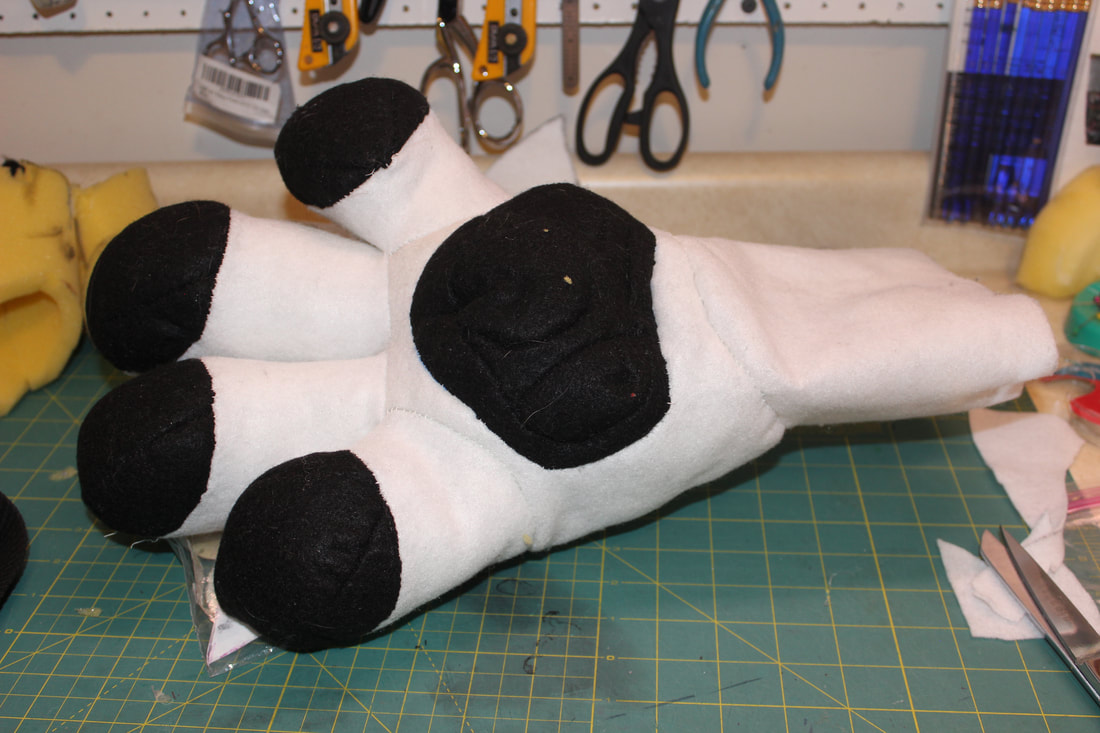
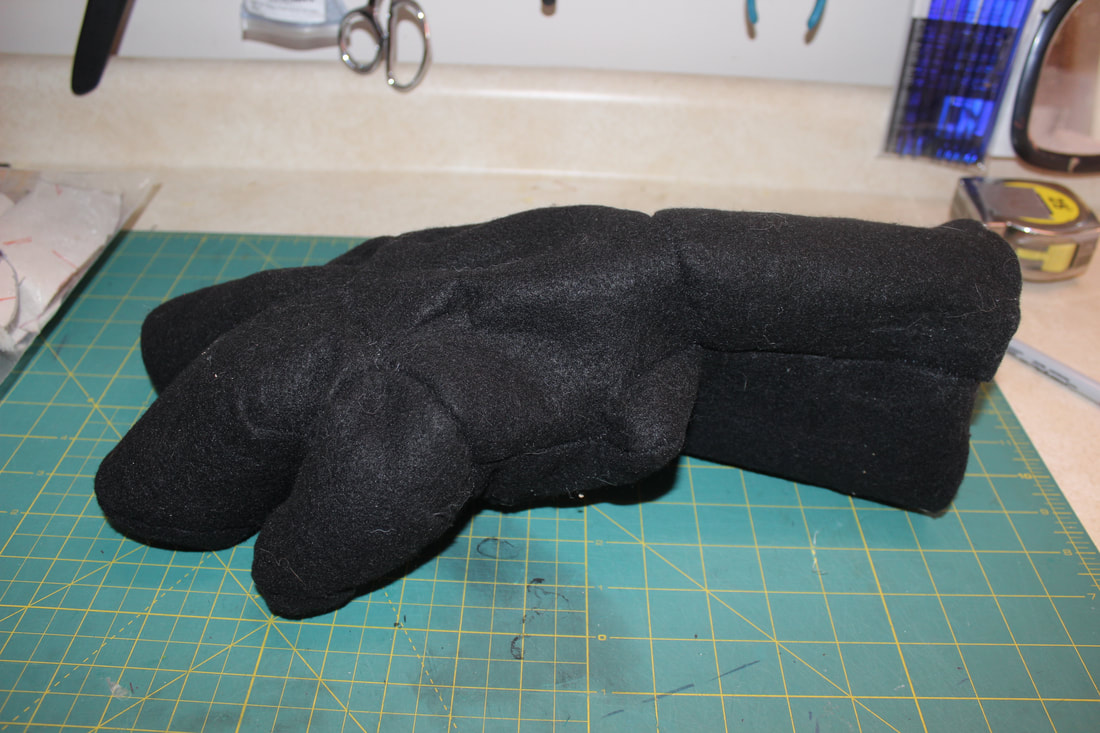
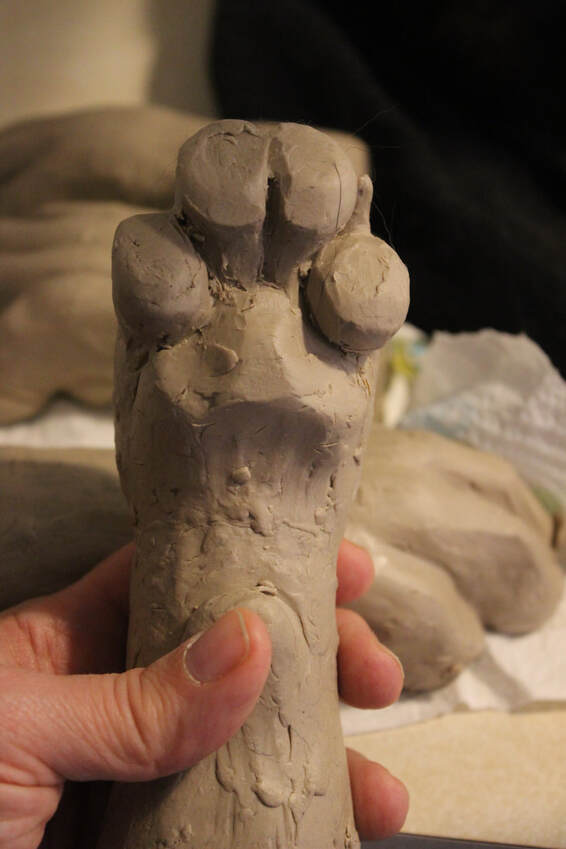
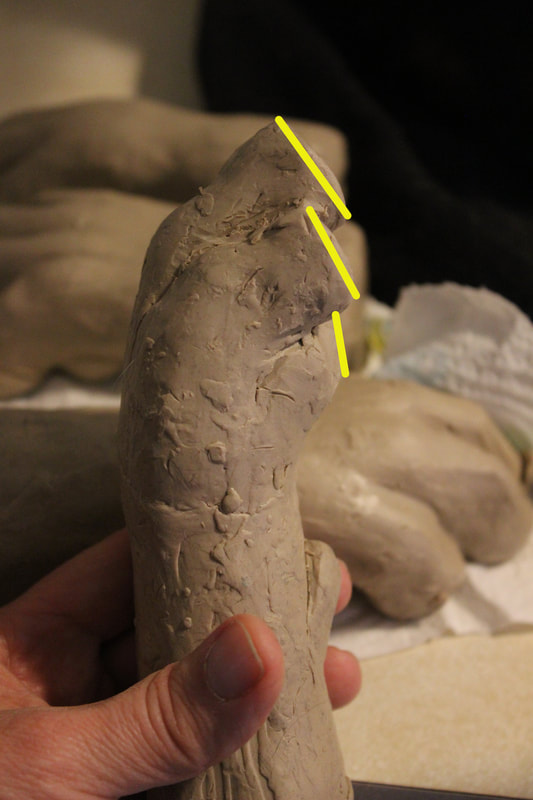
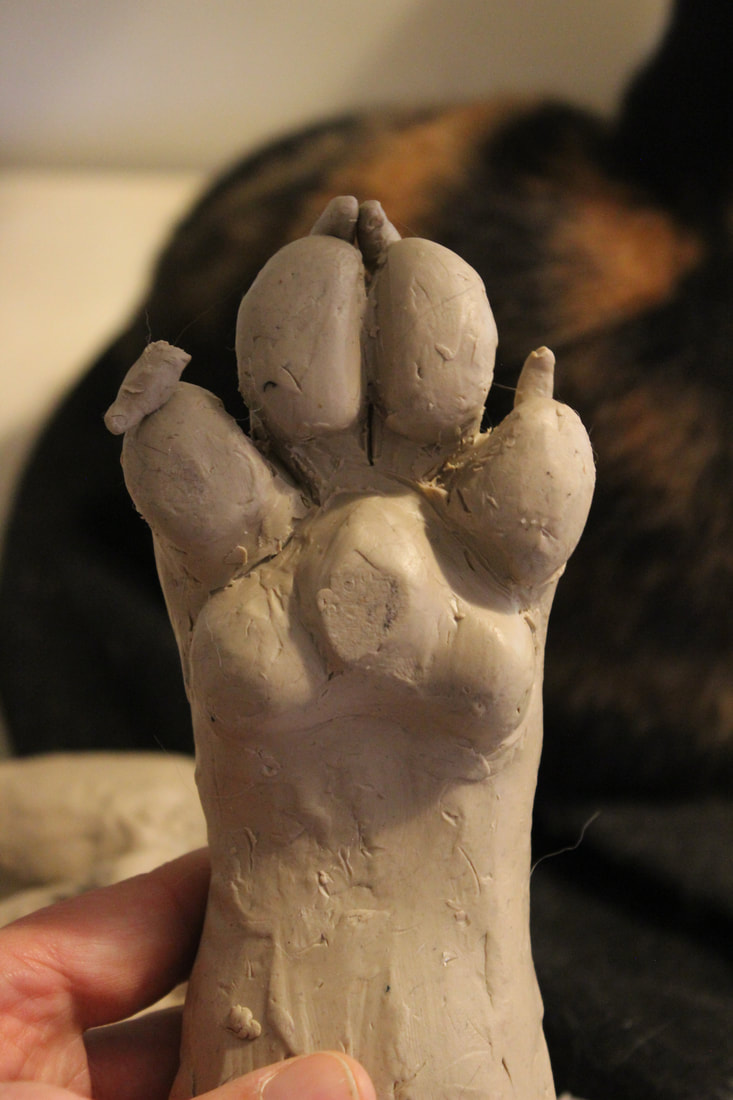
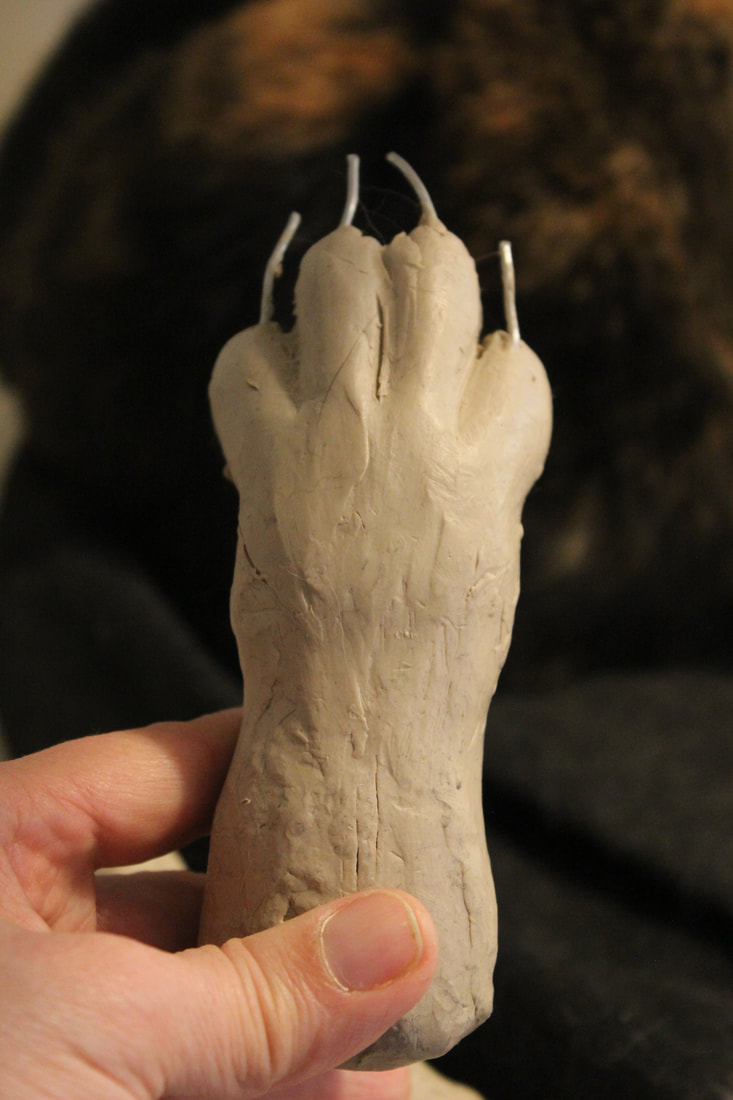
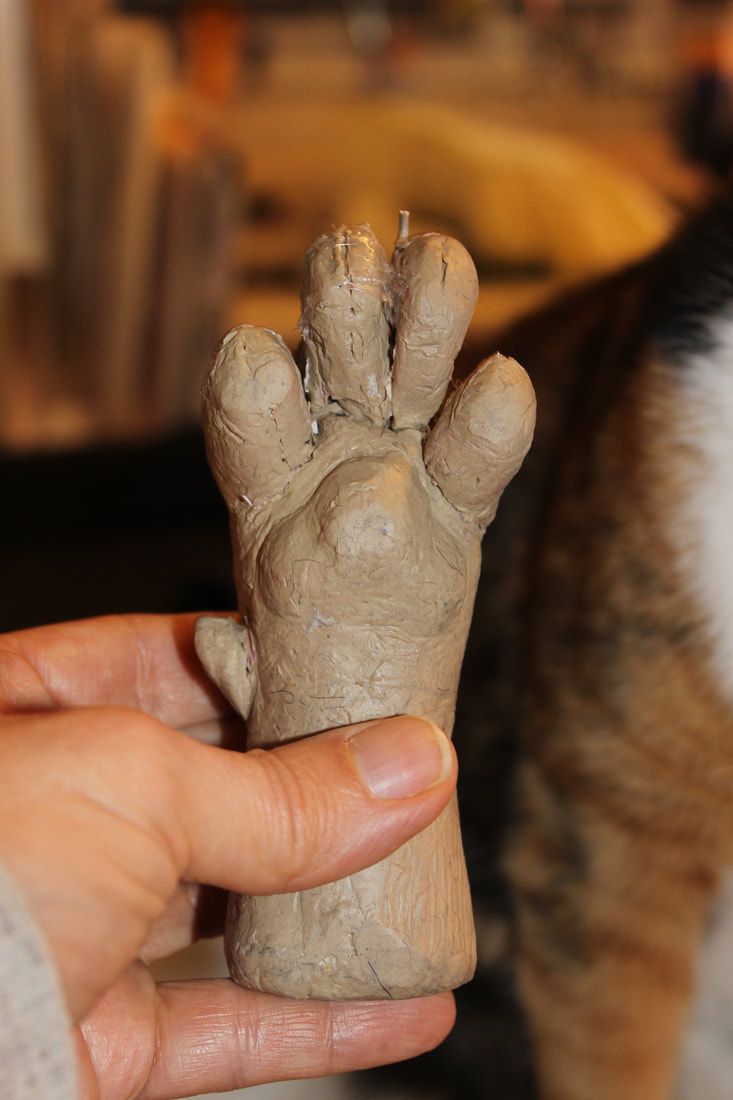
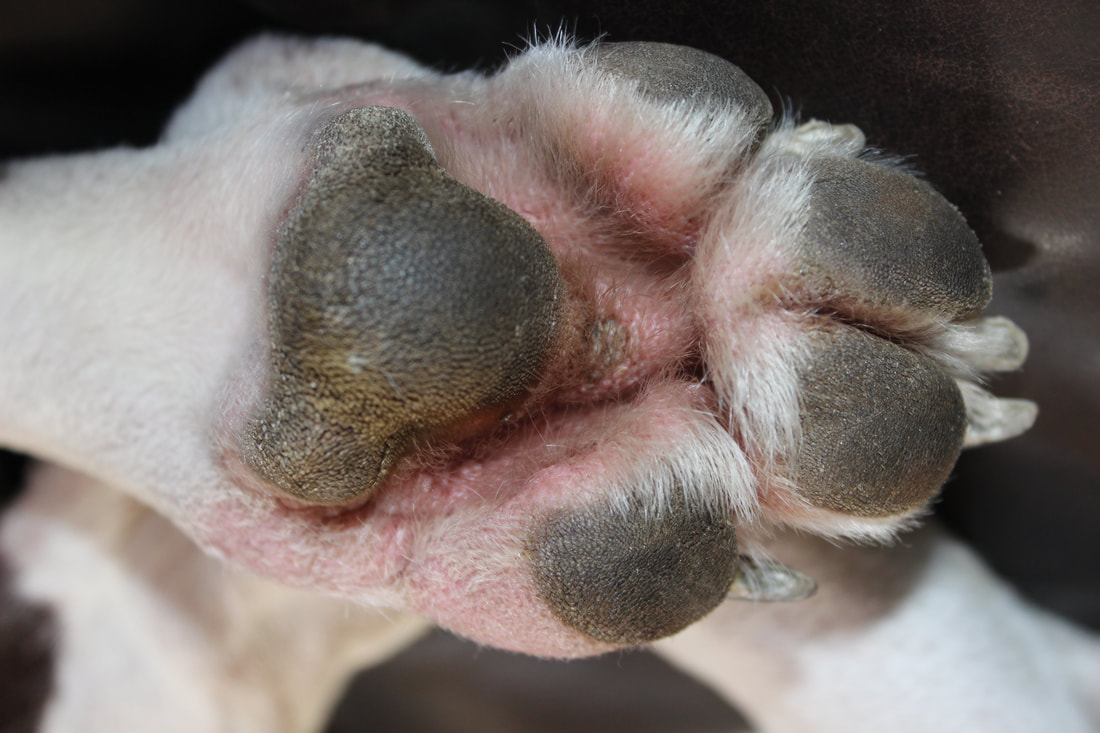
Above, Prototype #5. I still think the toes are too long, but I'm pleased with their overall shapes and that of the hand in general.

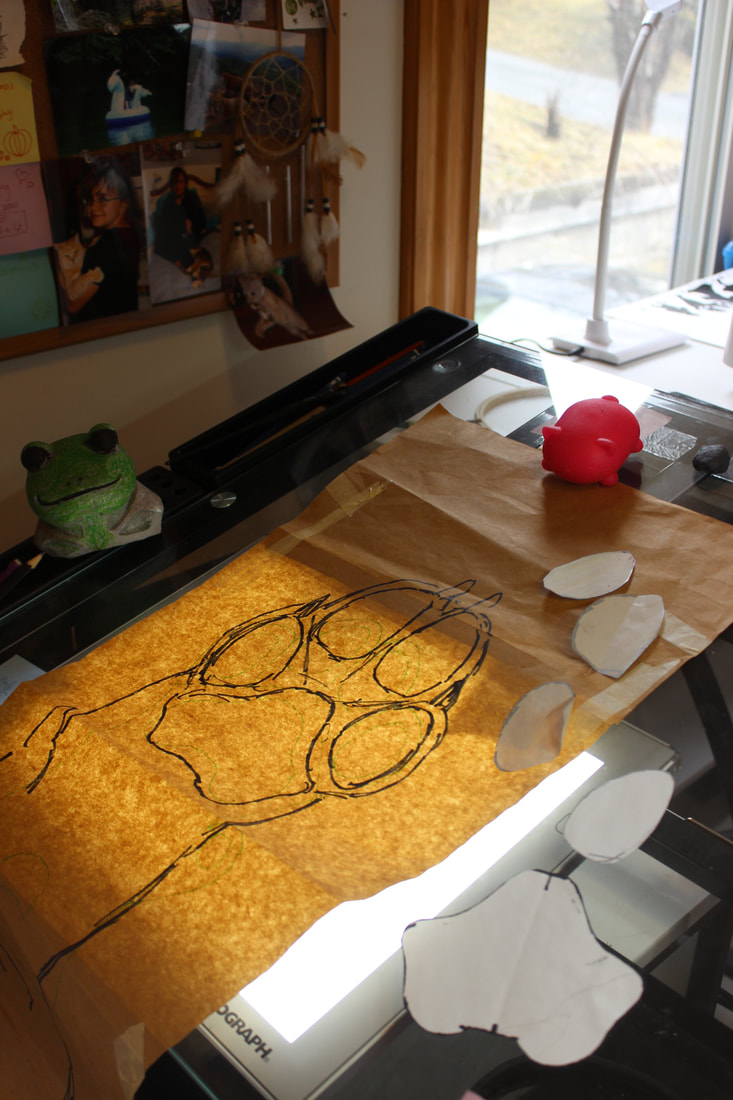
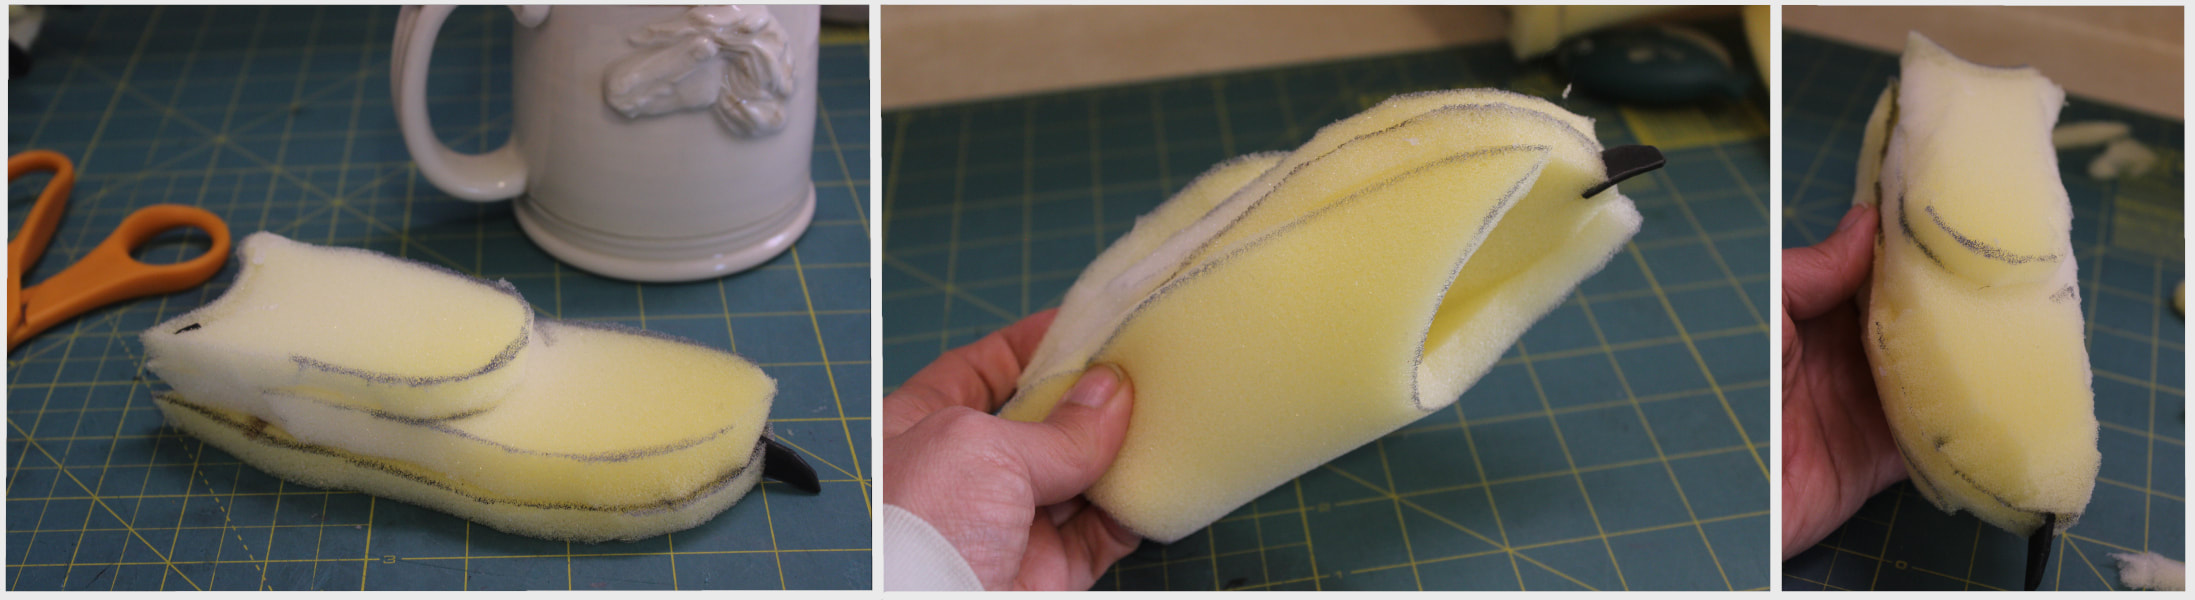
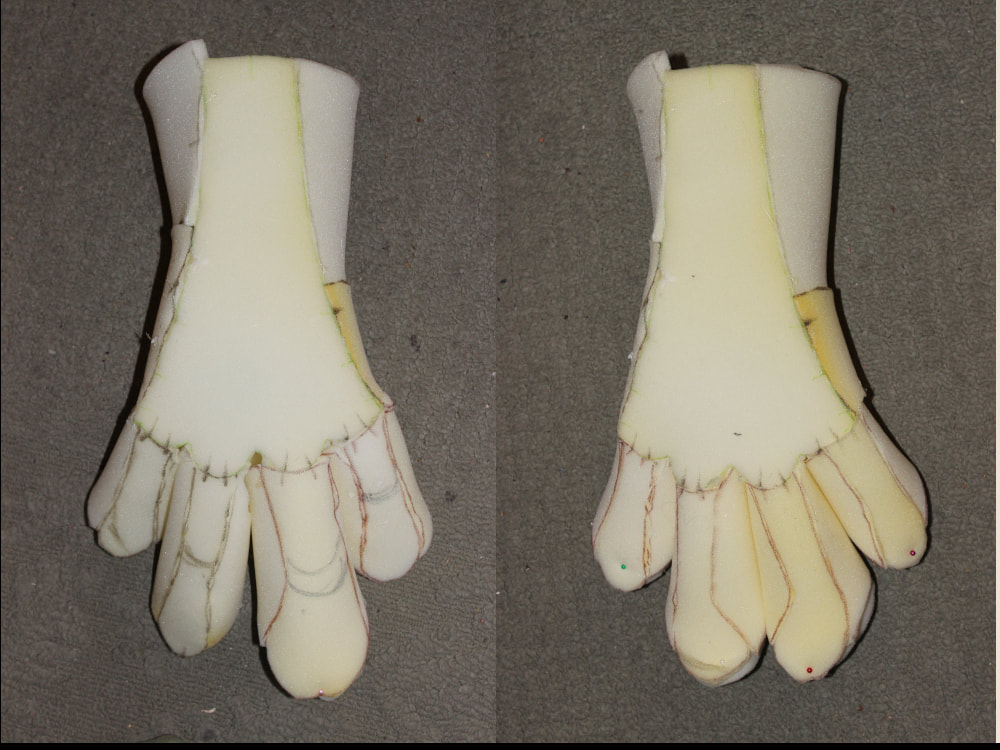
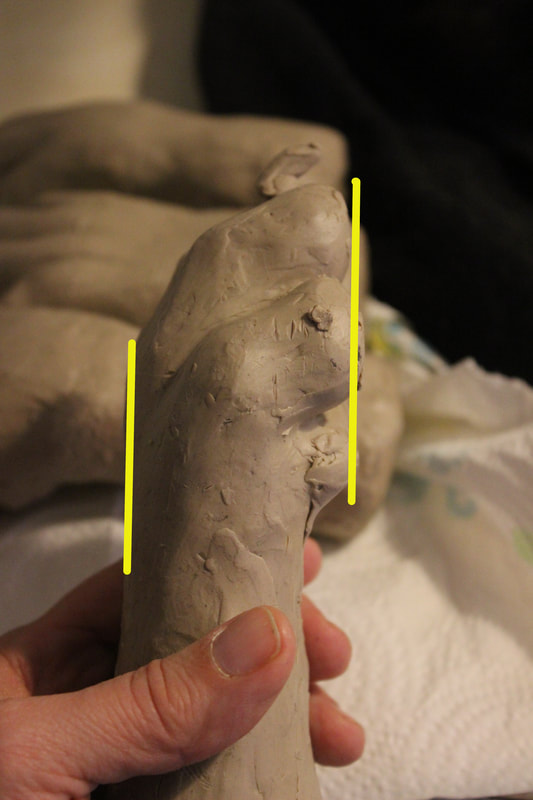
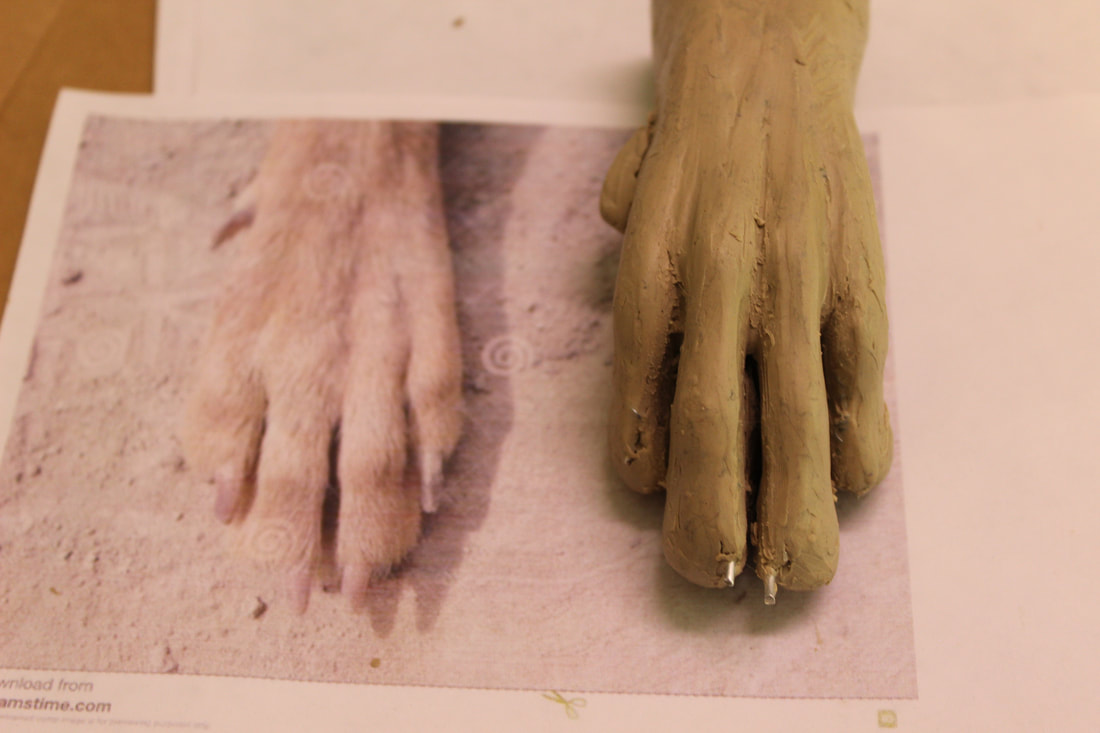
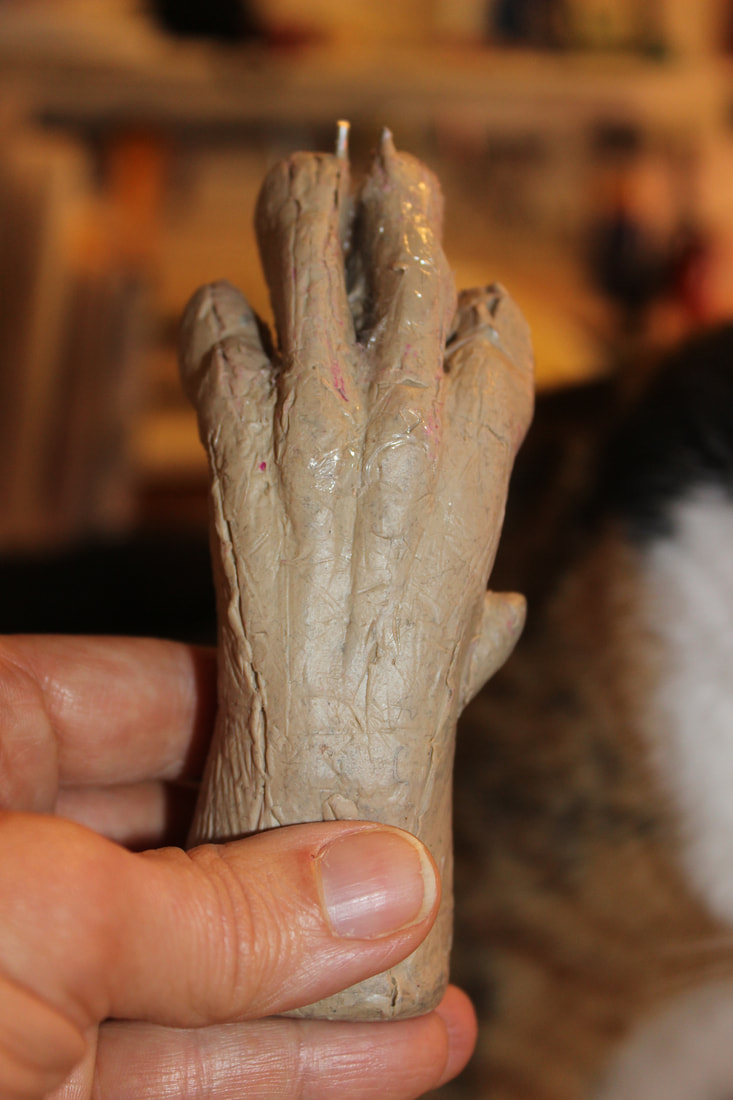
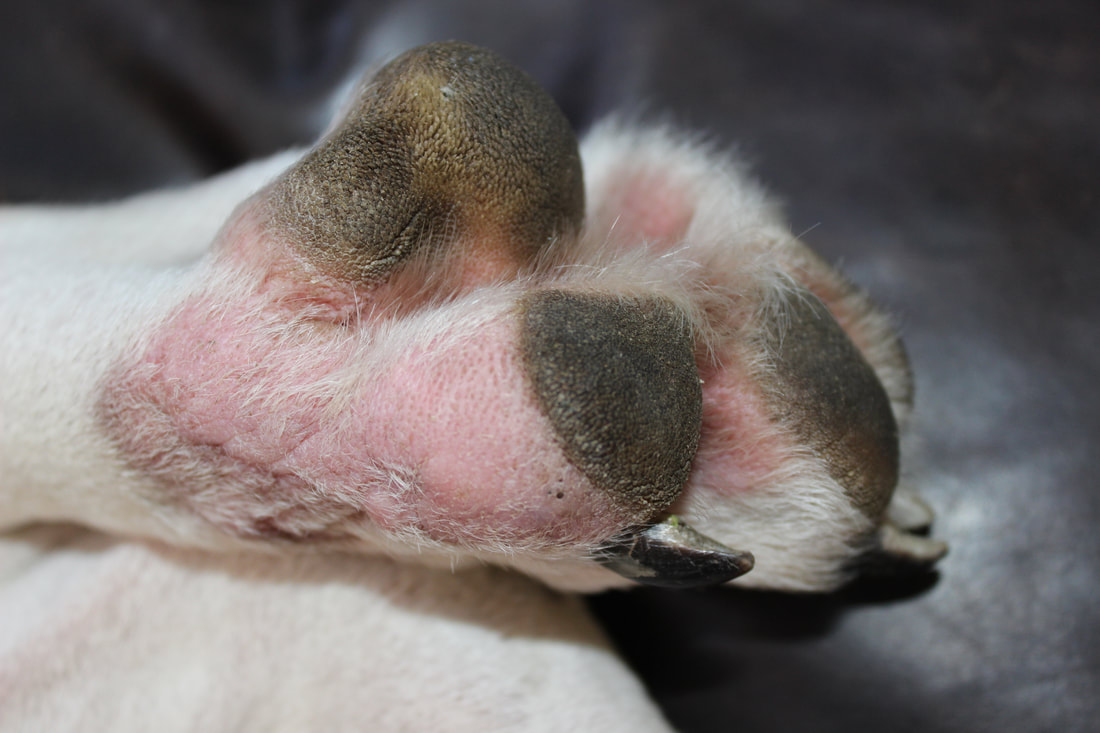
Side by side comparison of the changes between #4 and #5. I've lengthened the palm in #5 and smoothed out the juncture between that and the bottom of the toes. IMHO this curving, regular line is much more aesthetically pleasing than the previous version. I hadn't actually shortened the toes between the two versions, thinking lengthening the palm would be enough, but I can see that still needs tweaking.
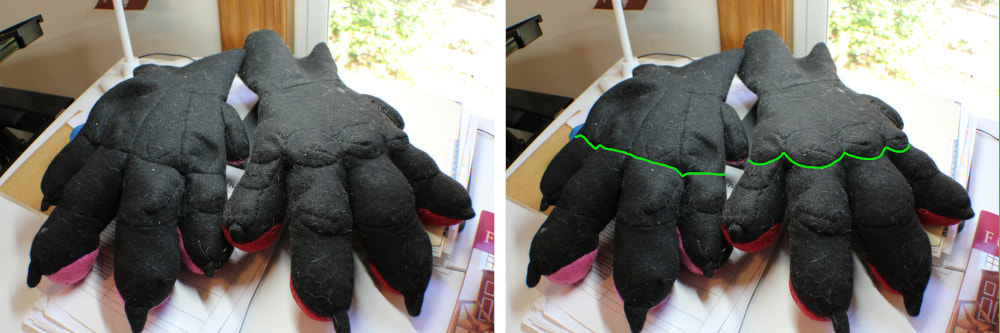
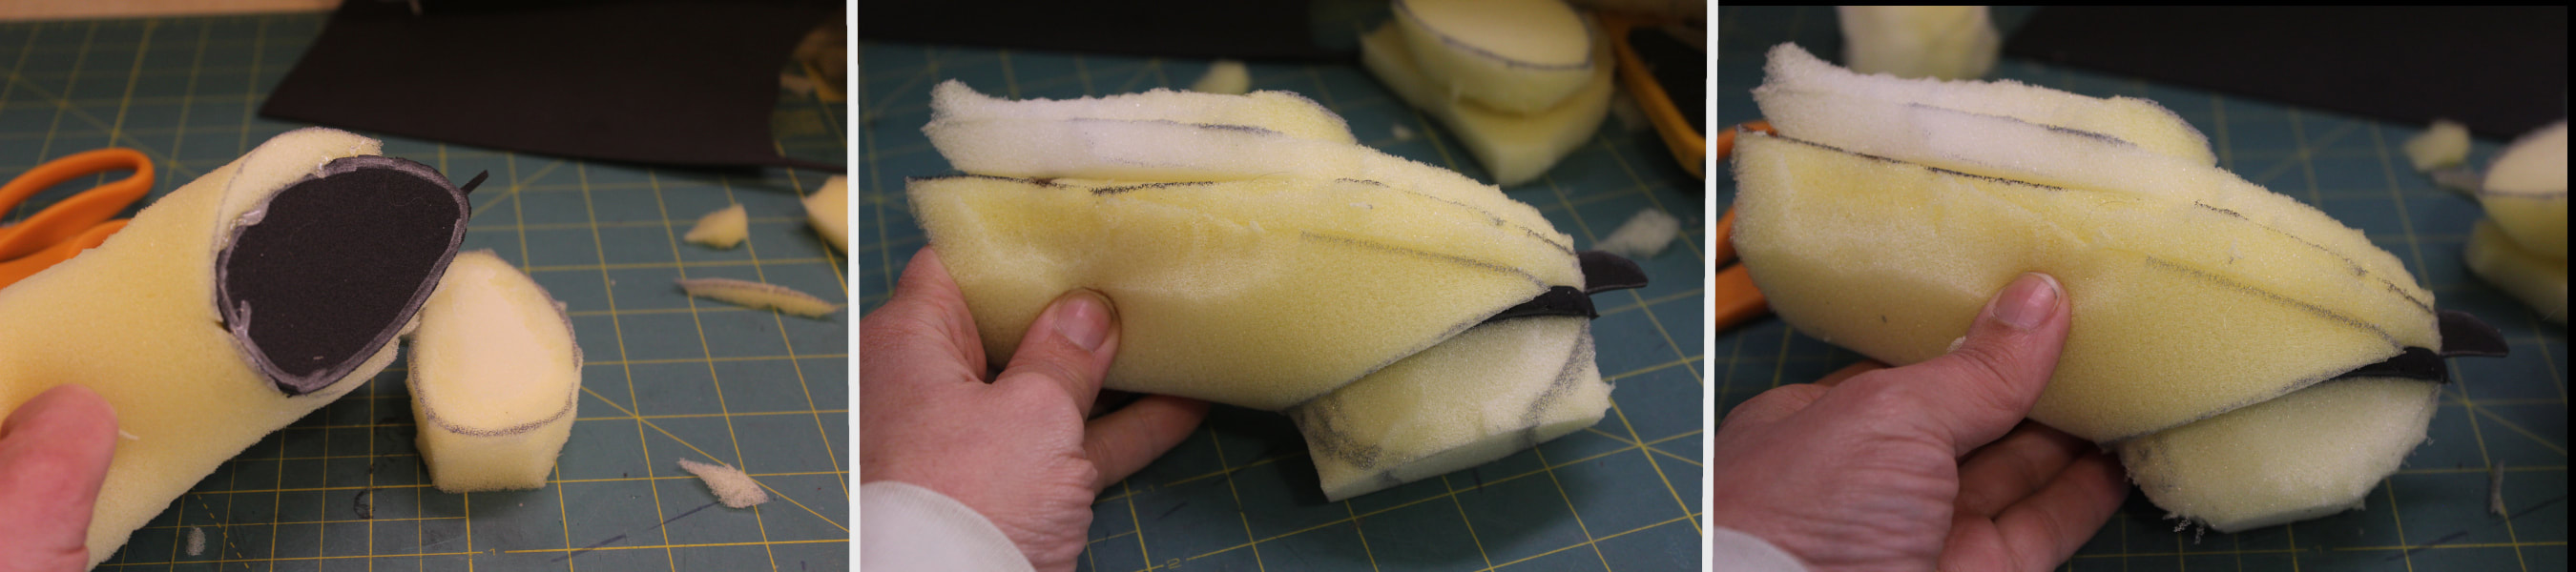
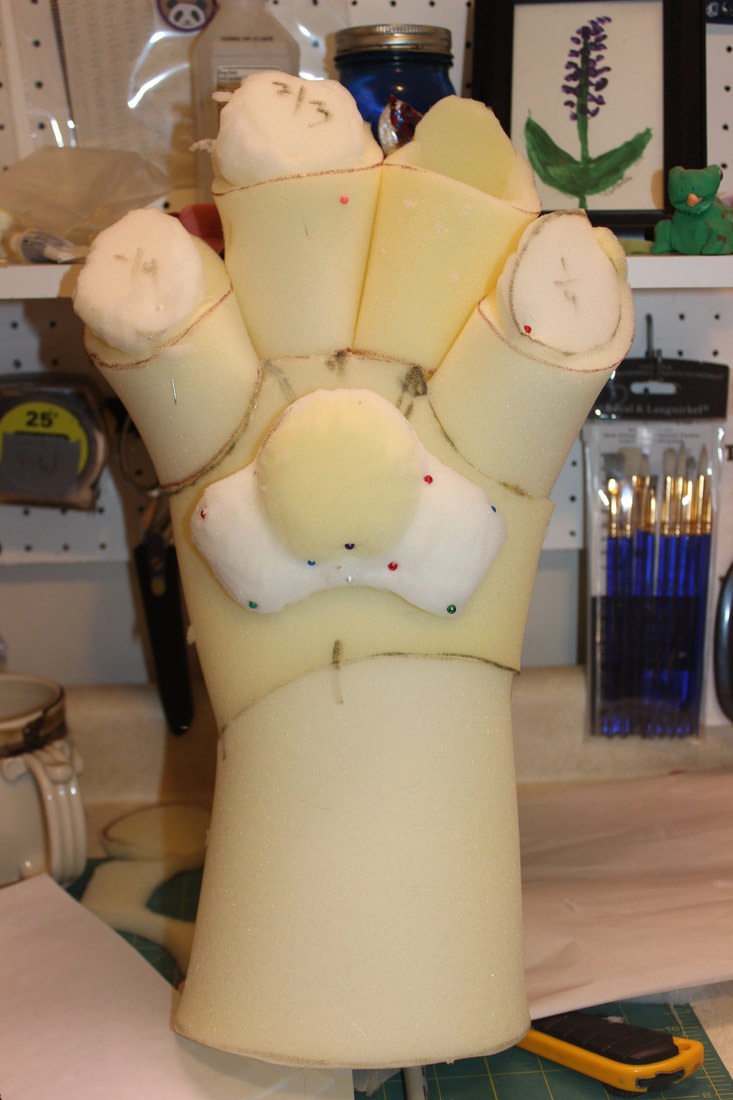
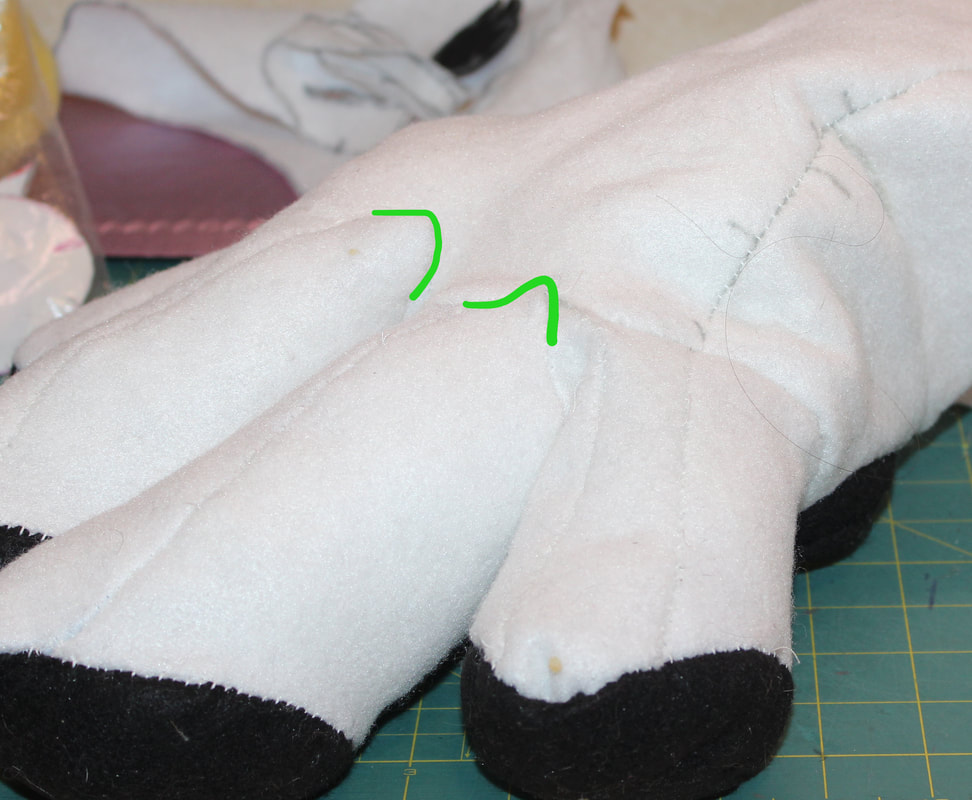
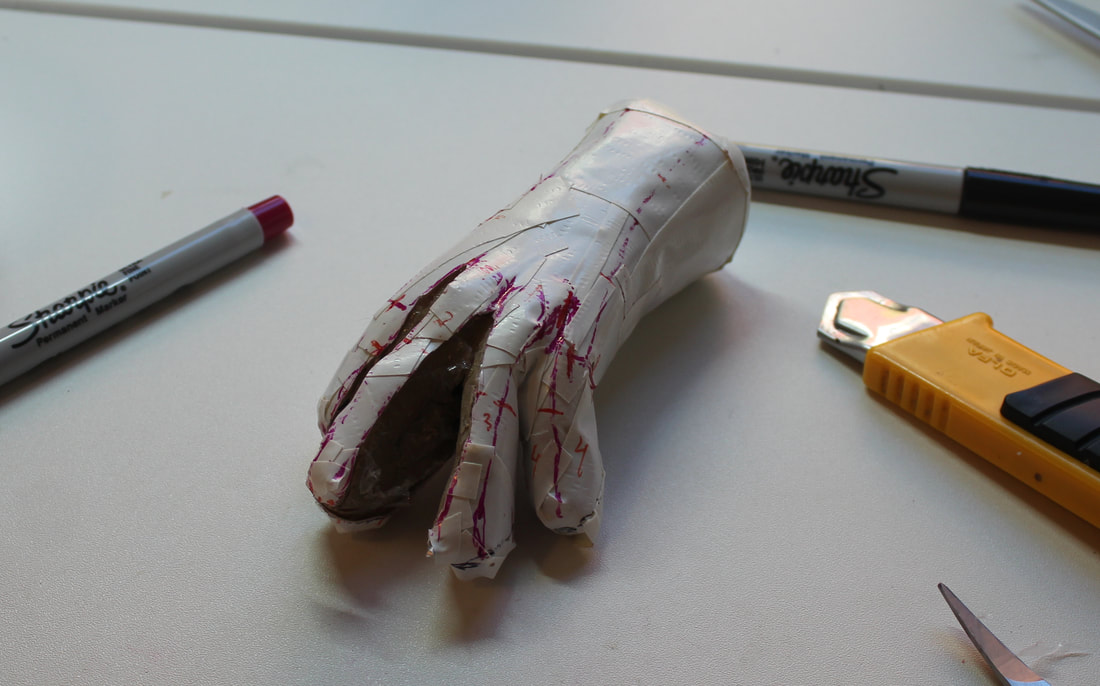
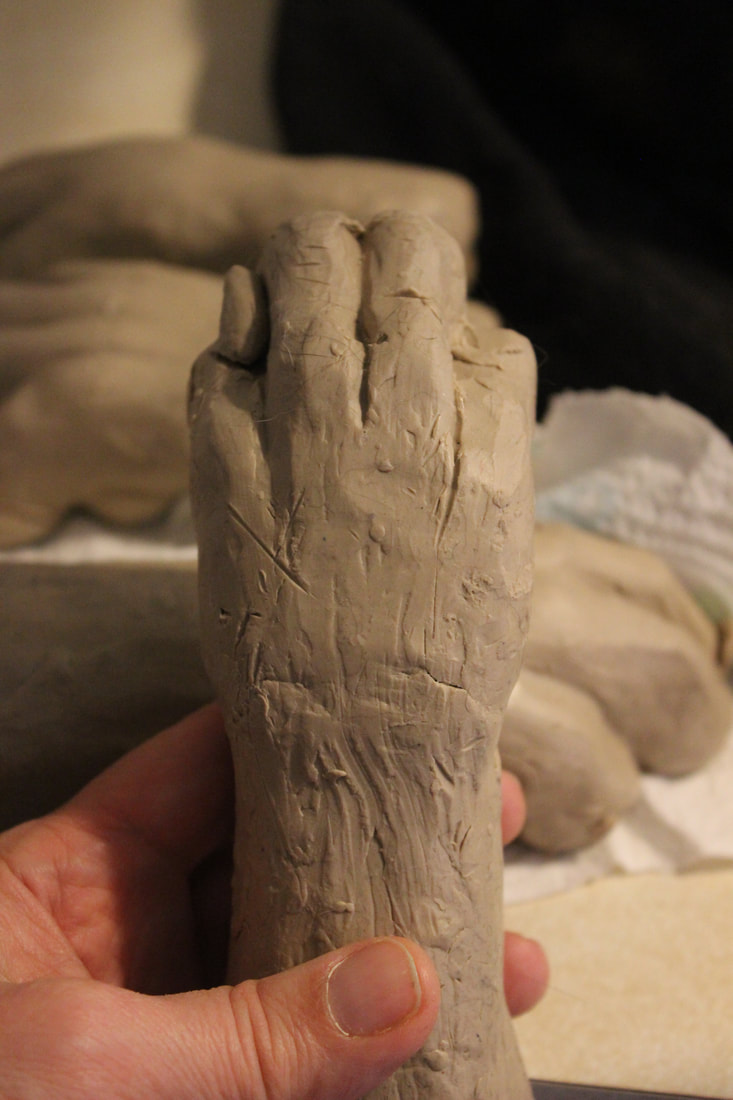
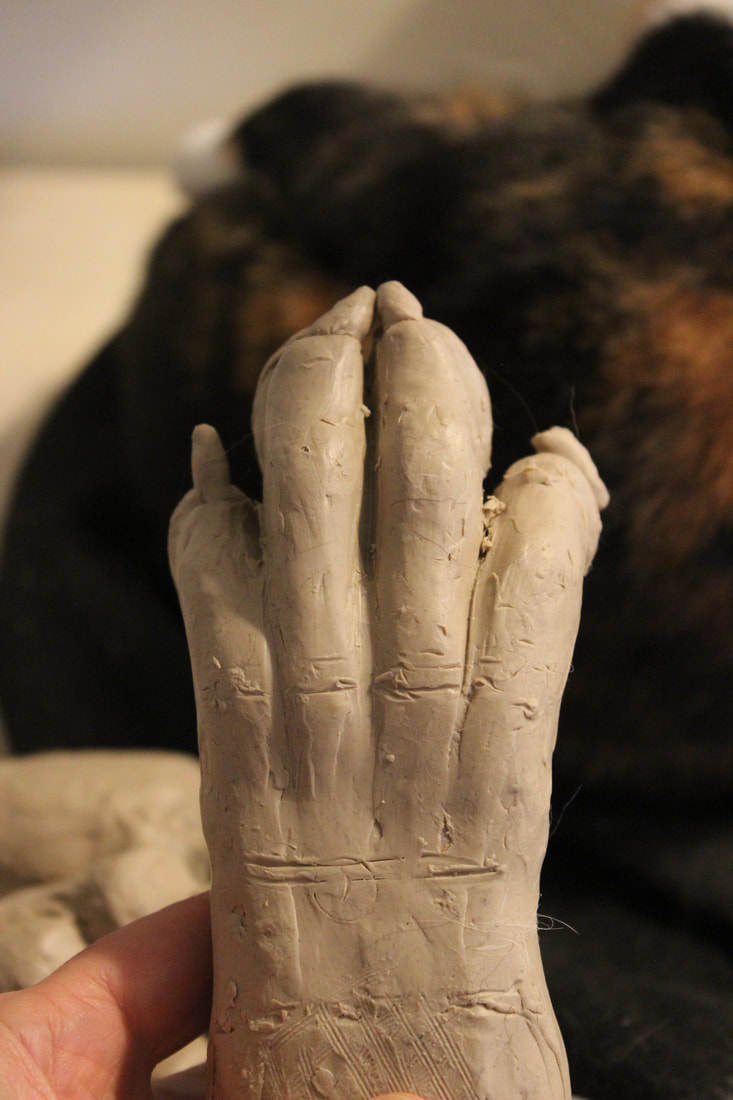
Another side by side comparison of #4 and #5. The seam going straight across the knuckles on #4 seems to flatten out and lumpify the paw. The scalloped seam on #5 in my mind is a great improvement.
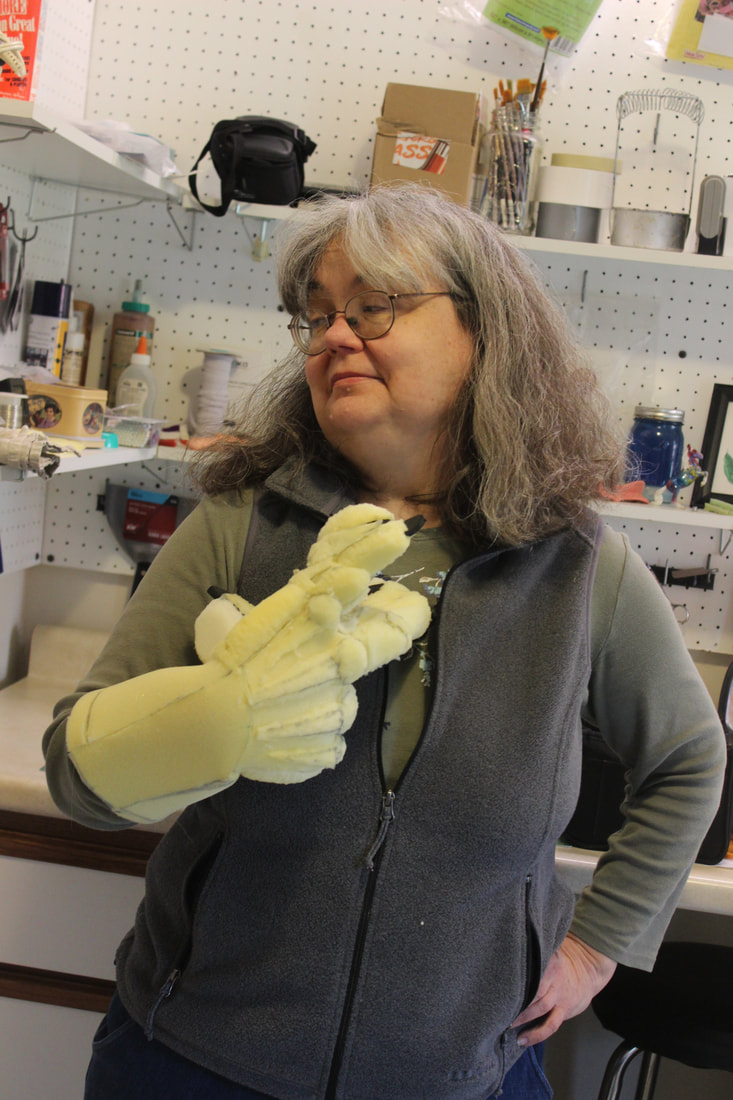
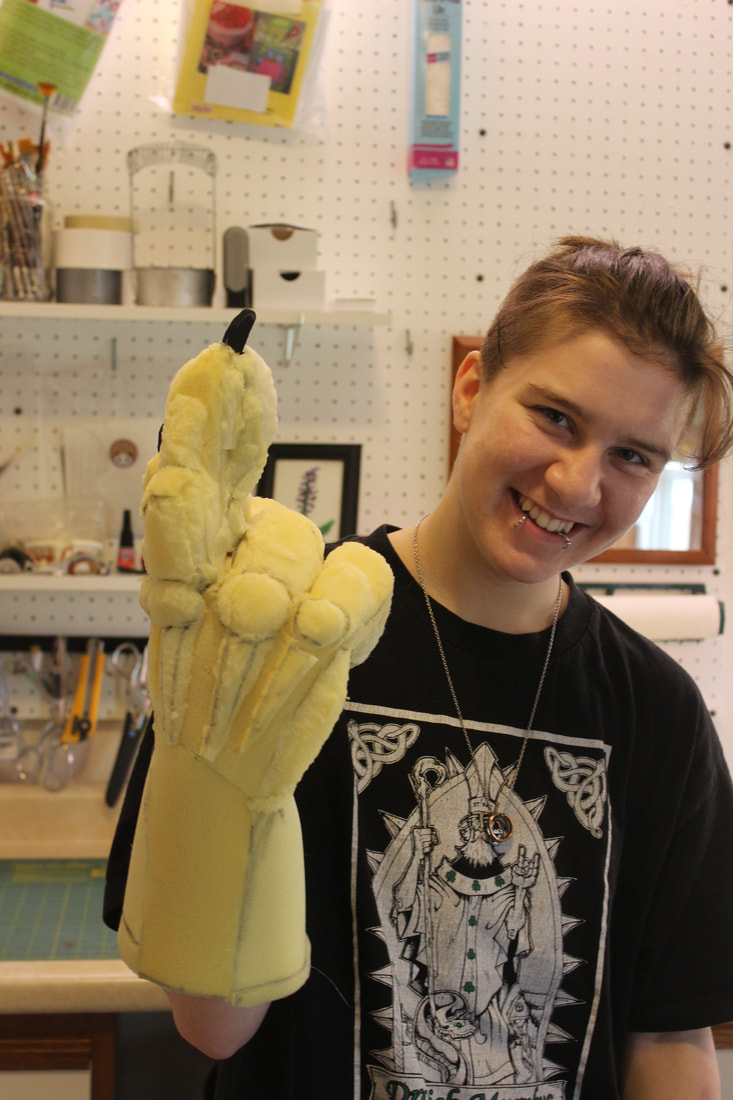
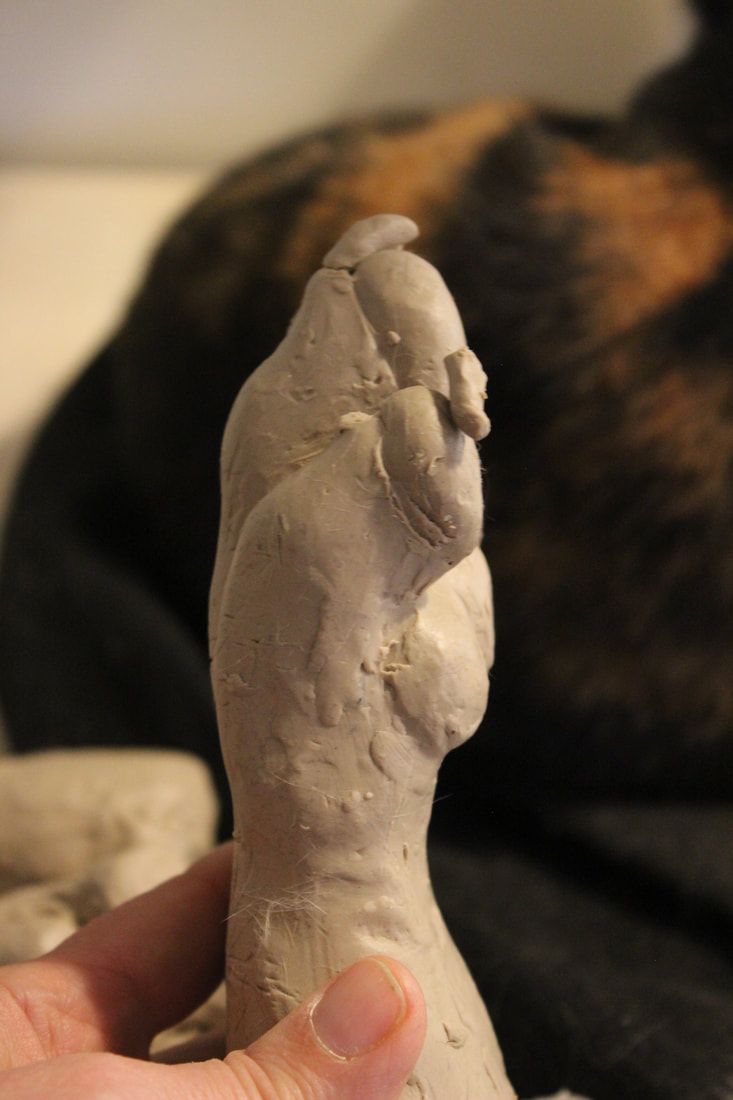
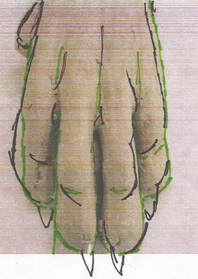
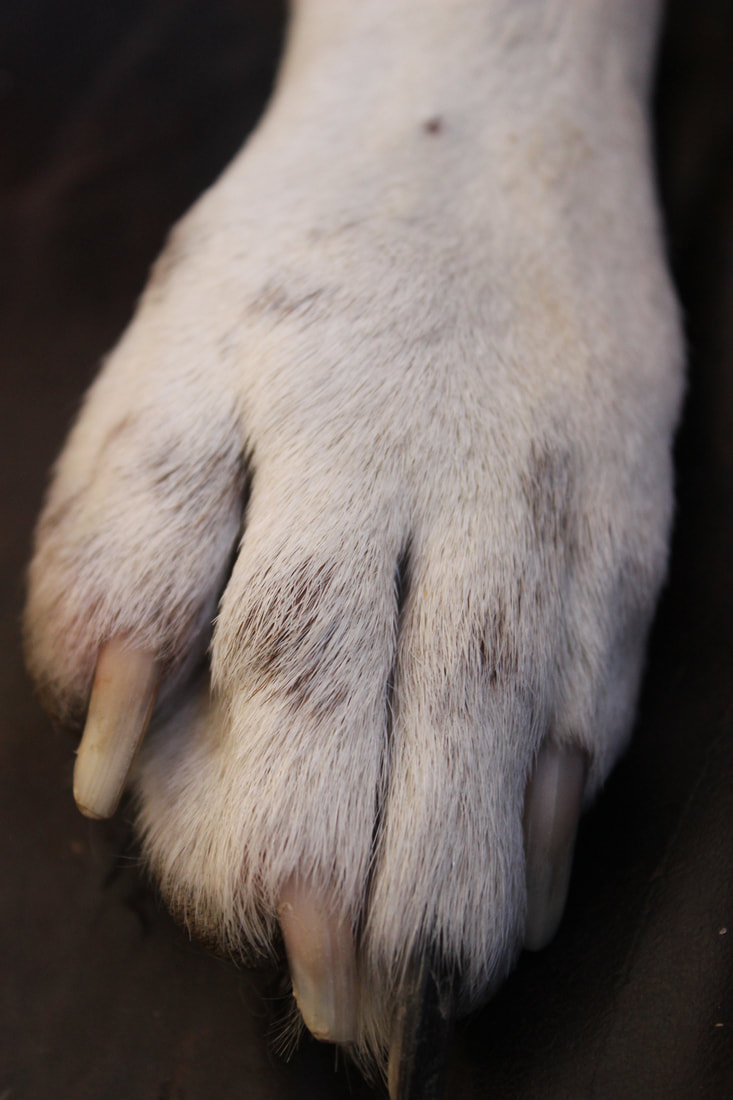
There are lots of other differences between the tops of these paws. I made an attempt at tendons in #4 (those vertical seams on the back of the hand) and a more detailed attempt at knuckles in #5. The jury is still out on where I'll go from here. One question is, how much does this add to the aesthetics vs how much work does it add to the project? Also, it remains to be seen if I can actually make tendons/knuckles **work** in this context. IMHO neither #4 or #5 is there yet.
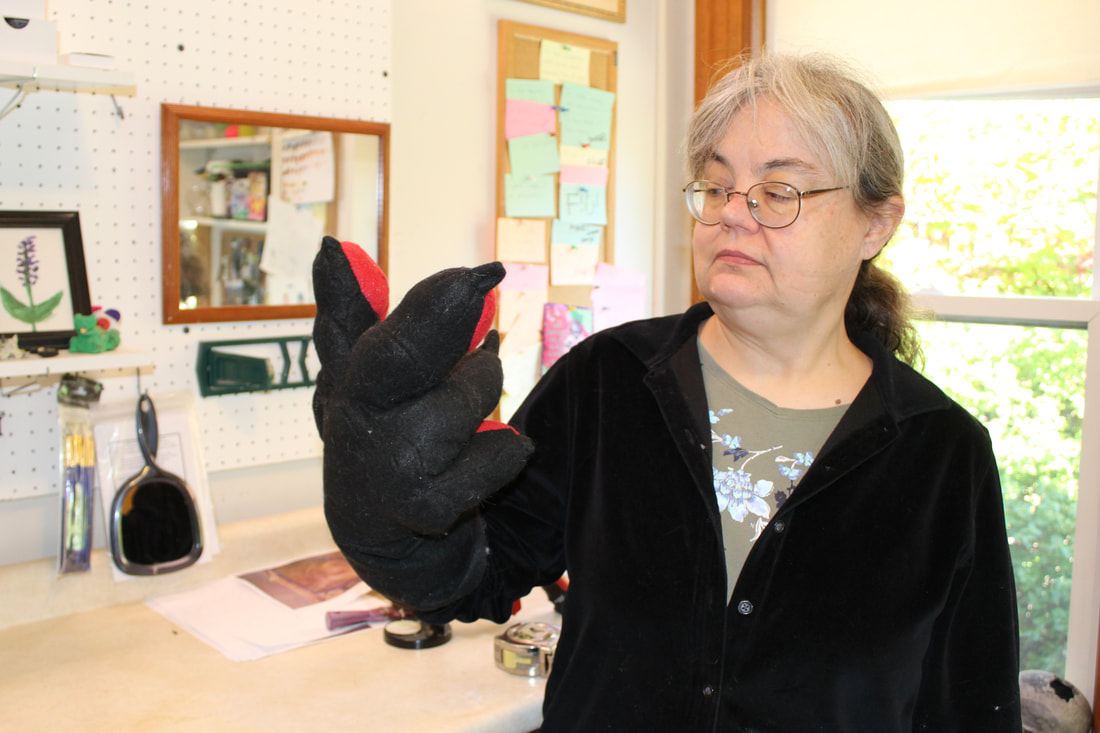
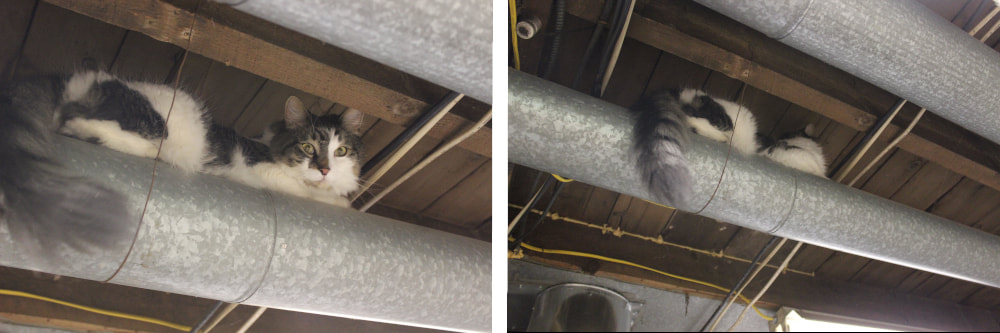
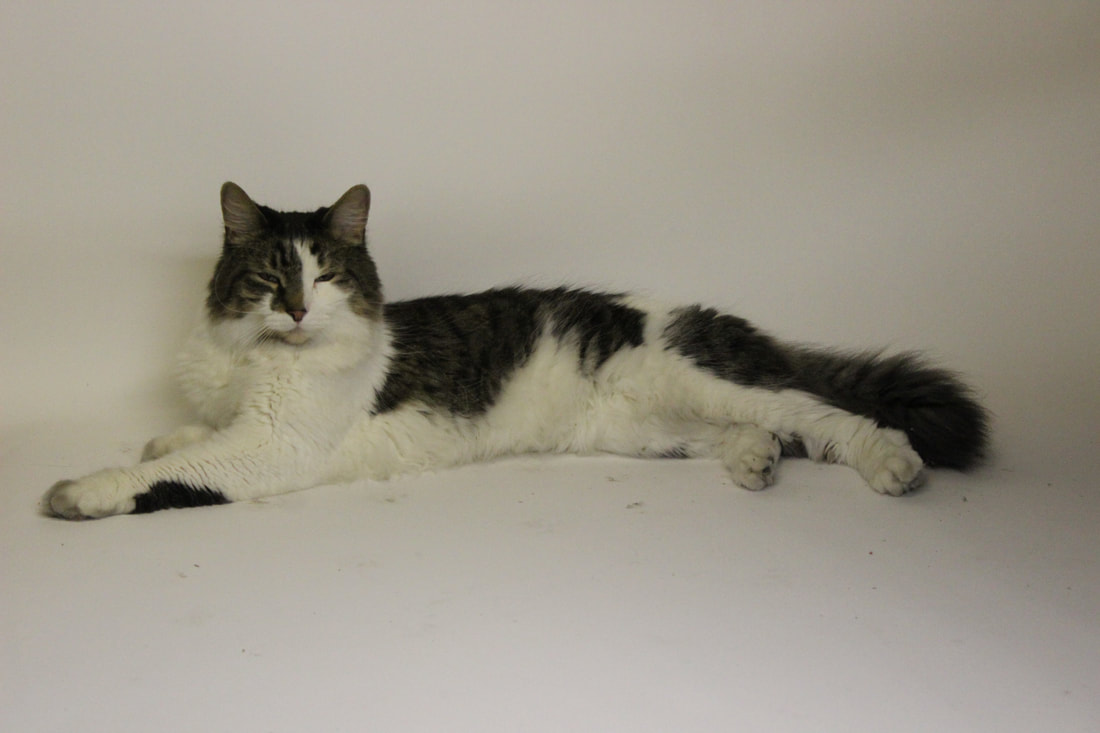
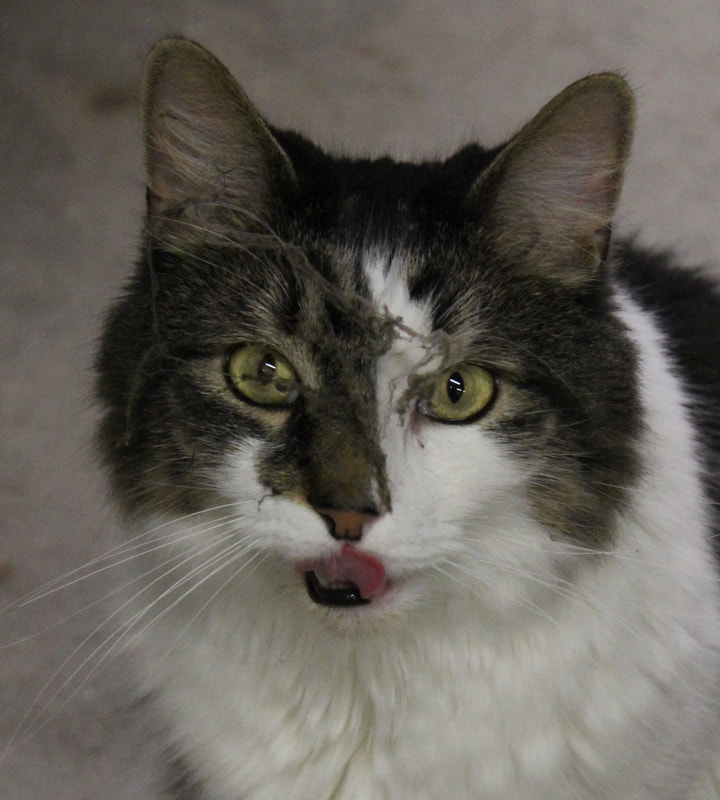
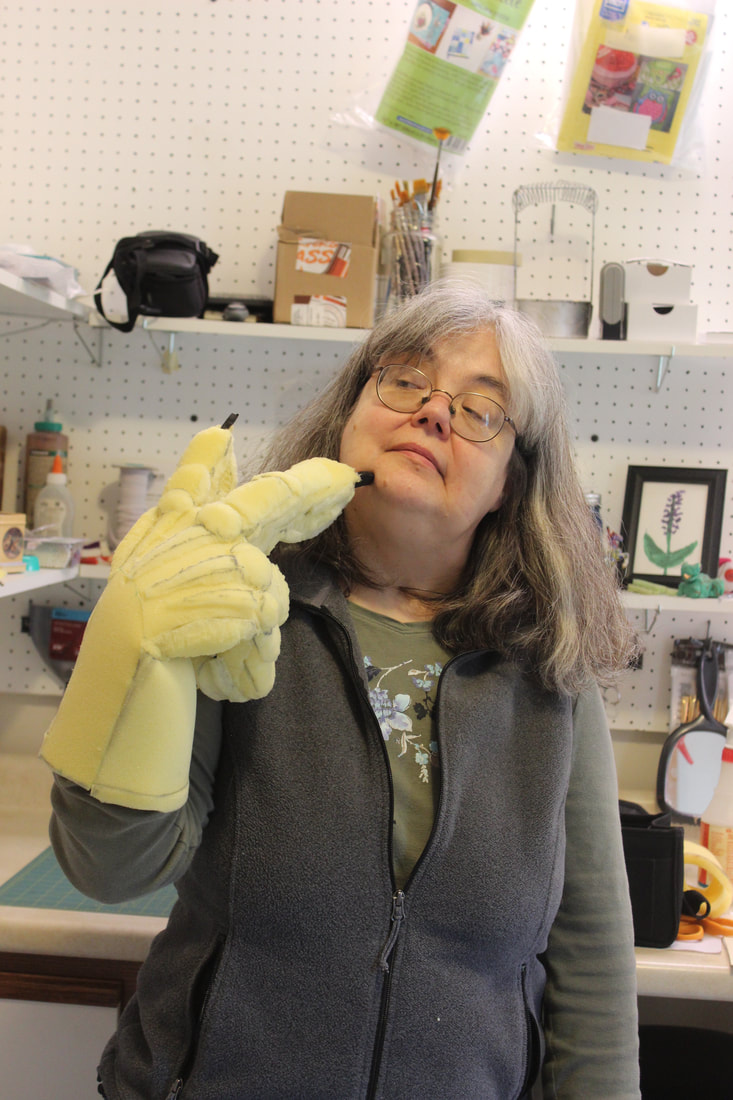
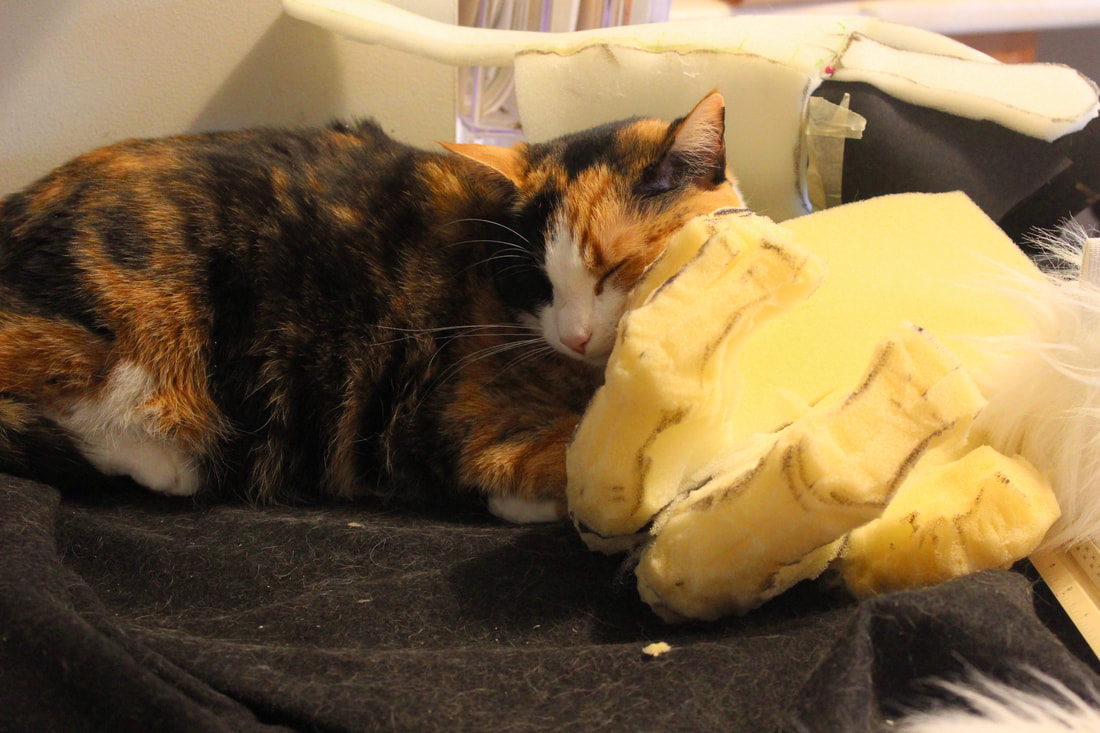
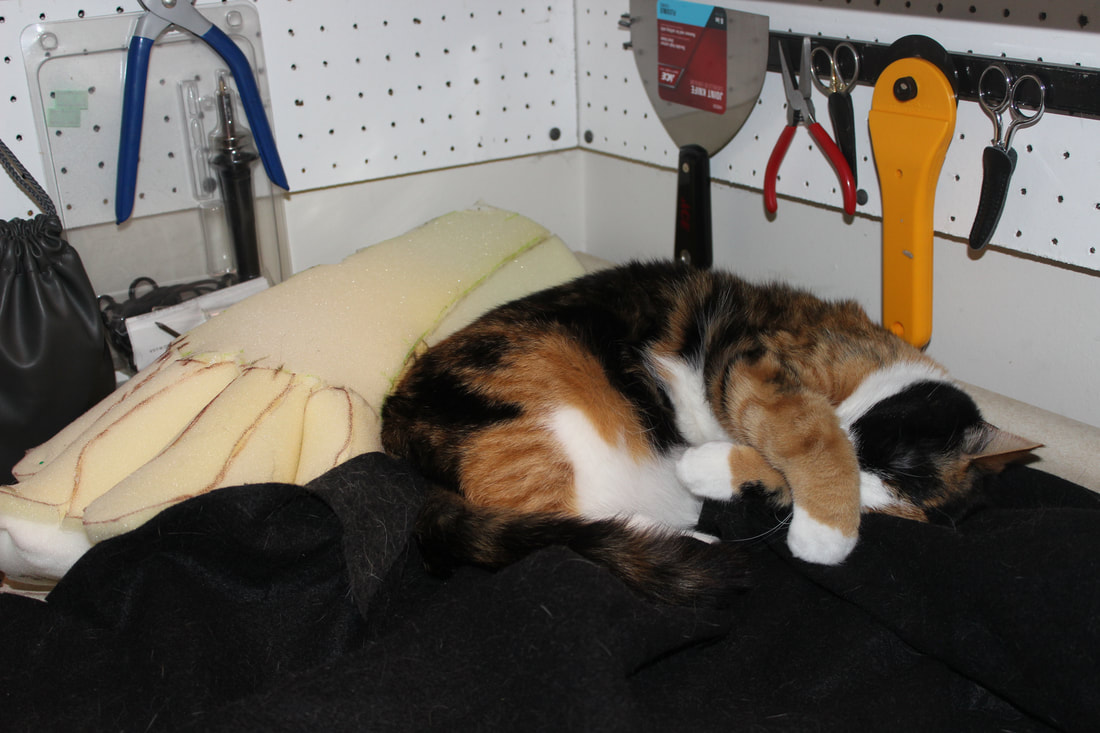
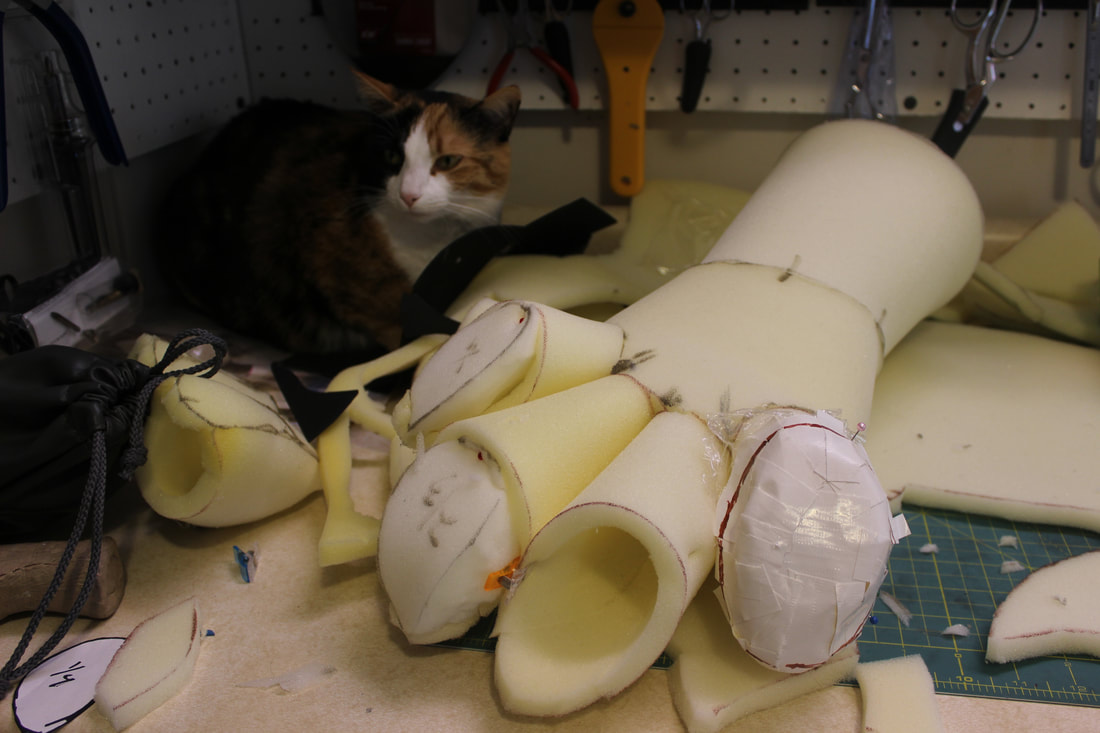
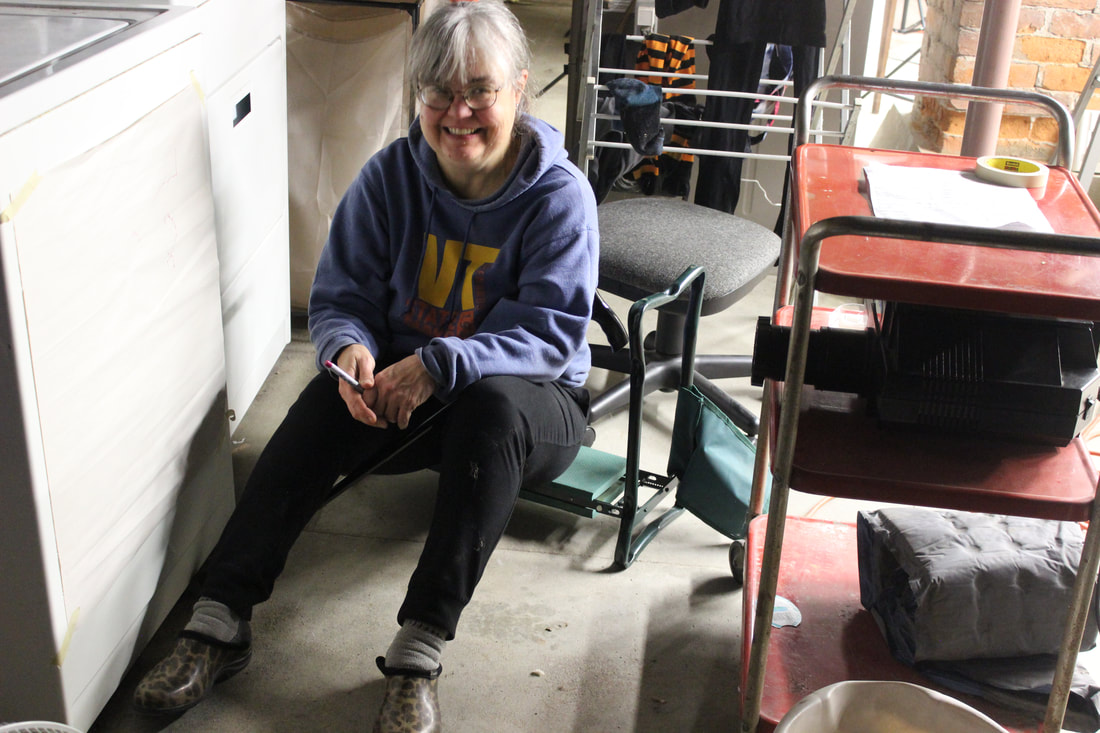
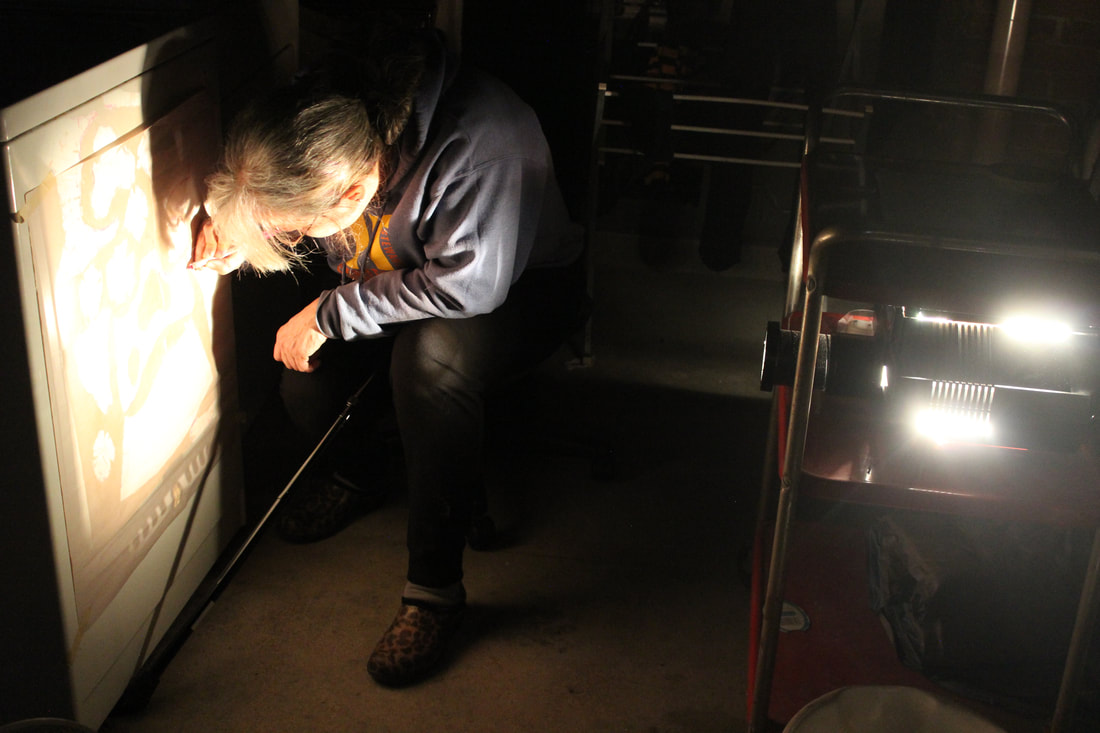
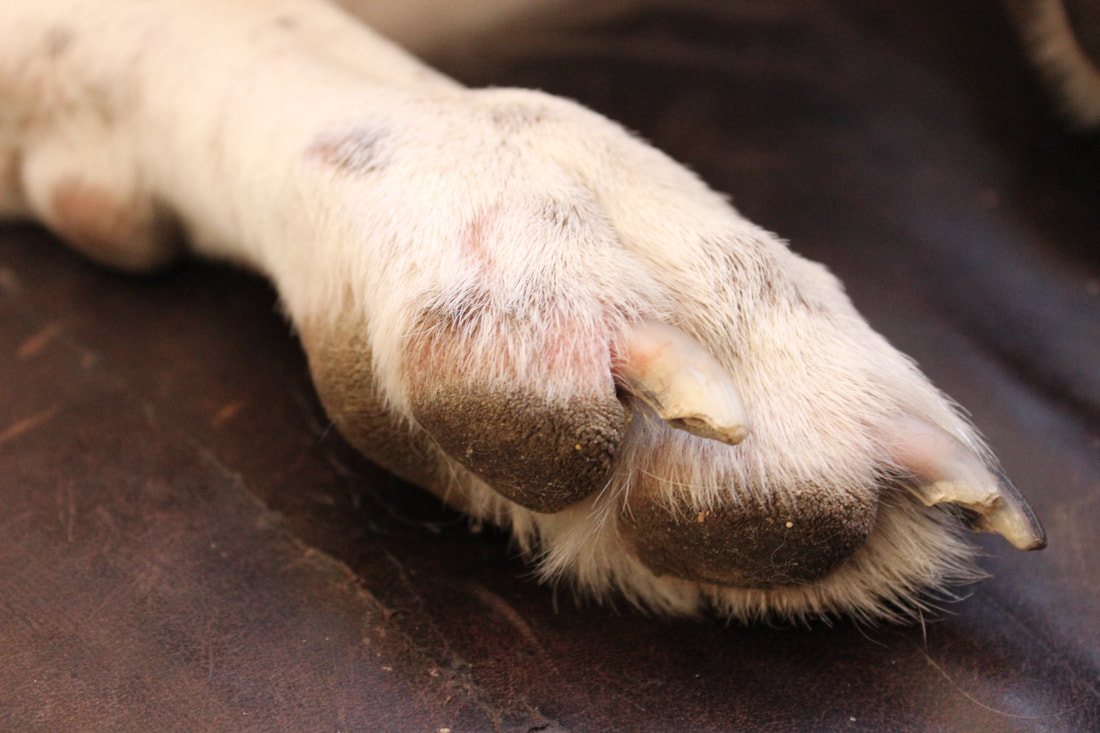
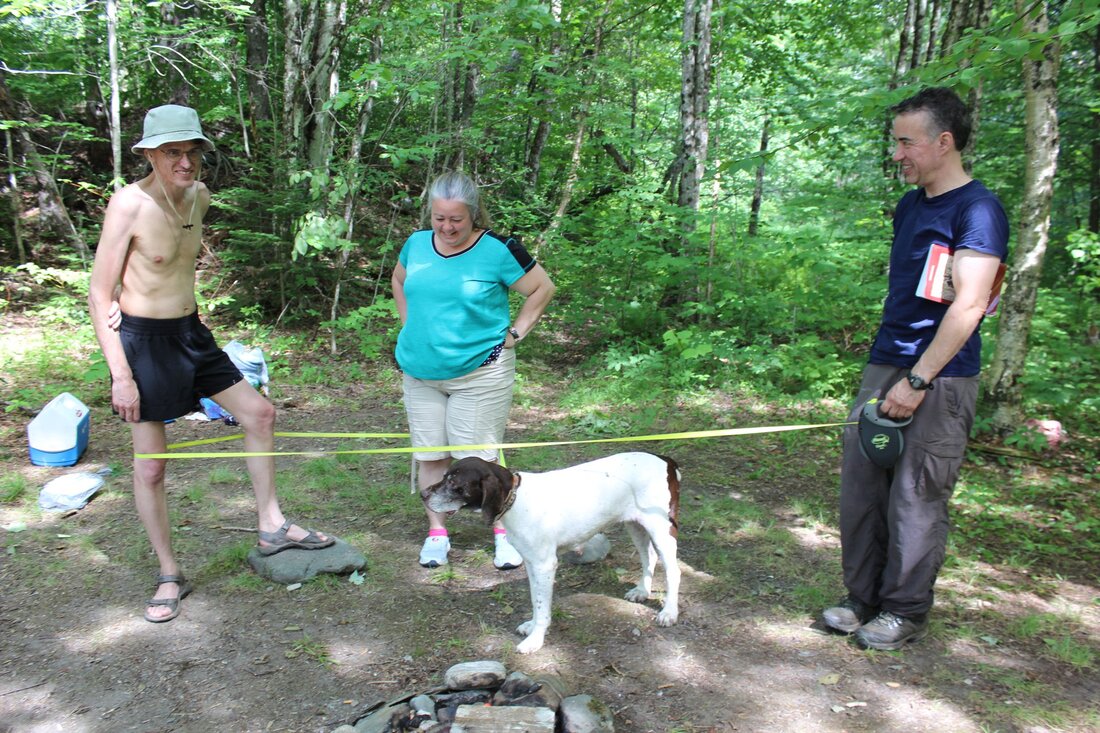
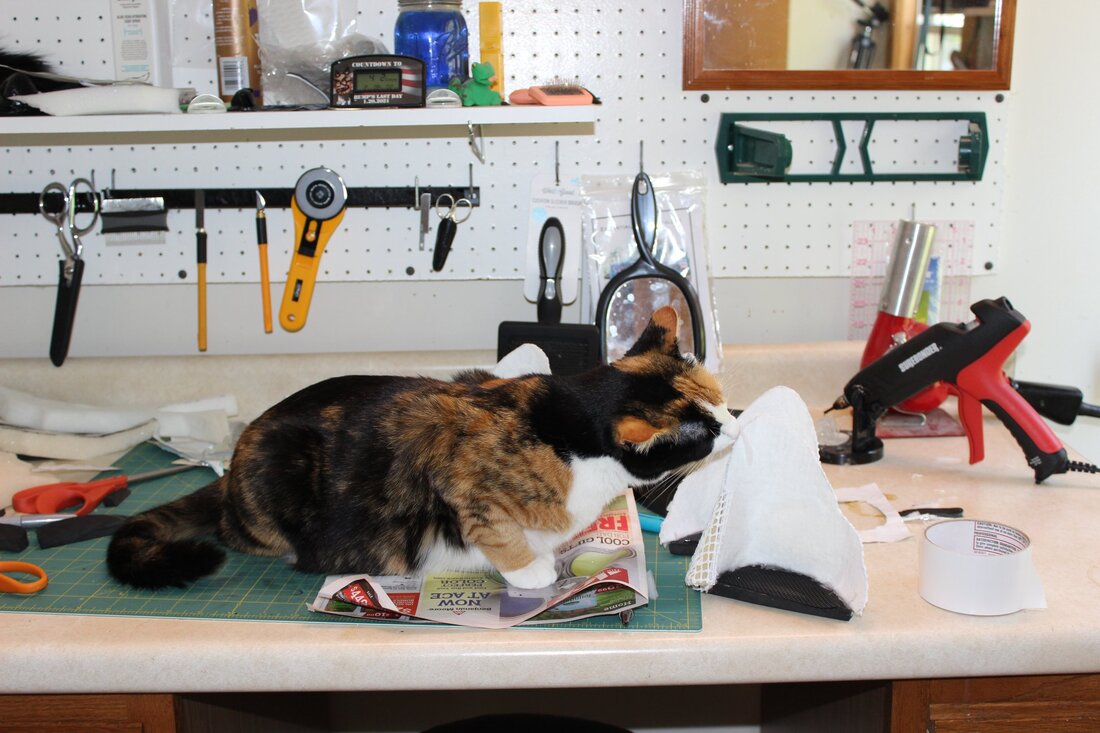
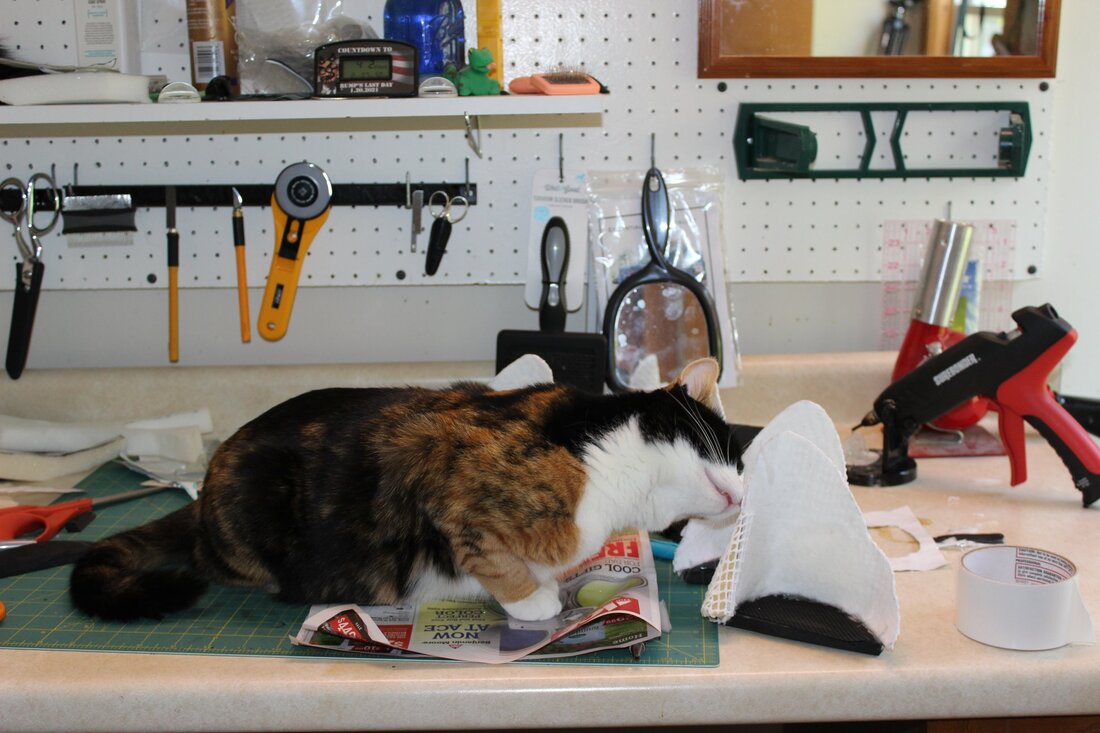
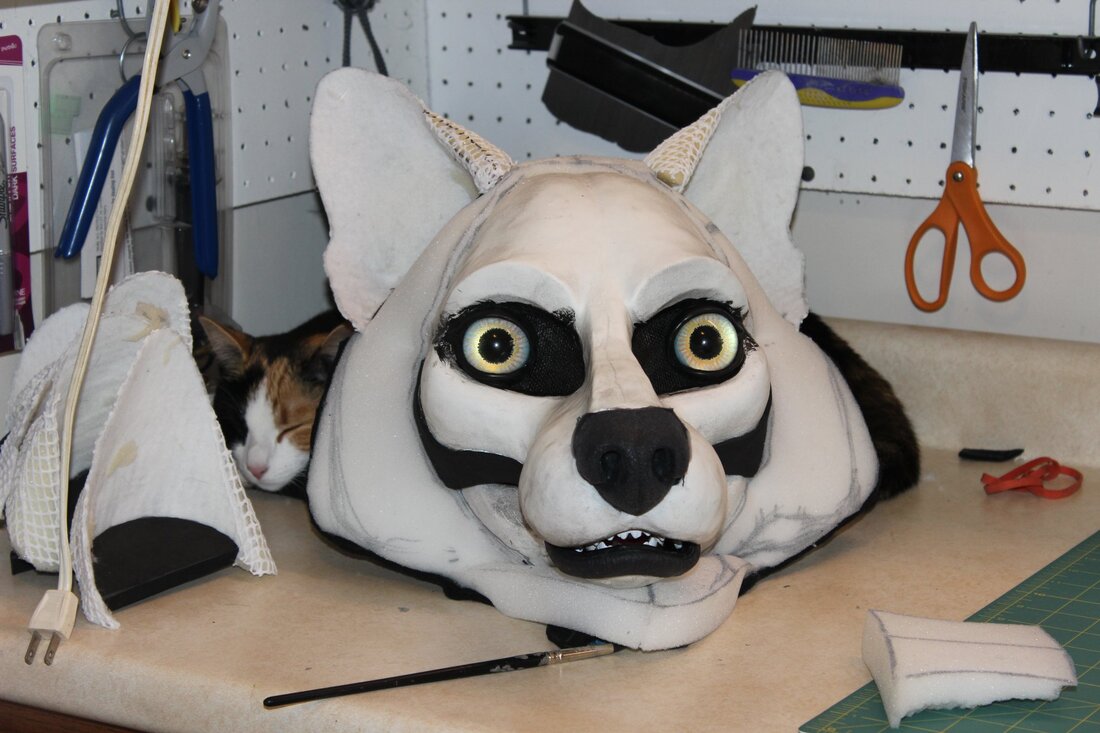
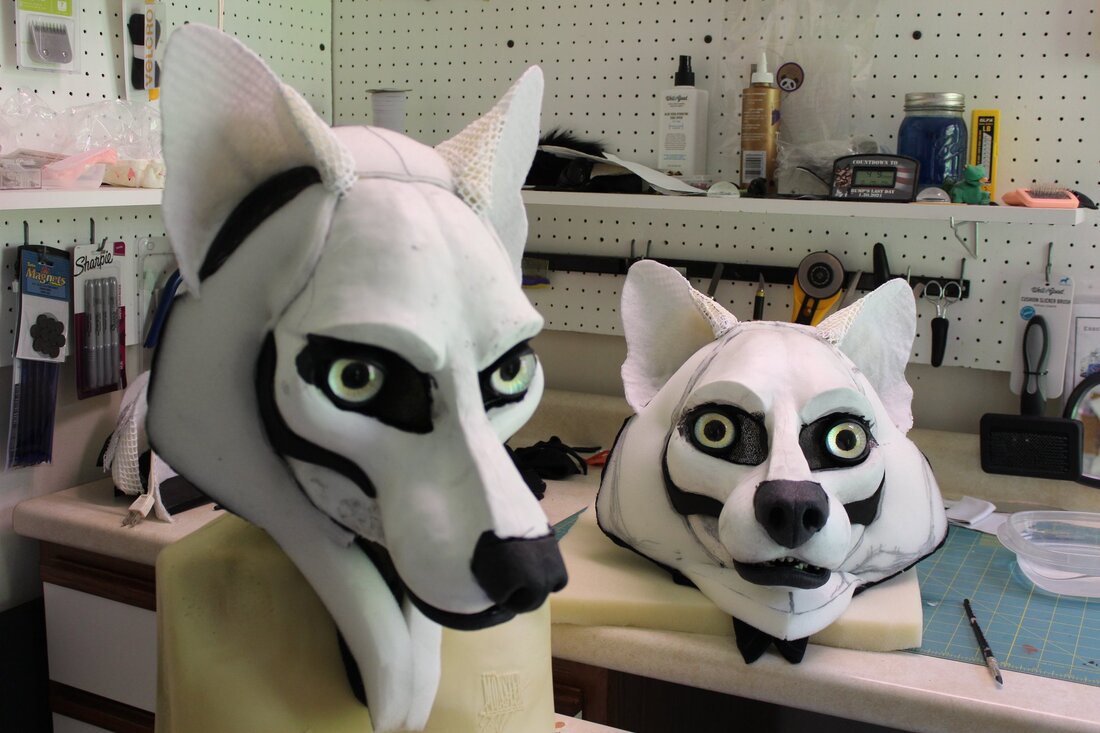
Onward! At least I have plenty of moral (and adorable!!) support!!
There are lots of other differences between the tops of these paws. I made an attempt at tendons in #4 (those vertical seams on the back of the hand) and a more detailed attempt at knuckles in #5. The jury is still out on where I'll go from here. One question is, how much does this add to the aesthetics vs how much work does it add to the project? Also, it remains to be seen if I can actually make tendons/knuckles **work** in this context. IMHO neither #4 or #5 is there yet.
Onward! At least I have plenty of moral (and adorable!!) support!!


 RSS Feed